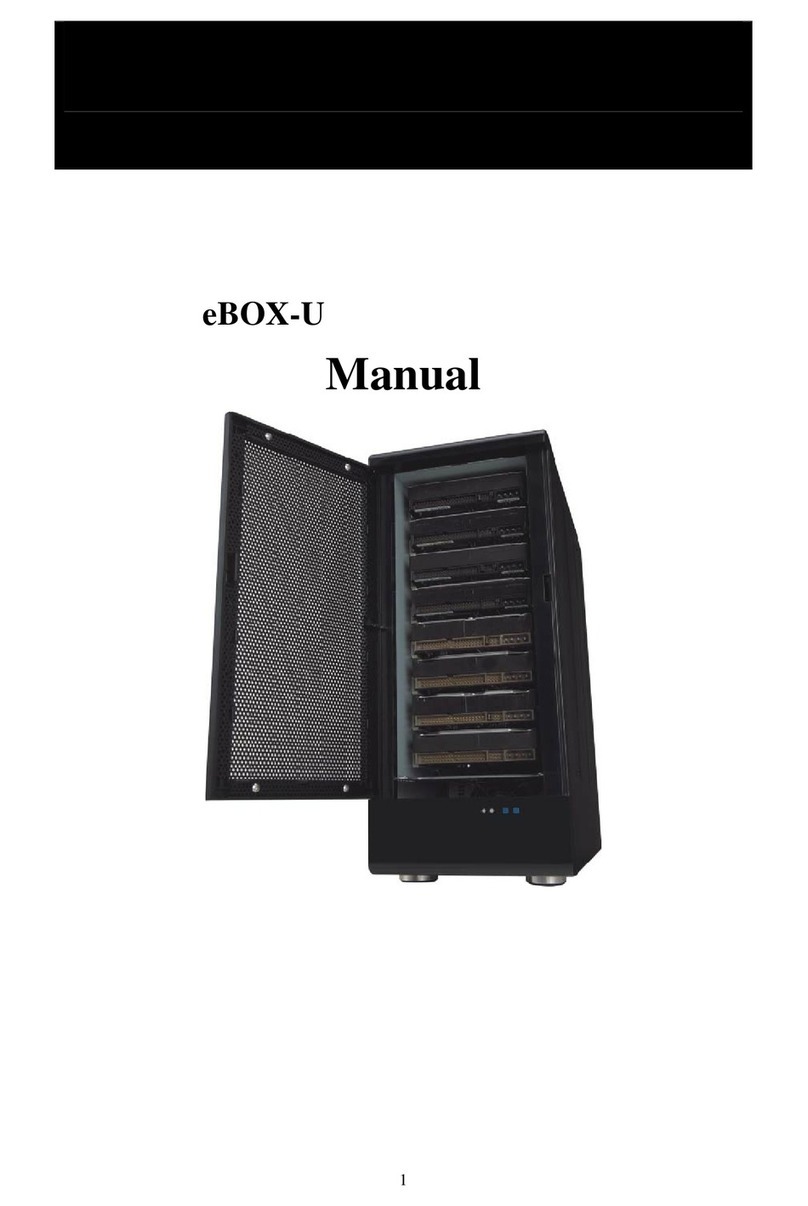
DieHard 10885 User manual

10885
CAUTION:
Read and follow all Safety Rules and Operating instructions before
9-DRAWER 42-IN. MOBILE CABINET
MANUAL

PRODUCT SPECIFICATIONS
COMPONENTS SPECIFICATIONS
Maximum drawer capacity
Maximum total capacity
100 lbs.
Product size 42-In.W x 18-In.D x 37-In.H
Product Weight 154 lbs.
1200 lbs.
SAFETY INFORMATION
Please read and understand this entire manual before attempting to assemble or operate this
product. Failure to follow may result in serious injury. Save all warnings and instructions for future
reference.
• Do not stand or step on this product. You may fall which may cause personal injury or product
damage.
• When locking a cabinet, close the drawers completely in order for the lock bars to work
properly.
• Lock wheels when cabinet is not being moved.
• Secure this product properly before moving it with a forklift.
• Do not attach or mount this product to a vehicle. This may cause personal injury or product
damage.
• Do not exceed the maximum drawer weight and total product weight, including contents.
Place more than half the total load weight on the bottom cabinet when possible.
• Be careful when opening more than one drawer. The product may become unstable and tip,
which may also cause personal injury or product damage.
• Keep the product on level surfaces. The product may become unstable and tip if stored or moved
on an unlevel surface, which may cause personal injury or product damage.
• Secure all items and lock all drawers before rolling this product. Only roll the product short
distances by using the handle provided.
• Two people are needed to safely move this unit.
• Do not store liquids in the unit unless they are secured in an approved container.
• Keep children and bystanders away while loading, unloading, and moving the product.
• Always use common sense and be cautious when using this product. Do not modify this product
in any way.
CAUTION
WARNING
2

PART LIST
A
C
B
G
H
F
D
E
AA
BB
CC
DD
EE
FF
GG
HH
Top cabinet mat
Cabinet handle
Big drawer liner
Bottom cabinet left drawer liner
Bottom cabinet right drawer liner
Bottom cabinet drawer slide
Swivel caster with brake
Fixed caster
M6 x 20 mm Bolt
M8 x 20 mm Bolt
M8 x 25 mm Bolt
Spring washer
Washer
M8 Nut
Lock
Key
DESCRIPTIONPART
A
B
GH
F
D
E
C
M6 x 20 mm
Bolt
Qty. 4
M8 x 25 mm
Bolt
Qty. 16+2
M8 x 20 mm
Bolt
Qty. 4
Spring
Washer
Qty. 16+2
Lock
(Preassembled to chest
and cabinet)
Qty. 1
Washer
Qty. 16+2
AA BB CC DD EE
GG HHFF
M8
Nut
Qty. 4
3
Key
(Preassembled to lock
mechanisms)
Qty. 2

Before beginning assembly of product, make sure all parts are present. Compare parts with package
contents list and hardware contents list. If any part is missing or damaged, do not attempt to
assemble the product.
Estimated Assembly Time: 15 minutes (does not include unpacking time)
Tools Required for Assembly (included): 10 mm Wrench, 14 mm Wrench
Tools Required for Assembly (not included): Adjustable Wrench
PREPARATION
ASSEMBLY INSTRUCTIONS
AA x 4
M6 x 20 mm Bolt
B
1
C
C
AA
AA
B
4
Step 1.
Attach the cabinet handle (C) to the bottom
cabinet using M6 x 20 mm bolts (AA).
Note: The cabinet handle (C) can be
attached to either side of the bottom cabinet,
but must be attached to the same end as the
swivel casters with brake (D).The holesin
bottom cabinet are tapped and do not require
nuts.
Part Used

Part Used
CC x 16
M8 x 25 mm Bolt EE x 16
Washer
DD x 16
Spring Washer
Ensure all cabinet drawers are securely
locked into place using the lock (GG) and
key (HH) on the bottom cabinet. Lay
the bottom cabinet on its back using
the cardboard package materials to
protect the finish. Mount the two swivel
casters with brake (D) to the bottom
cabinet using M8 x 25 mm bolts (CC),
spring washer (DD) and washer (EE).
Repeat this process for the fixed casters
(E) on the opposite side of the bottom
cabinet. Return the bottom cabinet
to its upright position.
Note: Two people may be required to
completethis installation. The swivel casters
with brake (D) must be installed on the same
end of the bottom cabinetas the cabinet
handle (C). Do not overtighten the screws.
2
D
CC
EE
DD
B
BD
E
Part Used
FF x 4
M8 Nut
If you plan to stack the top chest (sold
separately) onto the bottom cabinet,
please follow the below step. Otherwise,
forget this step. Unload the two bottom
drawers from the top chest and the
big drawer from the bottom cabinet
using the Operating Instructions on page 6.
Insert M8 x 20 mm bolts (BB) from the top of
the bottom cabinet into the bottom
of the top chest and tighten with M8
Nut (FF). Push the 3 unloaded drawers
back into the cabinet using the Operating
Instructions on page 6.
BB x 4
M8 x 20 mm Bolt
B
BB
FF
3
5
Step 2.
Step 3.

OPERATING INSTRUCTIONS
1. How to use the caster brakes:
To lock the swivel casters, step
down on the levers marked with
ON. To unlock casters, push down
on the levers marked with OFF.
Note: Be sure to lock both casters to
prevent cabinet from rolling or swiveling.
2. How to remove the drawers:
Fully empty and extend the drawer.
Pull the drawer
outward until it is released from
the slides.
3. How to re-insert the drawers:
Pull the slides and slide carrier out
until fully extended. Hold the slide on
the drawer while aligning it with the
slide on the chest. Slightly insert one
side and repeat for the other side.
Slowly push the drawer until it is fully
closed to engage the slide. Open and
close the drawer to verify proper
operation.
1
OFF
ON
2
3
6
Push up the release lever on the
left drawer side while pulling
down on the right drawer side
release lever.

CARE AND MAINTENANCE
3-YEAR LIMITED WARRANTY
• Keep your cabinet in good repair by adopting a regular maintenance program.
• The use of drawer liners (included) is recommended to protect the finish inside the drawers and
make the drawers easier to clean.
• Grease the casters annually using high quality bearing grease.
• Lubricate the slides semi-annually with general purpose grease or equivalent.
• Periodically clean the drawer fronts, drawer trim, and other surfaces with a mild detergent and
water.
• Remove grease and oil with a standard nonflammable cleaning fluid.
7
3 year Limited Warranty for Toolbox. This warranty excludes incidental/inconsequential
damages and failures due to misuse, abuse or normal wear and tear.
This warranty gives you specific rights, and you may also have other rights which vary state to
state.
DieHard® name and logo are used under license.
Product distributed by Transform SR Brands Management LLC, Hoffman Estates, IL 60179
Made in Cambodia.
Table of contents
Other DieHard Storage manuals
Popular Storage manuals by other brands

Promise
Promise Pegasus3 R4 product manual
Herman Miller
Herman Miller Meridian Disassembly for Recycling

CanadianSolar
CanadianSolar EP CUBE installation manual

i-Stor
i-Stor iS05AAUW8 user manual

Phoenix International
Phoenix International VL1-250-SC-DS technical information

Promise
Promise VTrak N1616 product manual


