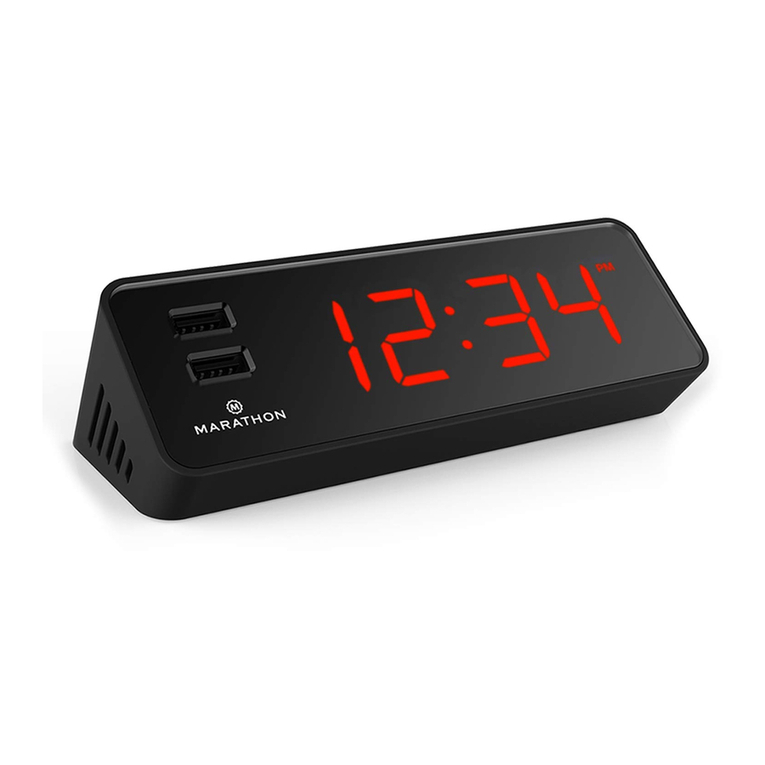
digital snitch PED689 User manual

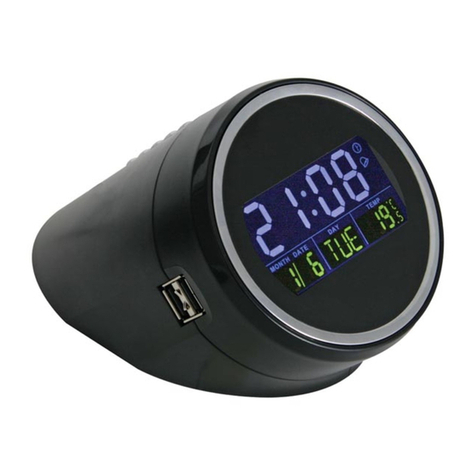
Digital Snitch Sleep & Spy Clock
Model: PED689
User Guide

Digital Snitch Sleep & Spy Clock
User's Manual
Thank you for purchasing the Digital SNITCH Sleep & Spy Clock. Please first
read over this manual for proper use. Save this manual and keep it handy.
HOW TO INSERT MICRO SD CARD
1. The microSD memory card slot is located between the "power adaptor
connection” and the “off/on switch”.
2. Make sure you push the card all the way down, until you hear it ‘click’
into place.
NOTE: The microSD card will only go in one way.

Digital Snitch Sleep & Spy Clock
HOW TO TURN UNIT ON
1. Push the ON/OFF switch to ON
(Digital Snitch Sleep & Spy
Clock).
2. Point the remote towards the
face of the clock and press the
red power button. You should
see a blue light turn on under
the clock’s time display. This blue light means you are in standby
mode.
3. You can now choose what type of recording you would like to do. See
the following sections for further instructions.
HOW TO TURN UNIT OFF
1. From standby mode, press the red power button on the remote control.
You should see the blue light turn off after a couple seconds.
HOW TO RECORD VIDEO
1. From standby mode, press the “constant record” button on the remote.
The blue light will flash three times and turn off.
2. To stop recording, press the “constant record” button one time. You
should see the blue light go out.
HOW TO TAKE A SNAPSHOT
1. From standby mode, press the “snapshot” button on the remote. You

Digital Snitch Sleep & Spy Clock
should see the blue light go out for a moment, then illuminate to
indicate that the camera took a snapshot and went back to standby
mode.
HOW TO SET MOTION RECORDING
1. From standby mode, press the “motion detect” button one time. The
Sleep & Spy Alarm Clock will begin flashing and turn off when it
detects motion.
2. To stop recording, press the “motion detect” button one time. The
blue light will turn on to indicate you are in standby mode.
HOW TO RECORD AUDIO
1. From standby mode, press the “audio record” button one time. The
blue light will blink then turn off.
2. To stop audio recording, press the “audio record” button one time.
The blue standby light will turn on.
HOW TO PLAYBACK
1. Set the power switch to “ON”.
2. Using the provided USB cable, plug the alarm clock into an open USB
port on your computer.
3. In order for your computer to recognize the memory card, you must
press the red power button on the remote. On some computers you
may have to press the button a second time. Alternatively, you can
remove the microSD card from the device and place it in a card reader

Digital Snitch Sleep & Spy Clock
(not included).
4. Under “My Computer” or “Computer” you should see a new
removable disk folder. Inside the folder, you will see a “DCIM”
folder, followed by a “100DSCIM” folder. Click the 100DSCIM
folder, and you will see all the files that were recorded.
5. Copy the recordings to your computer for faster video response time.
NOTE: We recommend you use VLC Media Player for viewing the video
clips. You can download it for free at: http://www.videolan.org.
HOW TO EDIT TIME AND DATE
1. To set the time and date, you need to create a text file on the memory
card. Go to “My Computer” and then double-click on the correct
“Removable Disk”.
2. You should see the “DCIM” folder, but DO NOT click on it. Instead
create a new text document (*.txt file) titled “time.txt”.
3. Inside the text document, you need to set the current time and date in
the following format:
YYYY-MM-DD HH:MM:SS ex: 2014-08-30 23:59:59
4. Save the document. Turn on the alarm clock camera with the memory
card inside. The time will sync upon startup.
HOW TO SET TIME ON CLOCK
1. Power on device then press SET 3 times (The hour light will blink)
2. Press up or down to your time
3. Press SET button to set minutes
4. Press up or down to your time
5. Then press set and your time is set.

Digital Snitch Sleep & Spy Clock
Limited Warranty
The Manufacturer will repair or replace this product with new or refurbished parts from
the date of the original purchase in the event of a defect in materials or workmanship, as
follows: Materials and Labor: Ninety (90) days from the date of the original purchase.
This warranty is extended only to the original purchaser. A purchase receipt or other
proof of date of purchase and original purchase receipt will be required before warranty
service is rendered. This warranty only covers failures due to defects in materials or
workmanship, which occur during normal use as described in this Operator's Manual.
The warranty does not cover damage which occurs in shipment or failures which are
caused by products that are not supplied by the warrantor or failures which result from
accident, misuse, abuse, neglect, mishandling, alteration, maladjustment of consumer
controls, modification, rental use of the product, or service by anyone other than a
manufacture service person. Opening the sealed portions of the Digital Snitch Sleep &
Spy Clock will result in voiding of this warranty.
The Manufacturer, its Reseller(s), and Digital Snitch assume no liability associated with
the use or misuse of the Digital Snitch Sleep & Spy Clock. Under no circumstances are
the Manufacturer, its Reseller(s), Digital Snitch, its officers, agents, employees, or
parent companies, liable for any loss, damage, or expenses of any kind arising out of the
use, or inability to use, these products, or the suitability of use for any particular task. It
is important to follow the procedure; outlined in this manual to ensure safe use of the
Digital Snitch Sleep & Spy Clock.
The warrantor shall not be liable for incidental or consequential damages resulting
from the use of this product, or arising out of any breach of this warranty. All
express and implied warranties, including warranties of merchantability and
fitness for a particular purpose, are limited to the applicable warranty period set
forth above. The effectiveness of the Digital Snitch Sleep & Spy Clock device depends
on the skill of the operator and configuration, thus it cannot be guaranteed.
Table of contents

