Digital Zone MHP-4011NS User manual

Installation Guide
for Multi HD Player
How to install 4 x 4 3D Video Wall

Components Description

Multi HD Player (MHP-4011NS) x 17 (Master 1, Slave 16)
Network Cable(Direct Cable) x 17
M Sync. Cable x 17
IR Extension receiver x 9
User Manual x 9
Remote control x 9
Adaptor & Power cord x 17
HDMI cable (Option) 3M x 17
Ethernet Switching HUB
(Option) x 1
What kind of materials do you need for installation?
3

Hardware Installation

How to install MHP
5
1. Network Cable
A. Connect Network cables between MHP and Switching Hub
Switching Hub
MHP-4011NS

How to install MHP
6
2. M-Sync Cable (If you are using 2D Contents, DO NOT use M-Sync Cable)
A. Connect M-Sync cables between Slave units
B. It has to be connected salves only following the order from out to in.
C. For example, M-Sync cable has to be connected from output in Salve unit 1 to input Slave unit 2.
OUT
IN

Slave 12
Slave 13
Slave 14
Slave 15
Slave 16
How to install MHP
7
3. HDMI Cable
You have to check TV Layout and MHP
HDMI cables have to be connected to right TV from right MHP
Master has to be connected separately for monitoring purpose.
It will be better to use name tag each end of cables for distinguish the cables.
Master
Slave 1
Slave 2
Slave 3
Slave 4
Slave 7
Slave 8
Slave 9
Separated TV for
monitoring
MHP Side TV Side
Slave 1
Slave 2
Slave 3
Slave 4
Slave 5
Slave 6
Slave 7
Slave 8
Slave 9
Slave 5
Slave 6 Slave 10
Slave 11
Slave 10
Slave 11
Slave 12
Slave 14
Slave 15
Slave 16
Slave 13

How to install MHP
8
4. Adaptors & Power Code
A. Connect Power code into Adaptor
B. Connect Powers into MHP
C. Power code has to be connected in one place for easy turn on / off at once.
D. So prepare power board with multi outlet. For example, 3 sets of 6 outlet power boards.

Check Points after Hardware Installation

What kind of things do I have to check after installation
10
1. Network Cable Connection
A. Check LED lights in the front of MHP if it is on.
B. Check LED lights in the switching Hub if the lights are on.

2. M-Sync Cable Connection
A. Press “Slave” button
B. Press number key “99” for controlling all slaves
C. Press “Setup” button to see set-up menu in slave units.
D. Move Firmware page by pressing left or right button.
E. Check the model number if it is showing 4011NS HV.
What kind of things do I have to check after installation
11

A. Press “Slave” button
B. Press number key “99” for controlling all slave
C. Press Setup button to see set-up menu in slave units
D. Move Network page by pressing left or right button.
E. Check all Subnet mask, Server IP setting are the same.
F. And also check if the IP address are correctly set.
What kind of things do I have to check after installation
12
3. IP setting
Master + N
Slave 1
(master IP +1)
Slave 5
(master IP +5)
Slave 9
(master IP +9)
Slave 13
(master IP +13)
Slave 2
(master IP +2)
Slave 6
(master IP +6)
Slave 10
(master IP +10)
Slave 14
(master IP +14)
Slave 3
(master IP +3)
Slave 7
(master IP +7)
Slave 11
(master IP +11)
Slave 15
(master IP +15)
Slave 4
(master IP +4)
Slave 8
(master IP +8)
Slave 12
(master IP +12)
Slave 16 (
master IP +16)
Master Setting : Master IP value and
Set IP value should be the same
Slaves Setting :
•All values should be the same in the master.
•Set IP setting value should be different like the
above table.
Master IP
(=Set IP)
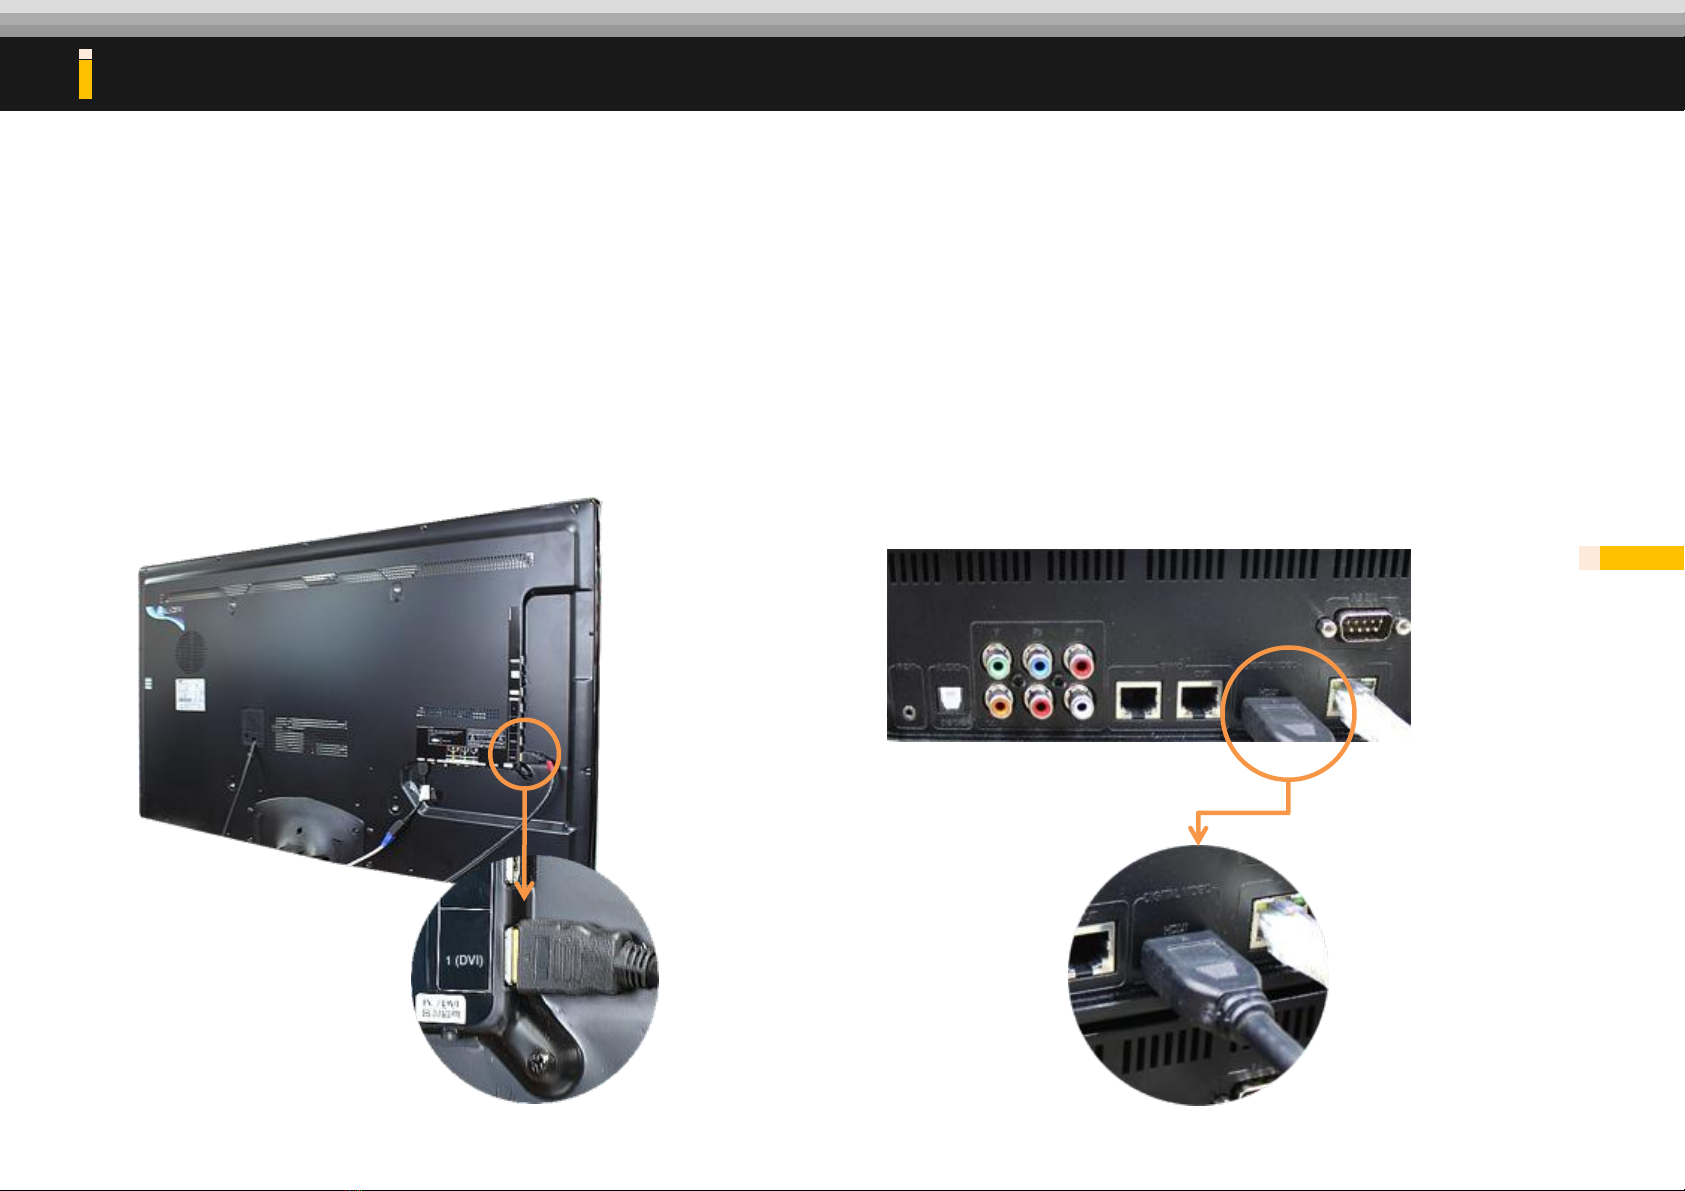
4. HDMI Cable connection
A. If you cannot see the display in TV, please check HDMI cable first if it is connected firmly in TV side and MHP side.
B. If you cannot see any display, change the HDMI cable.
What kind of things do I have to check after installation
13
How to update Firmware
14
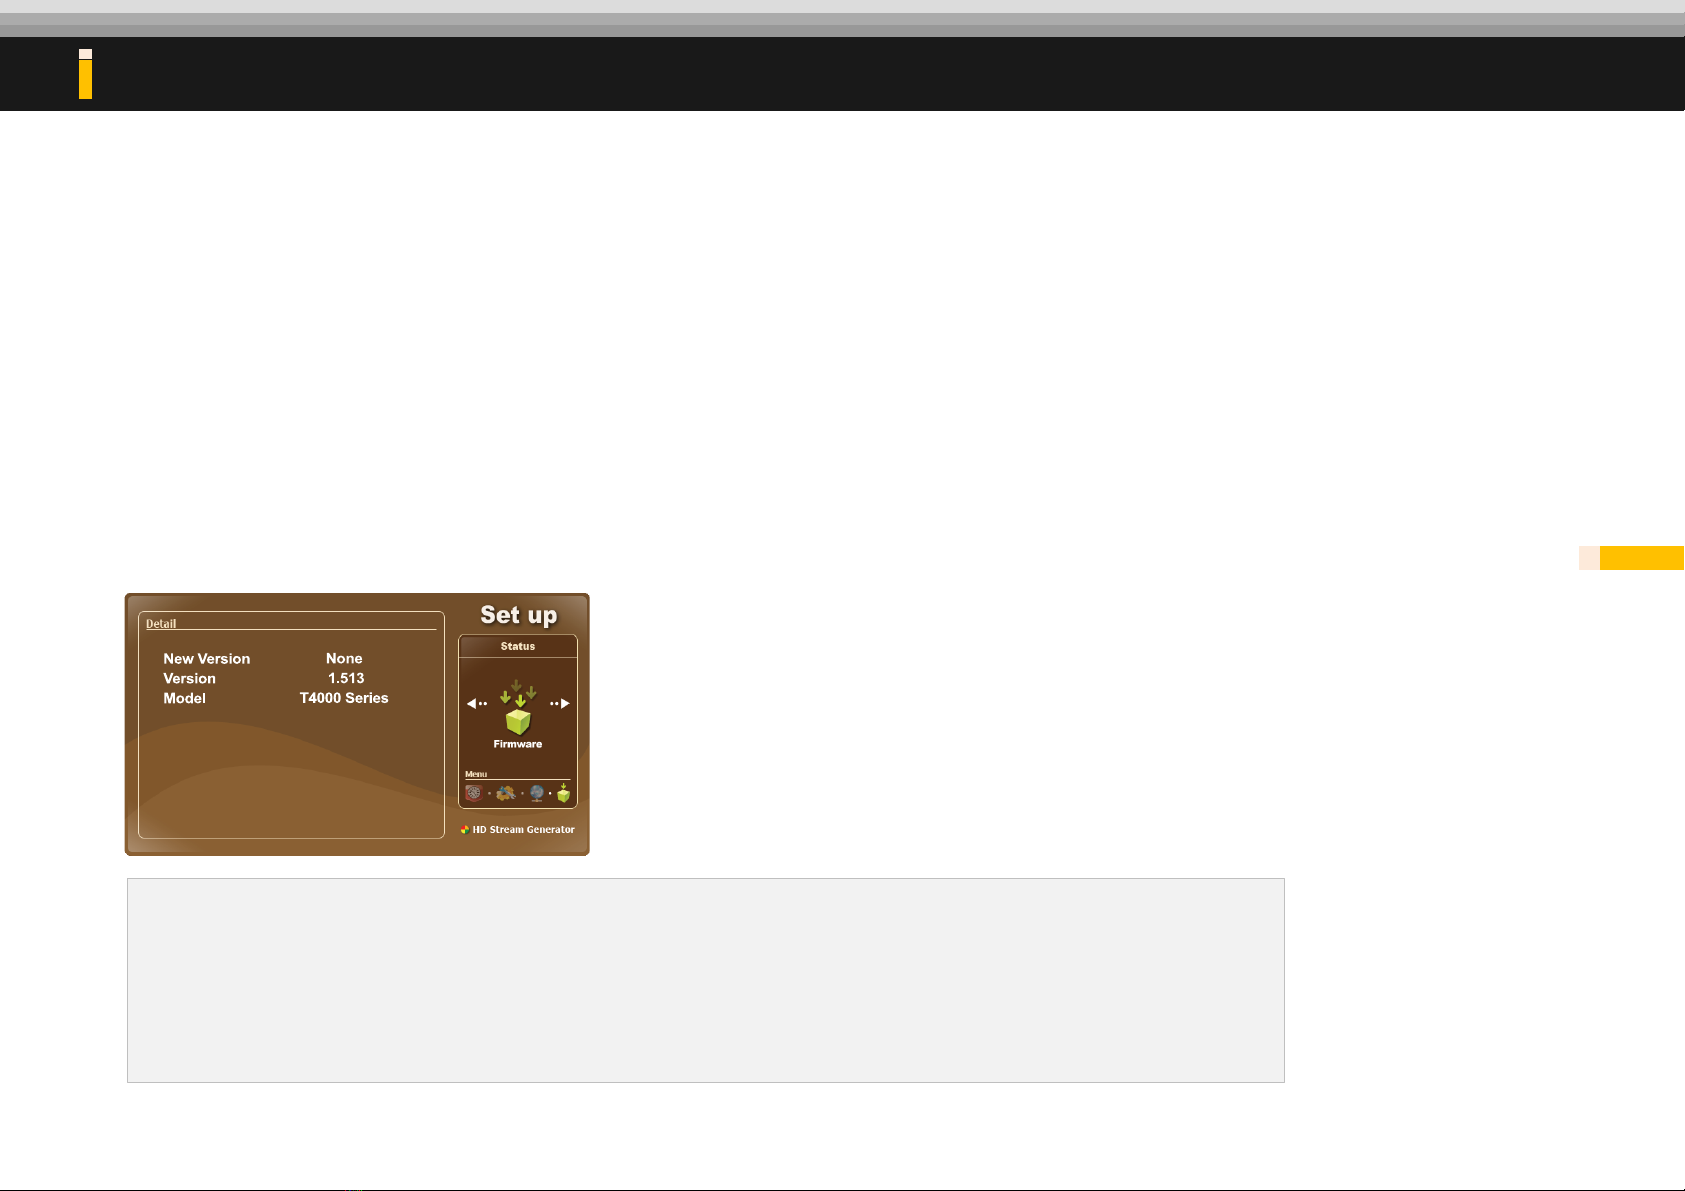
How to update Firmware
1. Plug the USB which contains the latest firmware in the root folder.
2. Press ‘SETUP’ button to open SETUP menu.
3. Use LEFT/RIGHT direction keys to move to FIRMWARE
4. Press ‘ENTER’ button if you can see the firmware version in the “New Version” menu.
NOTE
•Firmware should be saved in the root folder of USB media.
•After firmware updating, the file order can be changed.
5. Check the firmware
A. Press “Slave” button
B. Press number key “99” for controlling all slaves
C. Press “Setup” button to see set-up menu in slave units.
D. Move Firmware page by pressing left or right button.
E. Check the firmware version if it shows all the same firmware version or if it is the latest firmware version.
F. If the MHP units are not using the same firmware or the latest firmware, update the firmware.

How to set the display mode

How to set the display mode with undivided contents.
※Please use this function for scale up mode, multi formatting mode for 3D.
(For undivided contents for each TV)
16
1. Press “Setup” button and move to “Network” page.
2. Go to Connection Units & move to XxY section.
3. Activate the number by pressing “Enter” button and change the number by pressing direction key following your wall size.
i.e) 3 x 3 video wall with 10 sets. Connection unit will be 17 and XxY will be 4 4)
* Caution : Do not change any other setting for normal working.
17 4 4
Master

How to set the display mode
17
1. Press “List “ button and see the icons in front of file name. Possible to see “S1” or “S2”
2. If you have single one files and want to divide as many as you want, then select “S1”
3. To change the option, press “PosX” or “PosY” button.
Master

Contact Address

Contact
19
[Address]
Address: #1001 ENC2 197-10 Guro-dong, Guro-gu, Seoul, Korea
[Inquiry for product & order]
Person in charge: Ms. Anna Lee (Chief Manager)
E-mail: [email protected] , [email protected]
Telephone: +82 2 6330 2339 / + 82 10 3407 4485
[inquiry for shipment]
Person in charge: Ms. May Kim
E-mail: [email protected]
Telephone: +82 2 6330 2358 / + 82 10 3647 3099
Table of contents


