DIGITEN WTC100 User manual


FEATURES
• Easy to set memory function
• Plug and play, Works at 100-240V AC
• Displays current temperature
• Displays stop and start temperature settings
• Automatic cooling or heating
• Manual on / off function
• Switch between °C / °F
• High/low temperature alarm
• Memorize all the setting value
• Low battery warning
• Cooling delay protection
• Portable design, handheld / wall mounted
Multiple sets of equipment will not interfere with each other!
Get to know this device
Receiver

Remote controller
LCD display
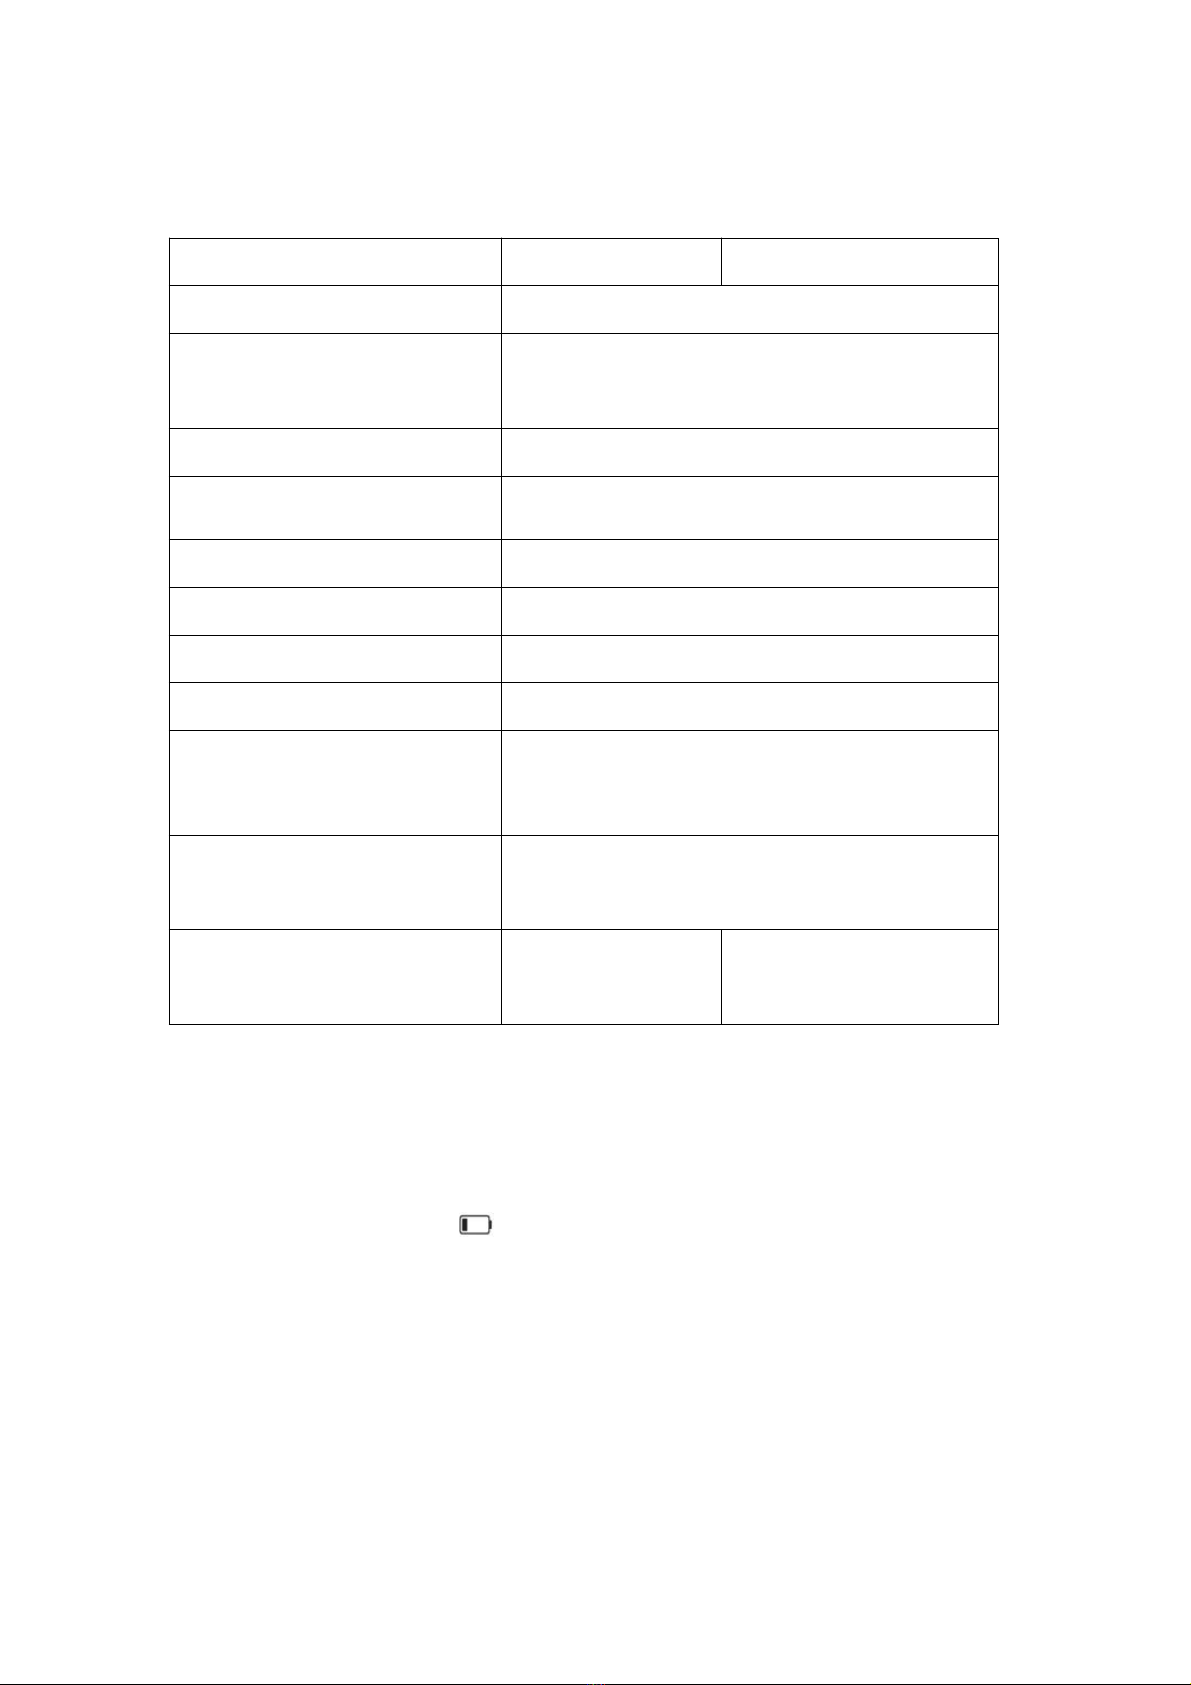
Specifications
WTC100
WTC200
Operating voltage
100-240V AC
Load capacity
100-240VAC 13A,
1500W@110VAC, 2500W@220VAC
Remote batteries required
2PCS 1.5V AAA, standby for 6 months
Transmission distance
100m(open space)
Temperature range
-10.0 ° C ~ 80 ° C, 14 ° F ~ 176.0 ° F
Activation temperature range
0°C~70°C, 32°F~158.0°F
Temperature accuracy
±0.1°C /°F
Control Precision
±1°C /°F
High and low temperature
alarm
0-80°C
Remote control refresh
frequency
20 Seconds
Temperature probe
Built in remote
Receiver with 2m/6ft
NTC probe
Put in or replace the Battery
1. 2 AAA size batteries are needed for the remote. Make sure they are
inserted in the right direction
2. When the low battery warning appears, please change batteries.

Pair/un-pair with the remote
We pair the remote with the receiver. If the remote can’t connect to the receiver,
please re-pair according to the methods below:
1. Press and hold button on the receiver until the LED flashes, then
press Mbutton on the remote control to pair the receiver.
2. Press and hold button on the receiver until the LED flashes 5 times,
then flash 2 times quickly before release the button. All remotes will be
unpaired. If you re-pair the remote, please repeat the step 1.
Note:One remote can control multiple receivers (Only WTC100).
Change the temperature unit
Press the button for 3 seconds to switch the temperature units.
Cooling mode
Set the temperature RUN value higher than the STOP value, the controller is in
cooling mode, and the LCD displays the COOLING symbol .
1. When the CURRENT temperature is higher than the RUN value, the
cooling operation starts, the relay outputs, the LCD displays , and the
green light on the receiver turns on. When the CURRENT value drops
below the STOP value, the cooling operation stops, and the LCD displays
. The green light on the receiver turns off.
2. When the CURRENT temperature value is lower than the RUN value, the
cooling operation stops, the relay has no output, the LCD displays ,
the green light on the receiver turns off. When the CURRENT value rises
to the RUN value, the cooling operation starts, the LCD displays , the
green light on the receiver turns on.
Heating mode
Set the temperature value RUN<STOP, the controller is in heating mode, and
the LCD displays the HEATING symbol .
1. When the CURRENT temperature is lower than the RUN value, the
heating operation starts, the relay outputs, the LCD displays , the
green light on the receiver turns on, when the CURRENT rises to the
STOP value, the heating operation stops, the LCD displays , the
green light on the receiver is off.
2. When the CURRENT temperature value is greater than the STOP value,
the heating operation stops, the LCD displays , the green light on the
receiver turns off, when the CURRENT temperature drops to the RUN
value, the heating work starts, the LCD displays , the green light on
the receiver turns on.
High and low temperature alarm
1. Alarm is on
Long press SET button, then press the button to set the High alarm value
you desire on the HIGH page, which the default value is .
Long press SET button, then press the button to set the Low alarm value
you desire on the LOW page, which the default value is .
2. Disable the alarm
Keep pressing the button until the LCD displays to turn off the High
alarm.
Keep pressing the button until the LCD displays to turn off the Low
alarm.
Delay function
Damage can occur if the compressor restarted too soon after shutdown. This
feature forces the compressor to wait for a few minutes before restarting.
During the wait time, the display will flash , When the safe wait time has
elapsed, the display stops flashing and the compressor turns on
How to set
1. Press and hold the SET button until the corresponding value flashes. At the
same time, the is displayed on the LCD. Press the or button to

change the number. Short press SET button to set next valve, or long press
the SET button to exit and save. Use this method to set the
RUN/STOP/Delay/HIGH/LOW value respectively. After setting all the
parameters, press and hold the SET button to exit and save. If there is no
action taken for 30 seconds, setting mode will be exited and any changed
will not be saved.
NOTE: In the setting state, long press the or button to continuously to
change the setting value.
2. Example
In cooling mode, you want to keep room temperature at 77F,High alarm at
88F, Low alarm at 70F.
1) Long press SET button until appears on the display,and the
setting value flashes.
2) Press or to set the RUN at 77F, STOP is 75F.
3) Short press SET button to toggle between High and Low value.
4) Long press SET to save and exit.
Restore factory settings
POWER OFF, press and hold the SET button to power on at the same time.
After a long beep, all values are restored to the factory settings.
Default settings
Setting
Function
Setting range
Default value
Temp unit
Temperature unit
℃/℉
℉
Run
Run temperature value
0-70℃
20℃
32-158℉
68℉
Stop
Stop temperature value
0-70℃
28℃
32-158℉
82℉
High
High alarm value
0-70℃
70℃
32-158℉
158℉
Low
Low alarm value
0-70℃
0℃
32-158℉
32℉
Delay
Delay protecting time
0-10 minutes
0

Manual turn on/off function
Press and hold the M button for 3 seconds, the controller switches to the
manual mode, Always on or Always off will appear on the display. Short press
the M button to turn on/off the device. Long press the M button to exit the
manual control function.
Note: Short press on the receiver to turn on/off loading until it receive
command from transmitter.
Troubleshoot
1. Current temperature is incorrect.
The remote updates the temperature value every 20 seconds. If you are
using it for the first time, please wait for about 5 minutes before the
measurement is stable.
2. If the current temperature reaches the RUN value,but the power does not
turn on, re-pair the remote with the device.
3. If the heating/cooling device is starting and stopping too frequently increase
the difference between RUN and STOP.
4. Others
4.1. If the probe socket is open: LCD current value shows Err
4.2. If the measured temperature exceeds the measurement range, the
current value shows HH (high temperature), LL (low temperature)
WARRANTY
The DIGITEN products are guaranteed to the original owner for one year
against defects in workmanship and materials. Please contact us:
www.digit-en.com/support
COPYRIGHT 2020 DIGITEN CO.LTD ALL RIGHTS RESERVED
Other manuals for WTC100
1
This manual suits for next models
1
Table of contents
Other DIGITEN Thermostat manuals


