DIGITEN WTC200 User manual

USER
MANUAL
Wireless Thermostat
WTC100 WTC200
www.digit-en.com service@digit-en.com

FEATURES
• Easy to set with memory function
• Plug and play, work with 100-240V AC
• Display current temperature
• Display set temperature (run temperature and stop temperature)
• Automatic cooling or heating
• Manually turn on / off function
• °C / °F can be switched
• High/low temperature alarm
• Memorize all the setting value
• Low battery warning
• Cooling delay protection
• Portable design, held in the hand / wall mounted
More than two sets of equipment will not interfere each other!
Get to know this device
Receiver
Remote controller

LCD display
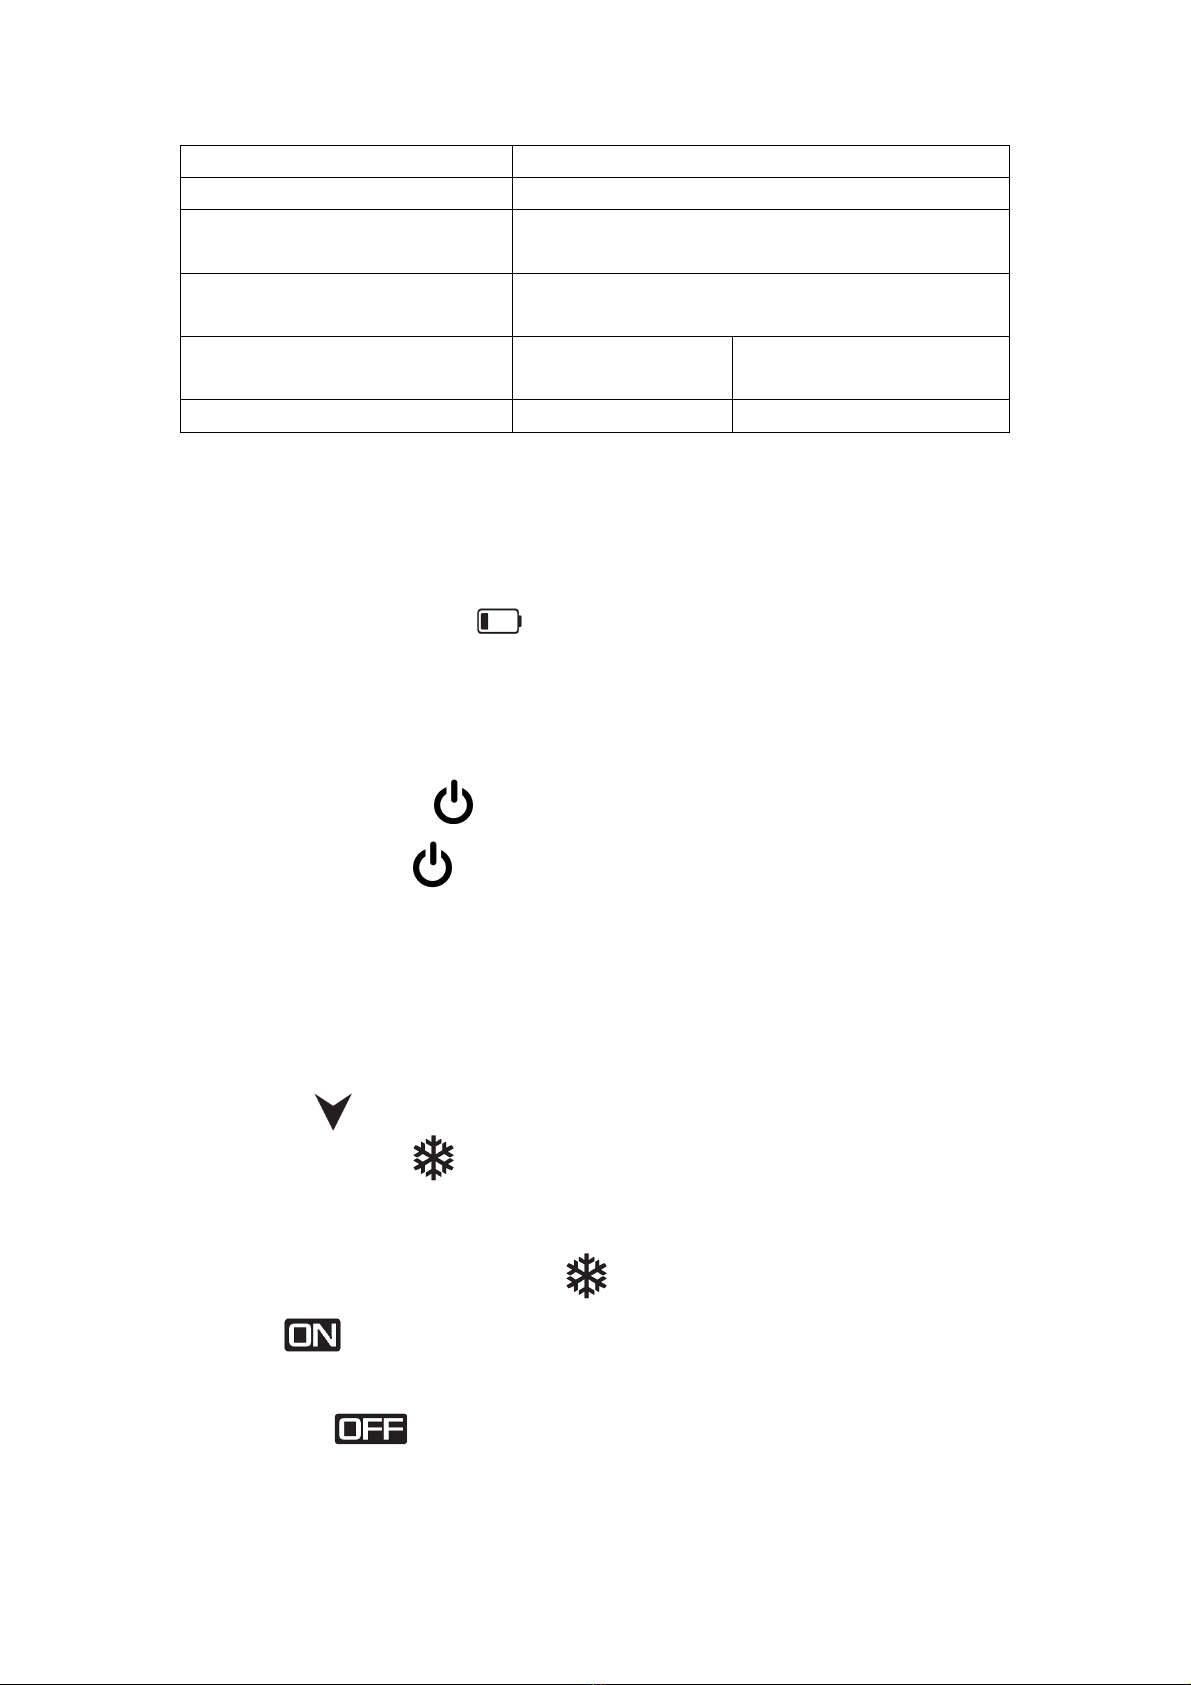
Specifications
WTC100
WTC200
Receiver voltage requirement
100-240V AC
Load capacity
100-240VAC 13A,
1500W@110VAC, 2500W@220VAC
Remote batteries
requirement
2PCS 1.5V AAA, standby for 6 months
Transmission distance
100m(open space)
Measuring temperature
range
-10.0 ° C ~ 80 ° C, 14 ° F ~ 176.0 ° F
Control temperature range
0°C~70°C, 32°F~158.0°F
Measure temp Resolution
±0.1°C /°F
Control Precision
±1°C /°F
High and low temperature
alarm
0-80°C
Remote control refresh
frequency
20 Seconds
Temperature probe
Built in remote
Receiver with 2m/6ft
NTC probe
Put in or replace the Battery
1.2 AAA size batteries are needed for the remote. Make sure they are put in
right direction
2.When the low battery
warning appears, please change batteries.
Pair/remove with the remote
In generally, we have already paired the remote it come with. If the remote can’t
connect controller, please repair according to the method below:
1, Press and hold button until the LED flashes, release the button,
then press Mbutton on the remote control to pair the receiver.
2, Press and hold button, the LED flashes 5 times, then flash 2 times
quickly before release the button. All remotes will be unpaired. If
you repair the remote, please repeat the step 1.
Note:A remote can control multiple receivers.
Change the temperature unit
Press the
button for 3 seconds to switch the temperature unit.
Cooling mode
Set the temperature value RUN>STOP, the controller is in cooling mode, and
the LCD displays the COOLING symbol
1.1 When the CURRENT
temperature value is higher than the
RUN value, the cooling operation
starts, the relay outputs, the LCD
displays , and the green light on the receiver is on. When the
CURRENT value drop to the STOP value, the cooling operation stops, and the
LCD displays . The green light on the receiver is off.
1.2 When the CURRENT temperature value is less than the RUN value, the
cooling operation stops, the relay has no output, the LCD displays , the
green light on the receiver is off. When the CURRENT value rises to the RUN
value, the cooling operation starts, the LCD displays , the green light on
the receiver is on.
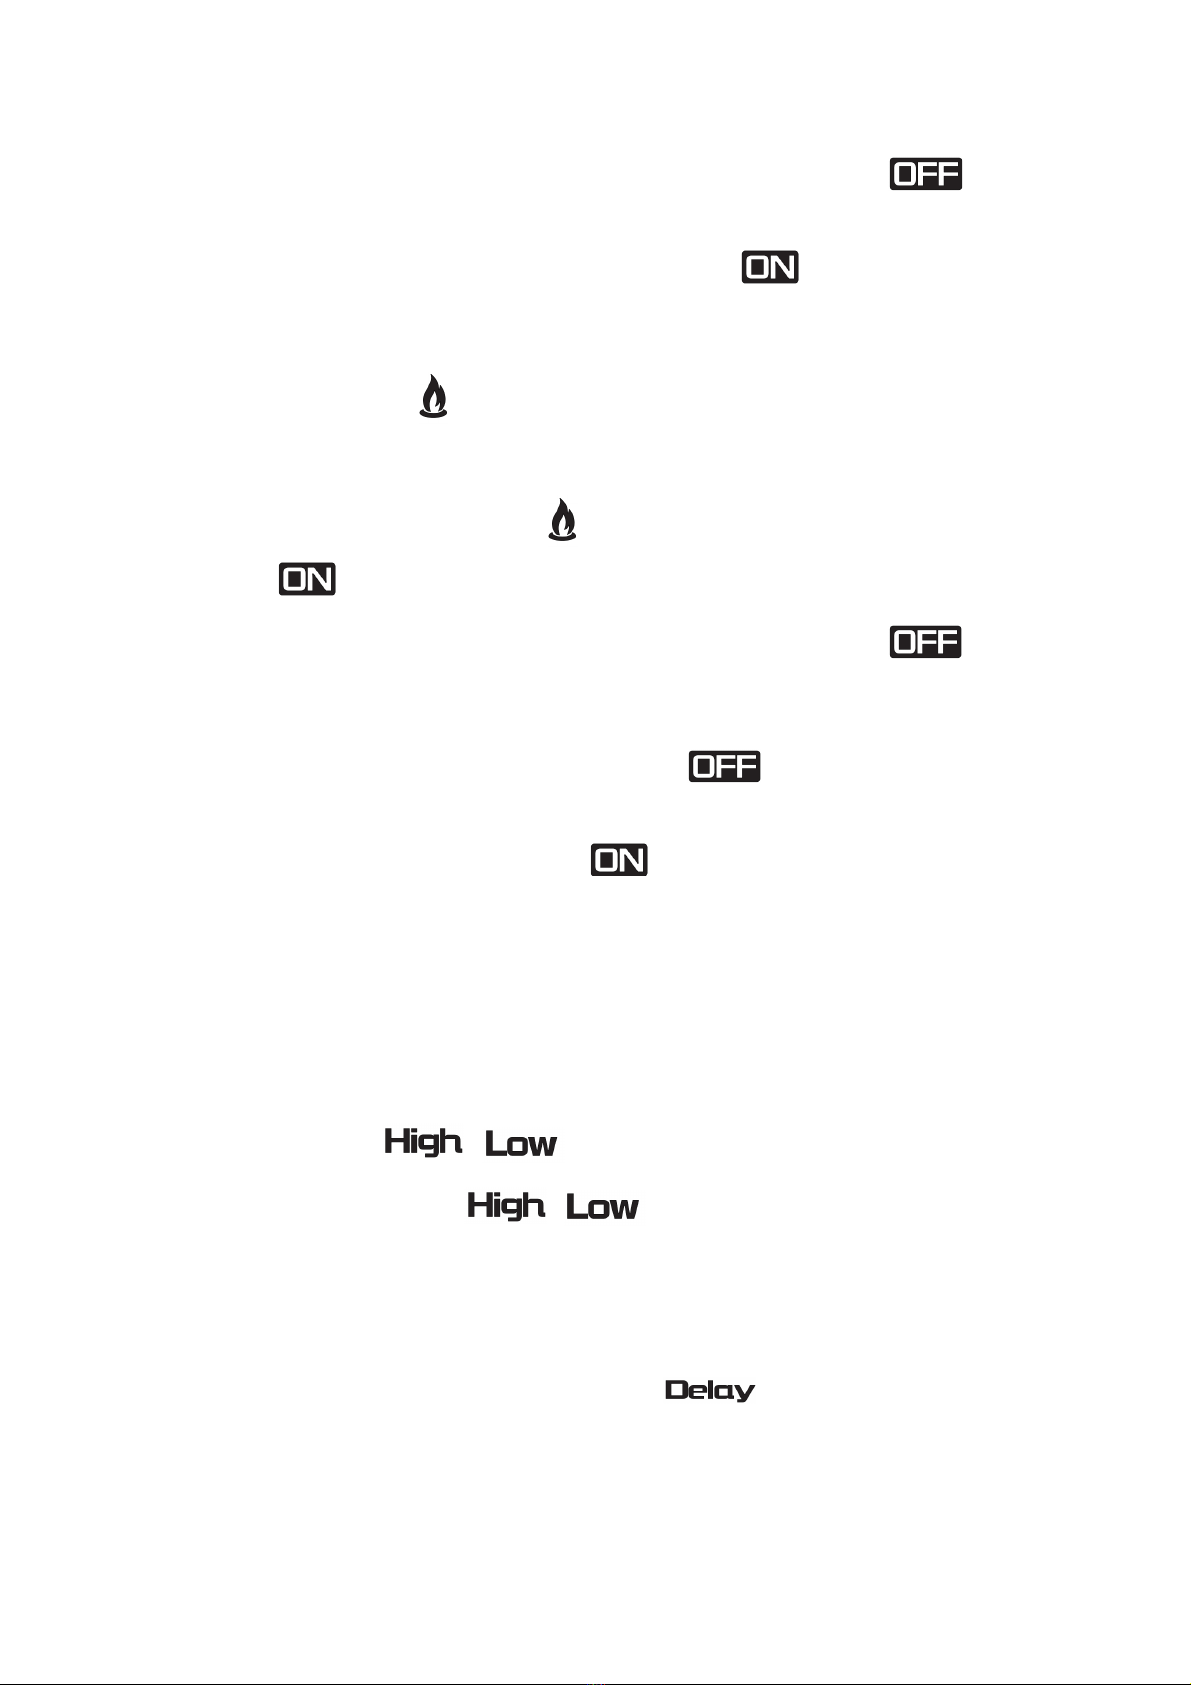
Heating mode
Set the temperature value RUN<STOP, the controller is in heating mode, and
the LCD displays the HEATING symbol
2.1 When the CURRENT temperature is less than or equal to the
RUN value, the heating operation
starts, the relay outputs, the LCD
displays , the green light on the receiver is on, when the CURRENT rises
to the STOP value, the heating operation stops, the LCD displays , the
green light on the receiver is off.
2.2 When the CURRENT temperature value is greater than the STOP value,
the heating operation stops, the LCD displays , the green light on the
receiver is off, when the CURRENT temperature drop to the RUN value, the
heating work starts, the LCD displays , the green light on the receiver is
on.
High and low temperature alarm
When the CURRENT temperature is greater than the HIGH value or less than
the LOW value, the remote controller will alarm and the symbol on the LCD will
flash. Press any key to stop the sound, and the symbol continues to flash until
the setting value is changed or CURRENT temperature value returns to the
alarm range.
If the transmitter
is not powered, the receiver will continue
to work according to the
previous setting value until 5
minutes.
Delay function
Damage can occur if the compressor restarted too soon after shutdown.
This feature forces the compressor to wait for a few minutes before restarting.
During the waiting time, the display will flash , When the safe waiting
time has elapsed, the display stop flashing and the compressor turns on
How to set

1. Press and hold the SET button until the corresponding value flashes. At the
same time, the is displayed on the LCD. Press the or button
to change the number. Short press SET button to set next valve, or
long press the SET button to exit and save. use this method to set the RUN
/STOP /Delay/ HIGH /LOW value respectively. Or after setting all the
parameters, press and hold the SET button to exit and save. When no
operation time is greater than 30 seconds in the setting state, the exit setting
mode is not saved.
NOTE, in the setting state, long press the UP or DOWN button to continuously
to change the setting value
2. Example
In cooling mode, you want to keep room temperature at 77F,High alarm at
88F, Low alarm at 70F
1) Long press SET button until the display appears on ,and the
setting value flash.
2) Press or set the RUN at 77F, STOP is 75F.
3) Short press SET button to set High and Low value.
4) Long press SET to save and exit.
Restore factory settings
In the case of POWER OFF, press and hold the SET button to power on at the
same time. After a long beep, all values are restored to the factory settings.
Default settings
Setting
Function
Setting range
Default value
Temp unit
Temperature unit
C/F
F
Run
Run temperature value
0-70C
20C
32-158
68F
Stop
Stop temperature value
0-70C
28C
32-158F
82F
High
High alarm value
0-70C
70C
32-158F
158F
Low
Low alarm value
0-70C
0C
32-158F
32F
Delay
Delay protecting time
0-10 minutes
0

Manual turn on/off function
Press and hold the M button for 3 seconds, the controller switches to the
manual mode, Always on or Always off will appear on the display. Short press
the M key to turn on/off the device. Long press the M key to exit the manual
control function.
Note: Short press on the receiver to turn on/off loading until it receive
command from transmitter.
Troubleshoot
1, Current temperature is incorrect.
The remote update measuring value with 20 second a time. And if you use it
for the first time, please wait for about 5 minutes before the measurement is
stable.
2,Current temperature reach to the RUN value,but the controller don‘t work。
The remote send data to the receiver per 20 seconds, so please wait for more
than 20 seconds
3, Heating/cooling device is started too frequent
Please increase the difference between RUN and STOP
4, others
4.1, probe open circuit prompt: LCD current value shows Err
4.2, the measured temperature exceeds the measurement range, the current
value shows HH (high temperature), LL (low temperature)
WARRANTY
The DIGITEN products are guaranteed to the original owner for one year
against defects in workmanship and materials. Please contact us:
www.digit-en.com/support
WARNING
☆
Do Not Overload
This unit works with load up to 14A. If load is larger than 14A, it would become
very hot even burn the thermostat. That is very dangerous.
☆
The probe is waterproof, but controller is not waterproof, so don’t get water
into the controller and outlet.
COPYRIGHT 2019 DIGITEN CO.,LTD ALL RIGHTS RECERVED

§ 15.19 Labelling requirements.
This device complies with part 15 of the FCC Rules. Operation is subject to the following two
conditions: (1) This device may not cause harmful interference, and (2) this device must accept
any interference received, including interference that may cause undesired operation.
§ 15.21 Information to user.
Any Changes or modifications not expressly approved by the party responsible for compliance
could void the user's authority to operate the equipment.
§ 15.105 Information to the user.
Note: This equipment has been tested and found to comply with the limits for a Class B digital
device, pursuant to part 15 of the FCC Rules. These limits are designed to provide reasonable
protection against harmful interference in a residential installation. This equipment generates
uses and can radiate radio frequency energy and, if not installed and used in accordance with the
instructions, may cause harmful interference to radio communications. However, there is no
guarantee that interference will not occur in a particular installation. If this equipment does cause
harmful interference to radio or television reception, which can be determined by turning the
equipment off and on, the user is encouraged to try to correct the interference by one or more of
the following measures:
-Reorient or relocate the receiving antenna.
-Increase the separation between the equipment and receiver.
-Connect the equipment into an outlet on a circuit different from that to which the receiver is
connected.
-Consult the dealer or an experienced radio/TV technician for help.
The device has been evaluated to meet general RF exposure requirement. The device can be used
in portable exposure condition without restriction.
This manual suits for next models
1
Table of contents
Other DIGITEN Thermostat manuals


