manuals.online logo
Brands
  1. Home
  2. •
  3. Brands
  4. •
  5. Digitus
  6. •
  7. Adapter
  8. •
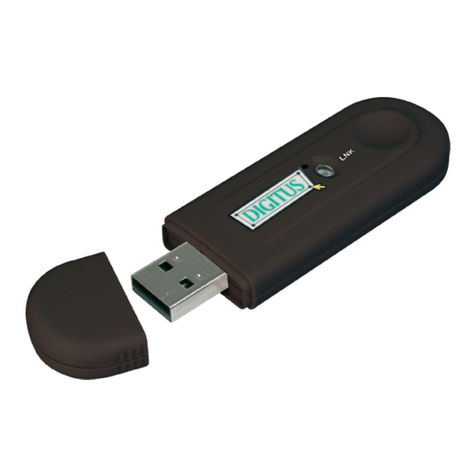
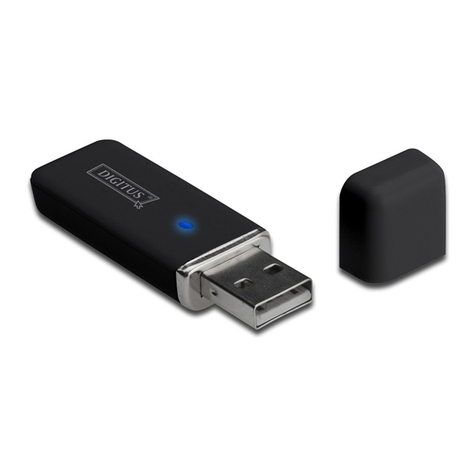
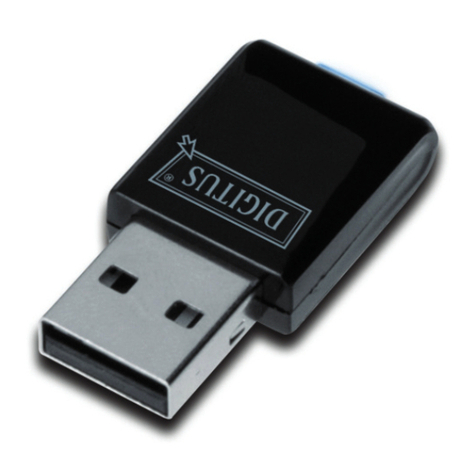
  9. Digitus DN-70566-1 User manual

Digitus DN-70566-1 User manual

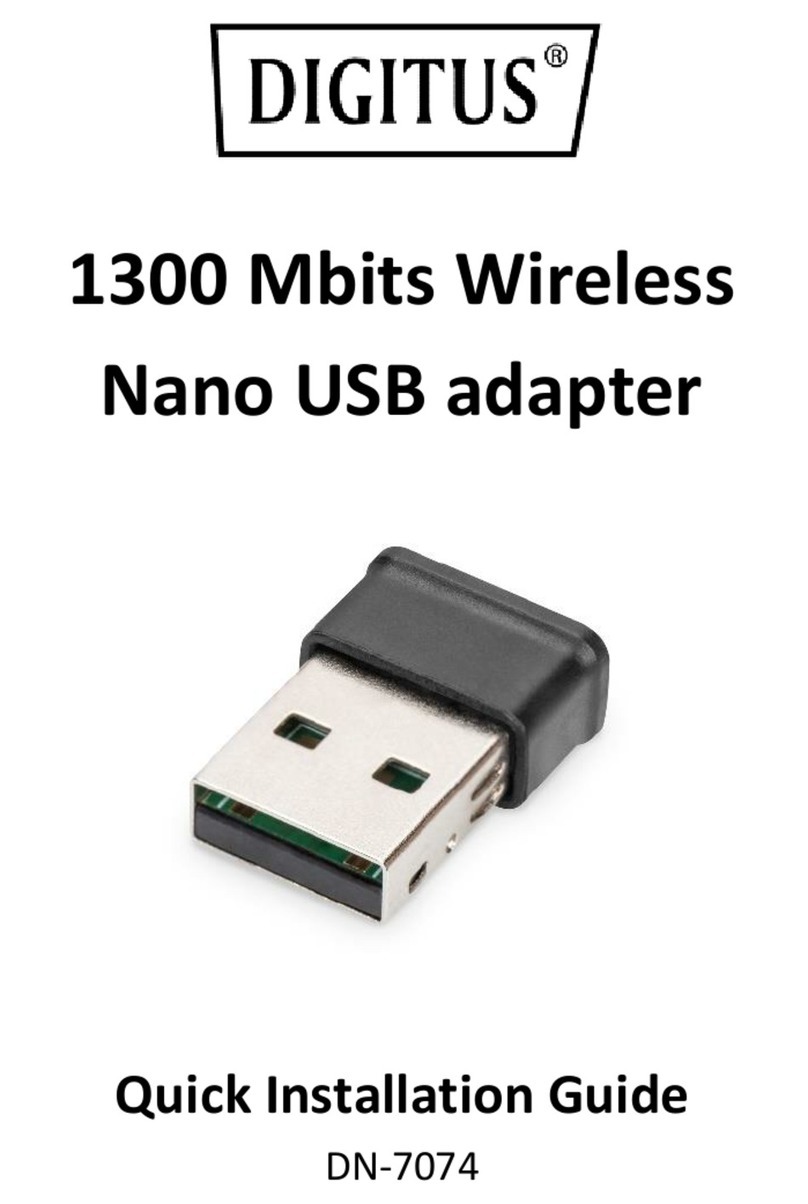
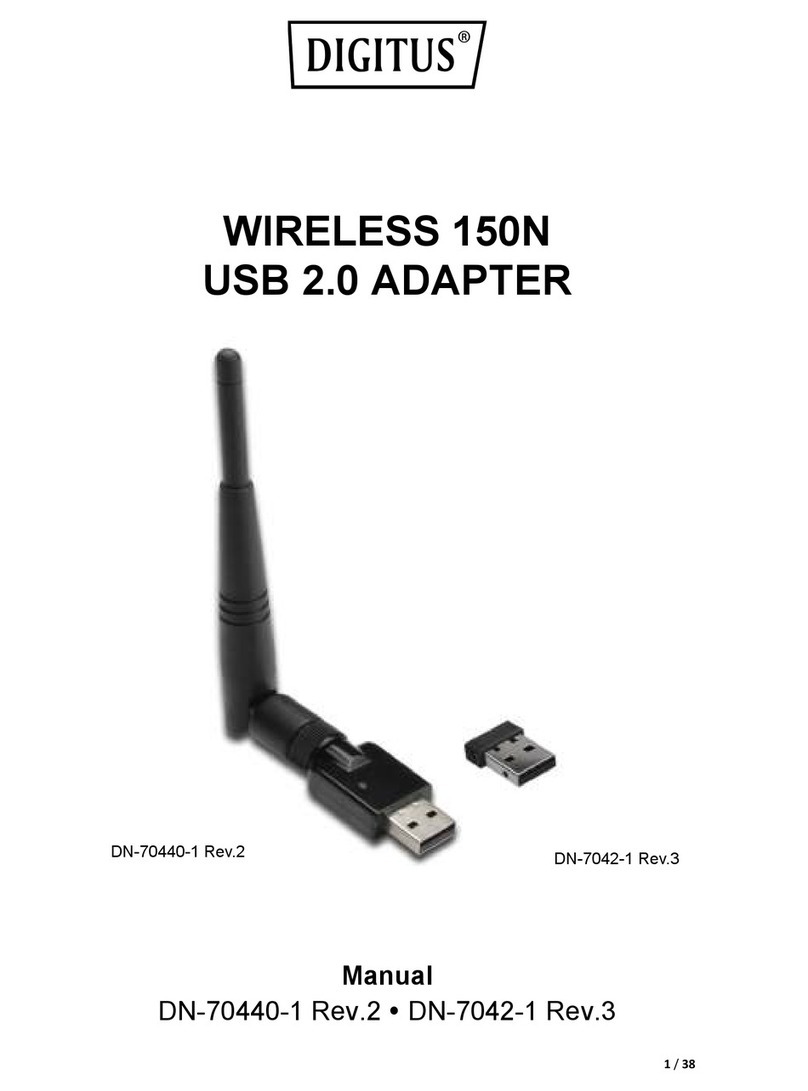
Other Digitus Adapter manuals
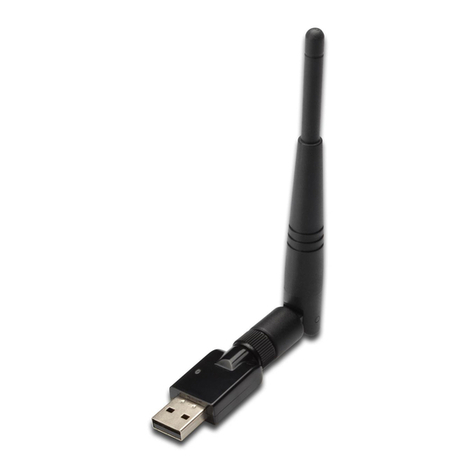
Digitus DN-10190 User manual

Digitus

Digitus DN-10190 User manual

Digitus DA-70850 User manual

Digitus

Digitus DA-70850 User manual

Digitus DA-70250-1 User manual

Digitus

Digitus DA-70250-1 User manual

Digitus DA-70202 User manual

Digitus

Digitus DA-70202 User manual

Digitus DN-30210 User manual

Digitus

Digitus DN-30210 User manual

Digitus DN-3028 User manual

Digitus

Digitus DN-3028 User manual

Digitus DA-70855 User manual

Digitus

Digitus DA-70855 User manual

Digitus DA-70840 User manual

Digitus

Digitus DA-70840 User manual

Digitus USB 2.0 User manual

Digitus

Digitus USB 2.0 User manual

Digitus DA-70200-1 User manual

Digitus

Digitus DA-70200-1 User manual

Digitus DA-70167 User manual

Digitus

Digitus DA-70167 User manual

Digitus DN-3025 User manual

Digitus

Digitus DN-3025 User manual

Digitus DN-70230 User manual

Digitus

Digitus DN-70230 User manual

Digitus DN-70560 User manual

Digitus

Digitus DN-70560 User manual

Digitus DA-70300 User manual

Digitus

Digitus DA-70300 User manual

Digitus DA-70851 User manual

Digitus

Digitus DA-70851 User manual

Digitus DA-70852 User manual

Digitus

Digitus DA-70852 User manual
Digitus DA-70831 User manual

Digitus

Digitus DA-70831 User manual

Digitus DN-10180 User manual

Digitus

Digitus DN-10180 User manual

Digitus DA-70617 User manual

Digitus

Digitus DA-70617 User manual

Digitus DN-70542 User manual

Digitus

Digitus DN-70542 User manual

Digitus USB TO SERIAL CONVERTER User manual

Digitus

Digitus USB TO SERIAL CONVERTER User manual

Digitus U1233 User manual

Digitus

Digitus U1233 User manual

Digitus DA-70853 User manual

Digitus

Digitus DA-70853 User manual

Popular Adapter manuals by other brands

Mini Gadgets BB2Outlet user manual

Mini Gadgets

Mini Gadgets BB2Outlet user manual

LSI LSISAS3442E-R Quick installation guide

LSI

LSI LSISAS3442E-R Quick installation guide

Moeller BBA -16 Series installation instructions

Moeller

Moeller BBA -16 Series installation instructions

Acer MWA3 quick start guide

Acer

Acer MWA3 quick start guide

Connect Tech ADG095 user guide

Connect Tech

Connect Tech ADG095 user guide

cable matters 604002 user manual

cable matters

cable matters 604002 user manual

Solwise PL-85PEW Easy start

Solwise

Solwise PL-85PEW Easy start

HP Photosmart 7100 user guide

HP

HP Photosmart 7100 user guide

HP E2494A installation guide

HP

HP E2494A installation guide

StarTech.com USB150WN1X1 quick start guide

StarTech.com

StarTech.com USB150WN1X1 quick start guide

Lindy 43198 user manual

Lindy

Lindy 43198 user manual

A&D AD-8527 instruction manual

A&D

A&D AD-8527 instruction manual

Motorola WU830G user guide

Motorola

Motorola WU830G user guide

Hawking HUF2 Specifications

Hawking

Hawking HUF2 Specifications

Allen-Bradley E3 Plus installation instructions

Allen-Bradley

Allen-Bradley E3 Plus installation instructions

Trust BT-2210Tp manual

Trust

Trust BT-2210Tp manual

HP NC7170 overview

HP

HP NC7170 overview

Uconnect BLE-485C user manual

Uconnect

Uconnect BLE-485C user manual

manuals.online logo
manuals.online logoBrands
  • About & Mission
  • Contact us
  • Privacy Policy
  • Terms and Conditions

Copyright 2025 Manuals.Online. All Rights Reserved.

1/10
Tiny USB Wireless 11ac Adapter
Quick Installation Guide
DN-70566-1
Driver Installation
Please follow the following instructions to install your new wireless
USB Adapter:
1.1
Insert the USB wireless network adaptor into an empty USB 3.0 port of
your computer when computer is switched on. Never use force to insert
the adaptor, if you feel it’s stuck, flip the card over and try again.
2/10
The following message will appear on your computer, click ‘Cancel/Close’.
Under Windows Vista and Windows 7
1.3
Insert the driver CD into your CD-ROM. You can see autorun screen
below. If not, you can double click ‘autorun.exe’ on CD.
Click ‘Install Driver’ to start the installation procedure
3/10
When the installation descriptions pop-up, please click ‘Finish’ to end
the installation of driver.
1.5
A new icon will appear near the clock of system tray:
Left-click the icon will launch wireless network configuration utility,
and you can right-click the icon to show the quick menu of
configuration utility. This icon also uses different color to show the
status of wireless connection:
Wireless connection is established, good signal reception.
Wireless connection is established, weak signal reception.
Connection is not established yet.
Wireless network adapter is not detected.
4/10
For detailed instructions of wireless network configuration utility, please
see next chapter.
Connect to Wireless Access Point
To use wireless network, you have to connect to a wireless access
point first. You can either use Client utility (comes with network
adapter driver), or Windows Zero Config utility (comes with Windows
operating system).
2.1 Using Client Utility
Please follow the following instructions to use Client configuration
utility to connect to wireless access point.
1. Left-click the Client configuration utility icon located at lower-right
corner of computer desktop, and configuration menu will appear:
HERE!
5/10
2. Wireless utility will appear. Click ‘Available Network’ menu to search
for wireless access points nearby.
6/10
3. Please wait for a while, and all wireless access points which can be
reached by this wireless network adapter will be displayed here.
If the wireless access point you wish to connect does not appear here,
you can click ‘Refresh’ button to scan for wireless access points again; if
the wireless access point you’re looking for still not appear, try to move
the computer closer.
When the access point you’re looking for is on the list, left-click it and
then double click it or click ‘Add to Profile’.
7/10
4. If a password (Network Key) is required to access the wireless access
point, please input it in ‘Network key’ (and input it again in ‘Confirm
network key’ for confirmation). Click ‘OK’ when password is properly
inputted.
8/10
5. Network adapter will attempt to connect to access point now, this
may require few seconds to minutes, please be patient. When the
‘Status’ become ‘Associated’, your computer is connected to access
point you selected. Click ‘Close’ to close configuration menu.
NOTE: If you connected to an access point but the connection has
been dropped soon, please check security settings and re-check
password spelling.
9/10
2.2 Using WPS Connect
Click “Push Button Config (PBC)” a message box will appear:
Please activate Push-Button function on wireless access point now, and
wireless network adapter will establish secure connection with access
point within one minute.
10/10
Hereby Assmann Electronic GmbH, declares that the Declaration of Conformity is
part of the shipping content. If the Declaration of Conformity is missing, you can
request it by post under the below mentioned manufacturer address.
Technical Description
Frequency Range:
2412MHz-2472MHz for IEEE 802.11 b, g.n/HT20,
2422MHz-2462MHz for IEEE 802. 11 n/HT40.
802.11a/n-20MHz: 5180-5240MHz
802.11n-40MHz: 5190-5230MHz
802.11ac-20MHz: 5180-5240MHz
802.11ac-40MHz: 5190-5230MHz
802.11ac-80MHz: 5210
Transmit Power: 12.585dBm(Maximum output)
Hardware Version: V1.2
Software Version: 1030.19
www.assmann.com
Assmann Electronic GmbH
Auf dem Schüffel 3
58513 Lüdenscheid
Germany