manuals.online logo
Brands
  1. Home
  2. •
  3. Brands
  4. •
  5. Digitus
  6. •
  7. Security Camera
  8. •
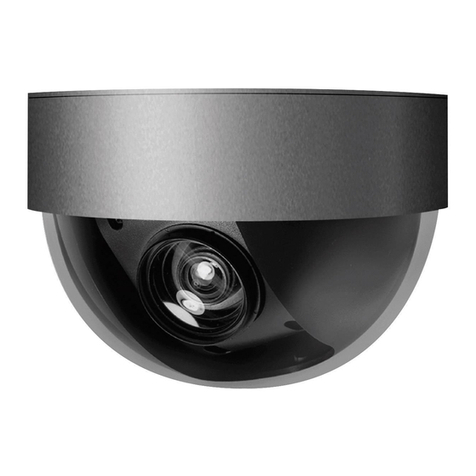
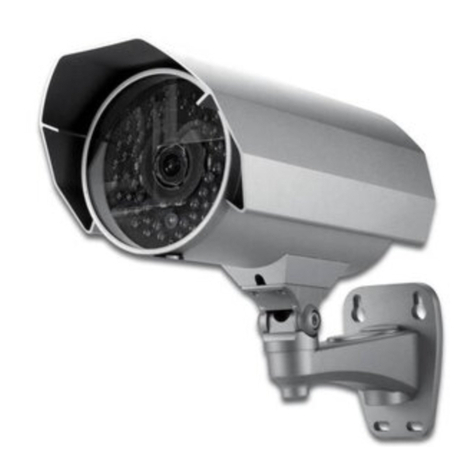
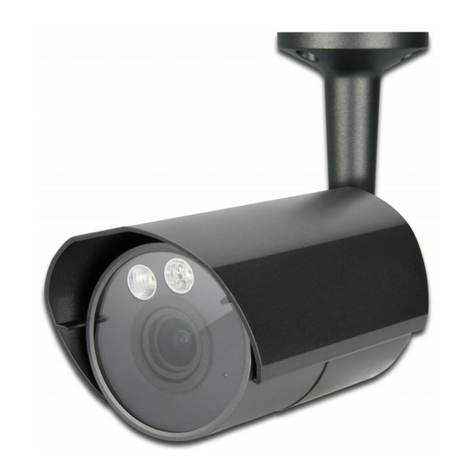
  9. Digitus DN-16084 User manual

Digitus DN-16084 User manual

This manual suits for next models

1

Other Digitus Security Camera manuals

Digitus DN-18600 User manual

Digitus

Digitus DN-18600 User manual

Digitus IP Network Camera None User manual

Digitus

Digitus IP Network Camera None User manual

Digitus DN-16054 User manual

Digitus

Digitus DN-16054 User manual

Digitus DN-16059 User manual

Digitus

Digitus DN-16059 User manual

Digitus Plug&View OptiView DN-16028 User manual

Digitus

Digitus Plug&View OptiView DN-16028 User manual

Digitus DN-16027 User manual

Digitus

Digitus DN-16027 User manual

Digitus network bullet camera User manual

Digitus

Digitus network bullet camera User manual

Digitus DN-16050 User manual

Digitus

Digitus DN-16050 User manual

Digitus DN-16027 User manual

Digitus

Digitus DN-16027 User manual

Digitus DN-16059-1 User manual

Digitus

Digitus DN-16059-1 User manual

Digitus DN-16055 User manual

Digitus

Digitus DN-16055 User manual

Digitus ADVANCED HD NETWORKFIXED DOME CAMER User manual

Digitus

Digitus ADVANCED HD NETWORKFIXED DOME CAMER User manual

Digitus DN-16062 User manual

Digitus

Digitus DN-16062 User manual

Digitus DN-18603 User manual

Digitus

Digitus DN-18603 User manual

Digitus DN-16052 User manual

Digitus

Digitus DN-16052 User manual

Digitus DN-16083 User manual

Digitus

Digitus DN-16083 User manual

Digitus Plug&View DN-16038 User manual

Digitus

Digitus Plug&View DN-16038 User manual

Digitus DN-16026 User manual

Digitus

Digitus DN-16026 User manual

Digitus DN-16082-1 User manual

Digitus

Digitus DN-16082-1 User manual

Digitus DN-16026 User manual

Digitus

Digitus DN-16026 User manual

Digitus NETWORK CAMERA User manual

Digitus

Digitus NETWORK CAMERA User manual

Digitus DN-16027 User manual

Digitus

Digitus DN-16027 User manual

Digitus DN-16065-1 User manual

Digitus

Digitus DN-16065-1 User manual

Digitus DN-16069 User manual

Digitus

Digitus DN-16069 User manual

Popular Security Camera manuals by other brands

ADEMCO RapidDome Owners Operating & Installation Guide

ADEMCO

ADEMCO RapidDome Owners Operating & Installation Guide

EverFocus EBA2880 user manual

EverFocus

EverFocus EBA2880 user manual

Honeywell OptiCAM-IR Installation and setup guide

Honeywell

Honeywell OptiCAM-IR Installation and setup guide

Uniq UC-600 user manual

Uniq

Uniq UC-600 user manual

OPTICOM NVD-120-S datasheet

OPTICOM

OPTICOM NVD-120-S datasheet

Steren CCTV-221 instruction manual

Steren

Steren CCTV-221 instruction manual

Arm Electronics C420BCDNVFIR Features

Arm Electronics

Arm Electronics C420BCDNVFIR Features

Eneo PLD-2036PTZ installation guide

Eneo

Eneo PLD-2036PTZ installation guide

Axis AXIS M20 Series installation guide

Axis

Axis AXIS M20 Series installation guide

Panasonic KX-HCM230 operating instructions

Panasonic

Panasonic KX-HCM230 operating instructions

COP-USA CC15NV-SL Specifications

COP-USA

COP-USA CC15NV-SL Specifications

Active Silicon HARRIER H.264 quick start guide

Active Silicon

Active Silicon HARRIER H.264 quick start guide

Motorola Avigilon 1.3C-H5SL-BO1-IR installation guide

Motorola

Motorola Avigilon 1.3C-H5SL-BO1-IR installation guide

INSTEON 2864-232 user manual

INSTEON

INSTEON 2864-232 user manual

Wisenet XNB-6002 quick start guide

Wisenet

Wisenet XNB-6002 quick start guide

Axis M5525-E user manual

Axis

Axis M5525-E user manual

Vitek VTC-IR62NZ922 user guide

Vitek

Vitek VTC-IR62NZ922 user guide

Panasonic WV-SF342 Specifications

Panasonic

Panasonic WV-SF342 Specifications

manuals.online logo
manuals.online logoBrands
  • About & Mission
  • Contact us
  • Privacy Policy
  • Terms and Conditions

Copyright 2025 Manuals.Online. All Rights Reserved.

QUICK INSTALLATION GUIDE
DN-16083 • DN-16084
for more product details, please go to www.digitus.info
PACKAGE CONTENT INSTALLATION (DN-16083)
Before starting to set up your camera, please make sure
items below in your box:
or
Camera Quick
guide
For selected models only:
Screws Wall
Plugs Wrenches Bracket Desiccant
*
Step1: Fix the bracket to where you want to install the camera
with the supplied three screws.
Step2: Remove the Joint Lock from the bracket. Then, connect
the Joint Lock to the backside of the camera.
Step3: Connect the camera with the Joint Lock connected to
the bracket. After that, secure the Joint Lock to fix.
Next, fix the shield on the camera by turning the
supplied small screw into either hole on the camera.
Step4: Connect the camera to power.
INSTALLATION (DN-16084) CABLE OVERVIEW
Step1: Put the installation sticker on where you want to install the camera. Then, drill the two screws at top to the wall as
shown in the picture.
Note:
Leave some space between the screws and wall to hook the bracket later.
Step2: Hang the camera at the screws you just fixed, and make sure the camera
stays in place. Decide the cable direction (up / down) before you fasten the
screws tight to the wall.
Step3: Drill the rest of the screws and make sure all screws securely fastened.
Step4: Adjust the vertical and horizontal angles of the camera with the supplied
wrenches for a better viewing.
Note:
To adjust the angle, for
example the vertical angle,
DO NOT
loosen / fix one
side of the screw to the end
at once.
Please do adjustment by
taking turns on both sides till
the angle is fixed.
Otherwise, the angle of the
camera might not be fixed.
Below is an overview of various cables that can be used with
the camera. Besides, it is followed b
y
a table, which
offers simple
descriptions of
cable connection.
Color Cable Description
-- Power cable DC12V power supply.
-- RJ45
network
cable*
Connect it to a RJ45 cable.
Black &
Brown GND Ground wire
Yellow Alarm-in Reserved for external alarm device
connection
Pink Alarm-out Reserved for external alarm device
connection
Red RESET Remove the insulating coating of wire, and
twist it with a ground wire together to reset
default camera
* For PoE (IEEE802.3af) installation, make sure your network cable has the
maximum cable resistance of 20Ω, such as CAT.5e or CAT.6 cables, to conform
to the standard of IEEE802.3af.
ADJUST FOCAL LENGTH & FOCUS (DN-16083 Only) Insert Micro SD Card
Note: The appropriate temperature for focus adjustment is
0˚C ~ 40˚C, and prevent adjusting in moisture
environment.
Step1: Loosen the screw, take the shield off your camera,
and rotate the front cover to remove it
Step2: Find two handles on the camera to adjust focal
length and focus. Move the handle near to the
main board first to find the best surveillance area,
and move the hand near to the lens to adjust the
sharpness of the image.
Step3: Replace the old desiccant with a new one, supplied
in the package.
Step4: Place the front cover back.
Step5: Slide to mount the shield on the camera before
tightening the screw.
Only selected models are equipped with a micro SD card
slot for local video recording.
The data originally saved in the micro SD card (if any) will be
removed after inserting it to the camera.
The camera doesn’t support hot-swapping. Please insert or
remove the micro SD card with power disconnected.
Please follow the directions in the below graphic to insert Micro
SD card properly:
Note: It’s recommended to use a pair of tweezers for inserting
/ removing Micro SD card.
CAMERA CONFIGURATION
For advanced configuration of your DIGITUS camera with
DIGITUS NVR, please refer to below for the connection:
Step1: Connect PC to the HUB connected to your camera(s) with RJ45 network cable.
Step2: Install the “IPScan.exe” from the CD on your computer and use this utility to find the IP address of the camera.
Step3: After searching, set your PC in the same network segment as the specific camera you want to access, such as
“192.168.30.xxx” (xxx could be 0~255) in our example
Step4: Note down the IP address and port number of the camera you want to access, such as “192.168.30.1” and “88” in our
example.
Step5: Open Internet Explorer on the PC, and enter the IP address and port number in the URL column to access the camera.
The format is http://ipaddress:portnum, such as http://192.168.30.1:88 in our example.