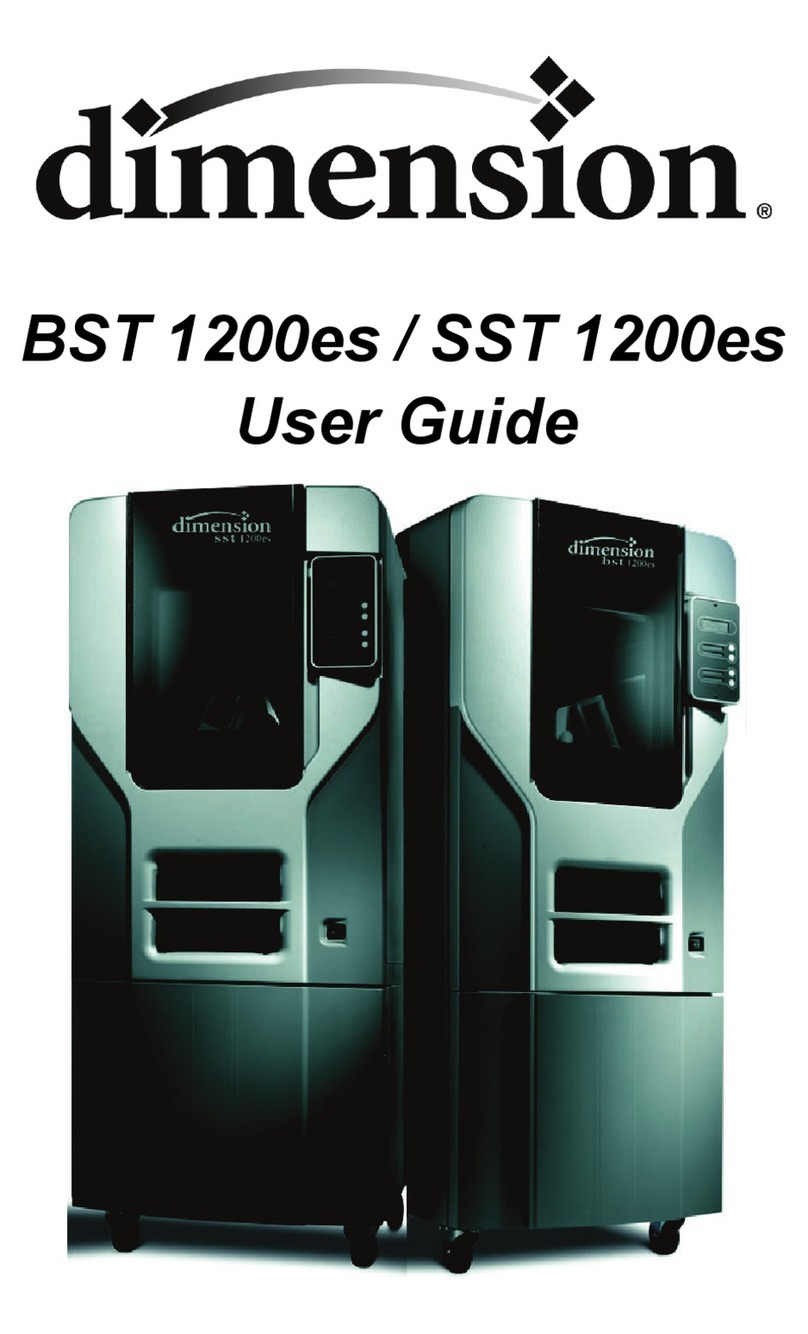
m-Dimension BST 1200es User manual

204398-0010
Dimension®BST/SST 1200es
3D Printer
User Guide

Legal Notice
The only warranties for Stratasys products and
services are set forth in the express warranty
statement accompanying such products and
services. Nothing herein should be construed
as constituting an additional warranty.
Stratasys shall not be liable for technical or
editorial errors or omissions contained herein.
© 2013 Stratasys Inc. All rights reserved.
Stratasys, Dimension, uPrint, Catalyst, FDM,
Dimension BST, Dimension SST, WaveWash,
and Ecoworks are registered trademarks of
Stratasys Inc. FDM Technology, Fused
Deposition Modeling, ABSplus, Catalyst EX,
and Smart Supports are trademarks of
Stratasys, Inc. All other trademarks are the
property of their respective owners, and
Stratasys assumes no responsibility with regard
to the selection, performance, or use of these
non-Stratasys products. Product specifications
are subject to change without notice.

i
Table of Contents
1 Introduction...............................................................................................................................1
How To Use This Manual .........................................................................................2
Learn More!............................................................................................................2
Recycling ...............................................................................................................2
Safety precautions ...................................................................................................2
2 Overview..................................................................................................................................4
3 Setup........................................................................................................................................9
Unpacking..............................................................................................................9
Installing Forklift Access Covers...............................................................................11
Networking the printer ...........................................................................................12
Power Connections................................................................................................13
Powering On ........................................................................................................14
Installing software..................................................................................................15
Establishing network communication with the printer..................................................16
Installing System Software on printer........................................................................19
Insert Modeling Base .............................................................................................20
4 Operation ...............................................................................................................................21
Display Panel and Keypad .....................................................................................21
System software overview.......................................................................................22
CatalystEX overview ..............................................................................................23
Processing your STL file for printing .........................................................................24
Inserting a Modeling Base ......................................................................................26
Building a part......................................................................................................26
Loading Material...................................................................................................27
Unloading Material ...............................................................................................30
Building a Test Part................................................................................................31
The display panel during build................................................................................31
Chamber Lights .....................................................................................................31
Pausing Build........................................................................................................31
Resuming Build from Pause Mode............................................................................32
Resuming Operations from Standby Mode................................................................32
Canceling a Job....................................................................................................32
Auto power down .................................................................................................32

ii
Powering Off ........................................................................................................33
Removing a Completed Part....................................................................................33
Removing Support Material ....................................................................................34
5 Maintenance ...........................................................................................................................35
Startup Kit Tools ....................................................................................................35
Daily ...................................................................................................................35
Clean fan filter ......................................................................................................38
Replace the tip wipe assembly ................................................................................38
Tip shield replacement ...........................................................................................40
Liquefier Tip Replacement.......................................................................................44
Chamber Light Bar ................................................................................................49
6 Troubleshooting ......................................................................................................................50
Troubleshooting Checklist .......................................................................................50
Fault determination codes.......................................................................................51
Exporting printer configuration (.cfg) file ..................................................................51
Cycling power ......................................................................................................52
Diagnosing loss of extrusion ...................................................................................52
Clogged tip ..........................................................................................................53
Material Jam.........................................................................................................54
Recovering from loss of extrusion.............................................................................56
7 Support...................................................................................................................................60
8 Recycling ................................................................................................................................61
9 Printer Specifications ...............................................................................................................62
Physical specifications............................................................................................62
Facility specifications .............................................................................................62
Workstation specifications......................................................................................63
Power specifications ..............................................................................................63
Environmental specifications ...................................................................................63
10 Supplemental Information........................................................................................................64
Stratasys Limited Warranty Statement ......................................................................64
Declaration of Conformity ......................................................................................64
Regulatory and environmental information................................................................65
11 Appendix............................................................................................................................... A1
Uninterruptible Power Supply (UPS) Use and Installation............................................ A1

1
1 Introduction
Dimension 1200es printers are designed with ultimate simplicity in mind. The systems enable you to
build parts quickly, even if you have never used a 3D printer before.
The systems model with ABSplus™ plastic, so modeled parts are strong and durable. ABSplus also
ensures that you will be able to drill, tap, sand, and paint your creations. With the speed and
convenience of Soluble Support Technology, completed parts are quickly available for review and
test.
Dimension 1200es printers are an innovative combination of proprietary hardware, software, and
material technology.
Congratulations…
you made a smart choice!

2
How To Use This Manual
This User’s Guide is laid out in easy to follow sections which cover Set-up, Operation, Maintenance,
and Troubleshooting. Be sure to read each section carefully so that you will get the best
performance from your system.
Throughout this User Guide, text representing Interface Messages that appear on the display panel
are presented in a bold font.
Learn More!
An electronic User Guide is available on the User Guide CD. This guide provides information on the
following topics:
• Troubleshooting information
• Important safety notices and regulatory information
• Detailed user instructions
You can also find more information at: http://www.stratasys.com or email info@stratasys.com
Recycling
Visit http://www.stratasys.com/recycle for recycling information.
Safety precautions
The following precautions ensure the proper use of the printer and prevent the printer from being
damaged. Follow these precautions at all times.
• Use the power supply voltage specified on the nameplate. Avoid overloading the printer’s
electrical outlet with multiple devices.
• Ensure the printer is well-grounded. Failure to ground the printer may result in electrical shock,
fire and susceptibility to electromagnetic interference.
• Before disassembling or repairing the printer yourself, contact your local Service
Representative. See Support section of User Guide.
• Use only the power cord supplied with the printer. Do not damage, cut or repair the power
cord. A damaged power cord has risk of fire and electric shock. Replace a damaged power
cord with an approved power cord.
• Do not allow metal or liquids to touch the internal parts of the printer. Doing so may cause
damage, fire, electric shock or other serious hazards.
• Power off the printer and disconnect the power cord from the power outlet in any of the
following cases:
• If there is smoke or an unusual smell coming from the printer.
• If the printer is making an unusual noise not heard during normal operation.
• A piece of metal or a liquid touches the internal parts of the printer.
• During an electrical (thunder/lightning) storm
• During a power failure

3
The following classifications are used throughout this guide.
CAUTION: Indicates a potentially hazardous situation which, if not avoided, may
result in minor or moderate injury.
WARNING: Indicates a potentially hazardous situation which, if not avoided,
could result in serious injury.
Hot Surface: The hot surface sign indicates the presence of devices with high tem-
peratures. Always use extra care, and wear safety gloves, when working around
heated components
Gloves: When performing some maintenance procedures, the machine may be
hot and gloves will be required to avoid burns.
Safety Glasses: Wear safety glasses to avoid injury to your eyes.
Recycle: Use proper recycling techniques for materials and packaging.
ESD: Use standard electrostatic discharge (ESD) precautions
when working on or near electrical components.

4
2Overview
Dimension 1200es printers build models, including internal features, from CAD STL files. Three-
dimensional parts are built by extruding a bead of ABS plastic through a computer-controlled
extrusion head, producing high quality parts that are ready to use immediately after completion.
With two layer resolution settings, you can choose to build a part quickly for design verification, or
you can choose a finer setting for higher quality surface detail.
The Dimension 1200es systems consist of two primary components — the Dimension 1200es 3D
printer and CatalystEX. CatalystEX is the preprocessing software that runs on a Windows Vista or
Windows 7 platform.
The build envelope measures 254 x 254 x 305 mm (10 x 10 x 12 in). Each material cartridge
contains 922 cc (56.3 cu. in.) of usable material.

5
Figure 1: Front view
1ExtrusionHead 8DisplayPanel
2 Extrusion Tips 9 Tip Cleaning Assembly
3 Guide Rods 10 Purge Container
4 Lead Screw 11 Z stage platen
5 Modeling Base 12 Modeling Base Retainers (2)
6 Model Material Cartridge 13 Power Switch
7 Support Material Cartridge
1
2
3
4
6
5
7
8
9
10
11
12
13

6
Figure 2: Rear view
1 Fan Cover 4 UPS Connection
2 Main Circuit Breaker 5 Diagnostic Hookup
3 Power Cord Adapter 6 Network Cable Connection
1
2
3
4
6
5

7
Figure 3 Material cartridge
Figure 4 Modeling base
CAUTION: DO NOT reuse modeling bases. If a modeling base is reused,
calibration errors, poor part quality, and loss of extrusion may occur.
Additional modeling bases are available from your reseller.
Modeling base

8
Figure 5 Startup Supplies
1 Insulated Leather Gloves (Pair) 10 Bronze Brush
2PowerCord(Europe) 11 Needle Nose Pliers
3 Power Cord (U.S.) 12 Cutters
4 Crossover Cable (Orange) 13 10x Magnifier Loupe
5 Network Cable (Blue) 14 1⁄8” T-Handle Allen wrench (red)
6a BST 1200es model and support tips 15 7⁄64” T-Handle Allen wrench (yellow)
6b SST 1200es model and support tips 16 Dimension 1200es User Guide CD
7ModelingBase(6) 17CatalystEXCD
8 Tip shield (8) 18 Dimension System Software CD
9 Tip Wipe assembly (4) 19 P430 Model Material Cartridge (ivory) (1)
20 P400 SR Soluble Support Material Cartridge (1)

9
3Setup
Unpacking
This section describes the recommended procedures for unpacking and preparing the printer for
its first use.
Unpack the printer:
1. Before unpacking the printer, move it near to its operating location.
2. Remove the plastic banding from around the cardboard.
3. Remove the top cover. Set aside the fork access covers (2) and bag of screws (2).
4. Remove screws (4) that attach cardboard to pallet and remove the cardboard side panels.
5. Remove the top foam.
6. Remove outer plastic wrap - use care if using a knife so as to not scratch the printer.
7. Remove the foam door channels (2) and tape.
8. Remove the foam tubes that isolate the extrusion head from the frame, see Figure 6.
WARNING: The printer weighs approximately 148 kg (326 lbs). Use proper moving
and lifting techniques when positioning the unit. For your convenience, there are forklift
pads built into the bottom of the unit. They are accessible from the side of the unit.
WARNING: The Lead Screw and Guide Rods are lubricated with a thin coat of Krytox
grease. Krytox grease can cause skin irritation. Be careful not to get the grease on your
hands or clothing.
CAUTION: Remove the foam tubes that isolate the extrusion head from the frame, see
Figure 6. The printer will be damaged if powered on with the foam tubes in place.
CAUTION: Be careful not to damage the rod sensors when removing the foam tubes,
see Figure 6.

10
Figure 6: Foam tubes isolating the extrusion head from the XY-axis frame
9. After unpacking, inspect the printer and report any shipping damage to the carrier.
Extrusion Head
Foam tubes (4)

11
Installing Forklift Access Covers
The forklift access covers can be placed over the forklift channels after the printer is placed in its
final location. The covers are press-fit in the front and held in place with one screw in the rear.
1. Align the left and right side fork lift covers with the forklift channel and slide the tabs into the
slots. See Figure 7.
Figure 7 Installing the forklift access covers
2. Push the forklift covers in until they are flush with the back of the printer and install the
mounting screws using a 1⁄8”T handle Allen wrench from the Startup Kit. See Figure 8.
Figure 8 Installing forklift access cover mounting screws
Insert tab
Attach screw at back of
printer

12
Networking the printer
There are two methods of connecting your printer to your workstation, over a network or with a
direct connection to your workstation.
Connecting through a network:
1. Locate the network cable (blue) from the startup kit.
2. Connect the network cable between the printer and the network hub. See Figure 9.
Figure 9 Connecting through a network
3. Establish communication, see “Establishing communication on a dynamic network:” on
page 16 if you have a dynamic network, or see “Establishing communication on a static
network:” on page 17 if you have a static network.
Connecting directly to a workstation:
1. Locate the crossover cable (orange) from the startup kit.
2. Connect the crossover cable between the printer and the network port on your workstation.
See Figure 10.
3. Establish communication, see “Establishing communication on a static network:” on page 17

13
Figure 10 Connecting directly to a workstation
Power Connections
This section discusses the procedure for preparing all power connections for the printer.
The printer is provided with two power cords: one for 110V (U.S. power cord) and one for 220V
(Europe power cord).
1. Connect the male end of the supplied power cord directly into a grounded electrical outlet, as
shown in Figure 11. (If using a Uninterrupted Power Supply (UPS), connect the cord directly into
the UPS.)
2. Connect the female end of the power cord directly into the rear of the cabinet. See Figure 11.
CAUTION: Before connecting power to the printer, make sure that the circuit breaker is
in the off (down) position. It is located at the rear of the printer, next to the power cord
attachment point.
CAUTION: Do not use an extension cord or power strip with the system. Connect the
cord directly into the receptacle or UPS.

14
Figure 11 Connecting power
Powering On
1. Switch the circuit breaker to the on (I) position. Power is now supplied to the system. The system
is ready to be ‘Powered ON’. See Figure 12.
Figure 12 Location of circuit breaker
WARNING: The build chamber and extrusion-head tip get very hot! The chamber and head
tip reach temperatures of approximately 75° C (167° F) and 280° C (536° F) respectively.
Personal injury can occur if proper techniques and safety materials are not used. Use the
leather safety gloves provided in the Startup Kit when working inside the printer.

15
2. Turn the power switch to the on (I) position. See Figure 13. After the switch is pushed, the
system boots up in three to seven minutes.
Figure 13 Location of power switch
Installing software
There are two software programs that work with the printer:
1. CatalystEX, installed on your workstation, processes the STL files for printing and communicates
with the printer from your workstation.
2. System software, the operating software installed on the printer, controls printer functions.
Installing CatalystEX:
1. Locate the CatalystEX CD from startup kit and insert into workstation (PC).
2. Click the Install CatalystEX: button.
3. Follow prompts to finish loading CatalystEX on the workstation.
Note: If the printer was off and is at room temperature, it requires approximately 40
minutes to warm up before you can perform any functions. Temperatures are factory-
preset and not adjustable. The panel displays the head and envelope temperatures
while the system is warming up and cooling down.
Note: For safety, the head and Z Platform do not move while the chamber door is
open. During warm-up and operation the door is locked. The door can be opened
only when the system is not building a part, getting ready to build a part, or in Pause
mode.

16
Installing system software to the workstation:
1. Insert the Controller Software CD into the CD drive of your workstation.
2. Click the Install button to load system software to your workstation. You will be asked to load
this system software to your printer later.
3. Follow prompts to finish installing system software on the workstation.
4. Install system software to the printer, see “Installing System Software on printer” on page 19
Establishing network communication with the printer
You will need to establish network communication between your workstation and printer before
you can send files to be built. How you establish this communication with an IP address is
dependent upon how your network and workstation are configured. If your network is configured
for DHCP (Dynamic Host Configuration Protocol), your DHCP server will automatically assign a
Dynamic IP address to your printer. This is the default setting for your printer and commonly used
in large networks. In some situations you may need to manually enter a Static IP address for your
printer and record the IP address in the CatalystEX software. Static IP addresses are frequently
used for smaller networks or for direct connection between your workstation and printer. Follow
the instructions below to configure your workstation and network.
Establishing communication on a dynamic network:
If you are on a dynamic network (or not sure of your network type) follow these steps to allow
CatalystEX to find your printer and establish communication.
1. Connect a network cable between the printer and a network hub.
2. Make sure the printer is ON and determine the Unique Device Name (UDN) for your printer.
a. From Idle (or Ready to Build), press Maintenance on the display
panel. The display will show Maintenance and the software version.
b. From the display panel press System.
c. From the display panel press Set Network. The top window will
display: Network Admin - Dynamic IP Address; UDN.
d. The Unique Device Name (UDN) for your printer is listed here. This
is preset at the factory and cannot be changed.
3. From your workstation, start CatalystEX.
4. From the General tab, click the Manage 3D Printers button.
5. Click the Add from Network button in the lower right corner of the window.
6. A new window, Add 3D Printer, should list your printer in the main window (identified by its
UDN). Click on the printer in this window and enter a name and location in the lower portion
of the window.
7. Click Add Printer and you are ready to print. Close the Add 3D Printer window.
Note: If your printer is not displayed in the “Add 3D Printer” window, you are not
using a dynamic network and you will need to set up a static network address.
This manual suits for next models
1
Table of contents
Other m-Dimension 3D Printer manuals