DING FL1 User manual

FL1
GETTING STARTED WITH DING FL1
GO DING!

FORWARD BEAMDOWNWARD BEAM
The DING FL1 has been designed by bike riders, for bike riders, and is the rst bike product by
our company Design Brains.
The DING FL1 successfully funded on Kickstarter in 2015. Without our early backers
generous support, we could not have brought this product to market. Thank you.
Please look out for our DING RL1 Rear bike light, same twin beam technology, coming soon.

Contents
DING Overview .............................................................................
Kit Contents ..................................................................................
DING Beam Patterns ....................................................................
DING Safety Beam .........................................................................
Battery & Charging .........................................................................
Wake Up and Switch On ................................................................
Using The Right Mode ...................................................................
FL1 Light Modes ............................................................................
Bar Strap use and set up .............................................................
Mounting to the Bike .......................................................................
Clamp Clasp ...................................................................................
Mounting Options .............................................................................
Pro mount Attachment ........................................................................18
Safety Requirements ........................................................................
Technical Data .................................................................................
Maintaining & Care ..........................................................................
Warranty & Repair ............................................................................
5
6
7
8
9 & 10
11
12
13
14
15
16
17
19
20
21
22

Please read this manual carefully before operating.
Thank you for purchasing your very own DING FL1, as a small innovation based company,
we really appreciate your support.
Our aim is to make premium quality lighting products, with better safety and reliability
features. As bike riders ourselves, we are dedicated to making the best possible bike lights,
focussed on increasing rider visibility, using our patented innovations.
Designed in South Australia, the DING FL1 oers a new level of rider safety. Every DING
FL1 bike light is made by hand, and quality inspected before shipping. The smart battery
pack within DING FL1 is design to provide good overall run times across the range of modes.
We have geeked out on design, and we spent endless hours designing our beam patterns to ensure
the best outcomes for rider vision and road safety. We custom made our dedicated
freeform optics to produce a clean wide forward spread and excellent central distance. Add
this to the innovation of our custom downward beam technology and you have a great all round light.
Our unique ash pulsing patterns have been carefully developed also to promote good safe riding
for all road users. We want you to be seen safely and feel safe while riding.
Commuter riding with the DING FL1 using low front or ash mode with downward beam oers a unique rid-
ing experience, the downward beam marks out your space. You will feel safer and will certainly stand out
from the other commuter riders around you. Be seen Be safe Go DING
DING OVERVIEW

KIT CONTENTS
USB CABLE
DING FL1
SPARE STRAP
SPARE USB COVER

The forward beam has been designed to provide an optimum illumination path for the rider.
The forward beam FL1 is a combination beam pattern of spread and spot with smooth transitions. The
front lens in front of the optics is a patented design. The front lens design directs more light towards the
ground and less above the horizontal plane. This will reduce forward glare at distance, and help position
the light where you need it more, on the road surface, not up into the trees
Together the twin beam system makes you more visible from all angles. The additional ground illumi-
nation is an even spread, with no hot spots. It lights up you and your bike from all angles. It improves
your night vision reactions and reduces tiredness and fatigue whilst riding at night. We believe the two
beams combined make you feel safer, and more condent either riding through trac or a dark twisty o
road track in complete darkness.
2
1
1. FORWARD TWIN BEAM WITH A SPREAD / SPOT COMBO
2. DOWNWARD RECTANGLE SPREAD BEAM
DING BEAM PATTERNS

The true benets of the downward beam is realised when commuting through trac or urban areas,
using a low forward beam or forward ash beam mode with downward beam on. The downward safety
beam denes your space, makes you more visible from all angles. It helps to command your spot through
the busy trac, you will nd that cars will give you more space with DING FL1 on your ride.
You don’t need to glare other road users with higher power settings, using our twin beam system. Other
bike lights on low modes or just ash mode cannot provide you with this addition visual safety that the
DING FL1 downward safety beam oers. It is also great for o road use, see your track below your ride or
even just check what gear you are in, or pick out the drink bottle with ease.
Viewed from the rear or from the side the downward beam lets other road users know your position at all
times. Our studies and surveys have shown that vehicles see you much more sooner, and more clearly.
Other road users can also better judge your speed and position than the traditional bike light oerings on
the market
VEHICLES APPROACHING
FROM BEHIND
VEHICLES APPROACHING
FROM THE SIDE
FORWARD BEAM ON LOW OR FLASH
WITH DOWNWARD BEAM ON
DING SAFETY BEAM

HOW TO CHARGE THE BATTERY
You will nd the charging port on the rear of the light. Carefully lift the USB rubber cover away from the
docking face and rotate it clockwise to expose the rear USB charging port. Plug in the supplied USB
charging cable into the charging port on the rear of the housing.
Take care to ensure correct orientation of the micro USB connection to the port window, do not force it.
Plug the other end of cable into your PC or safety approved wall charger to start the charging process.
NOTE:
USB cover needs to be correctly docked back into seal position to ensure a good weather seal is retained
during outdoor use. If you do not use the light for a long time, be sure to make it a fully recharge every 3
months before storing again. Please keep the light in cool and dry place when storing.
NOTE:
Never leave light unattended when charging.
The light cannot be turned on whilst it is on
charge for added safety.
Keep the light away from all heat sources, re
and all combustible materials.
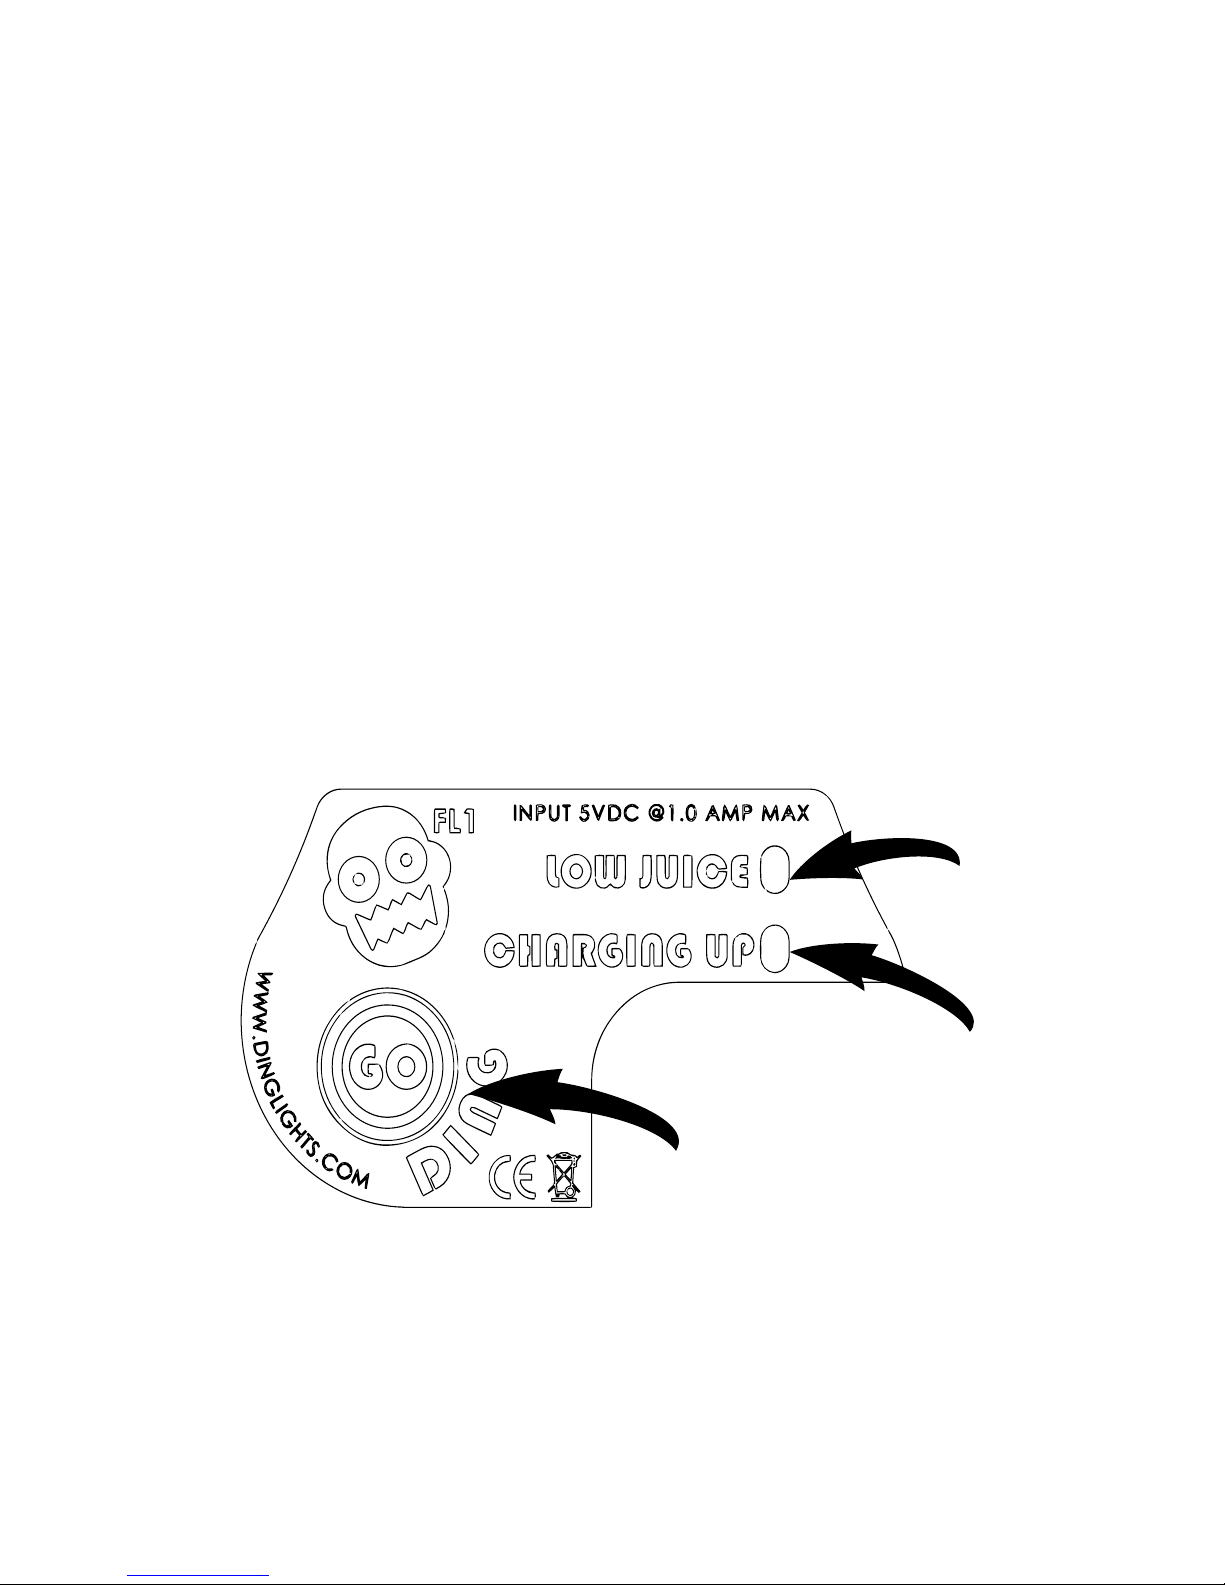
When your DING is plugged in to recharge, you will see the Green CHARGING UP LED ash. If the Red
LOW JUICE LED is on too, then the battery is almost out of charge. The red LED will stay on for 30mins,
then go o, an Orange LED will then light for an additional 30 mins to indicate that battery level is still pretty
low.
When the Orange LED turns o, it indicates DING has been on charge for over an hour. The Green LED
will keep ashing until full battery charge is completed. Once fully charged the Green LED will stop ashing
and stay on constantly.
Charge time from at to fully charged is around 4 hours depending on power source (PC or wall socket)
RECHARGE INFORMATION
Red LED
Orange LED
Green LED
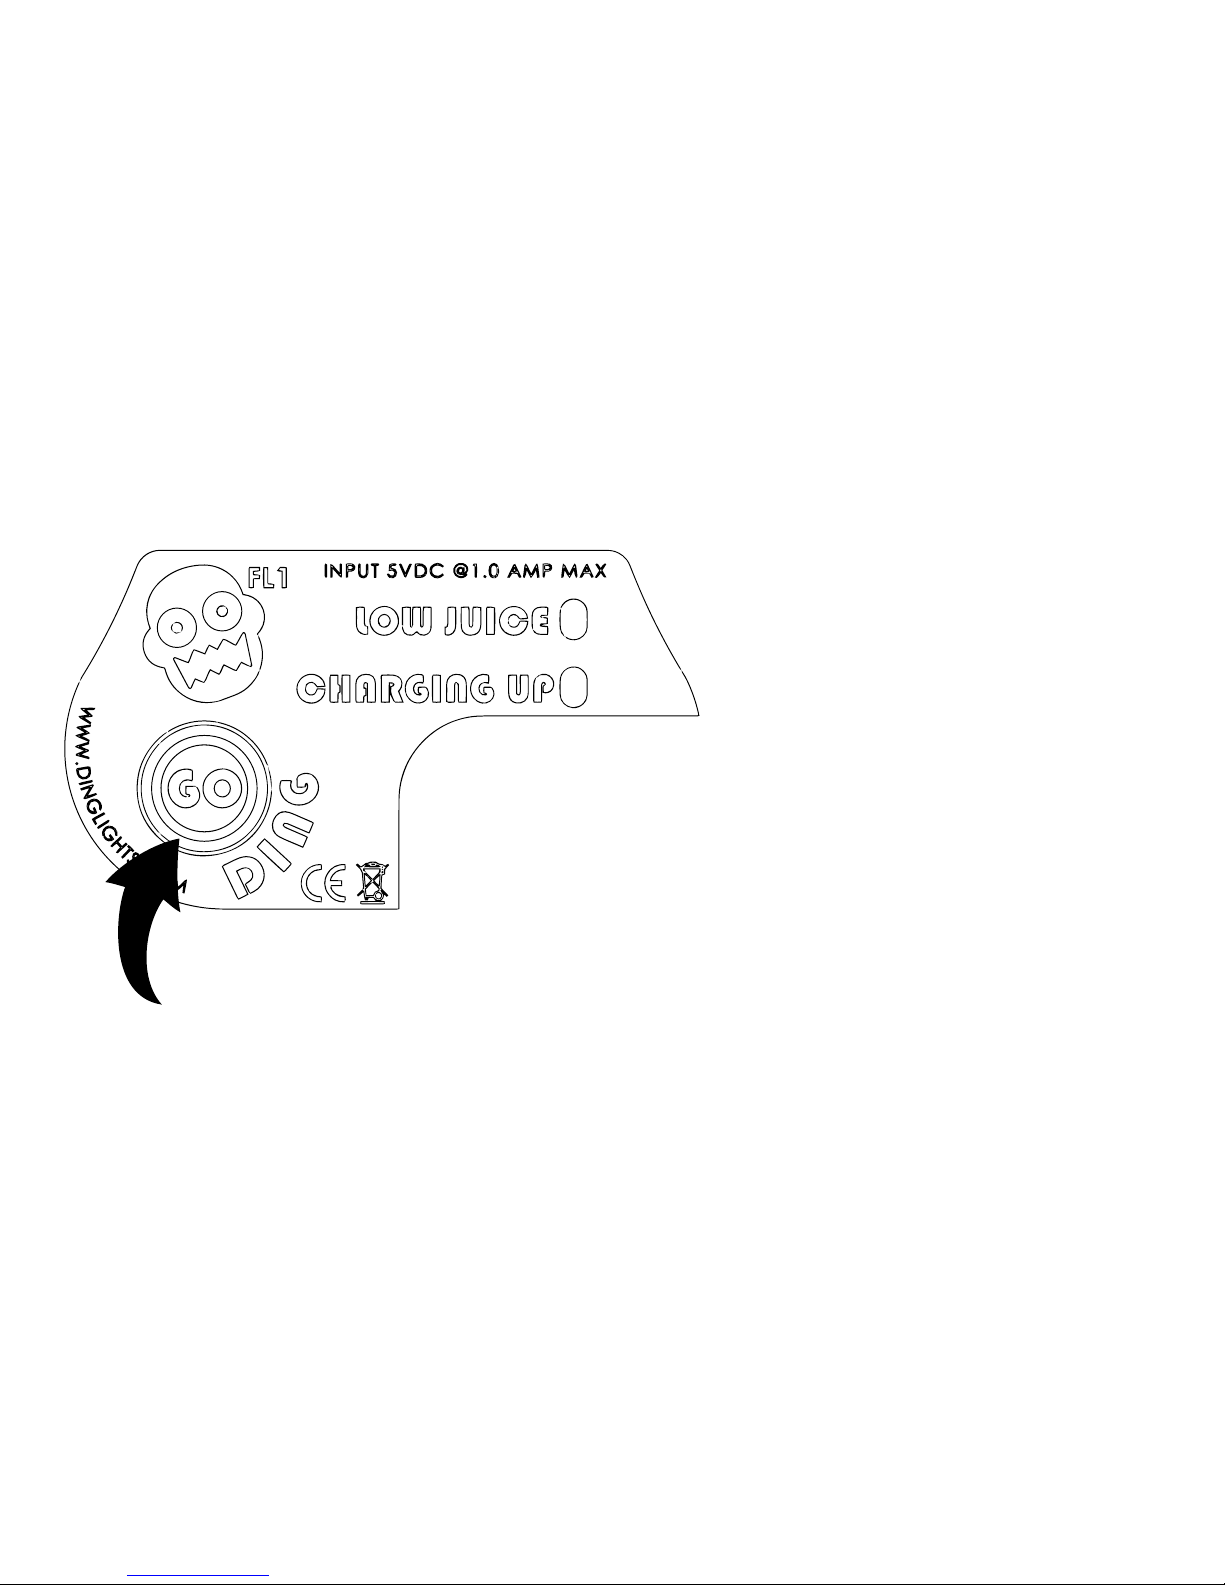
Press the “GO” Button again to continually cycle through the
nine dierent lighting modes: The Blue LED will change to con-
stantly “ON” during mode selections.
After use Press and Hold “GO” Button for three seconds to
send the light back into sleep mode, the Blue LED will be o to
inidcate SLEEP mode is now reset.
WAKE UP & SWITCH ON
ALWAYS STORE THE LIGHT IN SLEEP MODE WHEN NOT IN USE!
GO BUTTON
Press and Hold the “GO” Button for three seconds to wake up the light. A Blue ashing LED at the
“GO” Button position will indicate it is awake, and in stand by mode.

The DING FL1 has some very bright light to oer. The forward beam on at 100% power provides over
625 of Raw Lumens and the downward beam provides an extra 225 of Raw Lumens.
Our optical development focus was to use the lumen in the best way possible for everyday safer riding,
no beam hot spots, and light just where you need it.
We have designed the optical system to get the best use of the available light and provide good safe
beam patterns for the rider and other road users.
The DING FL1, has nine dierent light modes to choose from, split into four groups:
Forward Only (modes: 1,2 & 3)
Dual Beam (modes: 4,5,6)
Flash Patterns (modes: (3 Forward only),7,8,9)
Auto-Limp mode 10 (Low battery indication)
On the brightest modes of 1 and 4, please ensure you only use these high power modes whilst riding
your bike, this is due to the need to allow good air ow over the light keeping the LED’s at the optimum
performance temperatures. The front bezel will get hot, as it works hard to dissapate the heat, please
take care when handling.
The in-built thermal circuit management will protect the LEDs from overheating, automatic LED dimming
will occure if they get too hot.
USING THE RIGHT MODE
FL1 LIGHT MODES**
**Limp Mode (10) is a pulsing up and down light pattern, forward beam only. The limp mode automatically acti-
vates when the last 15 minutes of useful battery life is only available.
Limp mode cannot be activated unless the battery is getting into the low range of juice. During Limp Mode the
Blue LED changes to Orange LED indication warning ash for 10 minutes, then changes to a Red ash indica-
tion for the last 5 mins of useful battery. Please use the limp mode time to ride somewhere safe before all light is
lost. Once in limp you cannot change out to other modes, the low battery timer is activated.
Cold Temperatures will aect the battery runtimes, capacity will decrease at very low temperatures by up to 20%
which may decrease runtimes by 50% in certain modes. **Runtime table is based on 20 degrees ambient testing
FORWARD DOWNWARD
BEAM BEAM
MODE PATTERN
1ON 100% OFF
FRONT ONLYOFF
FRONT ONLY
CITY FLASH
SUBURBAN FLASH
DAYTIME FLASH
ON 50%
2
4
5
6
7
8
9
ON 45%
ON 10%
LOW FLASH LOW
SLOW PULSE
ON 100% ON 100%
ON 100%
ON 100%
ON 100%
OFF
ON 100%
FAST PULSE
BOTH CONSTANT
BOTH CONSTANT
BOTH CONSTANT
RUNTIME
3.6 HOURS
2 HOURS
1.5 HOURS
2.6 HOURS
4.5 HOURS
4.5 HOURS
5.3 HOURS
8 HOURS
3FAST PULSE OFF FLASH ONLY 29 HOURS
BAR STRAP USE AND SET UP
DING FL1 can be mounted to both handlebars and stems. The Mount clamp rotates 90 degrees to allow
for both options. In addition to handlebar mounting the DING light kit has a Pro-mount clamp accessory, to
allow for mounting to other mount systems. Simply remove the strap clamp assembly using a screwdriver
(not supplied) and replace with the Pro-mount clamp if you want to use this attachment. (See page 17)
Please be careful when mounting the strap around brake and gear cables, ensure their function is
not restricted. You can move the cables out of the way or even tape them, but please check their
function before riding
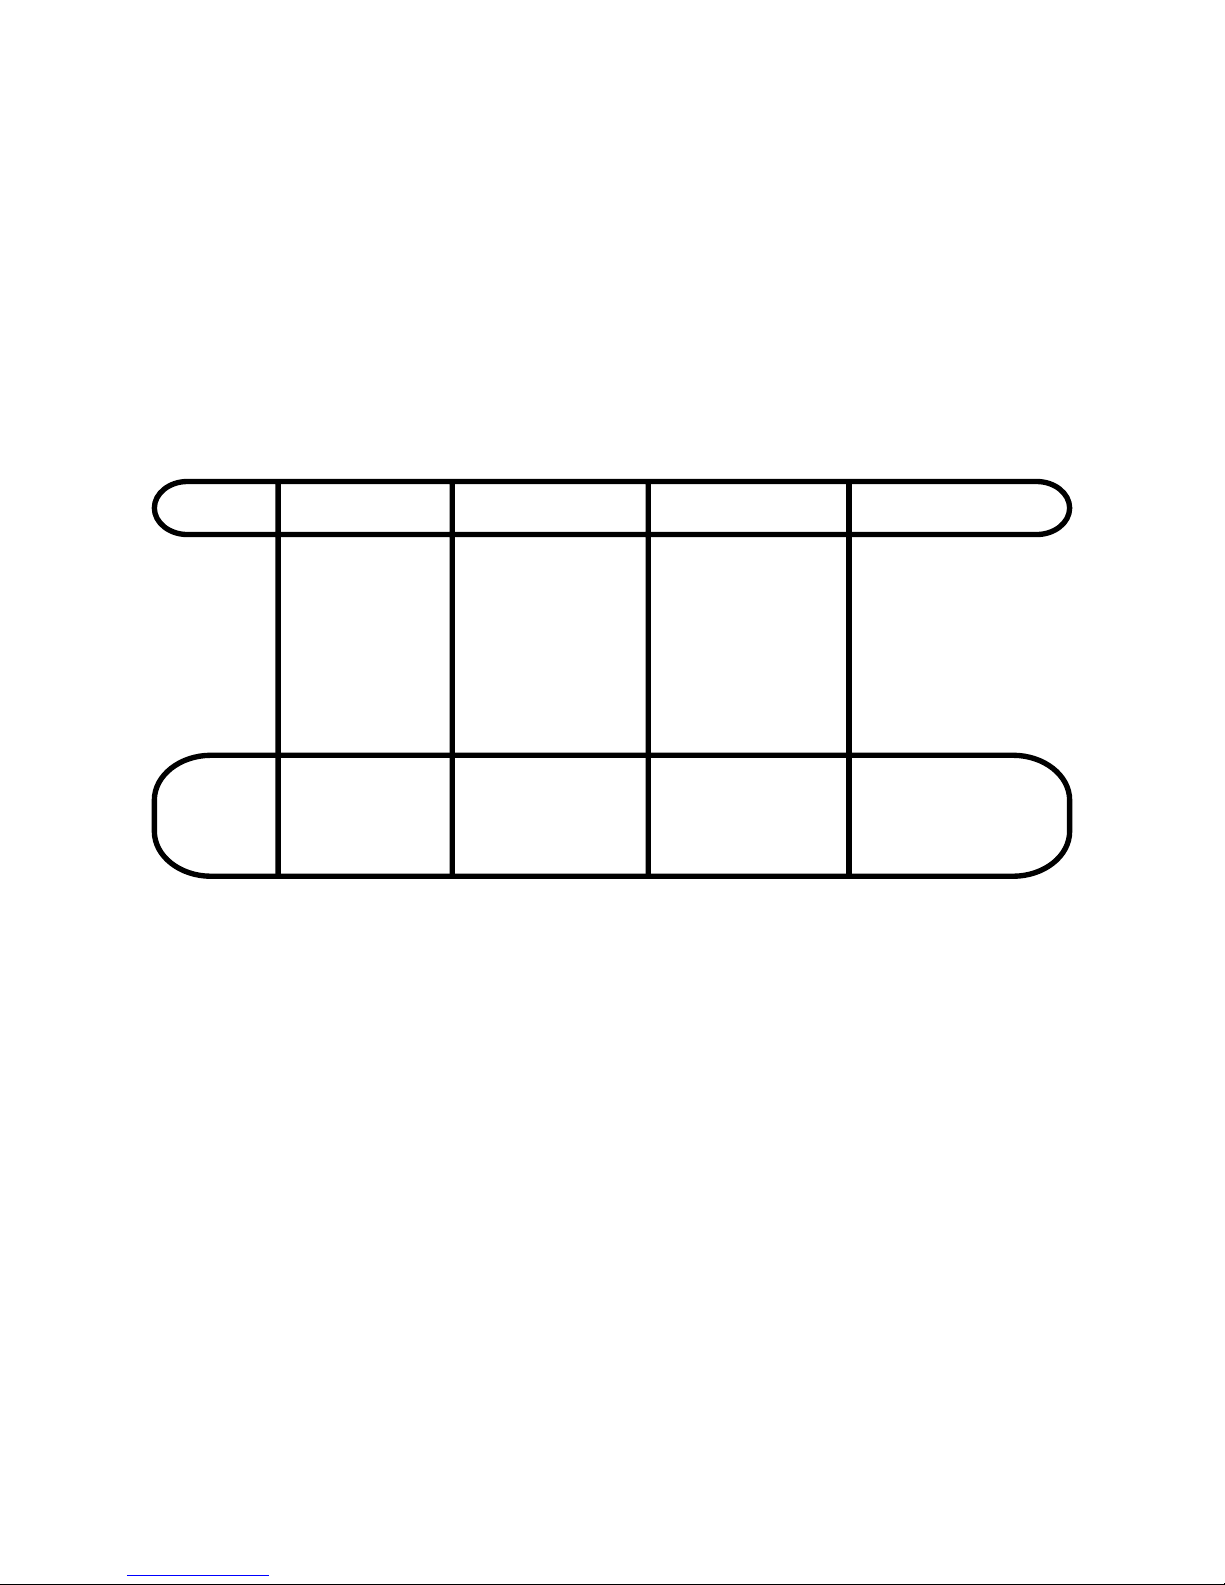
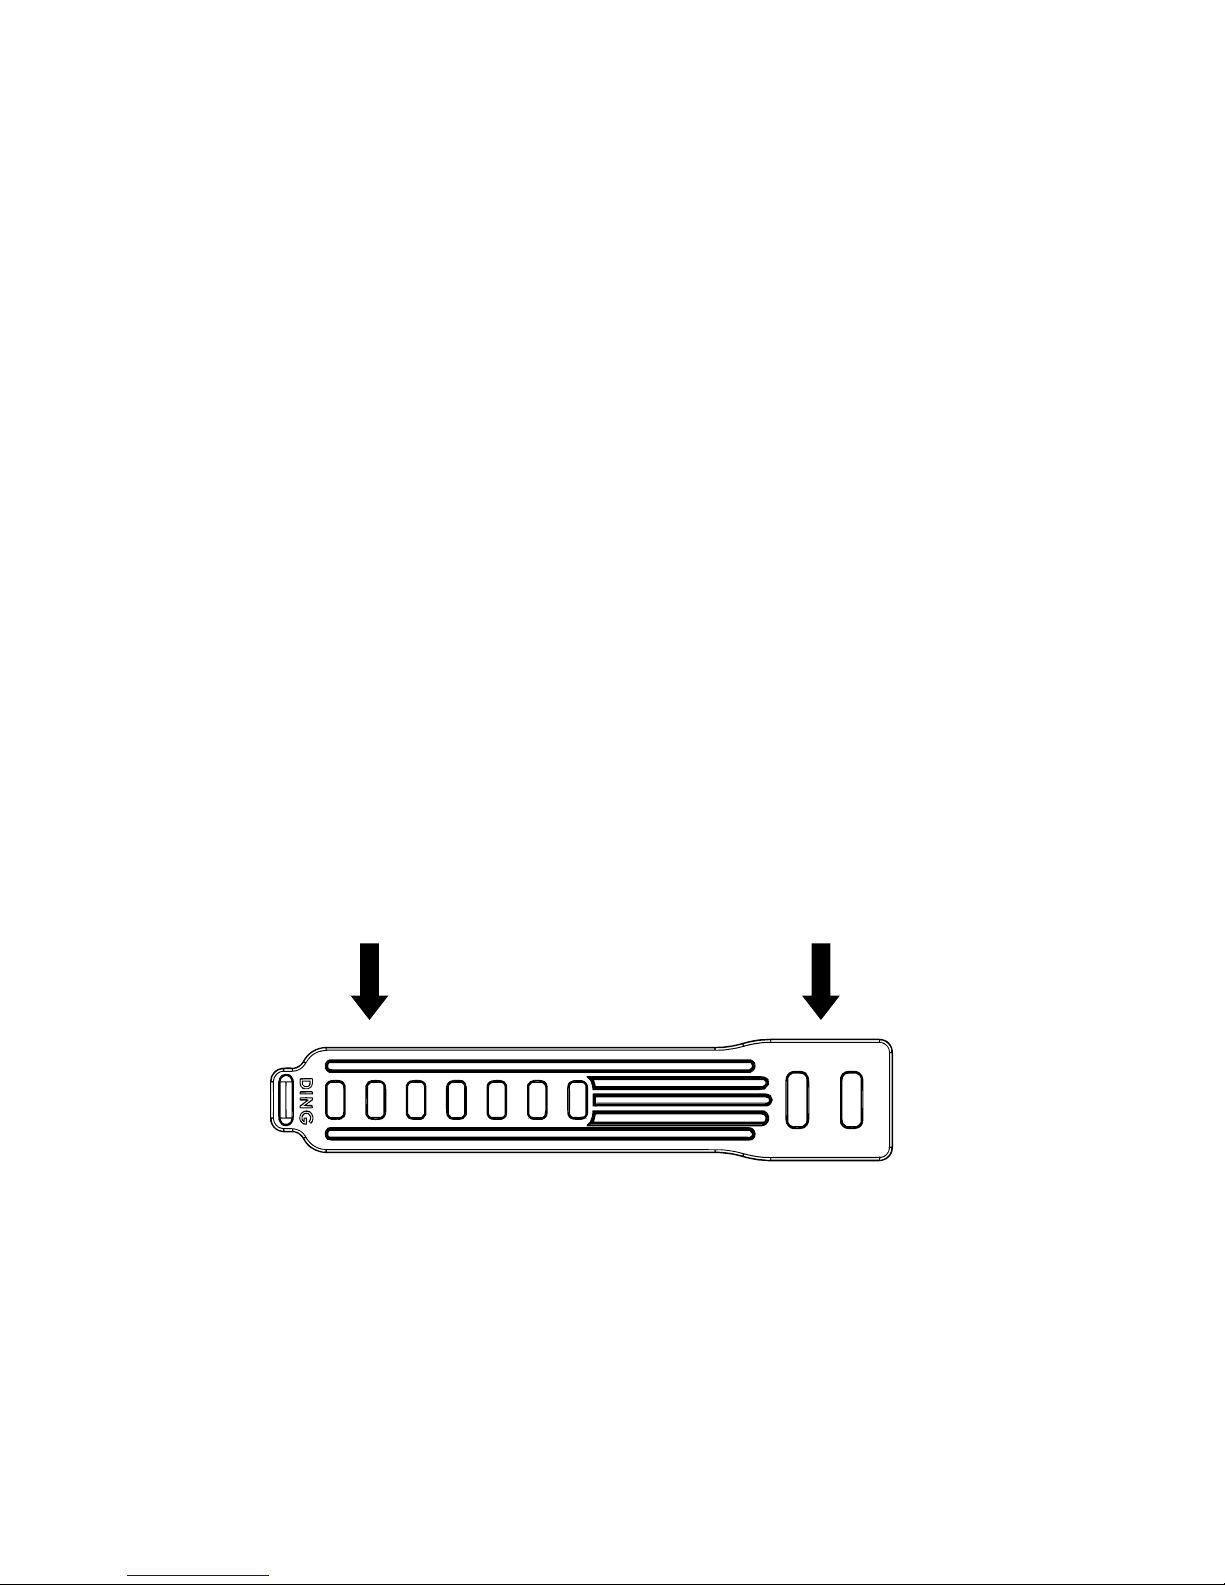
The strap has 2 anchor hole positions, and 7 retainer holes. To nd the best clamping arrangement to suite
your bar size, you may have to trial both anchor clamp hole choices to nd the best t. We have enclosed
a spare strap within every tin to ensure you have years of happy riding
ANCHOR HOLES (2)RETAINER HOLES (7)

Mount DING FL1 from the rear of the handlebar, this is completed best from underneath the bar,
not over the top. Loop the strap over the top of handlebar and pull down the strap to align with the
best clamp retainer hole, not too tight or too loose. Hook the strap onto the retainer peg, then close
o the clamp clasp with a “click” to secure DING FL1 in place.
MOUNTING TO THE BIKE

We don’t want your losing your new light, so we engineered a clamp clasp strap lock. Please
ensure you close o the clamp clasp by pushing the clamp to the closed position. It will
“click” closed once it is in the nal locked position.
To remove the strap simply unclick the clamp clasp and swing it clear to allow access to
remove the strap from retainer hook.
After removing the light from your bike, please ensure you store the light with the clamp
clasp in the closed position. Take care not to over bend the clamp clasp arm!
CLAMP CLASP
CLOSE
OPEN

HANDLE BAR MOUNTED
STEM MOUNTED
Note: Be careful not to scratch
the top of the DING Bezel with the stem
handlebar screws!
Note: Best to mount DING FL1 to
the side of handlebar nearest to the trac to
get the best downward beam throw o light

To use the Pro-mount tting you will need to remove the bar strap assembly. Using a suitable screw
driver, undo carefully the xing screw on top of the clamp. This screw has built-in anti vibration gel on its
thread, so it might be sti to undo.
Once the screw is undone remove the bar strap assembly from the main light and store away safely.
Using either the same screw or the spare screw supplied (M2.5 x 6mm Thread) fasten the Pro-mount,
on the central location spigot on the main light body. Position the Pro mount as required before nal
PRO MOUNT OPTION

DING FL1 Light is a very bright light system, please take care when operating
Do not look directly into the light, this may cause serious injury
Do not shine the light directly at others
Also adjust the beam angle downwards when required on high modes to prevent blinding oncoming vehi-
cles on the public roads
Never leave the light on in high modes (1 & 4) within an enclosed space. Only use the bright
modes whilst on your bike riding. This is to allow good airow over the lights outer surfaces
to control temperature rises from damaging the LEDs.
The front DING aluminium bezel acts as a thermal heat sink and can get very hot, please take care with
handling if using DING FL1 in the brightest modes.
Ensure the light is fully cooled down prior to storing away, and please reset to sleep mode.
For transport safety the DING FL1 is not shipped fully charged, please ensure you fully charge the battery
before its rst use. If you do not use the battery for a long time, be sure to make it a fully recharge every 3
months before storing again. Please keep the light in cool and dry place when storing.
SAFETY REQUIREMENTS

TECHNICAL DATA
Philips Luxeon TX LEDS 5700K, 50,000 Hours
Outputs: 625 Lumens Front Beam, 225 Lumens Down Beam
Forward Beam: Combo Spot and Spread Optics, with down tilt convergence lens
Downward Beam: Rectangle Spread Optic
Lithium Polymer Battery Pack 3.7 volt 3,750mAH: 300 Recharges
Seiko current protection circuit, and Texas Instruments smart charging I/C
Approximately 4 to 5 hours recharge time by wall charger
Rating Input 5VDC, Charging to maximum of 1 amp
Size: 80 x 50 x 40mm
Weight: 175 grams with Bar Strap assembly attachment.
Water resistant to IP45
Micro USB charging port (Maximum 1-amp charging)
O Ring seals front lens, Lip seal for bottom Lens, over moulded seal for housing
Composite Elastomer strap: High tensile strength 14mpa with UV protection
DING FL1 complies with the following international standards:
UN38.3
PS
E

Looking after your DING FL1 will ensure years of happy safe riding. Please inspect and test your light
before every ride.
The materials used through its construction are of the highest grade. The front aluminium bezel and main
composite body are both impact resistant to ensure long life. All internal parts are highest quality and
every light is hand built and 100% inspected before shipment.
The rear membrane information panel on the back of the light is designed for the use of a nger only to
push the go button, turning the light on and o, and change through the modes
DO NOT USE ANY SHARP OBJECT TO PRESS THE GO BUTTON
Please keep you DING light clean and the lenses free from dirt. The lenses are made from special op
-
tical resin and can be scratched if not careful. When cleaning lenses please use water and a ne soft
damp cloth. Never use harsh abrasive or corrosive materials to clean the light. Ideally keep the light
stored within your DING protector pouch, when not in use, or in the DING tin and remember to always
store in sleep mode.
The light is protected from the rain and the dust, with an in-built sealing system. It is not protected
against fully submerging under water, this will void the warranty.
Check the condition of your strap and the USB cover regularly. Both parts are provided as spares within
your DING tin, and available also from the DING online website.
MAINTAINING AND CARE
Table of contents


