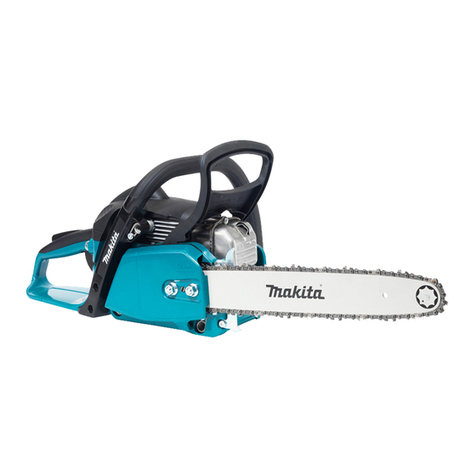
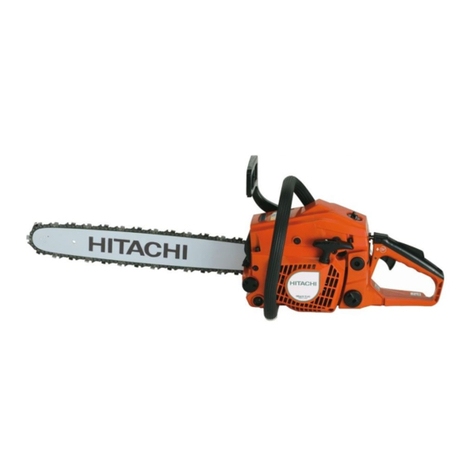
DINSHARE JC-6001 User manual

Cordless Chain Saw
User Manual
Model No.JC-6001

Story about DINSHARE
DINSHARE
DINSAHARE
DINSAHRE
DINSHARE
https://dinshare.afterservice.vip

Contents
Lubrication
Change the saw chain
Clean the guide plate

- 1 -
About the product
4" Guide plate
1 Guide chain2
Lock-off button3 Switch button
4
Hand protect5 Grip
6
Battery assembly switch
7Battery pack
8
Sprocket cover
9
1. Components

- 2 -
About the product
2. Accessories
3. Optional accessories
Name
S/N QTY
4" Mini Cordless Chainsaw 1 1pc
1pc
DINSHARE Battery and Charger
2
3pc
Saw Chain3
1pc
Wrench4
1pc
Screwdriver5
1pc
Tool box6
1pc
Oil Bottle7
CAUTION:
Warning:
Only use the battery cartridges and chargers listed above. Use of
any other battery cartridges and chargers may cause injury and/or fire.
These accessories or attachments are recommended for use with your
DINSHARE tool specified in this manual. The use of any other accesso-
ries or attachments might present a risk of injury to persons. Only use
accessory or attachment for its stated purpose.
If you need any assistance for more details regarding these accessories,
please visit https://dinshare.afterservice.vip.
� Saw chain
� DINSHARE genuine battery and charger
NOTE: Some items in the list may be included in the tool package as
standard accessories. They may differ from country to country.

4. Specifications
Model No.
Voltage
Charge Time
Battery Capacity
No-load Speed
G.W./N.W.
Measurement 13.39 * 6.1 * 5.7 Inch
13.4 ft/s
4.15 / 1.98 lbs
2.0 A/h / 4.0 A/h
1 Hour
20 V
JC-6001
Due to our continuing program of research and development, the
specifications herein are subject to change without notice.
Specifications and battery cartridge may differ from country to
country.
Weight, with battery cartridge, according to EPTA-Procedure 01/2003.
Use appropriate combination of the guide plate and saw chain. Other-
wise personal injury may result.
- 3 -
About the product
Warning:

- 4 -
6. Intended use
5. Symbols
The following shows the symbols used for the equipment. Be sure that
you understand their meanings before use.
Cd
Ni-MH
Li-ion
Read instruction manual.
Wear safety glasses.
Wear ear protection.
Wear helmet, goggles and ear protection.
Do not expose to moisture.
Maximum permissible cut length.
Direction in which the chain is running.
Saw chain oil adjustment.
About the product

1.1 Work area safety
Warning:
Read all safety warnings and all instructions. Failure to follow the
warnings and instructions may result in electric shock, fire and/or
serious injury.
- 5 -
Safety Warnings
Save all warnings and instructions for future reference. The term
"power tool" in the warnings refers to your mains-operated (corded)
power tool or battery-operated (cordless) power tool.
Keep work area clean and well lit. Cluttered or dark areas invite
accidents.
Do not operate power tools in explosive atmospheres, such as
in the presence of flammable liquids, gases or dust. Power tools
create sparks which may ignite the dust or fumes.
Keep children and bystanders away while operating a power
tool. Distractions can cause you to lose control.
1. General power tool safety warnings

- 6 -
Safety Warnings

- 7 -
Safety Warnings

2. Cordless Chainsaw safety warnings
- 8 -
�
�
�
�
�
�
�
�
Safety Warnings

- 9 -
�
�
�
�
�
�
�
�
Safety Warnings

- 10 -
CAUTION:
Safety Warnings

- 11 -
1. Switch action
User guide
�
�
�
�
CAUTION:

- 12 -
2. Installing or removing saw chain
�
�
�
CAUTION:
User guide

- 13 -
User guide

- 14 -
� To remove the battery cartridge, slide it from the tool while sliding the
button on the front of the cartridge.
� To install the battery cartridge, align the tongue on the battery
cartridge with the groove in the housing and slip it into place. Always
insert it all the way until it locks in place with a little click. If you can
not hear the lock sound, which means it is not locked completely. If
not, it may accidentally fall out of the tool, causing injury to you or
someone around you.
� Do not use force when installing the battery cartridge. If the cartridge
does not slide in easily, it is not being inserted correctly.
3. Installing or removing battery cartridge
Always be sure that the tool is switched off and the battery cartridge is
removed before adjusting or checking function on the tool.
1
2
1.Button
2.Battery cartridge
CAUTION:
User guide

- 15 -
�
�
3.2 Tips for maintaining maximum battery life
Charge the battery cartridge before completely discharged.
Always stop tool operation and charge the battery cartridge when
you notice less tool power.
Never recharge a fully charged battery cartridge. Overcharging
shortens the battery service life.
Charge the battery cartridge with room temperature at 10 °C - 40 °C
(50 °F - 104 °F). Let a hot battery cartridge cool down before
charging it.
Charge the battery cartridge if you do not use it for a long period
(more than six months).
User guide

- 16 -
Red Indicator Green Indicator Battery Pack Status
ON OFF Charging Charging
Charged Charged
Short Circuited Short Circuited
OFF ON
OFF OFF
User guide
4. Indicating the remaining battery
There are three LED lights designed on the appliance that indicate the
level of the remaining power in the battery pack. To know the remaining
power in the battery pack, please check out the chart below.
Remaining
Capacity
≤30%
Status of Indicators
The red light is on.
The red light and yellow light are on.
The red light, yellow light and green light are on.
30%-70%
70%-100%

- 17 -
MAINTENANCE
�
�
�
1. Lubrication
CAUTION:
CAUTION:
Table of contents
