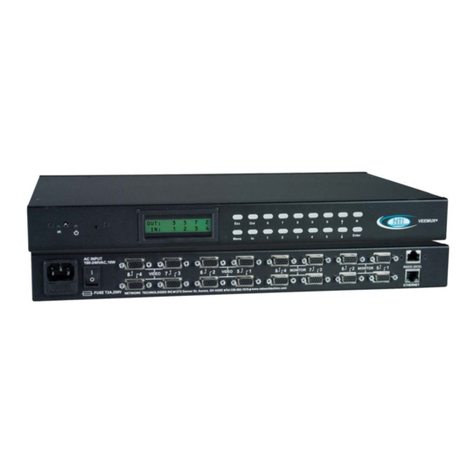
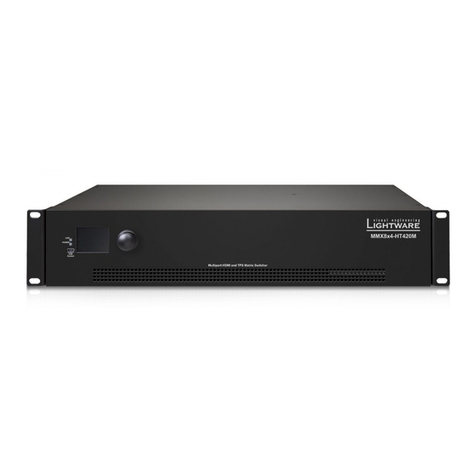
DirekTronik 20111545 User manual

Operating Instruction
1
8x8 HDMI2.0 Matrix
Support 4K@60hz YUV4:4:4, 18Gbps, HDR
Best.nr: 20111545

Operating Instruction
2
Thank you for purchasing this product. For optimum performance and safety, please read
these instructions carefully before connecting, operating or adjusting this product. Please
keep this manual for future reference.
SAFETY PRECAUTIONS
Please read all instructions before attempting to unpack, install or operate this equipment
and before connecting the power supply.
Please keep the following in mind as you unpack and install this equipment:
Always follow basic safety precautions to reduce the risk of fire, electrical
shock and injury to persons.
To prevent fire or shock hazard, do not expose the unit to rain, moisture or
install this product near water.
Never spill liquid of any kind on or into this product.
Never push an object of any kind into this product through any openings or
empty slots in the unit, as you may damage parts inside the unit.
Do not attach the power supply cabling to building surfaces.
Use only the supplied power supply unit (PSU). Do not use the PSU if it is
damaged.
Do not allow anything to rest on the power cabling or allow any weight to be
placed upon it or any person walk on it.
To protect the unit from overheating,do not block any vents or openings in the
unit housing that provide ventilation and allow for sufficient space for air to
circulate around the unit.

Operating Instruction
3
CONTENTS
1. INTRODUCTION................................................................................................................................. 4
2. APPLICATIONS...................................................................................................................................4
3. PACKAGE CONTENTS...................................................................................................................... 4
4. SYSTEM REQUIREMENTS............................................................................................................... 4
5. FEATURES........................................................................................................................................... 5
6. SPECIFACATIONS..............................................................................................................................5
7. OPERATION CONTROLS AND FUNCTIONS.................................................................................6
7.1 Front Panel...................................................................................................................................6
7.2 Rear Panel....................................................................................................................................6
7.3 LCD screen introduction............................................................................................................. 7
7.3.1 Input / output channel key operation................................................................................7
7.3.2 Video switching operation............................................................................................... 8
7.3.3 Output Audio on/off control.......................................................................................... 10
7.3.4 Input signal control........................................................................................................ 11
7.4 Preset scene settings..................................................................................................................15
7.5 System configuration................................................................................................................ 16
7.5.1 RS232 parameter settings.............................................................................................. 18
7.5.2 LCD screen settings....................................................................................................... 19
7.5.3 Menu settings................................................................................................................. 21
7.5.4 User EDID settings........................................................................................................ 22
7.5.5 System settings...............................................................................................................23
7.6 Device information query......................................................................................................... 25
7.7 Remote Control Description......................................................................................................29
8. AUDIO INTRODUCTIONS.............................................................................................................. 30
8.1 HDMI audio.............................................................................................................................. 30
8.2 Audio extraction........................................................................................................................30
8.2.1 Analog audio extraction.................................................................................................30
8.2.2 SPDIF audio extraction..................................................................................................30
8.3 Audio embedded....................................................................................................................... 30
8.4 ARC audio.................................................................................................................................30
9. EDID MANAGEMENT..................................................................................................................... 31
10. RS232 CONTROL............................................................................................................................32
11. WEB CONTROL...............................................................................................................................34
11.1 Address Information................................................................................................................34
11.2 Change the IP address of your PC..........................................................................................34
12. STATUS INTERFACE.....................................................................................................................36
12.1 Input interface......................................................................................................................... 37
12.2 Output interface.......................................................................................................................39
12.3 Matrix interface.......................................................................................................................40
12.4 Preset interface........................................................................................................................40
12.5 CEC control interface..............................................................................................................41
12.6 System interface......................................................................................................................42
13. FIRMWARE UPGRADE................................................................................................................ 44
14. CONNECTION DIAGRAM.............................................................................................................45
MAINTENANCE....................................................................................................................................46
PRODUCT SERVICE.............................................................................................................................46
WARRANTY..........................................................................................................................................47

Operating Instruction
4
1. INTRODUCTION
This 8x8 4k HDMI Matrix supports the transmission of video (resolutions up to
4K2K@60Hz, HDCP 2.2, HDMI2.0) and multi- channel digital audio from 8 HDMI
sources to 8 HDMI outputs and 8 SPDIF Output. This matrix supports high resolution
digital audio formats such as Dolby TrueHD and DTS-HD Master Audio as well as 3D
video content. In addition, this matrix also allow Analog audio embed and extract from 8
Analog audio inputs and 8 Analog audio outputs.
Controllable via Panel buttons, local IR, RS-232, IP or Web GUI. We can provide control
drivers for all the major control systems. This unit also supports HDR10 to bring ultimate
visual experience. It is designed to save end users’ time and energy for they are able to
update the system by the creative RS232 interface.
2. APPLICATIONS
•Video/TV wall display and control
•Security surveillance and control
•Commercial advertising, display and control
•University lecture hall, display and control
•Retail sales and demonstration
3. PACKAGE CONTENTS
•1x HDMI Matrix
•1x DC12V 3A power supply
•1x Remote control
•1x IR Ext RX Cable
•1x mounting kit
•1x CD for control software & user manual
4. SYSTEM REQUIREMENTS
•HDMI source equipment such as media players, game consoles or set-top boxes.
•HDMI receiving equipment such as HDTV, monitors or audio amplifiers.
•The use of “Premium High Speed HDMI” cables is highly recommended

Operating Instruction
5
5. FEATURES
•HDMI 2.0 version (Support 4K@60Hz YUV4:4:4)
•Support 3D
•Bandwidth upto 18Gbps
•HDCP1.4/2.2 compliant
•Support HDR10, HLG, Dolby Vision
•8xHDMI Input, 8xHDMI output
•8xAnalog audio input and 8xAnalog audio output, and 8xS/PDIF audio output
•Support Analog audio embedded and HDMI audio extraction
•Any one of the 8 Ultra HD sources to any one of the 8 Ultra HD displays
•Support LPCM2.0-5.1/16-24BIT/32-192KHZ, Dolby Atmos and DTS-X
•RS232 interface for user to upgrade firmware
•Controllable via front-panel buttons, IR remote, RS232, IP , Web GUI
•The Ethernet port supports Telnet, UDP, HTTP, and TCP/IP
•Support EDID management, CEC and ARC
6. SPECIFACATIONS
Bandwidth
18 Gbps
Resolution
480p@60hz,576P@50hz,720P@60hz,
1080P@24hz,1080P@50hz,1080P@60hz,4K@24hz,4K@30hz,
4K@60hz YUV4:2:0, 4K@ 60hz YUV4:4:4
Video Input Connectors
8xHDMI Type A, 19-pin, female
Video Output Connectors
8xHDMI Type A, 19-pin, female
Audio Input Connectors
8xAnalog audio, 3.5mm, female
Audio Output Connectors
8xAnalog audio, 3.5mm, female, 8x SPDIF Coaxial, female
RS-232 serial port
DB9, female
Ethernet port (IP control)
RJ45, female
IR Ext port
1x3.5mm stereo jack
Dimensions(WxHxD)
L482.4 XW 220 XH44 mm
Net Weight
2.8kg
Operating Temperature
32°F to 104°F (0°C to 40°C)
Storage Temperature
14°F to 140°F (- 10°C to 60°C)
Power consumption
28W(Max)

Operating Instruction
6
7. OPERATION CONTROLS AND FUNCTIONS
7.1 Front Panel
①LCD: Showing Matrix information
②Output button OUT1~8
③Input button IN1~8
④Function button: PRESET; MENU; UP; DOWN; LOCK; ENTER
7.2 Rear Panel
1AUDIO IN (Analog x8) ⑥IR port
2AUDIO OUT (Analog x8) ⑦Grounding
3AUDIO OUT (SPDIF x8) ⑧HDMI Input ×8
4Ethernet port ⑨HDMI Output×8
5RS232 ⑩Power on/off

Operating Instruction
7

7.3 LCD screen introduction
Device Startup interface(picture-1)
Channel interface (picture-2)
7.3.1 Input / output channel key operation
Channel
Button method
Any Key
The first operation of the button can wake up the screen and complete the key function while the
blue button light will light up.
Input 1-8
Directly press the number key, such as input channel 1, and select "1" to press (only when
the output port is selected, the input channel number will be valid)
Output 1-8
Directly press the number key, such as the output channel 5, select the key "5" and press it again
to cancel the selection; Long press output any channel number to select all channels, and long
press again to cancel. After press the button, no next operation is performed within 10 seconds,
and the operation state ends.
MENU
Function Button; Enter the function option or back to previous option. Long press back to
function option, the next step is not performed for 30 seconds, screen back to select channel
interface
ENTER
Confirm Button: enter function selection mode
UP
Button for UP option
DOWN
Button for NEXT option
PRESET
Quick selection scene button
LOCK
Long press lock (button built-in blue light on), Long press again to cancel lock (button
built-in blue light off)

Operating Instruction
8
7.3.2 Video switching operation
The signal switch includes 8 free switching channels, which can be configured as input/output
according to the requirements, forming a matrix of 1 x 8 ~ 8 x 1, which can switch any input.
Signal to 1 channel output or all channel output.
The specific operation is as follows:
Video switching mode (picture-3)
Switch the input to the output
Operation format: "output channel" + "input channel"
For Example: Output port 1,3,4 switch to input 3
Operation: Press OUT number "2" "5" "8" + IN number "7" to complete the switch
For Example: Switch all outputs to input 4
Operation: Long press input number "4" to complete the switch
Output signal Control
Output interface has nine sub-menus: Output1-Output8 and All, switch the video source of the output
port and turn on/off the output audio video signal
Output menu interface(picture-4)

Operating Instruction
9
Output port menu interface(picture-5)
Output video switch and on/off
Switch any output to one input, or switch all outputs to one input; Default 8×8 matrix, 8 inputs and 8
outputs, one to one output
Operation instructions:
①Select“Output”in the menu and press“ENTER”
②Then use “UP” “DOWN” button to select “output 1~8 or All”, The bottom color of the selected
output port becomes white.
③Press “Enter”enter next page.
④Press “UP” “DOWN” button to select “Video”, press“Enter”
⑤Press “UP” “DOWN” button to select “Source”, press“Enter”
⑥Press “UP” “DOWN” button to select “Source”, press“Enter”
⑦Press “UP” “DOWN” button to select “Input 1~8”, press“Enter”, switch done
⑧Press “MENU” button back to previous option, Press “UP” “DOWN” button to select “Onoff”
⑨Press“Enter”
⑩Press “UP” “DOWN” button to select “Onoff”, output video on/off done. (This function is on by
default)
Video Switch interface(picture-6)

Operating Instruction
10
Input port select interface(picture-7)
On/off select interface(picture-8)
7.3.3 Output Audio on/off control
On/off output audio, include HDMI, Analog, SPDIF, ARC; ARC function is off by default.
Operation instructions: (turn off other audio is same)
①Select“Output”and press“ENTER”
②Press “UP” “DOWN” button to select “Output1~8 or All(meas all outputs)”. The bottom color of
the selected output port becomes white.
③Press“Enter”
④Press “UP” “DOWN” button to select“Audio”, Press“ENTER”
⑤Press “UP” “DOWN” button to select the mode: HDMI; Analog; SPDIF; ARC, press“ENTER”
⑥Press “UP” “DOWN” button to select“On/Off”, output audio on/off done

Operating Instruction
11
Audio control interface(picture-9)
Output audio on/off interface(picture-10)
7.3.4 Input signal control
Input signal control interface has nine sub-menus:Input1~8 and All(means all inputs), The third level
sub-menu includes Video, Audio, and EDID settings.
Input option interface(picture-11)

Operating Instruction
12
Input mode interface(picture-12)
1)On/off input video
Turn on/off input video settings
Operation instructions:
①Select“Input”, Press“ENTER”
②Press “UP” “DOWN” button to select“Input1~8 or All”, Press“ENTER”
③Press “UP” “DOWN” button to select“Video”, Press“ENTER”
④Select“Onoff”, Press“ENTER”
⑤Press “UP” “DOWN” button to select“On/Off”, On/off input video done
Input video control interface(picture-13)
On/off input video interface(picture-14)

Operating Instruction
13
2) On/off input audio and choose audio source
Choose HDMI input audio or Analog audio embedded and On/off input audio
Operation instructions:
①Select“Input”, Press“ENTER”
②Press “UP” “DOWN” button to select“Input1~8 or All”, Press“ENTER”
③Press “UP” “DOWN” button to select“Audio”, Press“ENTER”
④Press “UP” “DOWN” button to select“Source”, Press“ENTER”
⑤Press “UP” “DOWN” button to select“HDMI/ENC”, Press“ENTER”, The selected off/on show @
⑥Press”MENU”, then press “UP” “DOWN” button to select“Onoff”,Press“ENTER”
⑦Press “UP” “DOWN” button to select“On/Off”, input audio on/off done.
Input audio settings interface(picture-15)
Input audio source choose interface(picture-16)
On/off input audio source interface(picture-17)

Operating Instruction
14
7.3.5 EDID Settings
EDID Mode can set each input’s EDID, Include: Default EDID; User EDID; Copy EDID;
1-4 are Default EDID, 5-8 are User EDID, 9-16 are Copy output 1-8 EDID, 17 is temporary EDID.
Operation instructions:
①Select“Input”, Press“ENTER”
②Press “UP” “DOWN” button to select“Input1~8 or All”, Press“ENTER”
③Press “UP” “DOWN” button to select“EDID”, Press“ENTER”
④Press “UP” “DOWN” button to select EDID“Default1”, Press“ENTER”, setup complete
⑤The selected EDID will show EDID details(name, Max resolution, audio format, sound track)
EDID settings interface(picture-18)
EDID information interface(picture-19)

Operating Instruction
15
7.4 Preset scene settings
Preset can save video, audio, EDID, system settings, support 8 differences presets, It can be changed
and called by web page, command and panel buttons. The default preset is same as the factory setting
PTP.
Preset option interface(picture-20)
Operation instructions:
①Select“Preset”,Press“ENTER”, then enter preset scene interface;
②Save preset:Select “Save”on preset interface, then select one of “Preset1~8”; Press “ENTER”, save
current scene.
③Call preset:Select “Call”on preset interface, Select one of the saved preset1-8 presets;
Press“ENTER”, Call the preset scene saved previously.
④Clear preset:Select “Clear”on preset interface, Select one of the saved preset1-8 presets;
Press“ENTER”, this preset will return default.
Scene preset interface(picture-21)

Operating Instruction
16
Preset operation interface(picture-22)
7.5 System configuration
System configuration can set the device's network parameter, RS-232 baud rate, LCD screen, Menu,
User EDID , system parameter.
System configuration interface(picture-23)
Network parameter settings
Set DHCP/IP/MASK/GW/Port/DNS/MAC
1)DHCP: Default Off(Static), After turn on(Dynamic), IP/MASK/GW are unable to set.
2)IP address: Default 192.168.1.168
3)MASK address: Default 255.255.255.0
4)GW: Default 192.168.1.1
5)PORT: TCP&UDP port, Default TCP 5000, UDP 5001.
6)DNS: Default 144.144.144.144(unalterable)
Operation instructions:

Operating Instruction
17
①Select“Config”, Press“ENTER”
②Press “UP” “DOWN” button to select“Network”, Press“ENTER”
③Press “UP” “DOWN” button to select“DHCP”, Press“ENTER”, you can select“Yes/On”to turn
on/off DHCP
④Press “MENU”, Select“IP/MASK/GW/Port/DNS/MAC”, Press“ENTER”
⑤Such as change IP address: After select IP, enter and select Part 1~4, then Set IP address parameters
for each part; Press “Enter” again, LCD’ll show the current network parameters. (Do the same for
other parameters)
Network parameter settings interface(picture-24)
DHCP settings interface(picture-25)
IP settings interface(picture-26)

Operating Instruction
18
IP parameter set interface(picture-27)
Network parameter display interface(picture-28)
7.5.1 RS232 parameter settings
It can change device’s baud rate, but Data/Stop/Parity are used for checking and cannot be set
1)Baud: device’s baud rate provide 6 choices, 115200, 57600, 38400, 19200, 9600, 4800. The device
is 115200 by default.
2)Data/Stop/Parity: is used only for view and cannot be changed, Unless use the highest account.
3)The underscore show that this parameter cannot be set.
Operation instructions:
①Select“Config”, Press“ENTER”
②Press “UP” “DOWN” button to select“RS-232”, Press“ENTER”
③Press “UP” “DOWN” button to select“Baud”, Press“ENTER”
④Press “UP” “DOWN” button to select Baud rate you need, Press“ENTER, Baud rate set done.

Operating Instruction
19
RS232 control interface(picture-29)
Baud rate set interface(picture-30)
Data display interface(picture-31)
7.5.2 LCD screen settings
You can set LCD screen's bright and Screen rest time; Bright is 8 by default, Screen rest time is 30S
by default.

Operating Instruction
20
Operation instructions:
①Select“Config”, Press“ENTER”
②Press “UP” “DOWN” button to select“LCD”, Press“ENTER”
③Press “UP” “DOWN” button to select“Bright”, Press“ENTER”
④Press “UP” “DOWN” button to select LCD brightness level, The higher the brightness level, the
greater the brightness, otherwise the lower the brightness.
⑤Press “MENU”, then press “UP” “DOWN” button to select“Time”, Press“ENTER”
⑥Press “UP” “DOWN” button to select screen rest time.
LCD settings interface(picture-32)
LCD brightness settings interface(picture-33)
Screen rest time settings interface(picture-34)
Table of contents
Other DirekTronik Matrix Switcher manuals

DirekTronik
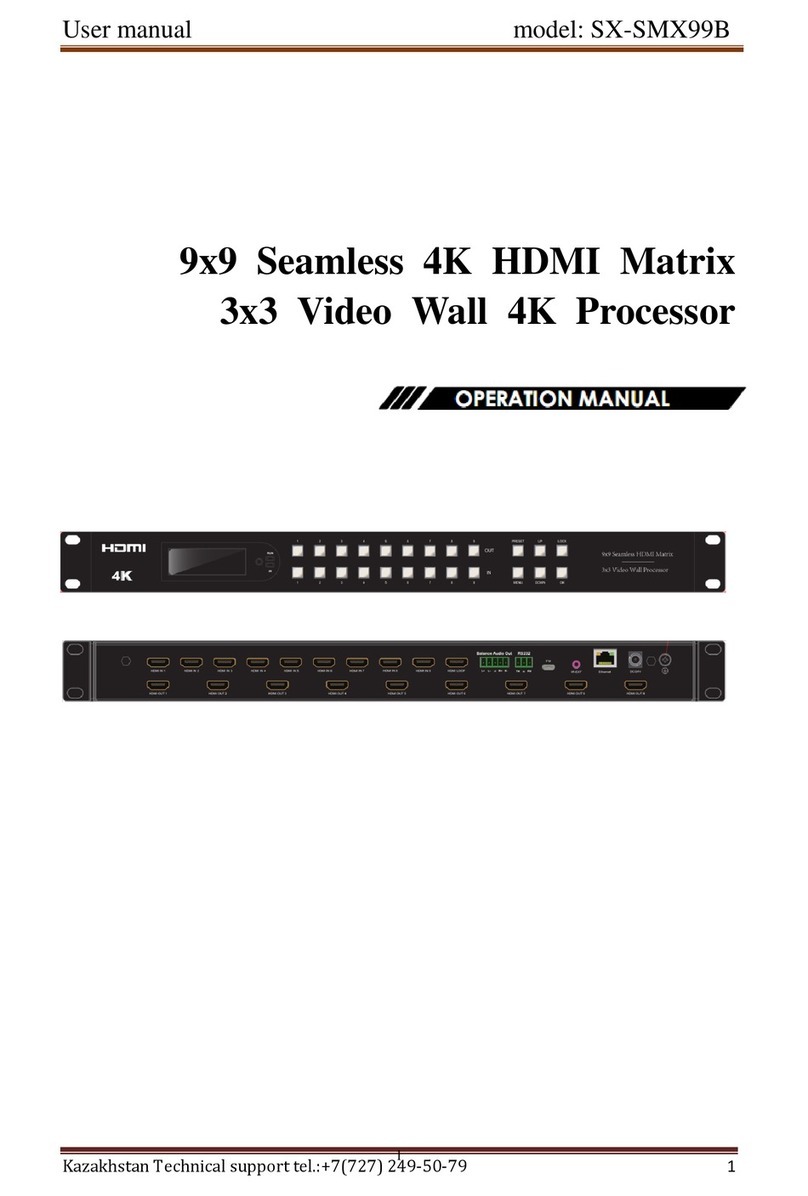
DirekTronik SX-SMX99B User manual

DirekTronik
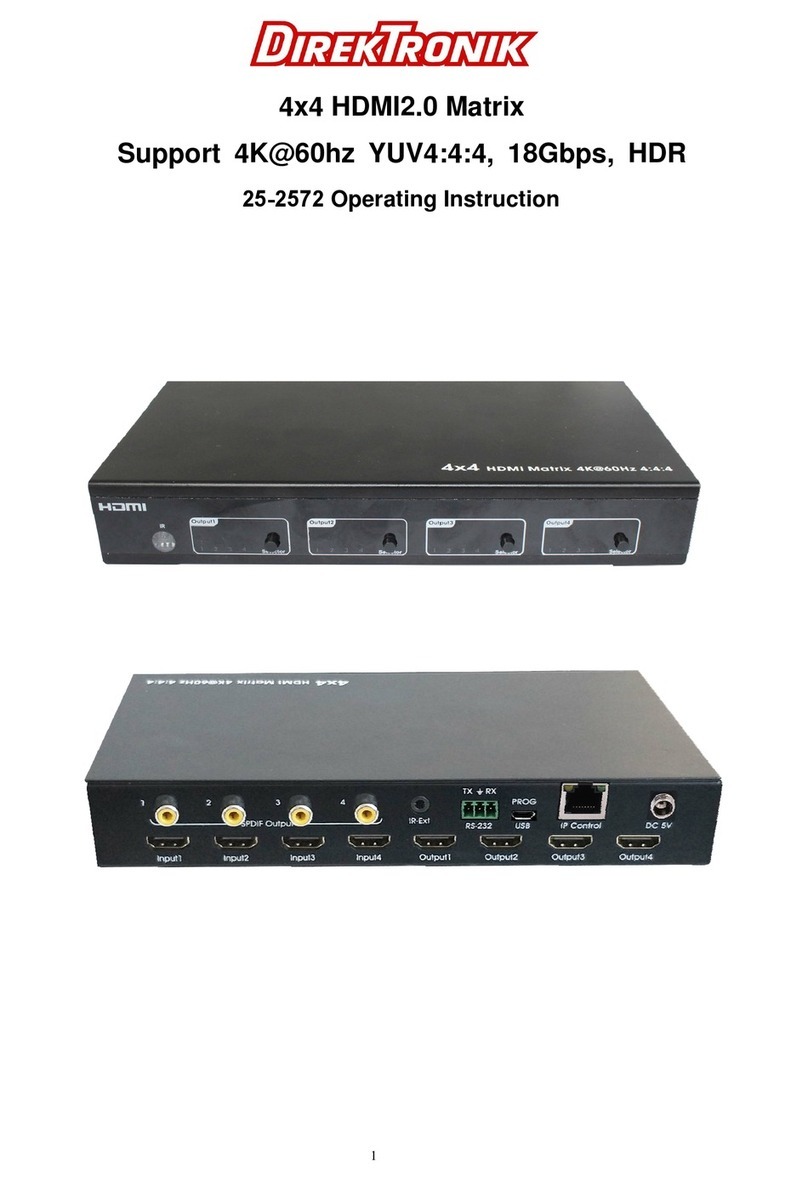
DirekTronik 25-2572 User manual

DirekTronik
DirekTronik 25-0572 User manual

DirekTronik
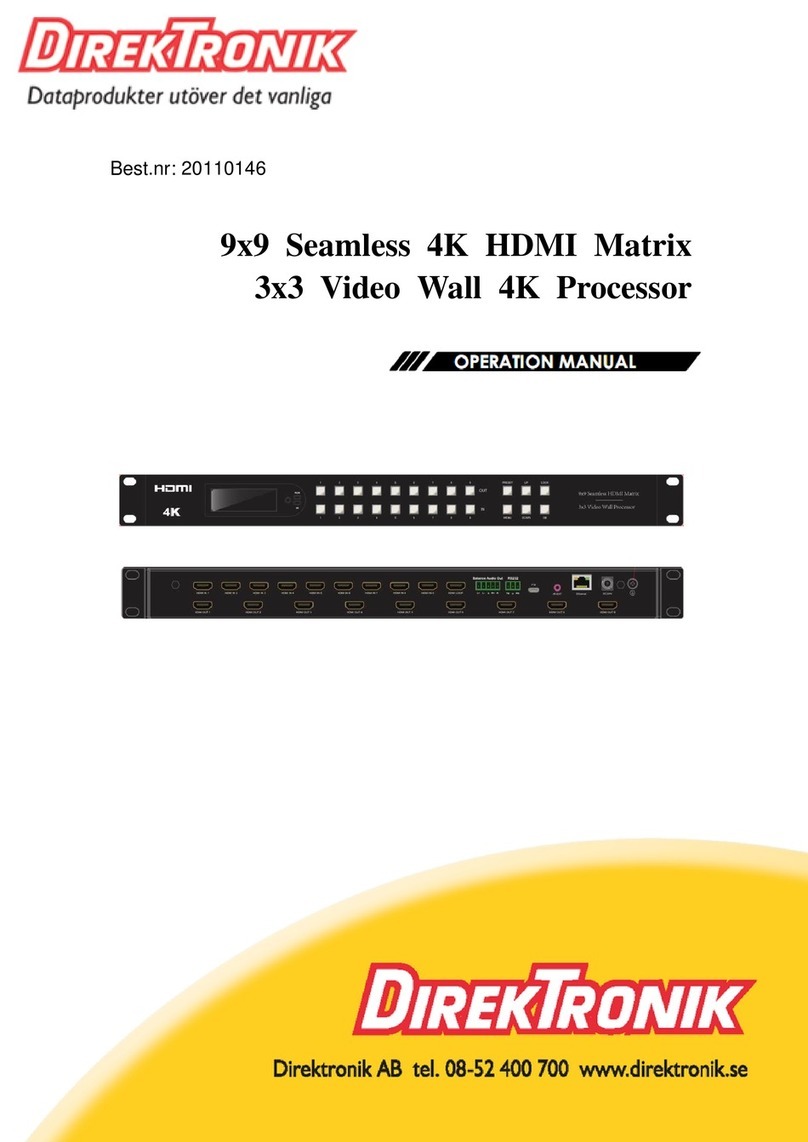
DirekTronik 20110146 User manual

DirekTronik
DirekTronik 20112738 User manual

DirekTronik
DirekTronik SDVN-44-X-S User manual

DirekTronik
DirekTronik 20102284 User manual