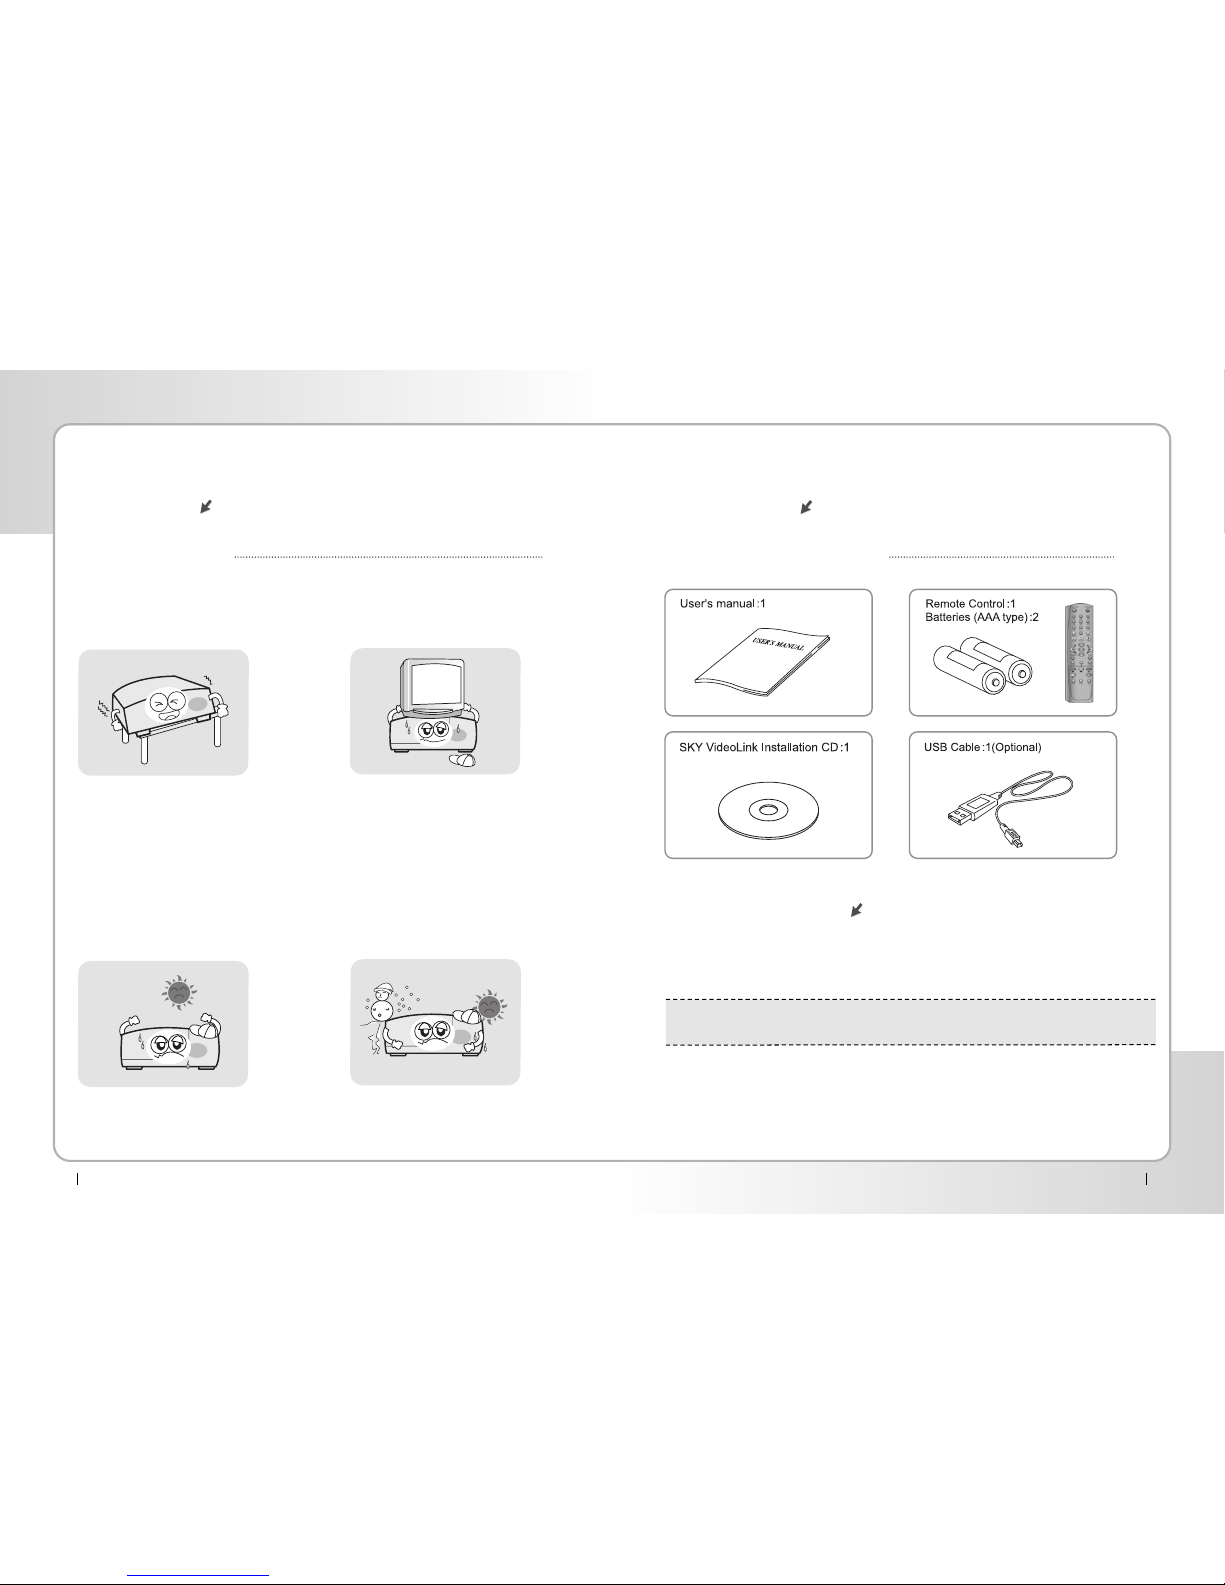
1. Introduction
3 Digital Satellite Receiver
1-1 Overview
This Receiver is your “Window to the World”giving you the opportunity to enjoy both
Free-To-Air and encrypted programs. Enjoy the rich choice of more than 4,000
different channels, broadcasting a large range of culture, sports, cinema, news,
events, etc and the advanced functions of channel editing as your pleasure.
1-2 Main Features
▶Fully compliant with MPEG-2 and DVB standards
▶User friendly operating Menu and On-Screen Graphic Menu
▶Easy to use EPG(Electronic Program Guide) on screen
▶Extended EPG and Program reservation through EPG
▶Name Changeable 5 Favorite groups
▶Each Channel Volume Saving Function
▶4 Color buttons for rapid selection and convenience
▶Age protection lock function
▶Tele-text encoding
▶Manual PID control
▶Software downloading via RS-232C connector
▶DiSEqC 1.0 &1.2 compatible
▶Integrated COMMON INTERFACE and SKYCRYPT Conditional Access System
▶Multi-access with two Common Interface card reader and one card slot for
SKYCRYPT Conditional Access System
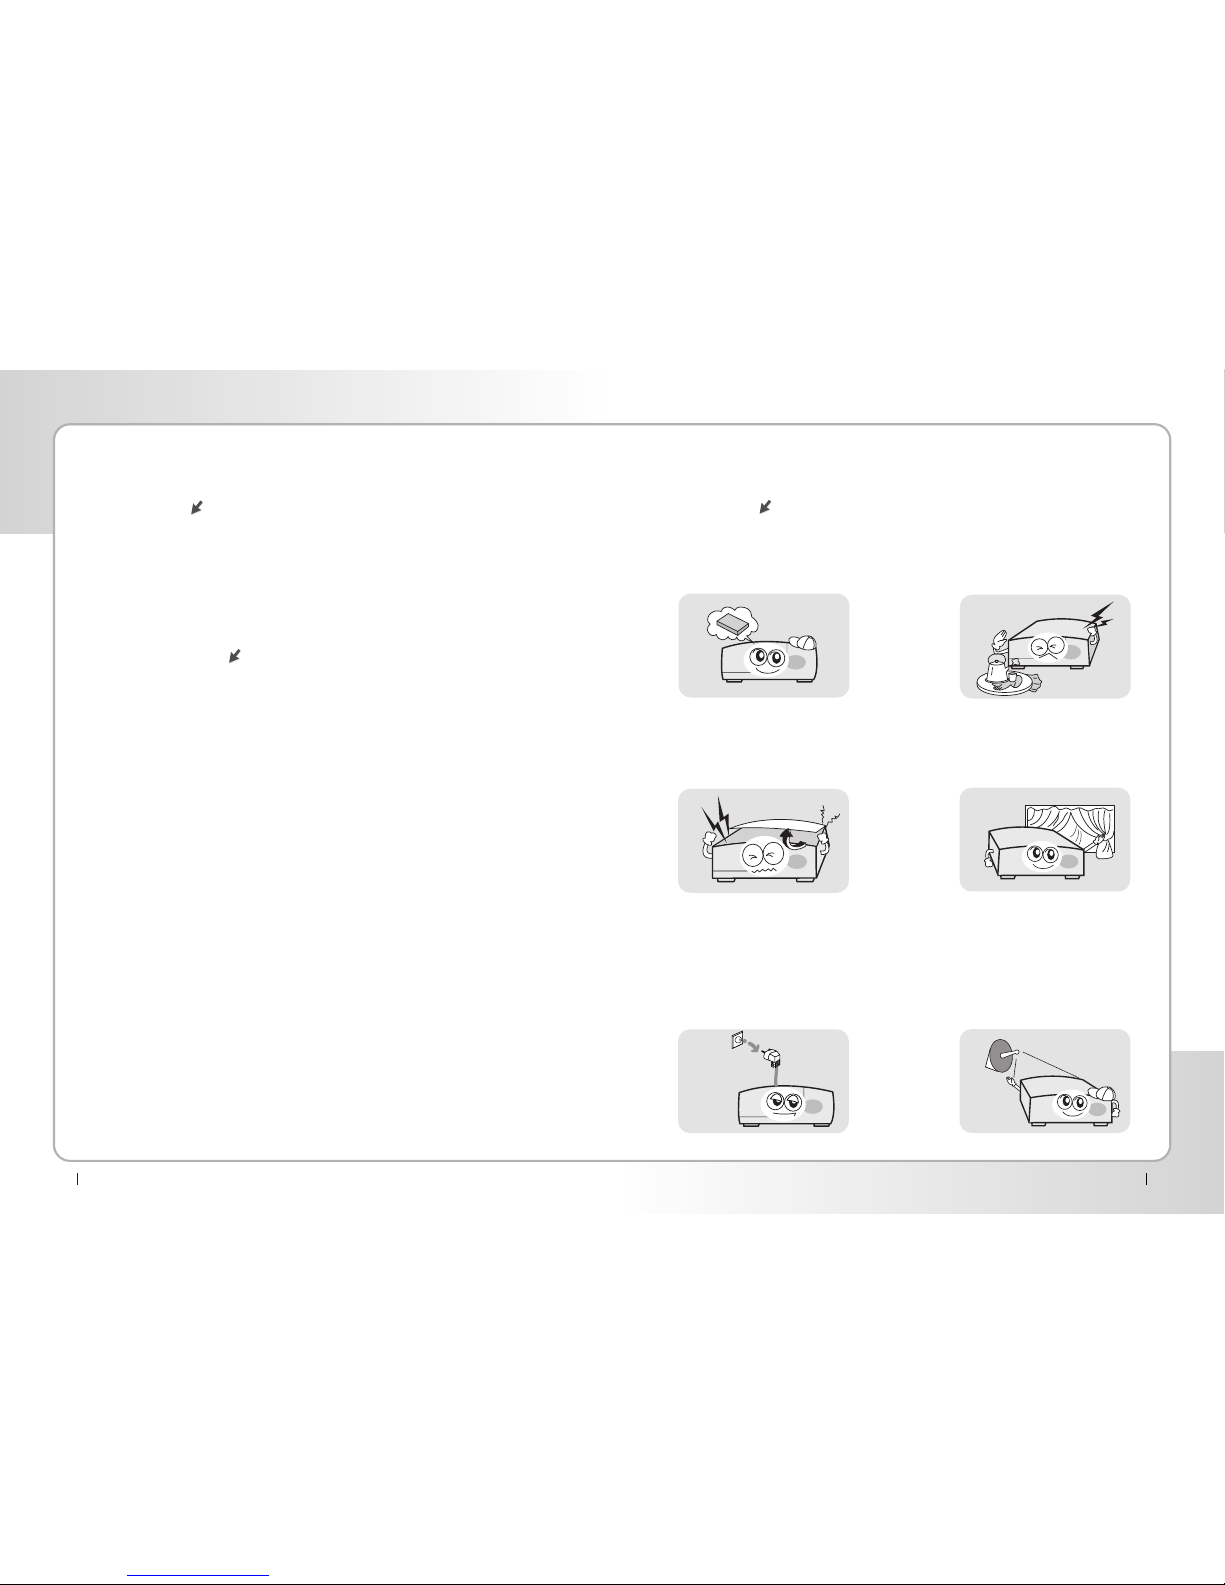
2-1 Safety
Be sure read the user’s manual
before starting the operation of the
unit.
Never open the cover. It is very
dangerous to touch the inside of the
unit due to pdssible electric shock.
When you do not use this unit for a
long time, make sure that power
cord is pulled out from the outiet.
Also do not use a damaged power
cord as it may cause fire or electric
shock.
Do not touch the cord with wet
hands as it may cause electric
shock.
Place the unit a well ventilated and
no-heat enviroment.
A professional installation is
required.
If reception is intemupted, comtact
your local service centre.
Digital Satellite Receiver 4
2. Safety / Precaution