DOD GS30 User manual


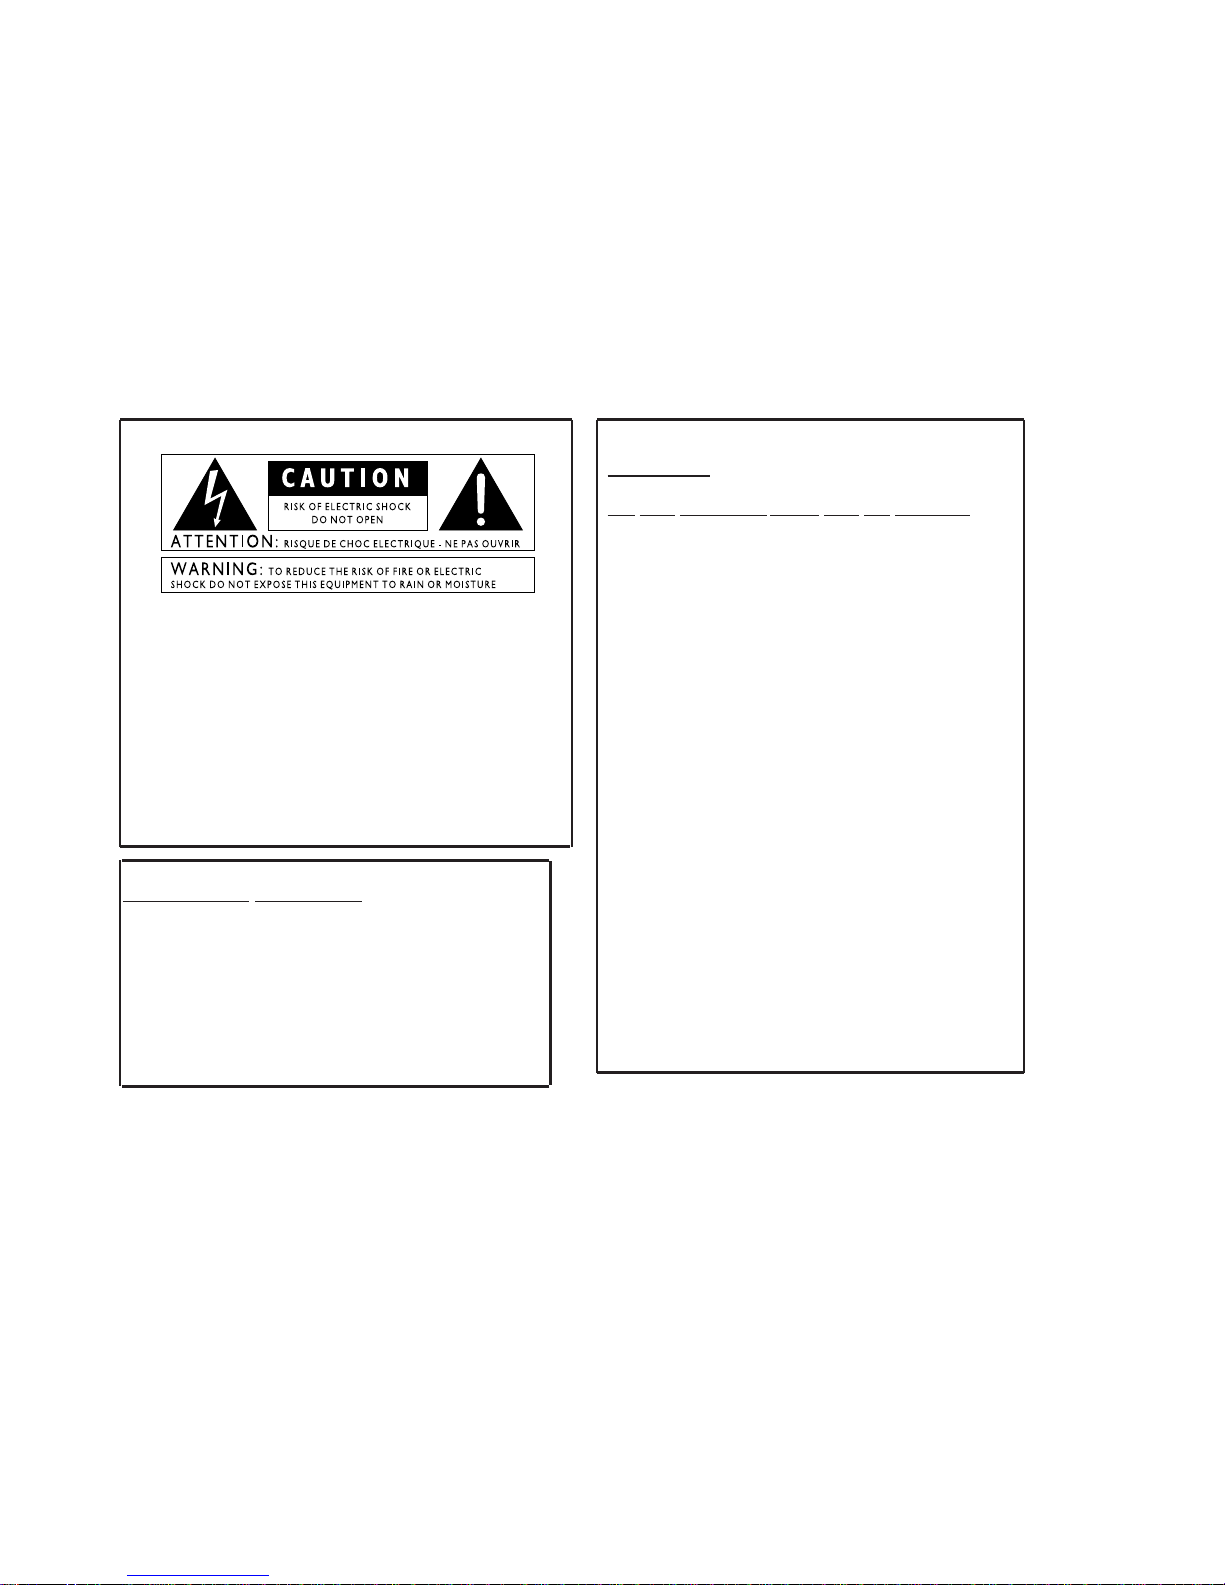
These symbols are internationally accepted symbols that warn of potential
hazards with electrical products.The lightning flash means that there are
dangerous voltages present within the unit.The exclamation point indicates
that it is necessary for the user to refer to the owners manual.
These symbols warn that there are no user serviceable parts inside the unit.
Do not open the unit. Do not attempt to service the unit yourself. Refer all
servicing to qualified personnel. Opening the chassis for any reason will void
the manufacturer’s warranty. Do not get the unit wet. If liquid is spilled on
the unit, shut it off immediately and take it to a dealer for service.
Disconnect the unit during storms to prevent damage.
Warning
For your protection, please read the following:
Water and Moisture: Appliances should not be used near water
(e.g. near a bathtub, washbowl, kitchen sink, laundry tub, in a wet
basement, or near a swimming pool, etc.) Care should be taken so
that objects do not fall and liquids are not spilled into the enclosure
through openings.
Power Sources: The appliance should be connected to a power
supply only of the type described in the operating instructions or as
marked on the appliance.
Grounding or Polarization: Precautions should be taken so that
the grounding or polarization means of an appliance is not defeated.
Power Cord Protection: Power supply cords should be routed so
that they are not likely to be walked on or pinched by items placed
upon or against them, paying particular attention to cords at plugs,
convenience receptacles, and the point where they exit from the
appliance.
Servicing: To reduce the risk of fire or electrical shock, the user
should not attempt to service the appliance beyond that described in
the operating instructions.All other servicing should be referred to
qualified service personnel.
For units equipped with externally accessible fuse recepta-
cle: Replace fuse with same type and rating only.
Electromagnetic Compatibility
Operation is subject to the following conditions:
•This device may not cause harmful interference.
•This device must accept any interference received, including interfer-
ence that may cause undesired operation.
•Use only shielded interconnecting cables.
•Operation of this unit within significant electromagnetic fields should
be avoided.

DECLARATION OF CONFORMITY
anufacturer’s Name: DOD Electronics
anufacturer’s Address: 8760 S. Sandy Parkway
Sandy, Utah 84070
eclares that the product:
roduct Name: GS30
roduct Options: All (requires a Class II power adapter that conforms to the requirements of EN60065,
EN60742, or equivalent).
onforms to the following product specifications:
afety: EN 60065 (1993)
IEC65(1985) with Amendments 1, 2, 3
MC: EN 55013 (1990)
EN 55020 (1991)
upplementary Information:
he product herewith complies with the requirements of the Low voltage directive 73/23/EEC and the EMC Directive
9/336/EEC as amended by directive 93/68/EEC.
DOD Electronics
President
8760 S. Sandy Parkway
Sandy, Utah 84070, USA
Effective (5/11/99)
uropean Contact: Your local DOD Sales and Service or
Harman Music Group
8760 S. Sandy Parkway
Sandy, Utah, USA
Tel: (801) 568-7642
Fax: (801) 568-7638
II

Table of Contents
fety Information................ I
eclaration of Conformity.... II
ble of Contents................. III
ntroduction
ongratulations................... 1
cluded Items................... 1
atures.............................. 1
Section One
Guided Tour..................... 2
Front Panel....................... 2
Rear Panel........................ 5
etting Started.................... 6
aking Connections........... 6
Section Two
erformance Mode.............. 8
lecting a Preset................. 8
Data Wheel........................ 8
Footswitches...................... 9
ccessing the Tuner............. 10
arn-A-Lick/Jam-A-Long.... 11
Section Three
diting a Preset................... 13
ser Interface..................... 13
Comp/Wah........................ 14
Expression........................ 14
Model............................... 14
Tone/Gate......................... 14
Effect................................ 15
Delay/Reverb.................... 15
Parameters....................... 15
SpkrSim............................ 16
Store................................. 16
Display.............................. 16
Expression Pedal................ 16
Storing/Copying.................. 18
Section Four
Effect Definitions................ 19
Parameter Definitions........ 22
Section Five
Creating a Preset................. 24
Section Six
Resetting the GS30.............. 28
Pedal Calibration............... 28
Maintenance....................... 29
Section Seven
Warranty............................ 30
Specifications.................... 31

ntroduction
Congratulations!
ou are now the proud owner of the GS30 complete guitar system. The GS30 is an extremely powerful tool capable of producing
rtually any sound that you can imagine. It offers Amp/Guitar Modeling, and a host of great sounding digital effects including:
ompression, Distortion, Equalization, Noise Gate, Chorus, Flange, Phaser, Tremolo, Pitch Shifter, Detuner, Ring Modulator,
xellator, Enveloped Effects, Pitch Bending, Wah, Auto Wah, Tape Delay, Pong Delay, Delay and Reverb. The GS30 also includes a
hromatic tuner, the Jam-A-Long and Learn-A-Lick function and a built in expression pedal capable of controlling effects in real
me. This Owner’s manual is your guide to getting the most out of your GS30. Please read it carefully, to get familiar with the
ontrols of the GS30. This will ensure years of musical satisfaction.
ncluded Items
our GS30 was carefully assembled and packaged at the factory. Before proceeding any further please make sure the following
ems are included.
1 GS30 Guitar System
1 PS750 External Power Supply
1 Owner’s Manual
1 Warranty Registration Card
1 Preset Card
ease save all packing materials, and take a moment to fill out the warranty registration card. It is your safeguard in the unlikely
ent that your GS30 needs servicing. Please use the packing materials to return the unit if necessary.
Features
1
Authentic Amp/Guitar Modeling
Built-in Expression Pedal
30 User/30 Factory Presets
Up to 10 Effects at Once
Stereo Outputs
• Chromatic Tuner
• Externally Isolated Transformer
• Learn-A-Lick
• Jam-A-Long
• Headphone Output

SECTION ONE - Introduction
A Guided Tour of the GS30
Front Panel
Program Footswitches - These switches provide access to the GS30 user presets. They are also
used to bypass the GS30, access the Tuner, and perform various functions
for the Learn-A-Lick feature.
2. Bank Footswitches - These two switches are used to advance or reverse the currently selected Bank.
The Bank Up switch is also used to access the Learn-A-Lick mode.

3. Edit Section - These columns and buttons are used to select, bypass, and edit each specific effect group.
The effects which are currently active within a preset are indicated by a lit LED. The button
at the bottom of each column will select the effect group within the indicated column.
Successive presses of the same button will advance to the next type of effect within that
group. The currently selected effect will be represented by a flashing LED. The effect
groups include Compression, Wah, Expression Pedal, Amp/Guitar Modeling, Tone and
Gate, 10 Modulation/Pitch Shift Effects, Delay, and Reverb.
4. Parameter Section - This column represents the various aspects of the Mod/Pitch, Delay, and Reverb
Effects which can be fine tuned to suit your application. When any of these three
effect groups are selected, the associated parameter LEDs will light indicating
that you can fine tune these aspects of the selected effect. The parameters are
selected with the button at the bottom of the parameter column, and the
selected parameter will be indicated by a flashing LED. Successive presses of the
parameter button will advance to the next available parameter. Once the desired
Parameter has been selected, the current value will be shown in the display (7),
and you may adjust the value of the parameter with the Data Wheel (9). The
Parameter LEDs also serve as sharp and flat indicators in the tuning mode.
5. Tuning LEDs - The In Tune LED works in conjunction with the parameter LEDs while you are in Tuning
mode. Once the Tuner has been accessed, the Display (7) will show the note being played
and the parameter LEDs will indicate whether you are sharp or flat of the displayed note.
Parameter LEDs above the In Tune LED indicate that you are sharp and need to tune
down. Parameter LEDs below the In Tune LED indicate that you are flat and need to tune
up. Your note is in tune when the In Tune LED is the only one lit.
3

6. Speaker Simulator - This button is used to engage or disengage the Speaker Simulator. The LED will
light when the Speaker Simulator is engaged.
7. Display - The Display serves four functions. In performance mode, the Display will indicate the Bank and
Preset that is currently active. In edit mode, the Display will show the status or value of the effect
or effect group being edited. In Tuner mode, the display will show the note played. In Learn-A-
Lick Mode, the Display will show the status of the function, and the selected play back speed.
8. Store Button and LED - After editing a Preset, your modifications must be stored in order for the
GS30 to remember the changes that you made. When you change any
aspect of a Preset, the Store LED will light indicating that you need to use
the Store button to save the change.
9. Data Wheel - This knob is used to select the Preset in performance mode, and to increase or decrease
the value of a Parameter in the edit mode. It is also used to change the tuning reference
in Tuner mode.
0. Expression Pedal - This pedal can be assigned to control one of 9 different Parameters in real time
for each Preset. As you rock the pedal back and forth, the value of the assigned
Parameter will change giving you expressive control over the effects.

Rear Panel
A. Input Jack - Connect your instrument to this jack.
B. Jam-A-long/Learn-A-Lick -Connect from the headphone output of your tape or CD player to this
jack. This is used for playing along with your tapes and CD’s, or
recording material for the Learn-A-Lick function.
C. Headphone -This jack is used for connecting a pair of stereo headphones to the GS30.
D. Left Output -Connect from this jack to the input of your amplifier for mono applications, or to the left
channel of a stereo power amp for stereo applications.
E. Right Output -Connect from this jack to a second amplifier, or right channel of a stereo power amp for
stereo applications.
F. Power Jack -Connect only the PS750 power supply to this jack.
5

Getting Started
he GS30 is ready for you to plug in and play. It already has a variety of sounds programmed into both the 30
ctory and 30 user Presets. You will find that the User Presets are exact duplicates of the Factory Presets. The
actory Presets are permanently written into the GS30 and cannot be changed. The User Presets can be
verwritten with your sound creations as many times as you choose.
Making Connections
he GS30 can be run in mono or stereo. The following connections outline the set up for both applications. These
eps should be performed in the order that are listed here. Make sure that you do not connect the power to the
S30, or turn on the power to your amplification until the completion of these steps.
Other manuals for GS30
1
Table of contents
Other DOD Amplifier manuals


