DORAL DO-1662S-White User manual

WATER DISPENSER
Instruction Manual
Model: DO-1662S-White
The diagram above is just for reference. Please take the
appearance of the actual product as the standard.
Please read the manual carefully before operating
your water dispenser. Retain it for future reference

1
A: SAFETY INSTRUCTION
B: FUNCTION INTRODUCTION
1. This series model can satisfy the need of tea & coffee and making drinking.
It must be used indoor only.
2. With adoption of distinctive thermal isolation technology, this machine can minimize thermal
exchange between hot & cold water.
3. WARNING: Do not damage the refrigerant circuit.
4. Do not store explosive substances such as aerosol cans with a flammable propellant in this
appliance.
1.This appliance is not intended for use by persons (including children) with reduced physical,
sensory or mental capabilities, or lack of experience and knowledge, unless they have been
given supervision or instruction concerning use of the appliance by a person responsible for
their safety.
2.Children should be supervised to ensure that they do not play with the appliance.
3.If the supply cord is damaged, it must be replaced by the manufacturer, its service agent or
similarly qualified persons in order to avoid a hazard.
4.This appliance is intended to be used in household and similar applications such as: staff
kitchen areas in shops, offices and other working environments; farm houses and by clients
in hotels, motels and other residential type environments; bed and breakfast type
environments; catering and similar non-retail applications.
5.The appliance must not be cleaned by a water jet.
6.The appliance is suitable for indoor use only.
7.WARNING: Keep ventilation openings, in the appliance enclosure or in the built-in structure,
clear of obstruction.
8.WARNING: Do not use mechanical devices or other means to accelerate the defrosting
process, other than those recommended by the manufacturer.
9.The appliance must not be immersed.
10.It is recommended to use bottled pure water.If you use hard water, may lead to hot pot furring
or detonation tank or pipeline risk.If you need cleaning tube, remove scale, need to find a
professional institutions and professional operation.
11.This product is not recommended to use in areas above 2,500m altitude.

2
C: PARTS NAME
NOTE:
This machine is suitable for bottle of 3 or 5 gallons.
Don’t use unhealthy hard water.
(FRONT) (REAR)
No.
1
2
3
4
5
6
7
8
9
10
11
12
13
14
15
16
PART NAME
Bottle supporter
No. PART NAME
Top cover
Heating pilot lamp
Power pilot lamp
Cooling pilot lamp
spout
Water collector
Heating switch
Cooling switch
Power supply cord
Outlet of hot water
Outlet of cold water
Condenser
Button of cold water
Button of hot water
Button of normal water

3
D: OPERATION INSTRUCTION
E: CAUTION
1. Keep this machine in place of dry and avoid direct sunshine.
Rear of the machine should be no more than 75mm against
from the wall. Never put the machine on paper or foam,
which may cause unstable condition, Never put anything
flammable beside this machine.
2. To avoid damage to the machine, don't plug the power
cord or push the red switch until water runs out from the
tap of hot water.
3. In case hot (or cold) water is not needed for a long time,
turn off the switch accordingly to save power.
4. In case not to use this machine for a long time, turn off the
switch, then pull the plug out from socket and drain the
remaining water through draining outlet.
5. Never use organic liquid to clean the machine. Strictly prohibit
using water to the splash it.
1. Tear the label from the bottle.
2. Vertically insert the bottle into the bottle supporter on top of the
machine. Do not plug the power cord or push the heating switch
until water runs out from the tap of hot water.
3. Insert the plug to socket, then turn on the switch. Indicators light
up accordingly once the machine works.
4. Vertically pull out the bottle by two hands when the bottle is empty,
then replace it with another bottle of water.
5. This appliance should work under environment of temp from
4~40°C humidity ≤90%.
6. This appliance is not suitable for installation in an area where a water jet could be used.
C

4
6. Never turn on (off) the machine by plugging the plug to (pulling
the plug out from) the socket. Never increase the length of the
power supply cord to avoid fire.
7. If the supply cord is damaged, it must be replaced by the
manufacturer, its service agent or similarly qualified persons
in order to avoid a hazard.
8. Never turn the machine upside-down or lean it more than 45°.
9. When the machine is under the ice point and blocked by ice,
the cooling switch must be closed for 4 hours before turning
it on again to continue its operation.
10. This machine should not be turned on until 3 minutes later
after turning off the power switch.

5
F: TROUBLE SHOOTING
Please check the followings before having the machine repaired.
PROBLEMS POSSIBLE CAUSES ELMINATION
Not hot or cold
water
1. Over consumption of hot or
cold water in short time.
2. No power supply
1. Just wait a moment, then hot or
cold water is available again.
2. Connect plug to socket, turn on
heating or cooling switch.
No water
running out
from taps
1. Empty bottle
2. Inlet of bottle supporter
blocked by bottle seal
1. Replace it with another one.
2. Clean out wasted paper & bottle
seal, install bottle again
Leakage from
bottle supporter Broken bottle Replace it with a new bottle
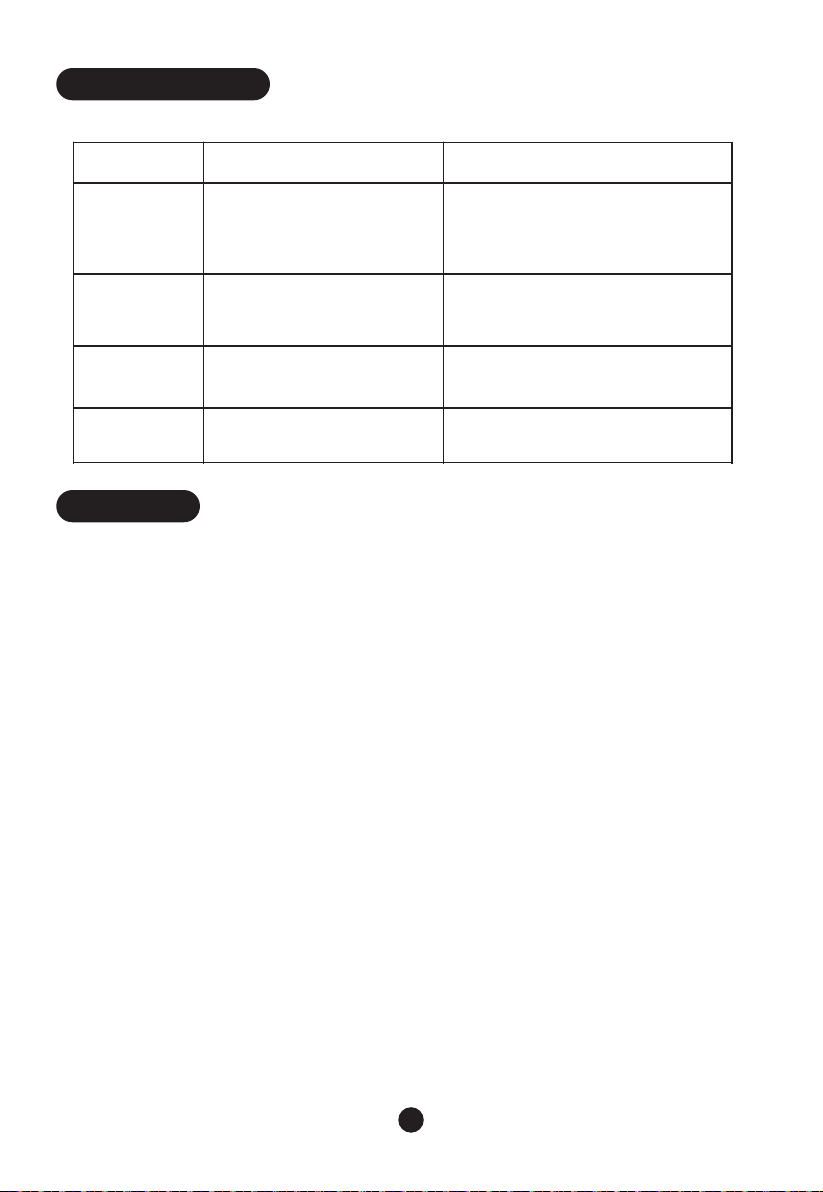
Noisy operation Not placid installation
Place the machine on placid &
solid surface
G: CLEANING
To avoid accident, cut off the power supply before operation according to the following
instruction.
1.The machine had been disinfected before departed from factory.
Cleaning the dispenser prior to installing a full bottle of water for the first time.
2.Cleaning and draining instruction:
a) Before cleaning, make sure the power switch in the O(off) position and unplug the water
dispenser.
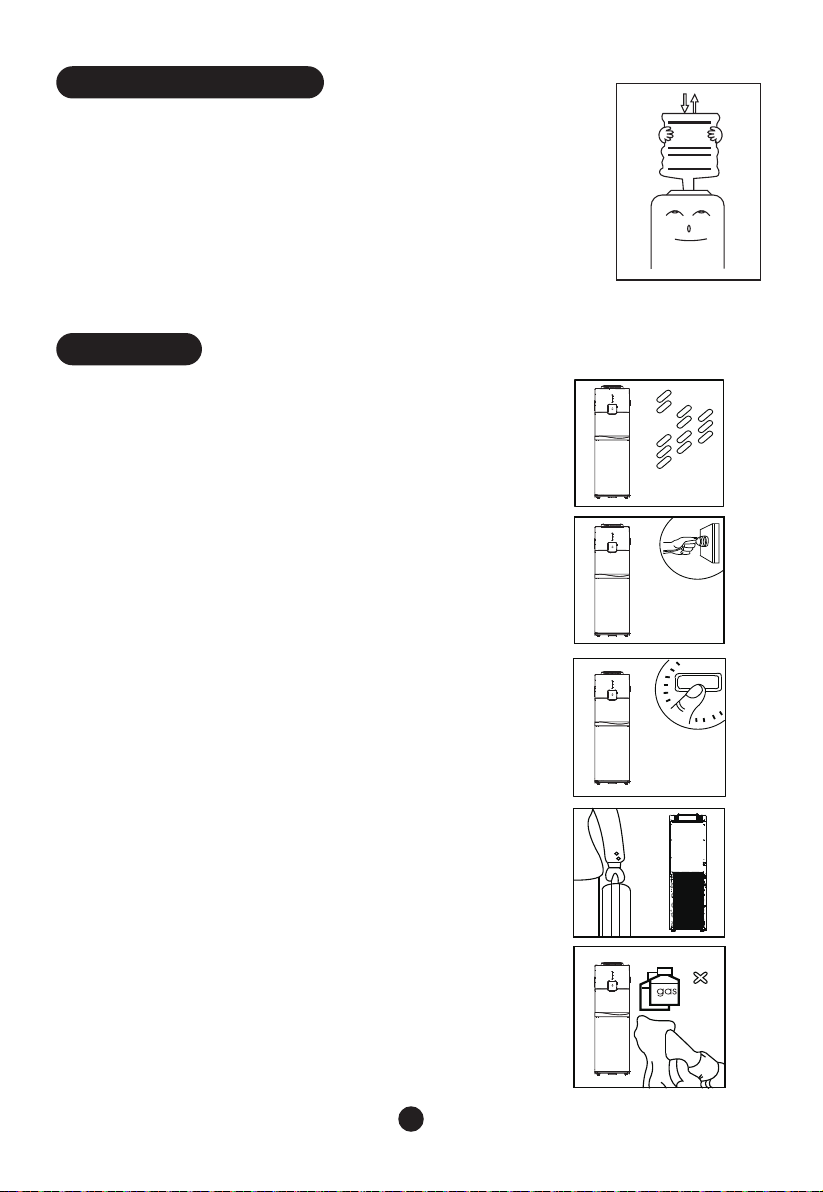
b) Vertically insert the bottle into the supporter on the top of the machine.
c) Turn on all the taps in turn for 3 minutes after the water outflow, which completes the internal
pipeline flushing.
d) Removed the water bottle from the dispenser.
e) Place a large bucket beneath the drain outlet. Remove the drain cover and allow water to
drain.
f) After cleaning, replace the drain cover and you can use the machine.
Attention: The dispenser heats water to a temperature of approximately 85°C. It can cause
severe burns. Please operation it carefully.
3. Sanitizing
The machine should be disinfected with the disinfectant separately bought from drugstore or
marketplace according to the instruction manual of the disinfectant and then clean it with water
(see cleaning and draining instruction). Generally this should be done every three months.
4. To remove mineral deposits:
Mix 4 liters water with 200g citric acid crystals, inject into the machine and make sure the water
can flow out of the hot water tap. Switch on the power and heat it about 10 minutes, 30 minutes
later, drain off the liquor and clean it with water for two or three times. Generally this should be
done every six months.
Never disassemble this machine by yourself to avoid danger from damaged machine.

6
H: MACHINE INSTALLATION
The packaging material used is recyclable; we recommend that you separate plastic,
paper and cardboard and give them to recycling companies. To help preserve the
environment, the refrigerant used in this product is R134a (Hydrofluorocarbon
-HFC), which does not affect the ozone layer and has little impact on
the greenhouse effect. According to WEEE (Waste of Electrical and
Electronic Equipment) guidelines, waste from electrical and electronic
devices should be collected separately. If you need to dispose of this
appliance in the future, do NOT throw it away with the rest of your
domestic garbage. Instead, please take the appliance to he nearest
WEEE collection point, where available.
WARNING! To avoid a hazard due to instability of the appliance, it must be fixed in accordance
with the instructions.
Water dispenser
Bracket
The hole for
tighten screw
1-2. Loosen the screw of the left or right bottom angle
just as the picture shown.
3. Use the screw to fix the bracket on the left or right
bottom angle of the water dispenser.
4. Make a hole on the floor’s or the desk’s surface where
the water dispenser will be installed.
5. Fix the bracket on the floor by screw tightly.
6. Tighten the screw.
5 6

The product is subject to change without notice.
Please keep this manual properly.
Table of contents
Popular Water Dispenser manuals by other brands

Elkay
Elkay LZWSRK -EZH2O Installation, care & use manual

Mijar
Mijar MINIBOY VE user manual

Vivreau
Vivreau V3-201 Commissioning instructions

Waterdrop
Waterdrop WD-G3-W instruction manual

Primo Water
Primo Water 601126 Professional Series user manual

Follett
Follett Symphony Plus 25 series Operation and service manual