page 5
Checking Measuring Quality:
We recommend carrying out regular periodical controlling check measurements, as different local circumstances
might need different material adjustments. (recommendation: controlling measurements by oven drying method
ISO 3130-1975 for wood or DIN ISO 287 for paper)
Screed Moisture Measuring:
For accurate determination of moisture in different kind of screed we reccomend the instrument G812 together with
the test module PE05. For further information, please contact:
DNS-Denzel Natursteinschutz GmbH Am Wasserturm 5 73104 Börtlingen; Germany
T
el:
+49
(0)
7161
959
336
Fax:
+49
(0)
7161
959
337
[email protected] www.dns-denzel.de
The DM4A can be used for measuring moisture differences:
1. the measurements are non damaging
2. the measurements are very quickly done
3. if the measured values are too high time sensitive exact measurements e.g. the oven drying method, are
superfluous.
Even in one room great differences of the moisture in the fooring are possible. Therefore non-damaging
measurements are necessary to find out the critical places for an exact time sensitive measurement as e.g. the oven
drying method.
The number of such damaging measurements are then minimised.
The result of our capacitive moisture meter depends on differences in density, mixtures and surface roughness. It
depends also from the moisture profile. The influence to the moisture gets smaller for higher depth. The measuring
result is an average moisture value.
With our moisture meter it is possible to observe the drying process. If at the same place after several days the
moisture result does not change, the moisture is in balance with the air humidity. In this case also at high moisture
readings an exact comparing measurement e.g. with the oven drying method is recommended.
Oven Drying Method:
The oven drying method is the most acurate way to measure the material moisture in
wood (ISO 3130-1975), building materials and paper (DIN ISO 287).
We recommend this for testing and calibrating of all electronic moisture meters.
Short description:
1. For measuring the weights we recommend a balance with an measuring range of 200g and an accuracy of 0,01g
2. For drying you need an oven with adjustable temperatures of 40, 100 and 104°C
3. Take a probe from wood with a sharp saw, avoid edge parts. For building materials take a probe with a with a
sharp chisel to a depth of approx 3cm. the probe should be at least 20g
4. It is very important to take the weight of the first probe immediately, as air humidity may change the moisture
content. Name of the first weight: wet weight (WW)
5. The probe must be dryed in the oven until the weight is constant.
The maximum drying temperatures:
for wood: 104 °C (ISO 3130-1975)
for paper 100°C (DIN ISO 287)
for e.g. concrete flooring:100 °C
for anhydride flooring: 40°C
7. The name of the dry weight is DW.
8. The moisture content is calculated with the formulas:
••
•••
MOISTURE =
(WW - DW)
DW * 100 %
wood moistue (ISO 3130-1975):
MOISTURE =
(WW - DW)
WW * 100 %
building materials and paper:
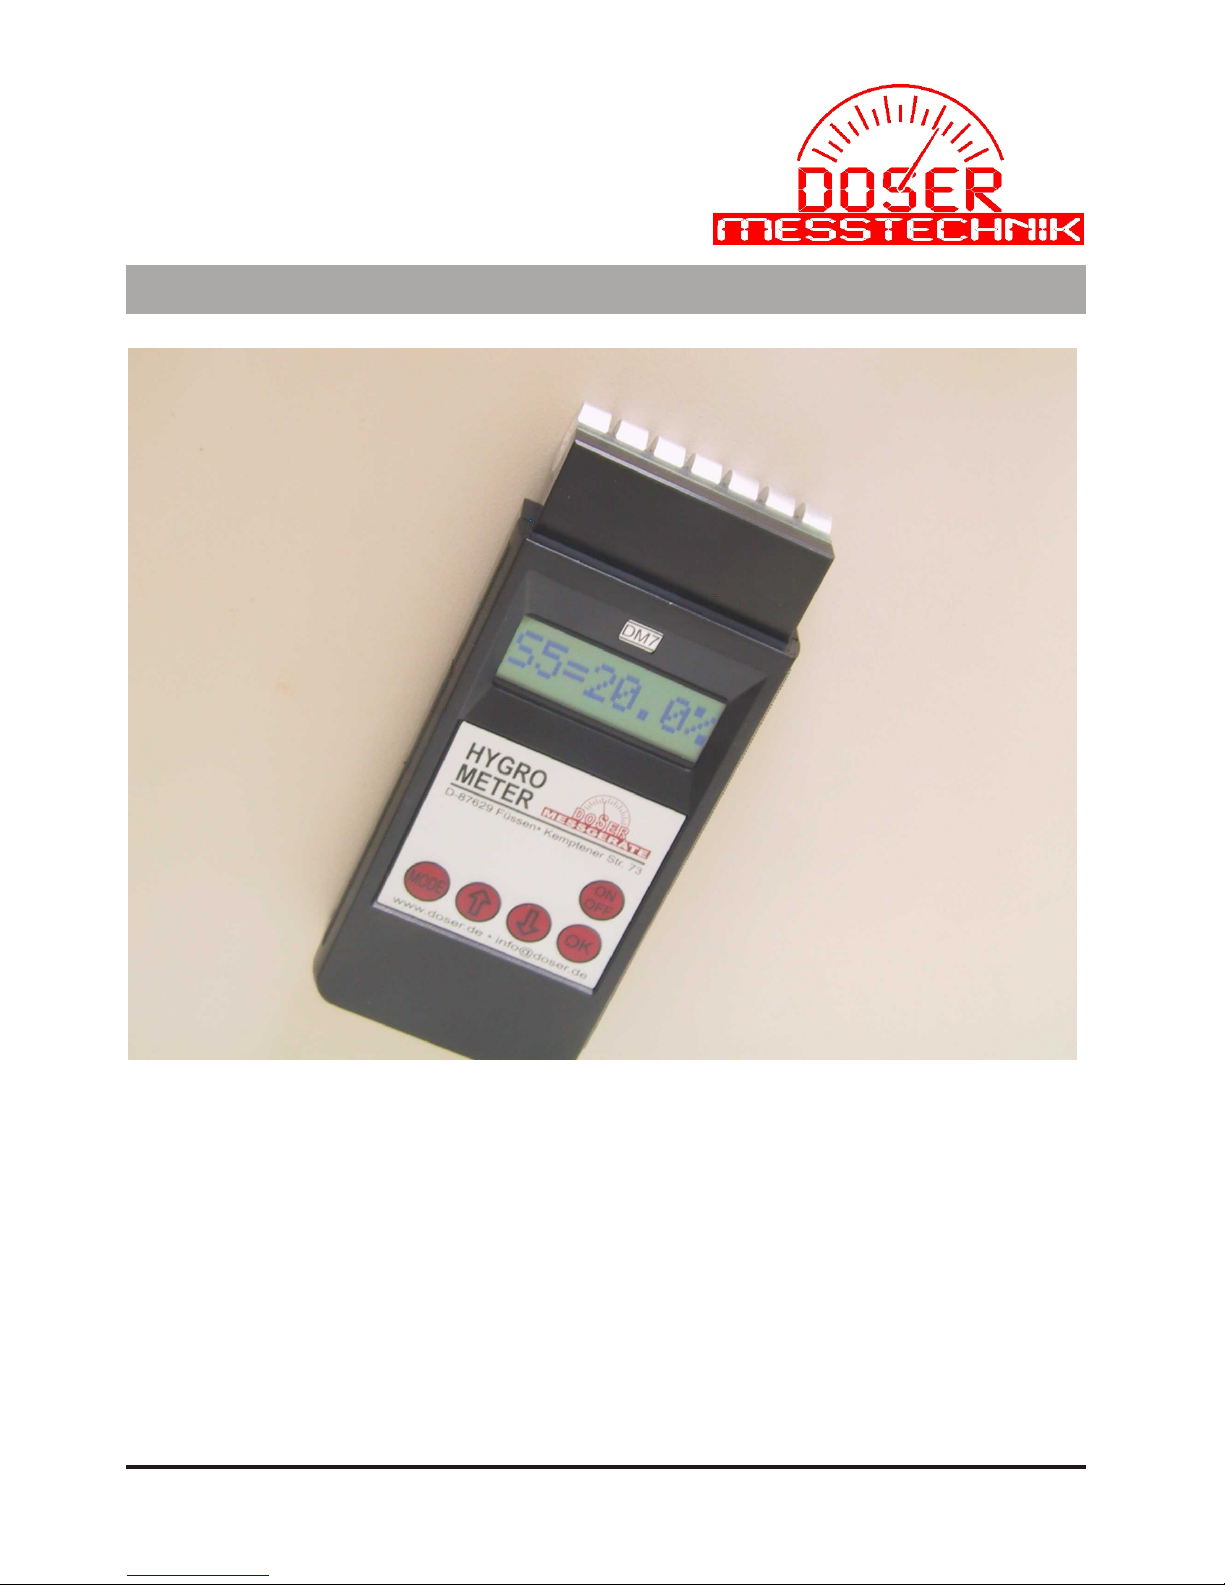
Moisture Meter Type DM7