Remove mounting nut and nylon washer from threaded collar. Note that the
black rubber gasket at the base of faucet body remains in place as used to
create a seal after faucet is installed.
water supply to shorter of these hoses. Flexible supply hoses are complete
Install faucet through hole in sink. Slide nylon washer up to threaded collar
follow by mounting nut. Thread mounting nut to underside of sink but do
not tighten as yet.
Slowly turn on water supply valves while checking to insure all connections
are tight and there are no leaks.
Determine the direction you would like the handle to face when in the
off(down) position. Generally, when installed in the center of the sink, this
would be straight forward and when installed in the corner of the sink,
diagonally across the sink. Center the faucet through the hole in your sink
and then faucet body in place. Tighten mounting nut until faucet is secure
being careful not to over tighten.
several times. When done, reinstall water saver aerator and enjoy your new
kitchen faucet.
Step 1
Step 4
Step 2
Step 5
Step 3
Step 6
Installation Instructions
Maintenance/Cleaning Instructions
Knob Handles: Rotating the hot side knob handle counter clockwise, and likewise rotating the cold
Lever Handles: Rotating the hot side
lever handle counter clockwise, and likewise rotating the cold side lever handle clockwise, opens the
Cleaning Tips:
-
mend the use of mild soap and water to clean the faucet. THE USE OF ABRASIVE CLEANERS MAY
SCRATCH THE FINISH.
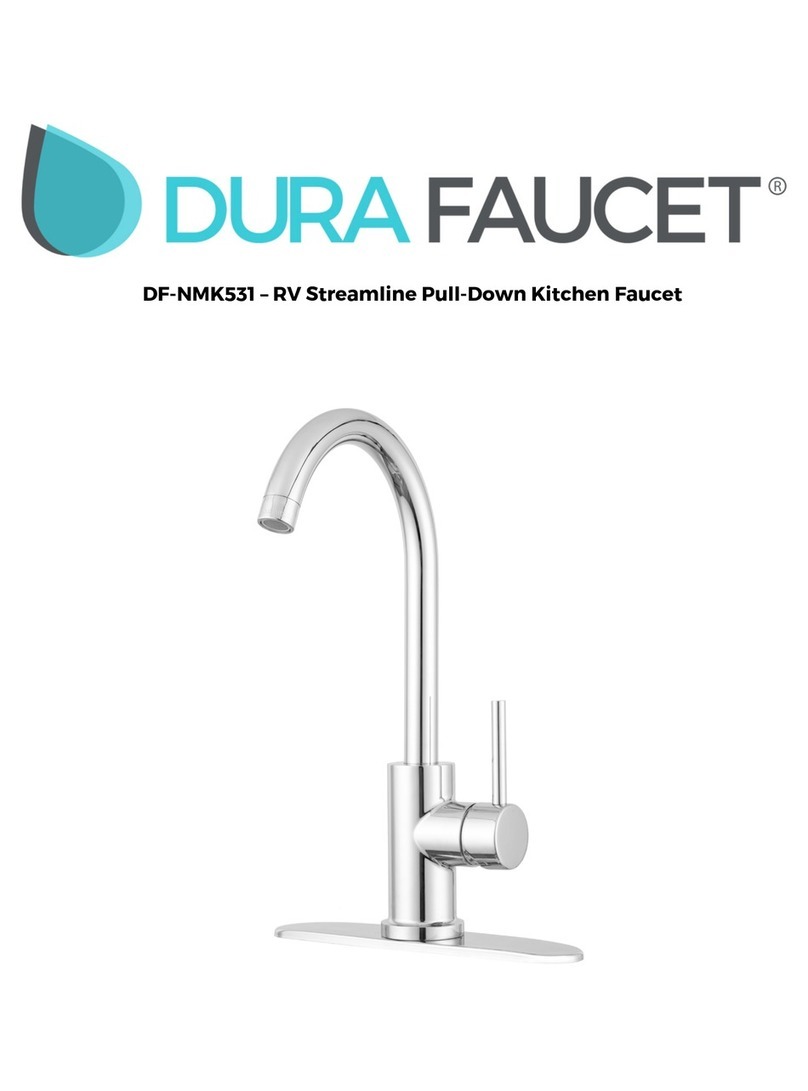
INSTALLATION INSTRUCTIONS
STEP 1Remove mounting nut and nylon washer from threaded collar. Note that the
black rubber gasket at the base of faucet body remains in place as used to create a
seal after faucet is installed.
STEP 2Install faucet through hole in sink. Slide nylon washer up to threaded collar
follow by mounting nut. Thread mounting nut to underside of sink but do not tighten as
yet.
STEP 3Determine the direction you would like the handle to face when in the off(down)
position. Generally, when installed in the center of the sink, this would be straight
forward and when installed in the corner of the sink, diagonally across the sink. Center
the faucet through the hole in your sink and then faucet body in place. Tighten mounting
nut until faucet is secure being careful not to over tighten.
STEP 4Connect hot water supply to longer of two flexible supply hoses and cold water
supply to shorter of these hoses. Flexible supply hoses are complete with 1/2I.P.S.
fittings for your convenience.
STEP 5Slowly turn on water supply valves while checking to insure all connections are
tight and there are no leaks.
STEP 6Remove water saver aerator from end of spout and run water for 30 to 60 seconds
to flush the lines. At the same time, turn the spray off and on several times. When done,
reinstall water saver aerator and enjoy your new kitchen faucet.
MADE IN TAIWAN
