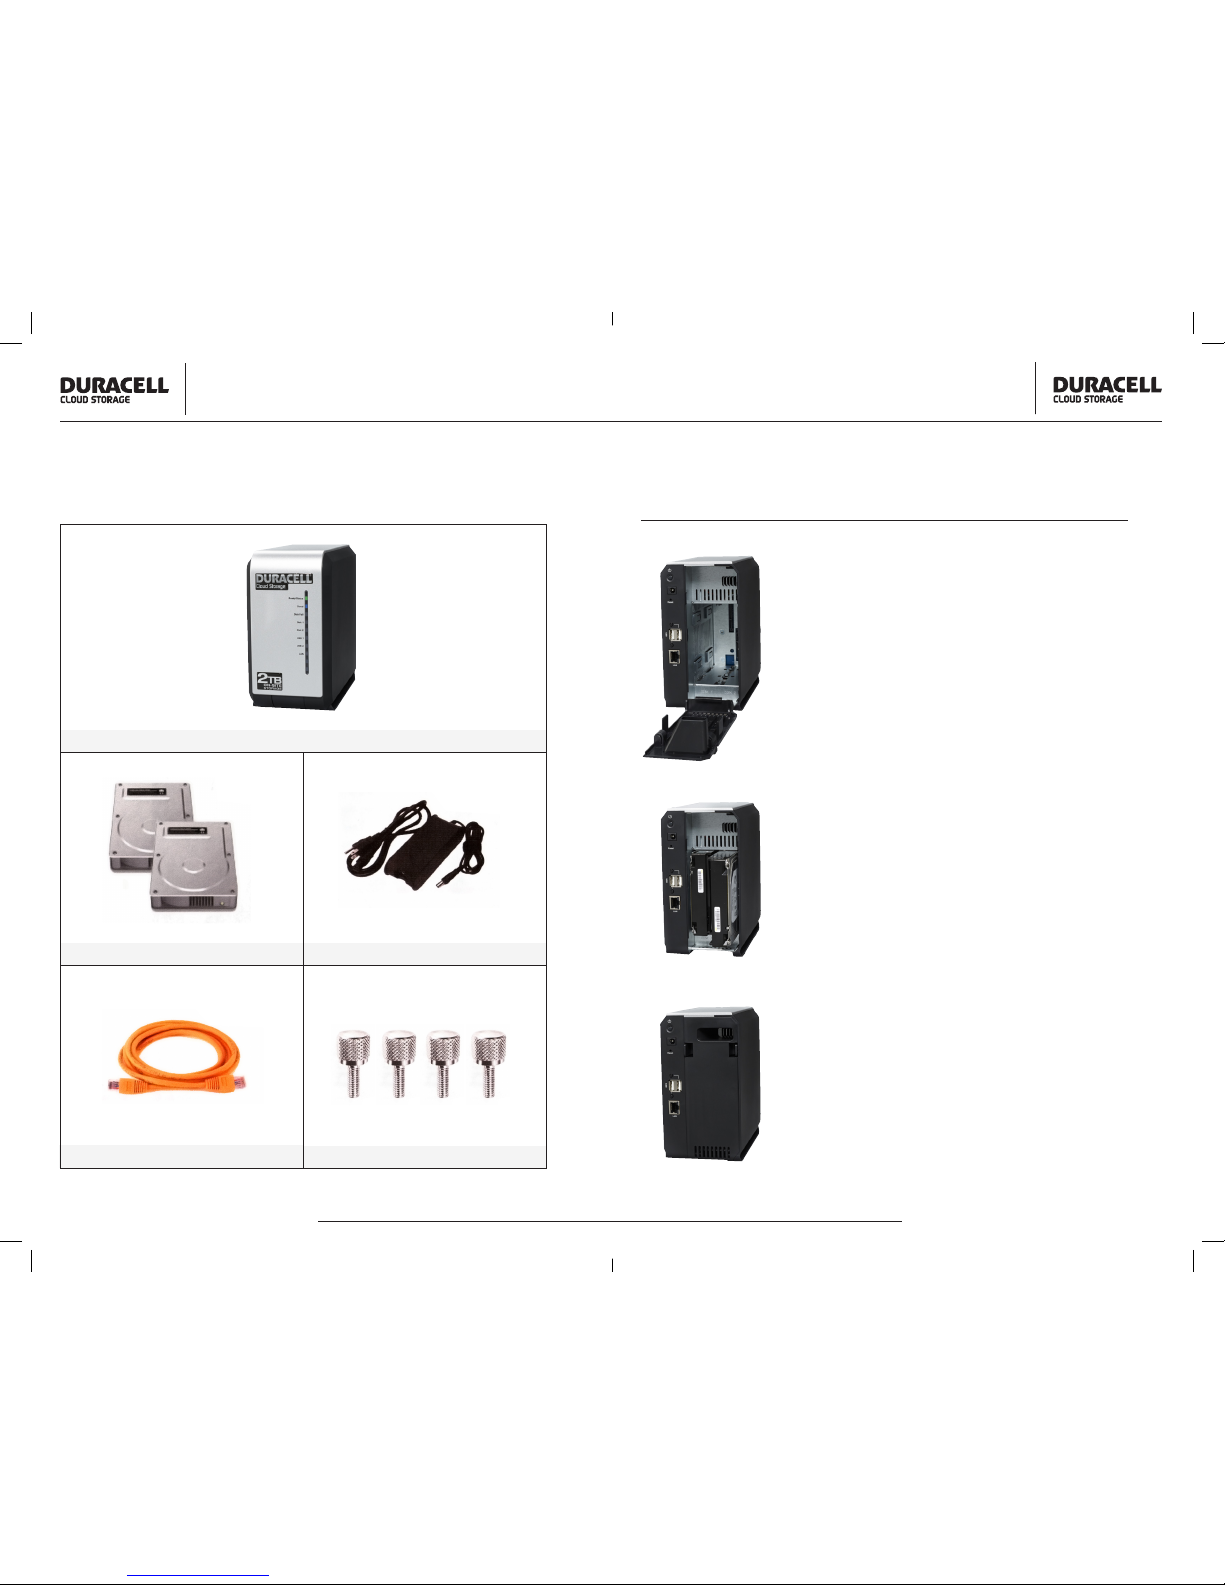
Step 2: Connect Ethernet
Step 3: Connect Power
Step 4: Power Up the Appliance
Step 5: Connect to the Web Interface
Connect Ethernet Cable
Plug one end of the Ethernet cable into the
LAN port on the rear of your Cloud Appliance
and the other end into a network port on your
Ethernet switch or router.
Connect Power Adapter
Plug the power cord into the power jack on the
rear of your Cloud Appliance and into a nearby
power outlet.
The Cloud Appliance should power on automatically. If not,
press the power button on the back. The LED turns steady
green when the Appliance is ready.
• Note that the Power On Self-Test may take up to 5 minutes.
On Windows Vista: Click Start > Network
On Windows XP: Click Start > My Network Places
Double-click on the Cloud Appliance icon
Prior to receiving your DuracellCloud DC202
appliance a new account was created for you at:
backup.duracellcloud.com
Your username is: John Smith (First and Last name)
Password: password (case sensitive)
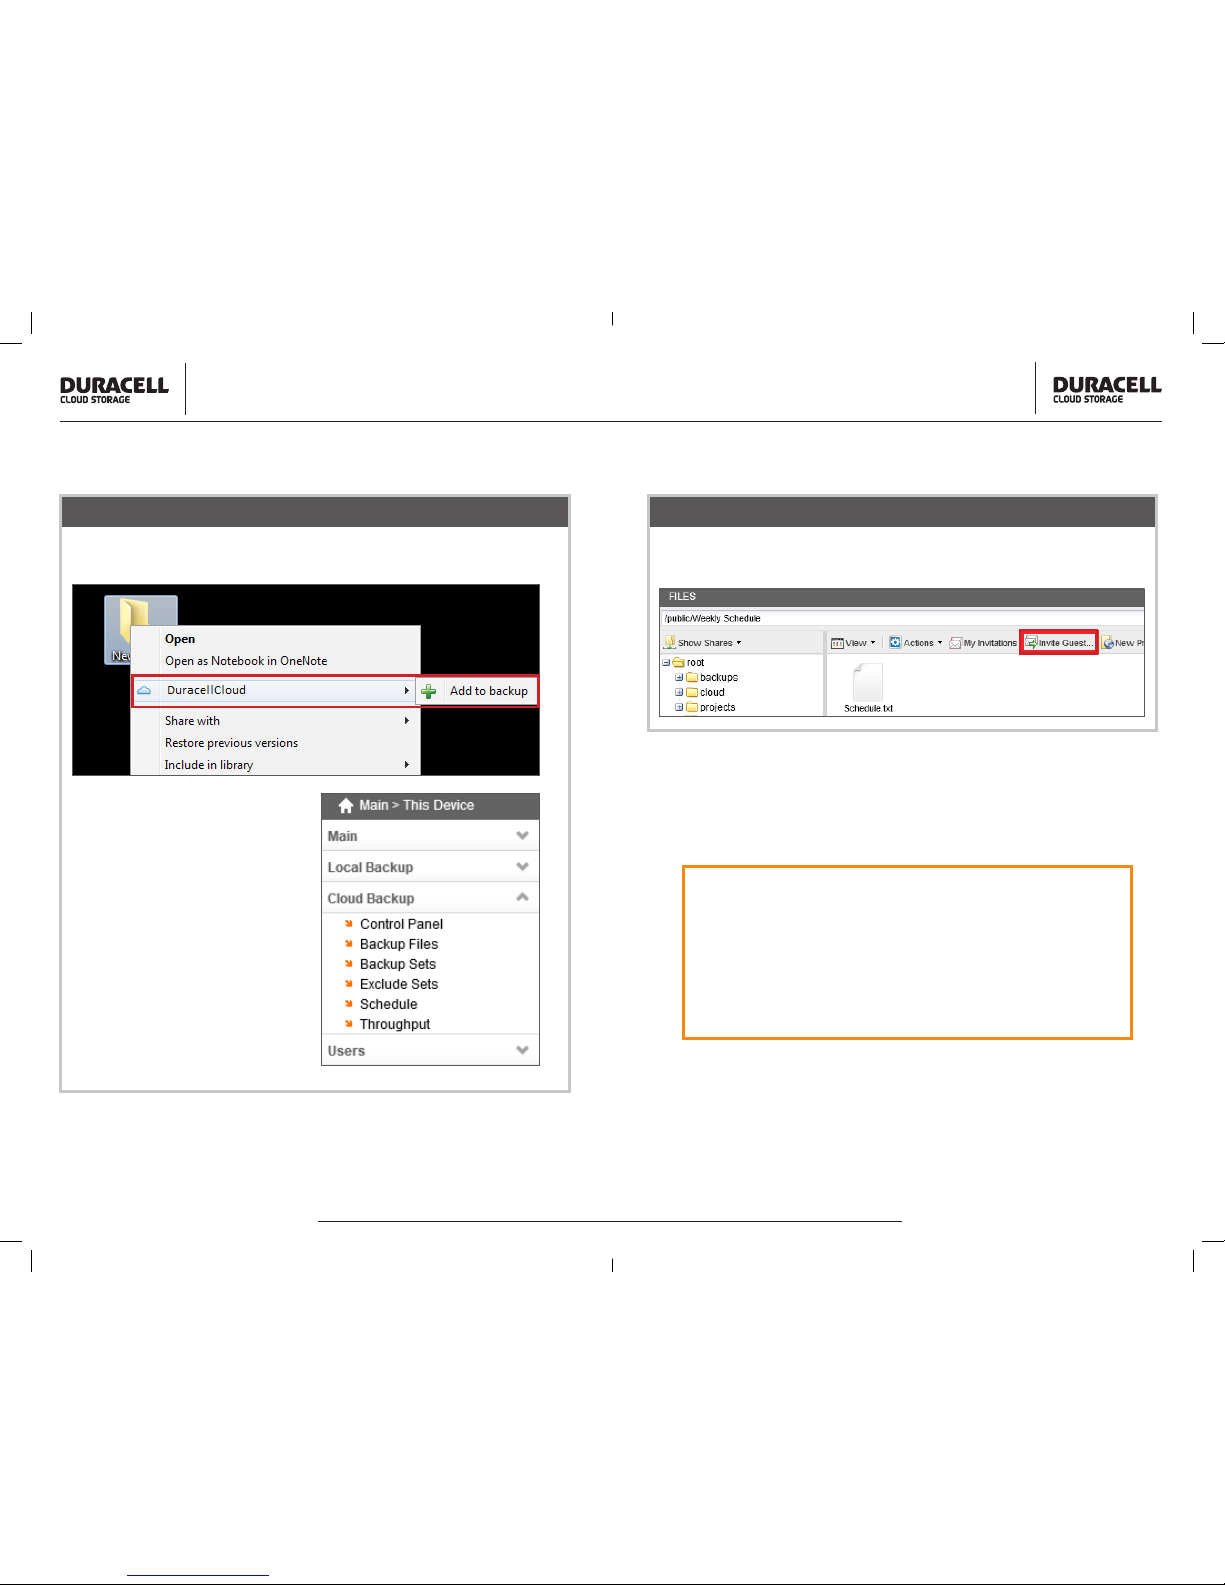
To create a new folder to back up your data double click on my files. Click
on the drop down menu titled “Actions” to make a new folder.
After logging in you can access the “Cloud Drive” by selecting the tab below,
this is where you can create folders and manually upload data to the cloud.
To access the portal from any location go to:
backup.duracellcloud.com
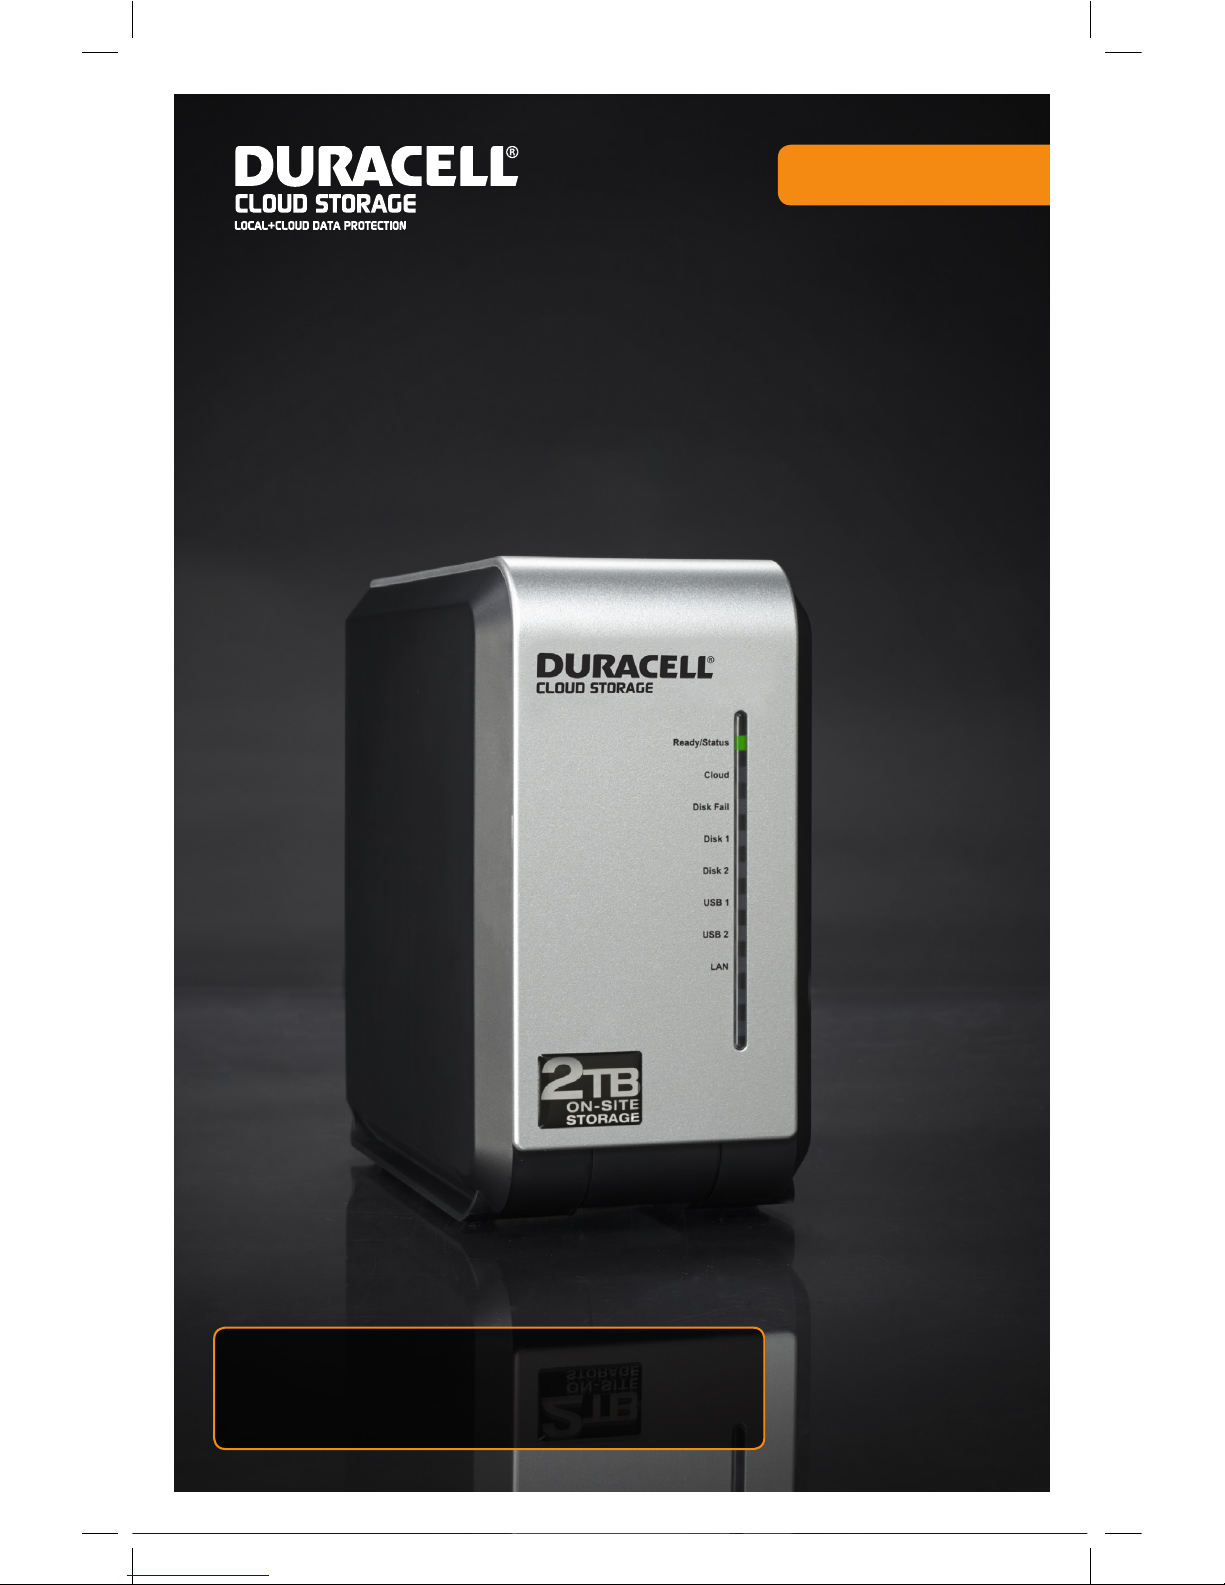
Cloud Storage