manuals.online logo
Brands
  1. Home
  2. •
  3. Brands
  4. •
  5. Duratuf
  6. •
  7. Outdoor Storage
  8. •
  9. Duratuf TUF LOCKER User manual

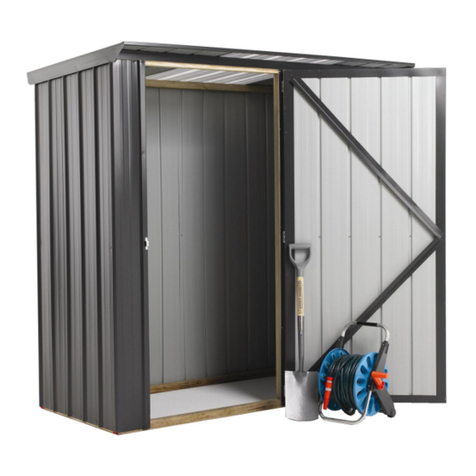
Duratuf TUF LOCKER User manual

Other Duratuf Outdoor Storage manuals

Duratuf Wairarapa User manual

Duratuf

Duratuf Wairarapa User manual

Duratuf TUF 800 User manual

Duratuf

Duratuf TUF 800 User manual

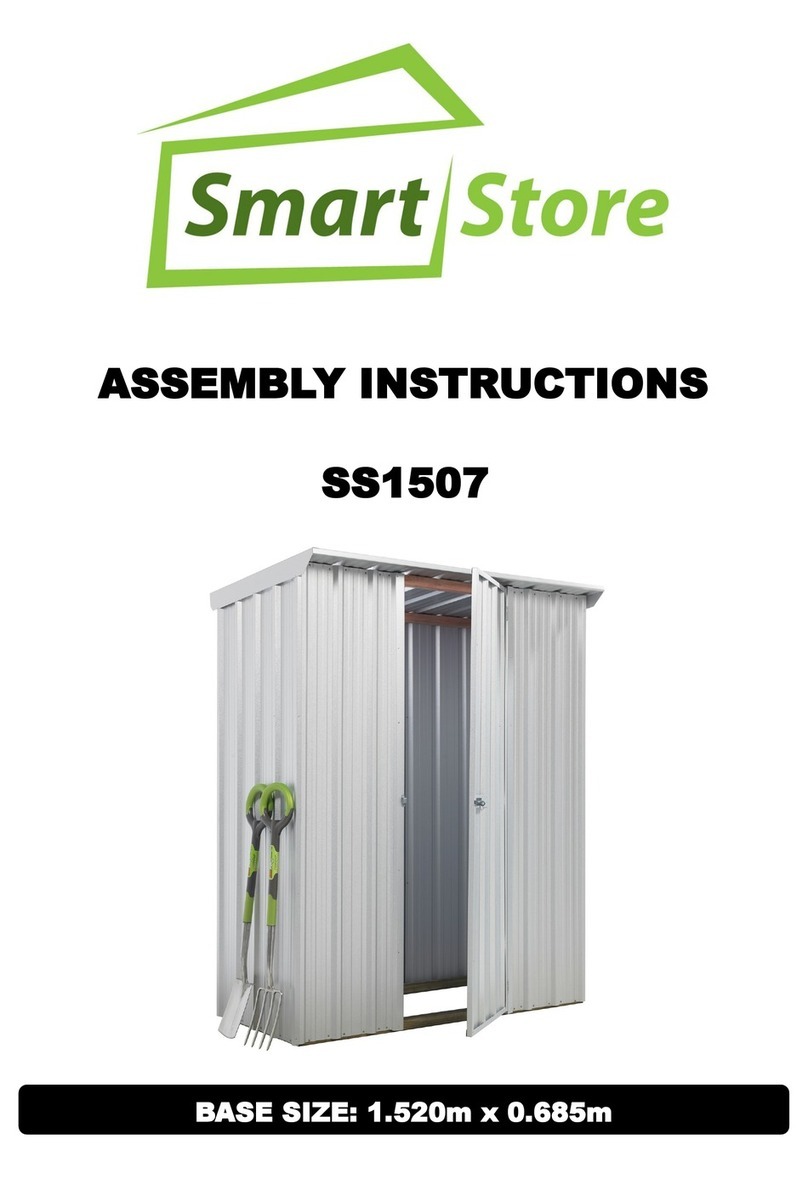
Duratuf Smart store SS1507 User manual

Duratuf

Duratuf Smart store SS1507 User manual

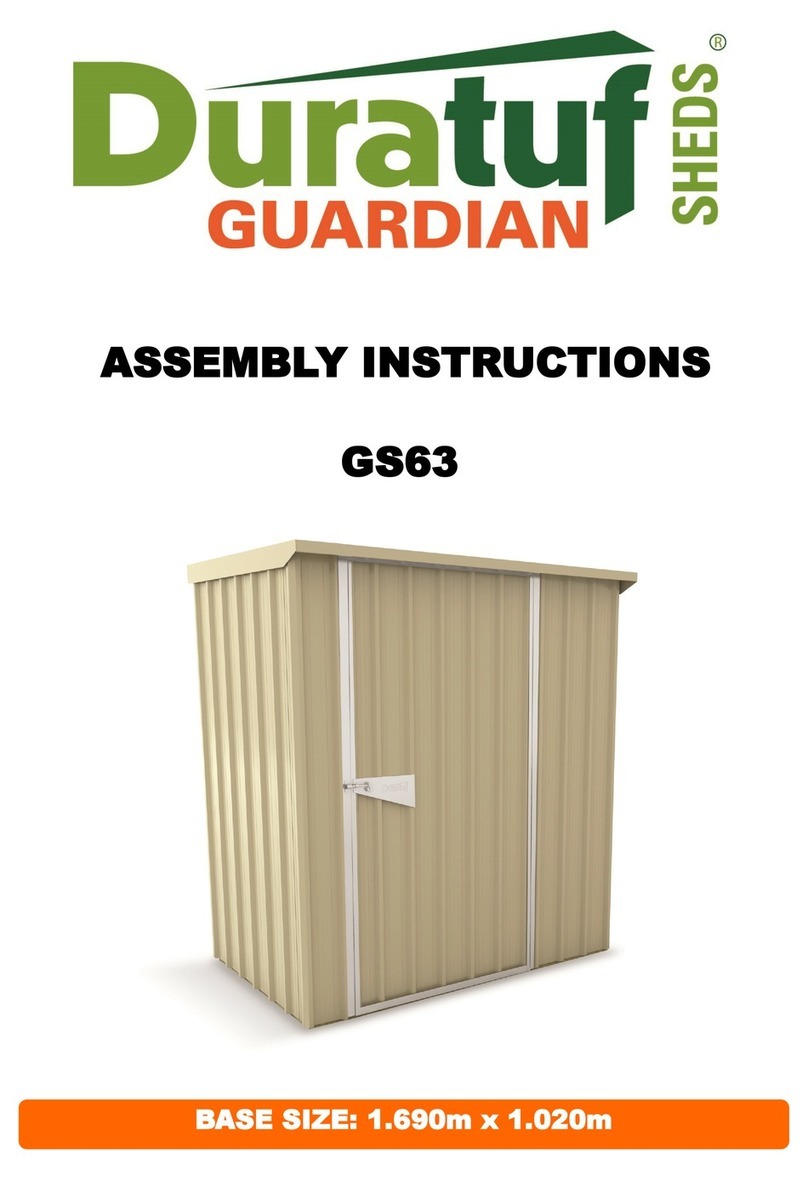
Duratuf GS63 User manual

Duratuf

Duratuf GS63 User manual

Duratuf MATAKANA User manual

Duratuf

Duratuf MATAKANA User manual

Duratuf PL44 User manual

Duratuf

Duratuf PL44 User manual

Duratuf GG99 User manual

Duratuf

Duratuf GG99 User manual

Duratuf PL46 User manual

Duratuf

Duratuf PL46 User manual

Duratuf SENTRY SS2007 User manual

Duratuf

Duratuf SENTRY SS2007 User manual

Duratuf GL95D User manual

Duratuf

Duratuf GL95D User manual

Duratuf GL95 User manual

Duratuf

Duratuf GL95 User manual

Duratuf SS1510 User manual

Duratuf

Duratuf SS1510 User manual

Duratuf GARRISON PS62 User manual

Duratuf

Duratuf GARRISON PS62 User manual

Duratuf Sentry Sheds SL1515 User manual

Duratuf

Duratuf Sentry Sheds SL1515 User manual

Duratuf PL43 User manual

Duratuf

Duratuf PL43 User manual

Duratuf GL75D User manual

Duratuf

Duratuf GL75D User manual
Duratuf GUARDIAN SHED GL37 User manual

Duratuf

Duratuf GUARDIAN SHED GL37 User manual

Duratuf GG109 User manual

Duratuf

Duratuf GG109 User manual

Duratuf Garrison PL36 User manual

Duratuf

Duratuf Garrison PL36 User manual

Duratuf Gurdian Sheds GG101 User manual

Duratuf

Duratuf Gurdian Sheds GG101 User manual

Duratuf Garrison PL63 User manual

Duratuf

Duratuf Garrison PL63 User manual

Duratuf Havelock User manual

Duratuf

Duratuf Havelock User manual

Duratuf GS72 User manual

Duratuf

Duratuf GS72 User manual

Duratuf SL1020 User manual

Duratuf

Duratuf SL1020 User manual
Popular Outdoor Storage manuals by other brands

LIVING AND HOME 0735940285711 user guide

LIVING AND HOME

LIVING AND HOME 0735940285711 user guide

USP DURAMAX 10 Ft x 8 Ft StoreMax Plus owner's manual

USP

USP DURAMAX 10 Ft x 8 Ft StoreMax Plus owner's manual

rollaway container ARPCA24 manual

rollaway container

rollaway container ARPCA24 manual
Viking SD5300SS Use & installation guide

Viking

Viking SD5300SS Use & installation guide

USP DURAMAX Apex Pro 10.5 Ft x 8 Ft 40116 owner's manual

USP

USP DURAMAX Apex Pro 10.5 Ft x 8 Ft 40116 owner's manual

ModuLaro Lojo WC202200 manual

ModuLaro

ModuLaro Lojo WC202200 manual

Outdoor Life Products FP2030 F Assembly instructions

Outdoor Life Products

Outdoor Life Products FP2030 F Assembly instructions

Royalcraft Faro 295L Storage Box Assembly instructions

Royalcraft

Royalcraft Faro 295L Storage Box Assembly instructions

TYGO Nyland Building Instruction

TYGO

TYGO Nyland Building Instruction

Riverlea Duratuf KIWI KS3 Assembly instructions

Riverlea

Riverlea Duratuf KIWI KS3 Assembly instructions

Rubbermaid 5L45 manual

Rubbermaid

Rubbermaid 5L45 manual

garofalo TUSCANY EVO user manual

garofalo

garofalo TUSCANY EVO user manual

OLT GS84D-FJ-Plywood Assembly manual

OLT

OLT GS84D-FJ-Plywood Assembly manual

Lifetime 6418 owner's manual

Lifetime

Lifetime 6418 owner's manual

Palram CANOPIA RUBICON 6x10 How to assemble

Palram

Palram CANOPIA RUBICON 6x10 How to assemble

Keter DUOTECH HIGH-STORE+ user manual

Keter

Keter DUOTECH HIGH-STORE+ user manual

Palram CANOPIA RUBICON 6x5/2x1.5 How to assemble

Palram

Palram CANOPIA RUBICON 6x5/2x1.5 How to assemble

Arrow EZ8772HVCR Owner's manual and assembly guide

Arrow

Arrow EZ8772HVCR Owner's manual and assembly guide

manuals.online logo
manuals.online logoBrands
  • About & Mission
  • Contact us
  • Privacy Policy
  • Terms and Conditions

Copyright 2025 Manuals.Online. All Rights Reserved.

Quality –Made Affordable
ASSEMBLY INSTRUCTIONS
TUF LOCKER
BASE SIZE 1810mm x 685mm
Tools Required:
Before you start:
Safety:
Select your site:
 Drill
 Drill Bit 3.5mm
 Drill Bit 6mm (for clear roof panel only)
 Riveter
 Hammer
 Nail Punch
 Tape Measure
 Ladder or Saw stool
 String Line
 Masonry Drill and 10mm Masonry Bit (for Bolt Down Kit only)
 Read all instructions carefully.
 Identify all parts and check quantities against checklist.
 If you are making your own floor refer to Raised Base Plate section now.
 Do not attempt to build your shed in high winds.
 Beware of sharp edges.
 Protect your eyes and ears.
 Use electric tools with care. Use a Safety Trip Switch.
 It is easier and quicker if this shed is erected by two people.
 Your shed must be level. Achieve this by either levelling the ground or by using blocks.
 If you shed is to be positioned on wet or damp ground, we recommend that your shed is raised up
off the ground slightly.
2
ASSEMBLY INSTRUCTIONS
3
QTY LENGTH
CHECKED
OUT
CHECKED
IN
3 1.890
1 1.890
1 1.890
1 .820
1 .820
2 .820
1
2 1.810 Front & Back
2 .685 Ends
1 1.810 Front
1 1.810 Back
2 .685 Ends
6 1.810 Studs
2 0.595 45 x 45 H1
1 0.318 45 x 45 H1
1 0.441 45 x 45 H1
1 1.720 45 x 45 H1
1
SECURITY
2 Latches
1
1
1
COLOUR:_________________ INV #:______________
TUF LOCKER PARTS LIST
BASE PLATES
ROOF SIZE: 1.845 x 0.820
End Wall Nogs
Front Left Nog
Front Right Nog
Back Wall Nog
- Yellow 45 x 45 H1
Roof Sheet Or
Door
DESCRIPTION
Clear Roof Panel
Folded Roof Sheets
Corner Wall Sheets
3/4 Corner Wall Sheet (D008)
FLASHINGS
PACKED BY:
DATE: / /
BASE SIZE: 1.810 x 0.685
TOP PLATES
TIMBER
Wall Sheet
1.845
Touch-up Paint & Brush
- Green 45 x 45 H4
- Green 45 x 45 H4
Hardware Pack
- Red 45 x 45 H1
- Red 70 x 45 H1
- Red 45 x 45 H1
Clear Panel Hardware Pack
Assembly Instructions
Roof Flashing
2
1
1.890
1.845
1
Door Jambs
Ridge Cap Flashing
Note: For sheds being positioned on a Purpose Built Floor, shorten Studs
by 30mm now (Refer to Floor Section).
Step 1: Select one End Base Plate 0.685m (Green), one End Top Plate
0.685m (Red) and two Studs (Yellow). Lay out on flat surface and nail
together using two 75mm nails per join (fig. 1). Repeat with the other
end frame.
Step 2: Select Back and Front Base Plates 1.810m (Green), Front Top Plate
1.810m (Red) and Back Top Plate (70x45mm). With one End Frame
lying on the ground, nail plates to frame, two 75mm nails per join.
Ensure Green joins to Green and Red joins to Red. See (fig. 2) for
nailing detail on Top Back Plate (70x45mm).
Step 3: Position remaining End Frame on top of plates. While someone sup-
ports frame, nail in place using two 75mm nails per join.
Step 4: Carefully roll frame over onto its base. Nail on Back and End Wall
Nogs .882m above the top of the Bottom plate. If fitting a Duratuf
Floor, fit Floor Joists now. Evenly space joists and nail in place using
three 75mm nails per end. Nail Front wall Studs (Yellow) using Front
Wall Nogs to get correct position, Nail remaining Front Wall Nogs in
centrally (this may be easier if the frame is rolled onto its Front wall).
4
TUF LOCKER TIMBER FRAME
1
2
3
4
fig. 1 fig. 2
YELLOW
YELLOW
1.810
YELLOW
YELLOW
YELLOW
YELLOW
5
TUF LOCKER WALL CLADDING
903mm
392mm
D008
CLADDING DETAIL
Birds Eye View
fig. 1 fig. 2
To Avoid Corrosion:
Where at all possible try not to trap metal filings between two sheets. Remove all metal filings before riveting.
Carbon in pencils reacts with the Zinc/Aluminium coating on steel. Use ink to mark steel.
Step 1: Door Jambs: Position left hand Door Jamb Flashing at
correct measurement from left (cladding detail) and nail
flush with top of Top Plate using a 30mm clout. Do not fit
50mm nails at this stage. Pre-drill holes to make nailing
easier (fig. 1).
Position Door Jamb Flashing and nail at the bottom. Posi-
tion right hand Door Jamb Flashing 903mm from left
hand Door Jamb Flashing (cladding detail) and nail in
place.
FRONT VIEW
DOOR JAMB
FLASHING
6
TUF LOCKER WALL CLADDING
Birds Eye View
D008
= Rivet = 30mm Clout
Step 2: NOTE: It is very important that the Wall
Sheets are positioned exactly as shown in
the cladding detail diagram on the previous
page.
Position Corner Wall Sheets. Check that the
Lip is on the correct side of the sheet. While
holding Corner Wall Sheet flush with the top
of the Top Plate, nail to plate using only one
30mm clout top and bottom. (Note: Wall
Sheets at the back are positioned 47mm
down from top of Top Plate.)
Step 5: Drill a hole through Door Jamb Flashings
and Wall Sheets top and bottom. Nail with
50mm nails (fig. 1).
Nail left hand Door Jamb Flashing to Stud
using three 30mm Clouts at equal spacings
(fig. 1). Beside each 30mm Clout, rivet
Door Jamb Flashing to Rib. Repeat with
right hand Door Jamb Flashing.
Step 3: Position remaining Wall Sheet. Ensure it
overlaps correctly then rivet to Corner Wall
Sheets, one rivet top and bottom on each
overlap
Step 4: Nail Wall Sheets to Plates, two 30mm Clouts per pan top and bottom.
Nail Wall Sheets to Wall Nogs, one clout per pan.
TUF LOCKER ROOF
fig. 1
Step 1: Note: Condensation can form on the under side of shed roof. If building paper is required, fit now. Build-
ing paper will need to be supported by netting or roofing twine.
Standard Roof: Position Roof Sheets as shown in fig 1. Make sure sheet joins at the back are flush. Rivet
sheet joins, one rivet 200mm back from edge front and back.
Roof with Clear Panel: Handle Clear Panel with care. The Clear Panel will crack if not fitted correctly
 Riveting: Pre-drill 3.3mm hole through Clear Panel and steel.
 Nailing: Pre-drill a 6mm hole through Clear Panel. Hammer in nails with caution.
Position Roof Sheets as shown in fig.1. When fitting Clear Panel ensure it OVERLAPS Roof Sheets. Rivet sheet
joins, one rivet 200mm from edge front and back. When riveting Clear Panel to Roof Sheets use sealed rivet with
steel washer (fig. 2).
Step 3: Line up ribs on the roof with ribs on the
walls. While someone holds the Front Plate
straight, nail the roof to Top Plate using
one 40mm Weatherseal nail beside each
rib. Repeat at the back.
7
Step 4: Fit Roof Flashing and Ridge Cap Flashing as
shown. When positioned correctly rivet
through Roof Flashing into Roof Sheet joins.
Rivet Ridge Cap Flashing to Roof Sheets and
back Wall Sheets, one rivet every second rib.
Step 2: Position Roof Sheets. Ensure they do not pro-
trude past the ribs on the back wall. The front
overhang will measure approximately 120mm.
Rivet roof to wall sheets using one rivet every
second rib. Repeat at other end.
Sealed Rivet
Steel Washer
Clear Roof Panel
Steel
fig. 2
8
TUF LOCKER DOOR
Step 1: Place shed in final position. Check diagonal
measurements are equal and shed is level
before fitting door.
Step 2:Hold Door in position so that door will clear
Roof Flashing and fit one rivet to top hinge. While still
holding in position fit one rivet to bottom hinge.
Step 3:
Close door and check it fits correctly. If not, drill
out rivets and make necessary adjustments. Fit
remaining rivets to all three hinges.
Step 4: Using rivets attach padbolt as shown.
NOTE: If shed has an optional security upgrade, please use Security door instructions on next page.
9
Step 4: Slide the latch on to the handle shaft. Enter shed,
close door and adjust latch so it is snug with the stud
at the side of the door. Tighten up bolt on latch.
Note: Repeat Step 4 for second door handle if double security doors.
FORTRESS SECURITY DOOR (Optional)
Step 1: Place shed in final position. Check diagonal meas-
urements are equal and shed is level before fitting
door.
Step 2: Hold Door in
position (approximately
5mm down from Top
Plate Flashing) and fit
one rivet to top hinge.
While still holding in
position fit one rivet to
bottom hinge.
Step 3: Close door and check it fits correctly. If
not, drill out rivets and make necessary adjust-
ments. Fit remaining rivets to all three hinges.
9
TUF LOCKER FLOOR (Optional)
PURPOSE BUILT FLOOR
Step 1: Select the two Floor Boards which have
checked out corners. Position at front and
back of the shed so they fit around Studs.
For sheds being placed on a purpose built floor, we
recommend that the studs are shortened by 30mm.
The Wall Sheets will then protrude 20mm below the
Base Plate. This will stop water flowing in between
the Base Plate and Floor.
If you choose this option, the Floor should be made
15mm smaller than Base Size.
Note: Although it is not essential, fitting Damp
Proof Course in between the Base Plate and
the Floor will give added protection against
moisture.
i.e. CONCRETE / PLYWOOD
Step 2: Lay out remaining Floor Boards. Nail in
each Floor Board, two 50mm nails each
end and two into each Floor Joist.