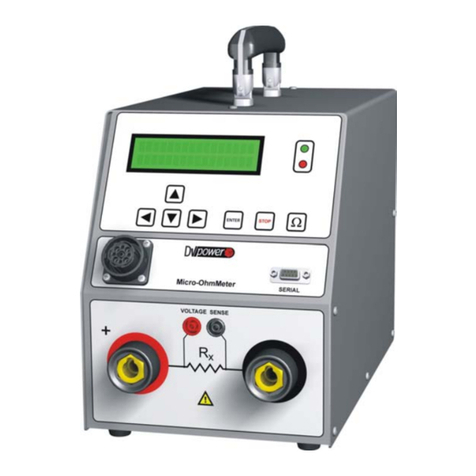
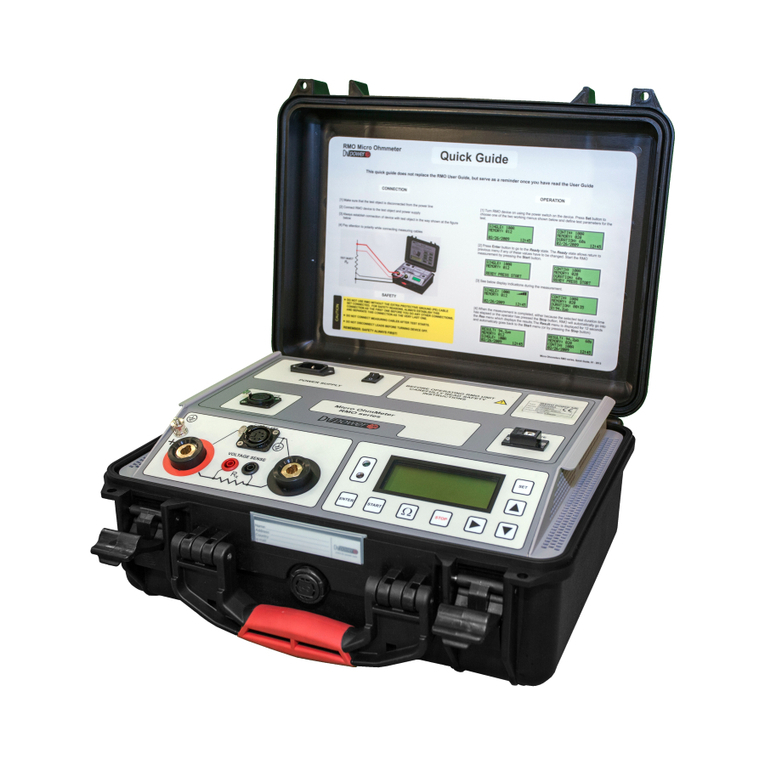
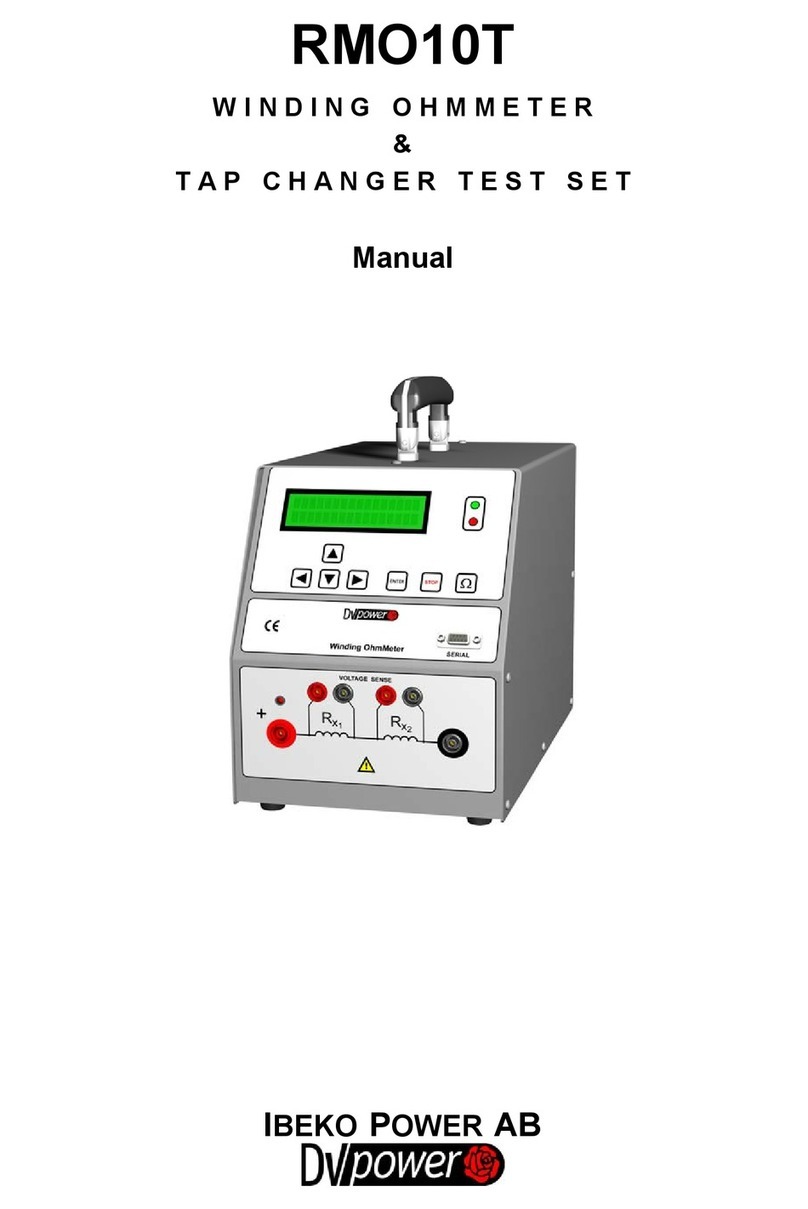
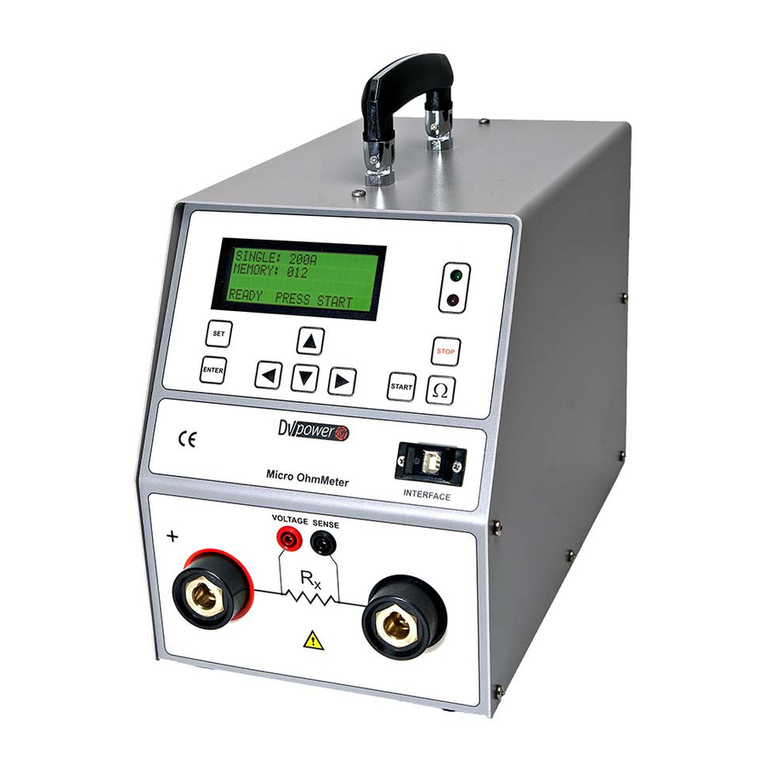
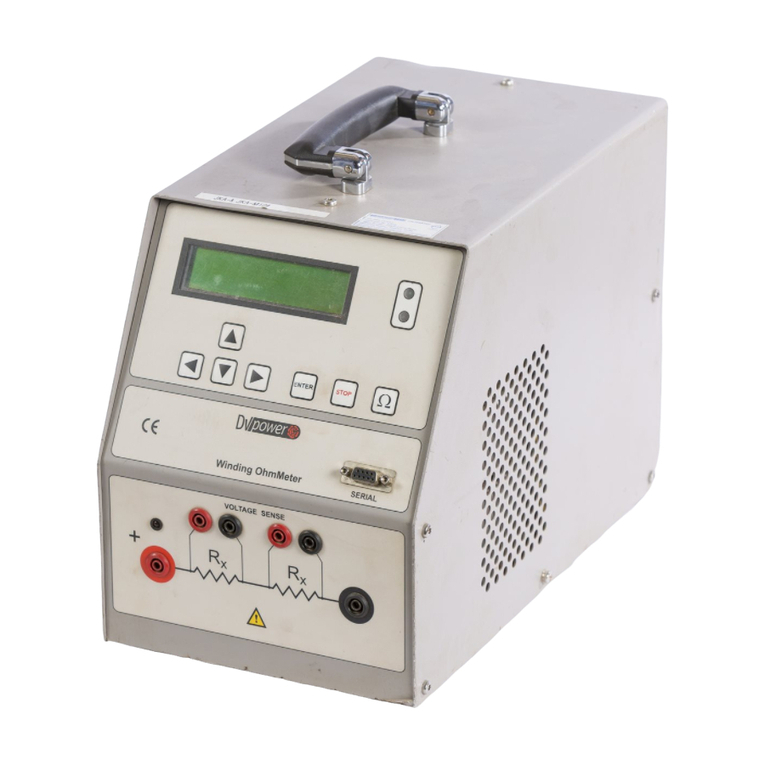
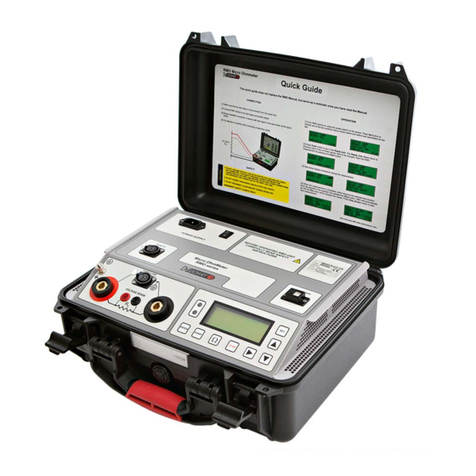
DV Power RMO500 User manual

RMO500
MICROOHMMETER
Manual
IBEKO POWER AB

2
RMO500 Contents
Contents
1 Introduction . . . . . . . . . . . . . . . . . . . . . . . . . . . . . . . . . . . . . . . . . . . . . . . . . . . . 3
2 Safety Instructions . . . . . . . . . . . . . . . . . . . . . . . . . . . . . . . . . . . . . . . . . . . . . . .3
3 Designated Use . . . . . . . . . . . . . . . . . . . . . . . . . . . . . . . . . . . . . . . . . . . . . . . . .4
4 Functionality. . . . . . . . . . . . . . . . . . . . . . . . . . . . . . . . . . . . . . . . . . . . . . . . . . . . 5
5 Description. . . . . . . . . . . . . . . . . . . . . . . . . . . . . . . . . . . . . . . . . . . . . . . . . . . . . 6
6 Getting Started. . . . . . . . . . . . . . . . . . . . . . . . . . . . . . . . . . . . . . . . . . . . . . . . . .8
7 RMO Win Software . . . . . . . . . . . . . . . . . . . . . . . . . . . . . . . . . . . . . . . . . . . . . .13
8 Remote Control. . . . . . . . . . . . . . . . . . . . . . . . . . . . . . . . . . . . . . . . . . . . . . . . .20
9 Kelvin’s Probes. . . . . . . . . . . . . . . . . . . . . . . . . . . . . . . . . . . . . . . . . . . . . . . . .22
10 Error Messages. . . . . . . . . . . . . . . . . . . . . . . . . . . . . . . . . . . . . . . . . . . . . . . . 24
11 Technical Data. . . . . . . . . . . . . . . . . . . . . . . . . . . . . . . . . . . . . . . . . . . . . . . . . 26
12 Accessories . . . . . . . . . . . . . . . . . . . . . . . . . . . . . . . . . . . . . . . . . . . . . . . . . . .27
Manufacturer Contact Information . . . . . . . . . . . . . . . . . . . . . . . . . . . . . . . . 28
Manual Version: RMO500. MV.03
IBEKO POWER AB 2004
This Manual is a publication of IBEKO POWER AB, 18 125 Lidingö, Sweden.
All rights including translation reserved. Reproduction of any kind, e.g., photocopying,
microfilming or storage in electronic data processing systems, requires the explicit consent of
IBEKO POWER AB.
Reprinting, wholly or in part, is not permitted.
This Manual represents the technical status at the time of printing. The product information,
specifications, and all technical data contained within this manual are not contractually binding.
IBEKO POWER AB reserves the right to make changes at any time to the technology and/or
configuration without announcement. IBEKO POWER AB is not to be held liable for statements
and declarations given in this manual. The user is responsible for every application described in
this manual and its results.
IBEKO POWER AB explicitly exonerates itself from all liability for mistakes in this manual.

3
RMO500 Introduction, Safety Instructions
1 Introduction
This manual contains helpful instructions on how to use RMO500 in a safe, proper
and efficient way.
Following these instructions can help you to avoid dangerous situations, repair costs
and other miss happenings due to incorrect operation. Furthermore it ensures the
reliability and life cycle of your RMO500.
RMO500 must be used in observance of all existing safety requirements/ regulations
from national/local standards for accident prevention and environmental protection.
Reading the RMO500 manual alone does not release the user from the duty of
complying with all national and international safety regulations relevant for working
with RMO500.
2 Safety Instructions
Before operating RMO500, please carefully read the following safety instructions.
It is not recommended that the RMO500 will be used (or even turned on) without
the understanding of this manual.
RMO500 should only be operated by trained and authorized personnel.
Rules for Use
• RMO500 should only be used when in a technically fit condition. Its use should be
in accordance with the safety regulations for the actual working site and
application. Always be aware of the dangers of high voltages and currents
associated with this equipment and its environment. Pay attention to the
information provided in the operations manual.
• RMO500 is intended exclusively for the application areas specified in ”Designated
Use”. The manufacturer and distributors are not liable for damage resulting from
unintended usage. The user alone assumes all responsibility and risk.
• The instructions provided in this manual are considered part of the rules
governing proper usage.
• Do not open RMO500.
Orderly Practices and Procedures
• The manual should always be available on the site where the RMO500 is used.
• Before using RMO500, all personnel (even personnel who only occasionally, or
less frequent, work with RMO500) assigned to RMO500 should read the
operations manual.
• Do not undertake any modifications, extensions, or adaptations to the RMO500.
Cleaning
To clean RMO500, use a cloth dampened with isopropanol alcohol or water.

4
RMO500 Safety Instructions, Designated Use
Operator Qualifications
• Testing with RMO500 should only be carried out by authorized and qualified
personnel.
• Personnel receiving training, instruction, direction or education on the RMO500
should remain under the constant supervision of an experienced operator while
working with the test set and the test object.
Safe Operation Procedures
• Hazardous voltages of up to 400V can occur inside RMO500. Therefore is not
permitted to open RMO500.
• Do not insert objects (e.g., screwdrivers, etc.) into the ventilation slots.
• Before putting RMO500 into operation, check the test set for visible damages.
• Do not operate RMO500 under wet or moist conditions (condensation).
• Do not operate RMO500 when explosive gas or vapors are present.
• The serial interface of RMO500 should only have external devices connected that
meet the requirements for SELV equipment according to EN 60950 or IEC 60950.
• When setting up RMO500, make sure that the air slots of the test set remain
unobstructed.
• If RMO500 is opened by the customer, all guarantees are invalidated.
• If RMO500 seems to be functioning improperly, please call the IBEKO POWER AB
(refer to section ”Manufacturer Contact Information”).
• Do not use RMO500 without the extra protective ground (PE) cable set connected.
Power Supply
• Supply RMO500 only from a power outlet that is equipped with protective ground .
• Instead of supplying RMO500 from phase – neutral (L1-N, A-N), it may also be
supplied from phase – phase (e.g., L1-L2; A-B). However, the voltage must not
exceed 240 V AC, please refer to section 8.1.
3 Designated Use
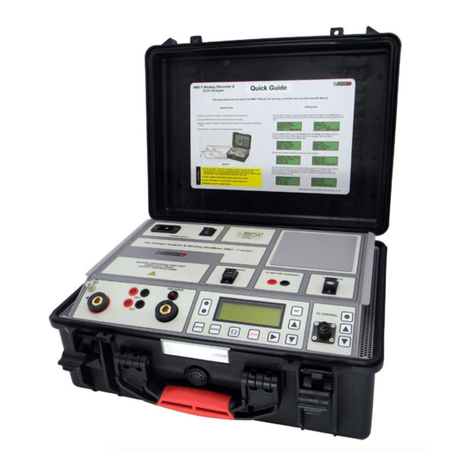
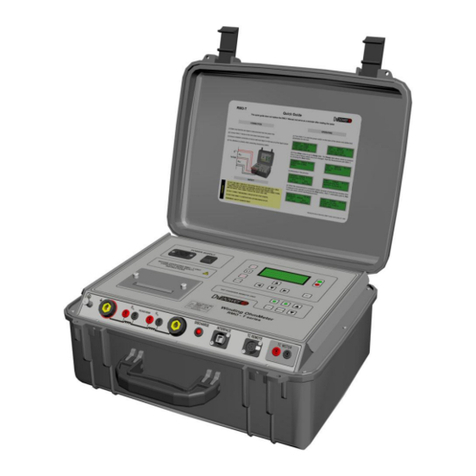
The Micro OhmMeter RMO500 is designed for measuring contact resistances of non-
inductive test objects used in the electric power industry or similar branches. It is
employed for resistance measurement during manufacturing, commissioning and
testing of:
power circuit breakers,
interrupters,
bar installation,
cable splices,
welded joints,
grounding.
Any other use of the RMO500 than the ones mentioned above is to be considered
improper and will not only invalidate all customer warranty claims but also exempt the
manufacturer from its liability for repair or exchange.
5
RMO500 Functionality
4 Functionality
4.1 Single Test
The RMO500 generates a filtered (true) DC current and outputs it in an
automatically regulated current ramp. The current increases with a constant slope
from zero up to a set maximum value. When the current has reached its maximum,
RMO500 measures the resistance of the test object. After test the output current
ramps back down to zero with a constant slope. By sloping the current up and
down, magnetic transients are virtually eliminated.
4.2 Continuous Test
RMO500 can generate DC current continuously using the Cont menu. In this menu
the current can be chosen the same way like in the Sing menu, but the duration of
the test can be preset. The test is started pressing the Ωbutton. During the test, a
new result is shown on the display and stored into the PC (RMOWin) each second.
Using RMOWin the result can be printed like an Excel table which later can be
shown as a diagram and used for a report.
Test is completed when the test time previously set in the menu has elapsed, or
when the STOP button is pressed.
By pushing STOP button test could be performed at any time. In case of test
interruption by pushing the STOP button, the last measured result will remain saved
in the internal memory.
Upon expiry of the selected test lasting time, the last result remains saved at
selected memory location.
Note: At the start of the test (Single and Continuous), a check of cables
connection is done. In case of disconnection, an alarm is activated, and the
error message is shown on the display.
Voltage sense cables disconnection, occured during the test, will cause an
erroreous result. The display will not show this asan error message.
During tests the high continued DC current will heat up the test set. To
prevent RMO500 from overheating, duty cycles apply. The duty cycles
depend on the used test current, please refer to section "Duty Cycles".

6
RMO500 Description
5 Description
5.1 Front Panel Components
Display
UP/DOWN buttons to select
a menu, define a test current
and set a memory position
LEFT/RIGHT buttons to
navigate in the active
menu
ENTER button to confirm the
defined test parameters,
Lan
g
ua
g
e, and Time and Date
STOP button
Press to stop a test or to acknowledge the alarm buzzer.
Ωbutton
Press to start a test. Test current and memory position
must be selected beforehand.
green LED
• Lights continuously when RMO500 is turned on.
• Flashes when a test can be started.
• Flashes alternately with the red LED during a test.
red LED
• Lights continuously in case of operational error.
• Flashes alternatel
y
with the
g
reen LED durin
g
a test.
ESC button to return to
the Sing menu to set
new test parameters

7
RMO500 Description
5.2 Rear Panel Components
5.3 Setting RMO500’s Language
To set RMO500’s language, use the LEFT button, and then UP/DOWN buttons to
select the Language menu.
Move the cursor to the bottom line using the LEFT/RIGHT buttons, and select the
language of your choice.
Pressing ENTER to confirm, returns you to the Sing menu.
Pressing ESC to cancel, returns you to the Sing menu.
5.4 Setting RMO500’s Time and Date
To set RMO500’s internal time and date, use the LEFT button, and then UP/DOWN
buttons to select the Time menu.
Move the cursor to the position of your choice using the LEFT/RIGHT buttons, and
change the value with the UP/DOWN buttons.
Pressing ENTER to confirm, returns you to the Sing menu.
Pressing ESC to cancel, returns you to the Sing menu.
Connector for
mains power supply
Power switch
I In this position, RMO500 is connected to the
mains power supply.
0In this position, RMO500 is separated from
the mains power supply with both poles.
Equipotential connector.
For protection against parasitic currents or
voltages, always connect RMO500
equipotential connector to protective ground
(PE).
Use only the original cable.
For safety reasons, always establish this
connection as the first one before you do
an
y
other connections
,
and se
p
arate this
Ventilation
Figure 5-1:
The Language
menu
Figure 5-2:
The Time menu showing
RMO500’s internal time and date

8
RMO500 Getting Started
6 Getting Started
6.1 Connecting a Test Object to RMO500
Before you connect a test object to RMO500, make sure that:
• the test object is disconnected or separated from its circuit in accordance with
the national safety regulations,
• the test object is properly grounded to protective earth (PE),
• RMO500 itself is properly grounded. To do so, connect the grounding screw on
the back of RMO500’s to PE using a grounding cable.
6.2 Setting the Measurement Parameters
Single Test
Turn on RMO500 with the power switch on the back of the test set. The display
shows the Sing menu.
In the Sing menu, define a test current for the test. To do so set the value of your
choice by means of the UP/DOWN buttons.
The memory position (here m:30) denotes a position the test data is stored during
the test. It can be recalled later by selecting that position’s number.Once a test is
finished, the memory position is automatically switched over to the next position.
Figure 6-1:
Connecting a test
object to RMO500
Figure 6-2:
The Sing
menu
Test current Memory position
Tim
e
M
e
n
u
n
a
m
e
Date
With RMO500 turned off,
connect RMO500 to the test
object (RX) in such a way that
the measuring cables from
the "Voltage Sense" sockets
are attached as close as
possible to RX, and in
between the current feeding
cables. That way, resistance
of both cables and clamps is
almost completely excluded
from the resistance
measurement.

9
RMO500 Getting Started
Continuous Test
Turn on RMO500 with the power switch on the back of the test set. The display
shows the Sing menu.
Go to Cont menu using LEFT, and then UP button.
In the Cont menu, define a test current, memory location and test current duration
time.
Using RIGHT button move cursor to the position of test current, and using UP/DOWN
buttons select desired value. Maximum duration of the current depends on its
value, please refer tu section “Duty Cycles”.
Using RIGHT button move cursor to the position of test current duration
(here 60 sec), and using UP/DOWN buttons select desired value.
Using button RIGHT move cursor to the position of memory location, and using
UP/DOWN select desired memory position (here m:40) to which obtained results will
be saved. Upon performed test (either due to time expire or due to push to the
STOP button) the last measured result will remain registered in RMO500.
Note: In case of PC and RMOWin software use during the test, all performed
measurements will be registered. Results will be shown in a table in Excel
format with option of additional edit and graphic presentation.
Using RMOWin after testing for transfer of results from selected internal
memory location to PC, it is possible to transfer only the result of the last test.
6.2 Measuring with RMO500
Single Test
Before a test can be started, both test current and memory position need to be
defined using the Sing menu. Once these parameters are defined, press ENTER to
change to the Test menu.
The Test menu displays the test current and memory position defined. If one of
these values has to be changed, press ESC to return to the Sing menu.
The flashing green LED indicates that RMO500 is now ready to start the test.
Press the Ωbutton to run a test.
Figure 6-4:
The Test menu
before
Figure 6-3:
The Cont menu

10
RMO500 Getting Started
During the test, both the green and the red LEDs flash alternately. The display
shows a graphical representation of the output current that ramps from 0A to the
defined maximum value (here 400A).
Once the current ramp reaches its maximum value, RMO500 measures the
current through the test object and the voltage at the test object for 1s, calculates
the resistance from these values, and saves the data at the present memory
position.
Afterwards, RMO500 ramps down the output current from the max. value to 0A.
When 0A is reached, the test is finished and the green LED lights up.
Note: To stop the test prematurely, press the STOP button at any time during the
test. The current will immediately drop to 0A.
Continuous Test
Before a test could be started, test current, its duration and memory location must be
defined using Cont menu. Press ENTER to change to the Test menu.
The Test menu displays selected test current (here 300A), its duration (here 60 sec) and
memory location of the result (here m:40). If one of these values has to be changed,
press ESC to return to the Sing menu.
The flashing green LED indicates that RMO500 is now ready to start the test.
Press the Ωbutton to run a test.
During the test, both green and red LEDs flash alternately. The display shows
test c curent (here 300A) and the current value of the measured resistance (94.2µΩ).
T The time passed since the test begining is also shown on the display (00:35).
Upon completed test (due to expire of selected time or due to push to the STOP button)
at selected memory location the last measured result will remain registered.
Figure 6-5:
The Test menu
during the test
Figure 6-6:
The Test menu
before the test
Figure 6-7:
The Test menu
during the test

11
RMO500 Getting Started
Note: In case of PC and RMOWin software use during the test, all performed
measurements will be registered. Results will be shown in a table in
Excel format with option of additional edit and graphic presentation.
Using RMOWin after testing for transfer of results from selected internal memory
location to PC, it is possible to transfer only the result of the last test.
To stop the test prematurely, press the STOP button at any time during the test. The
current will immediately drop to 0A.
6.4 Viewing the Test Results
Once a Single test is finished, RMO500 automatically changes to the Result menu
to display the test results.
For Continuous Test only the last performed test is shown.
Note: If the defined test current could not be reached, this could be due to a
too high contact resistance of the test object and/or of the current cables.
the test current value displayed here is the maximum test current reached.
Now there are two choices:
1. Starting a new test with a different current value:
– press the
ESC button to change to the Sing menu,
– set a new current value and/or another memory position,
– confirm your entries by pressing the ENTER button,
– start the test by pressing the Ωbutton.
2. Starting a new test with the same current value:
– press the
ESC button to change to the Sing menu,
– press the
ENTER button to change to the Test menu,
– press the
Ωbutton to run a test.
The current value remains the same as in the previous
test, the memory position increases by one.
Figure 6-8:
The Result menu
showing the test
results
M
a
x.
test
cu
rr
e
n
t
r
eac
h
ed
Memory
position
that holds
the results
Measured resistance of test object

12
RMO500 Getting Started
6.5 Viewing Results of Previous Tests
RMO500 stores up to 100 test results. They can be viewed using the
Memory menu at memory positions 0 ... 99.
Selecting a memory position on the Memory menu displays:
• the current fed into the test object,
• the memory position of these results,
• the test object’s measured resistance,
• the date or the time,
of this particular test.
To view the creation date of the test rather than the time, position the cursor on the
latest number of the memory position (here 0), and use the RIGHT button to toggle
between date and time.
6.6 Printing the Test Results
RMO500 stores up to 100 test results. They can be printed using the Print menu at
memory positions 0 ... 99.
Connect the RS 232 port of the RMO and the printer with a serial cable.
Go to Print menu using LEFT and then UP button. Selecting first and last memory
position and press ENTER button. The results that are located in the range between
this memory locations, including the chosen memory locations, will be printed.
Seting printer, as well as look of RMO Test Report where given at figures below.
Figure 6-9:
The Mem menu showing the
previously saved test results
of memory position 30
Figure 6-10:
The Print menu showing
first and last memory
position

13
RMO500 Getting Started
6.7 Duty Cycles
During tests, RMO500 generates a high DC current that heats up the test set. To
prevent RMO500 from overheating, certain duty cycles apply depending on the
used test current.
S i n g l e T e s t
Test current
(A)
Cooling time between
first 4 tests (sec)
Cooling time after
4 tests (sec)
10
20
50
100
200
0 0
300 5 20
400 10 40
500 30 90
C o n t i n u o u s T e s t
Test current
(A)
Maximal test duration
time (sec)
Cooling time
between tests (sec)
10
20
50
100
300 0
200 150 150
300 60 300
A built-in control prevents these cooling times from being skipped. If you try to
start a test within the cooling period, the display shows "Wait" and a timer counting
down. After the cooling period has elapsed, start the test using the set test
parameters by pressing the Ωbutton.Cooling of RMO500 is supported by a built-in
fan that is automatically activated every time a test is started from the Test menu. It
continues running 5 minutes after the test is finished.
Table 6-11:
Cooling time
between
single
tests
Table 6-12:
Cooling time
between
continuous
tests

14
RMO500 RMO Win Software
7 RMO Win Software
RMO Win is a Windows program for working with Micro OhmMeters RMO series. It
enables the two-way communication RMO – PC over the serial port RS232.
RMO Win supports the following functions:
- Controlling and starting RMO when the tests are performed from the PC,
- The transfer of the test parameters from the local RMO memory to the PC with the
possibility of writing the notes on objects being measured and appropriate
comments.
The transferred data from RMO is possible to:
- Display in the form of tables,
- Download as an Excel file.
Every test reading parameters contain:
- The date and the time of the test,
- The real test-current,
- The voltage on the voltage terminals (Voltage Sense),
- The measured resistance value,
- The memory location,
- The name of the object (tested device) and the useful comments.
7.1 The minimum system requirements
Processor : Recommended > 2 GHz
Memory : min 32 Mb
Operating system : 95/98, NT, XP, 2000
The hard disk space : > 1,5 Mb
7.2 RMOWin installation
To install the RMO Win software do the following:
- Put the RMO Win installation CD in the CD-ROM drive,
- Click on ”Start”,
- Click on ”Run”,
- Click on ”Browse”,
- Select the CD-ROM drive,
- Highlight the ”RMO Win.EXE”,
- Click on ”Open”,
- Click on ”OK”.
- When the installation process has been finished - exit the program.

15
RMO500 RMO Win Software
7.3 Starting
Connect the RS 232 port of the RMO Micro OhmMeter and the PC, with a serial
cable.
Start RMO Win:
- Click on ”Start”,
- Click on ”Programs”,
- Click on ''RMO Win’’,
- Click on ‘’RMO Win6’’.
The look of the RMO Win main menu is shown in the following illustration.
Select the desired active port:
- Click on ”Tools”,
- Click on ”RS 232”,
- Click on the chosen active port,
- Click on ''OK''.
If in the ”Communication” field the green led-diode and the sign ”ON” are lit, the
communication has been established and the program is ready to be used. In other
case redo the procedure choosing a different port.
The illustration below depicts the main menu.

16
RMO500 RMO Win Software
Download
Data From RMO
With this command the results from the internal RMO memory can be transferred to the
PC. The transfer is possible only if the serial port RMO is connected, with the
appropriate cable, to the PC and the green led diode ”Communication” is lit (ON).
The results a user wants to transfer from the RMO memory to the PC are possible to
choose according to a selected criterion:
All
File
Open
Opening the file.
Save As
Saving the table in the working
directory.
Print
Printing the active table.
Exit
Exiting the program.
All the test results are being transferred
from the internal RMO memory to the
PC.
Memory from-up to
It opens a new window that allows a
choice of memory locations to be
transferred to the PC.
The results that are located in the range
between the memory locations, including
the chosen memory locations, will be
transferred to the PC. The more detailed
description on how to use the memory
locations can be found in the RMO
manual.

17
RMO500 RMO Win Software
Date
Date from – up to
Current from - to
After choosing the wanted transfer criterion it is recommended to write the name of the
object (device) on which the tests took place as well as comments that can be used in
the future analysis of the results. These comments will be displayed in the table together
with the results.
The results that are filled in on
the chosen date are going to
be transferred to the PC.
After choosing this option, a new window
appears. It provides a choice of selecting a
time-interval when the measurement was
done. The results received during the time
period between the chosen dates, including
the chosen dates, are going to be transferred
to the PC.
Selecting this option opens a new window,
providing a selection of the currents that
were used during the. The choice of the
current is made on the drop-down menu.
The range of the values that are between
and including the selected values of the
current, are going to be transferred to the
PC.

18
RMO500 RMO Win Software
Transfer
Exit
The results table
When the results are transferred to the PC, the table with the layout shown on the
illustration below will be displayed:
- Memory : the number of the memory location in the RMO in which the test
results are
- Date : the date of the test
- Time : the time of the test
- Current : the test current
- Voltage : the voltage on the Voltage Sense
- Resistance : the measured resistance
- Object : the name of the object
- Code : the code of the tested object
- Comments : comments
After pressing this key, the selected results
are going to be transferred from the internal
RMO memory to the PC. Unless the user
chooses some other option, all the results
from the RMO memory will be transferred
(the option All is a default).
After pressing the command transfer, the
graphical bar is being displayed showing a
status of the transfer.
A user should press the “Exit” button if for whatever reason he wants to interrupt
a transfer. After pressing this key all the choices are being erased and a user
will return back to the main menu.
Save
Saving the table as an Excel
file. Initially it will be
suggested to save in the
working directory.
Exit
Returning to the main menu.

19
RMO500 RMO Win Software
Tools
Now the RMO can be controlled from the PC.
The way of using the RMO keyboard is described in details in the RMO Manual.
Clicking with the mouse on any key of the keyboard has the same effect as pressing the
keys on the RMO.
In case that the green led diode is not lit in the “Communication” window, i.e. the red led
diode is lit, it is necessary to check the following:
- Is the green led diode on the RMO lit?
- Is the RMO signaling any error?
- Is the serial cable connected tightly?
- Double-check the choice of the active serial port.
Clearing of table
Erasing all the data from the main menu board.
RS232
Choosing the PC serial port to which an RMO is being connected.
This window provides a choice of the
serial port to be used. After a correct
choice has been made, the green led
diode ”Communication” is going to be lit
and the same text as on the RMO display
is going to be shown on the monitor.

20
RMO500 RMO Win Software
The test results are going to be put in the table (as in the picture below).
It is highly recommended to write the information in the columns ”Object”, ”Code” and
”Comments” for better systemization of the saved results.
The new test moves the previous test results down so the first line represents the last
performed test.
The way of measuring the resistance is described in details in the RMO Manual.
If a user wants to analyze these results later, it should be saved on the hard disk. The
table is going to be saved as an Excel file, so it can be later used with all Excel
functions.
Options
Output format
Defines the file format of the saved table.
Data format
Defines the date format that is going to be shown in the table with the results of the
test.
Working directory
The selection of the working
directory that is going to be
the default one for opening
the tables and the files.
Table of contents
Other DV Power Measuring Instrument manuals

DV Power
DV Power RMO40TD User manual

DV Power
DV Power RMO100G User manual

DV Power
DV Power RMO600 User manual

DV Power
DV Power RMO-H User manual

DV Power
DV Power RMO25W User manual

DV Power
DV Power BVR11 User manual

DV Power
DV Power RMO30T User manual

DV Power
DV Power RMO200 User manual

DV Power
DV Power RMO60TD User manual

DV Power
DV Power RMO10T User manual