INSTALLATION
1. Location: Select a location free from excessive
vibration and where ambient temperature will be between
20 to 120ºF (-6.7 to 49ºC). Pressure sensing lines may be
any length necessary without affecting accuracy. However,
long runs of tubing will dampen readings slightly and
cause an increase in response time. If pulsing pressure or
vibration cause excessive pointer oscillation please con-
tact factory for ways to provide additional damping.
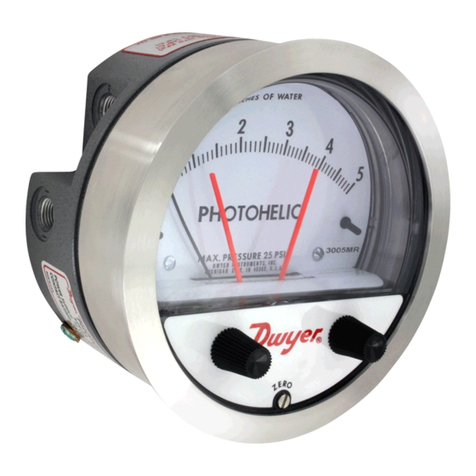
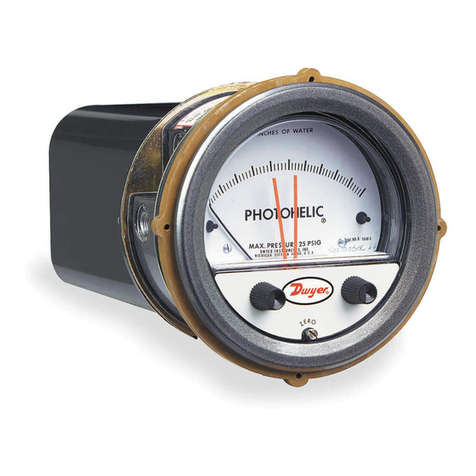
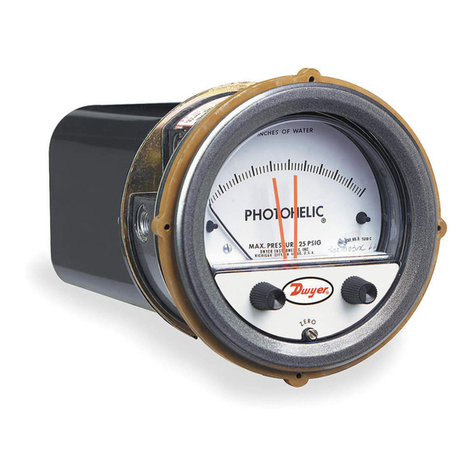
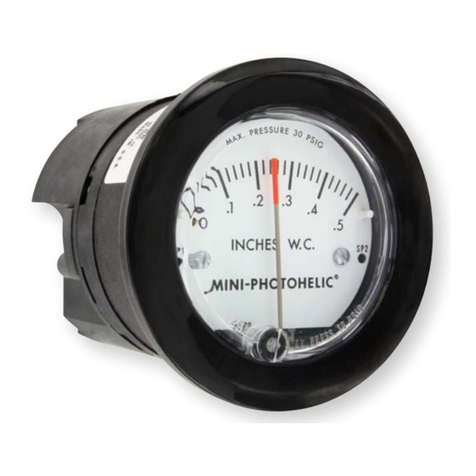
2. Position: The Mini-Photohelic is calibrated and zeroed
with gage face in the vertical position at the factory. If the
gage is used in any other position, it must be re-zeroed
each time the position is changed. Gages with ranges
under 5 in. w.c. (1.24 kPa), or equivalent, should be used
only in the vertical position unless special calibration was
specified when ordering.
3. Mounting: The Mini-Photohelic is normally mounted
before making electrical connections. Terminal blocks are
located on the rear of the gage for electrical connections.
(A) Panel Mounting: Standard installation for the Mini-
Photohelic mounting is flush through a panel. Allow
approximately 1˝ clearance for pressure tubing and
electrical wiring. Cut a 2-5/8˝ diameter hole in the
panel. Insert the Mini-Photohelic into the panel,
thread the two mounting screws supplied into the
mounting ears and tighten.
(B) Optional Remote Relays (RMR) Mounting:
Where it is preferred to mount the electrical unit sep-
arate from the gage assembly, the gage may be
panel mounted by cutting a 2-5/8˝ diameter hole in
the panel. Install the mounting studs (supplied) in the
back of the gage assembly, position gage in the
panel and place bracket over the studs. Thread hex
nuts over studs and tighten.
On factory supplied Remote Relay (RMR) units, the
electrical unit will be furnished attached to a mount-
ing plate as shown in Fig. A. Use the hole layout in Fig
A. for this option. A one foot cable assembly is
included for connecting the two components. For
longer cable lengths consult the factory.
4. Zeroing: Before installation, the Mini-Photohelic may
need to be zeroed before placing into operation. If zero-
ing is required, you must first remove the locking clip
located near the bottom face of the gage (refer to Fig.
B). Use a small blade screwdriver or the allen wrench
supplied with the Mini-Photohelic to remove the clip.
The clip is attached with a hinge design so it will not get
lost after removal. After removing the clip, firmly hold the
case of the gage assembly (be careful not to twist the
electrical unit) with one hand and rotate the front cover
in a counterclockwise direction with the palm of the
other hand. The Mini-Photohelic cover utilizes a bayonet
locking design. The cover will rotate approximately 9
degrees then stop and can be removed. CAUTION:
When removing the cover be careful to slowly pull the
cover straight off the gage housing. Damage can occur
to the scale if the cover is pulled off on an angle. If diffi-
cult to loosen cover, place a small sheet of rubber
between the cover and the palm of the hand. The zero-
adjust screw is located below the scale at the “zero”
label near the base of the pointer. Use the hex allen
wrench supplied and adjust until the pointer is on zero.
This must be done with both pressure connections
vented to atmosphere and the gage oriented in the final
mounting position. Replace cover.
5. Pneumatic Connections: To measure positive pres-
sure, connect tubing to port marked “+” and vent “–”
port to atmosphere. For negative pressure (vacuum),
connect to port marked “–” and vent “+” port to atmos-
phere. If gage is supplied with 1/8˝ male NPT connec-
tions careful attention must be made not to over-tighten
fittings to avoid damage to the gage.
ø5/32 [3.97]
MOUNTING HOLE
TYP 4 PLACES
1 [25.4] TYP
2.276 [57.81] TYP
1-15/16 [49.21]
11/64 [4.37]
2-11/16
[68.26] SQ
ø2-19/32
[65.88]
1-17/32
[38.89]
2-3/8 [60.33] 9/32 [7.14]
LOW PRESSURE
PORT TYP
HIGH PRESSURE
PORT TYP
+
+
–
–
Fig. A
Fig. B
B-37 5/8/03 1:21 PM Page 2
