Dynascan R-58 User manual

To Customers
Thank you very much for using our Dynascan FM VHF/UHF Two Way Radio. This
radio of
modern design is reasonable structure with stable functions. It is designed to
meet customer's needs for the high quality with easy operation and perfect capability.
We believe you are pleased with the finished shape and the reasonable price.
This manual is suitable for using the model of Dynascan R58
CAUTIONS:
Before use this radio may need get local government authorization.
DO NOT operate the radio without a proper antenna attached, as this may
damage the radio and may also exceed exposure limits
Refer service to qualified technicians only.
Turn off the radio while taking on fuel or while parked in a gasoline service
station.
Do not expose the radio to long periods of direct sunlight, nor place it close
to heating appliances.
If it appears that the radio diffuses peculiar smell or smoke, please shut off
its power immediately, then contact with the nearest dealer.
Don’t keep the radio transmitting too long .It may be too hot to hurt body or
damage the radio itself.
Please turn off the radio before entering the inflammable and explosive
environment.
CHECKING EQUIPMENT
Welcome to use our radio. Please check if any damage to the packing box
before use. Carefully unpacks the radio. We recommend that you identify
the items listed in the following table. If any items are missing or have been
damaged during shipment, please inform the seller.
SUPPLIED ACCESSORIES

RUBBER ANTENNA Li-ion BATTERY PACK BATTERY CHARGER
POWER SUPPLY BELT CLIP USERS’MANUAL
CHARGING THE BATTERY PACK
The battery pack is not charged at the factory; charge it before use.
Initially charging the battery pack after purchase or extended storage will not
bring the battery pack to its normal operating capacity. After repeating the
charge/discharge cycle two or three times, the capacity will increase to best
status. You should charge or change the battery pack if the battery’s power is
weak.
CAUTION
》Use the original battery pack only. It is likely to explode or hurt your body if
you use other battery.
》Don’t short-circuit the terminals or put it in fire. Don’t attempt to open the unit.
》The ambient temperature should be between 0℃to 40℃while charging is in
progress. Charging beyond this range may not fully charge the battery.
》Always switch OFF the transceiver equipped with a battery pack before
charging. Using the transceiver while charging, it will interfere with correct
charging.
》Don’t cut off the power or take off the battery during the charging process or
else it will interfere with correct charging.
》The battery pack life is over when its operating time decreases even though it
is fully and correctly charged. Replace the battery pack.

》Don’t recharge the battery pack if it is already fully charged or it will short the
life of the battery.
》Don’t charge the battery pack or transceiver while it is wet. Please wipe up it
first to avoid danger.
Charging Operation
If the battery pack is out of power, please charge it.
Please always use the original charger. The charger’s indicator shows the
charging status below.
Please charge the battery pack as follow,
1. Put the DC plug of the transformer into the DC socket of the charger unit.
2. Connected the supplied transformer to the AC jack
3. Slide the battery or the transceiver with a battery pack into the charger.
4. Make sure the battery pack contacts are in contact with the charging
terminals, and the charger LED is on, it begins to charge.
5. After charging the supplied battery pack for 4 hours, remove it or the
transceiver equipped with it from the charger. The charger light turns to
green automatically after charging is completed.
CAUTION
1. It is abnormal in case of the charger glisteningly before sliding the battery
pack into the charger.
2. Don’t replace the battery pack until the indicator light is stable.
3. Make sure contact well, LED indicates red when it is charging, if LED
always blinking the battery pack is damaged or over the environment
temperature.
MAINTENANCE
1. Don’t carry the radio by the antenna or microphone directly.
2. Use a soft, clean, dry cloth to clean the radio.
3. Please cover the speaker/microphone jacks with the supplied cover when
the radio is not in used.
4. The keypad, knobs and case will become dirty after long use; you can use
the soft detergent and cloth to clean it.
INSTALLING ACCESSORIES AND OPTIONAL
INDICATOR DISPLAY
STATUS
RED
CHARGING
GREEN
COMPLETED

INSTALLING /REMOVING THE BATTERY PACK
Place the top of the battery pack on the chassis of radio.
Push the battery pack to make the well connection with the chassis and
push the battery locker to lock the battery.
To remove the battery pack, pull the battery locker
INSTALLING/REMOVING THE ANTENNA
Screw the antenna into the connector on the top of the transceiver by
holding the antenna at its base and turning it clockwise until secure.
Turning or spiraling the antenna counterclockwise to remove the antenna.
INSTALLING/REMOVING THE BELT CLIP
Attach the belt clip using the two supplied screws.
You can unscrew it to remove the belt clip.
INSTALLING THE SPEAKER/MICROPHONE
Open the cover of the speaker/microphone jack and insert the
speaker/microphone plugs into the jacks.

INSTALLING JACK COVER
You can install the jack cover with supplier screws to make it waterproof.
GETTING ACQUAINTED
ANTENNA
EMERGENCY ALERT KEY
LED INDICATOR.
SPEAKER
MENU KEY
CHANNEL ENCODER/FREQUENCY ADJUSTMENT
POWER SWITCH /VOLUME CONTROL
MICROPHONE
VFO/MR: Long press (2s-3s) is scan key, short press to switch frequency and
channel (all frequency mode)
ENT: Confirm key, press ENT and turn ON radio to switch between channel
and frequency
FUN function key
In the key lock mode, press FUN and turn the encoder to enter the menu,
press ENT to confirm. Press MENU to return last menu, release FUN to
confirm and exit
PTT key
Press to transmit, release to receive
MONITOR key: Press and hold 2s-3s to open the squelch
1750/1450/2315Hz tone call key: (Press and hold 2s-3s to transmit the call
tone)
SPEAKER/MICROPHONE JACK
BATTERY PACK
Battery power indicator
TX offset direction in relation to the Rx frequency
Keypad locked
DCS tone
CTCSS tone

Priority scan
High/Lower power
Scrambler
VOX
Menu function
Received signal strength and TX power
Frequency display
Turn on and off the power/ Adjusting volume
If you want to turn on the power, rotate the PWR/VOL knob clockwise until a beep
sound is heard .All icons and frequencies appeared on the screen. You can adjust your
desired volume by turning the knob.
To turn off the power, rotate the PWR/VOL knob counter-clockwise rotation. All the
icons on the display will disappear and the radio is off.
After turning on the radio, rotate the PWR/VOL knob clockwise to increase the
volume and counter-clockwise to decrease.
MONITOR
Press and hold the defined side key 3 or 4, and with the PWR / VOL control knob to
hear the background noise of the channel and adjust the voice to comfortable degree,
you can directly listen to the sound without having to wait for your call. To turn off
the squelch release the side key.
Transmitting
Press the [PTT] key, and then facing the front of the radio microphone to speak.
Press and hold [PTT] key LED is red for the period.
If you rely on the microphone too close or too loudly may increase distortion and
reduce your signal in the receiver's clarity. Release [PTT] key received signal in order
to listen to the partner's speech.
●Mode Selection
By pc software you can program three modes: frequency mode; PMR; PMR + LPD.
Press and hold the ENT key while turn on the power, you can switch it between
frequency mode and channel mode
In frequency mode, short press VFO / MR key to switch between frequency mode
and channel+frequency mode.
In the PMR + LPD mode, long press [MENU] button for 4 seconds to switch it
between PMR channel and LPD channel.

● Storage channel
In frequency mode, select the frequency and other parameters (such as CTCSS, DCS,
repeater shift, etc.). Click [FUN] key and then press [VFO / MR] key, the screen
displays "F" icon and the channel number flashing in the upper right corner ( If the
channel has already stored frequency, then the channel number will not flashing), use
the rotary encoder to select the channel you wanted, press the [VFO / MR] key to
complete the channel storage and returns to the frequency mode.
Delete a momory
1.Delete one store channel
In channel mode turn off the power.
Hold down the VFO/MR key and turn on the unit. “DEL001?”and stored channel
number will be displayed. Turn the Encoder knob or select the channel to delete.
Push ENT until “YES? 001”appears on the display; push it again to confirm. If you
don’t want to delete it, just press VFO/MR.
2. Reset (Delete all the settings in Frequency mode)
Hold down the FUN key and turn on the unit until “RESET?”is displayed. Press
ENTER until “VFO?”is shown on the display; push it again for confirmation.
3. Delete all settings (Delete the settings in both frequency and channel mode)
Hold down FUN key and turn on the unit until display “RESET?”, press ENT until
display “VFO?”. Turn the Encoder knob to select “FULL?”, then press ENT to
delete all the settings in Frequency and VFO mode.
FM RADIO function
This radio has a FM radio function, click [FUN] key screen displays "F" icon, then
press the side key 3 to enter or exit the FM radio feature.
●on-site alarm
Press the emergency call button, radio sounds alarm tone, while sending the alarm
tone and ANI personal identification code to your partner, press [PTT] key to cancel
the alarm.
● Busy Lockout
This feature prevents interference with other radio in this channel,
dealer can use pc software to set, it provides the following two options:
◆ Carrier: When the radio receiving signal, not transmitted.
◆ CTCSS tone: When the radio receives a signal, if it receives the same

carrier, different sub-audio, the radio can be transmition. if the radio
receive the same carrier and CTCSS exactly, transmition is prevented.
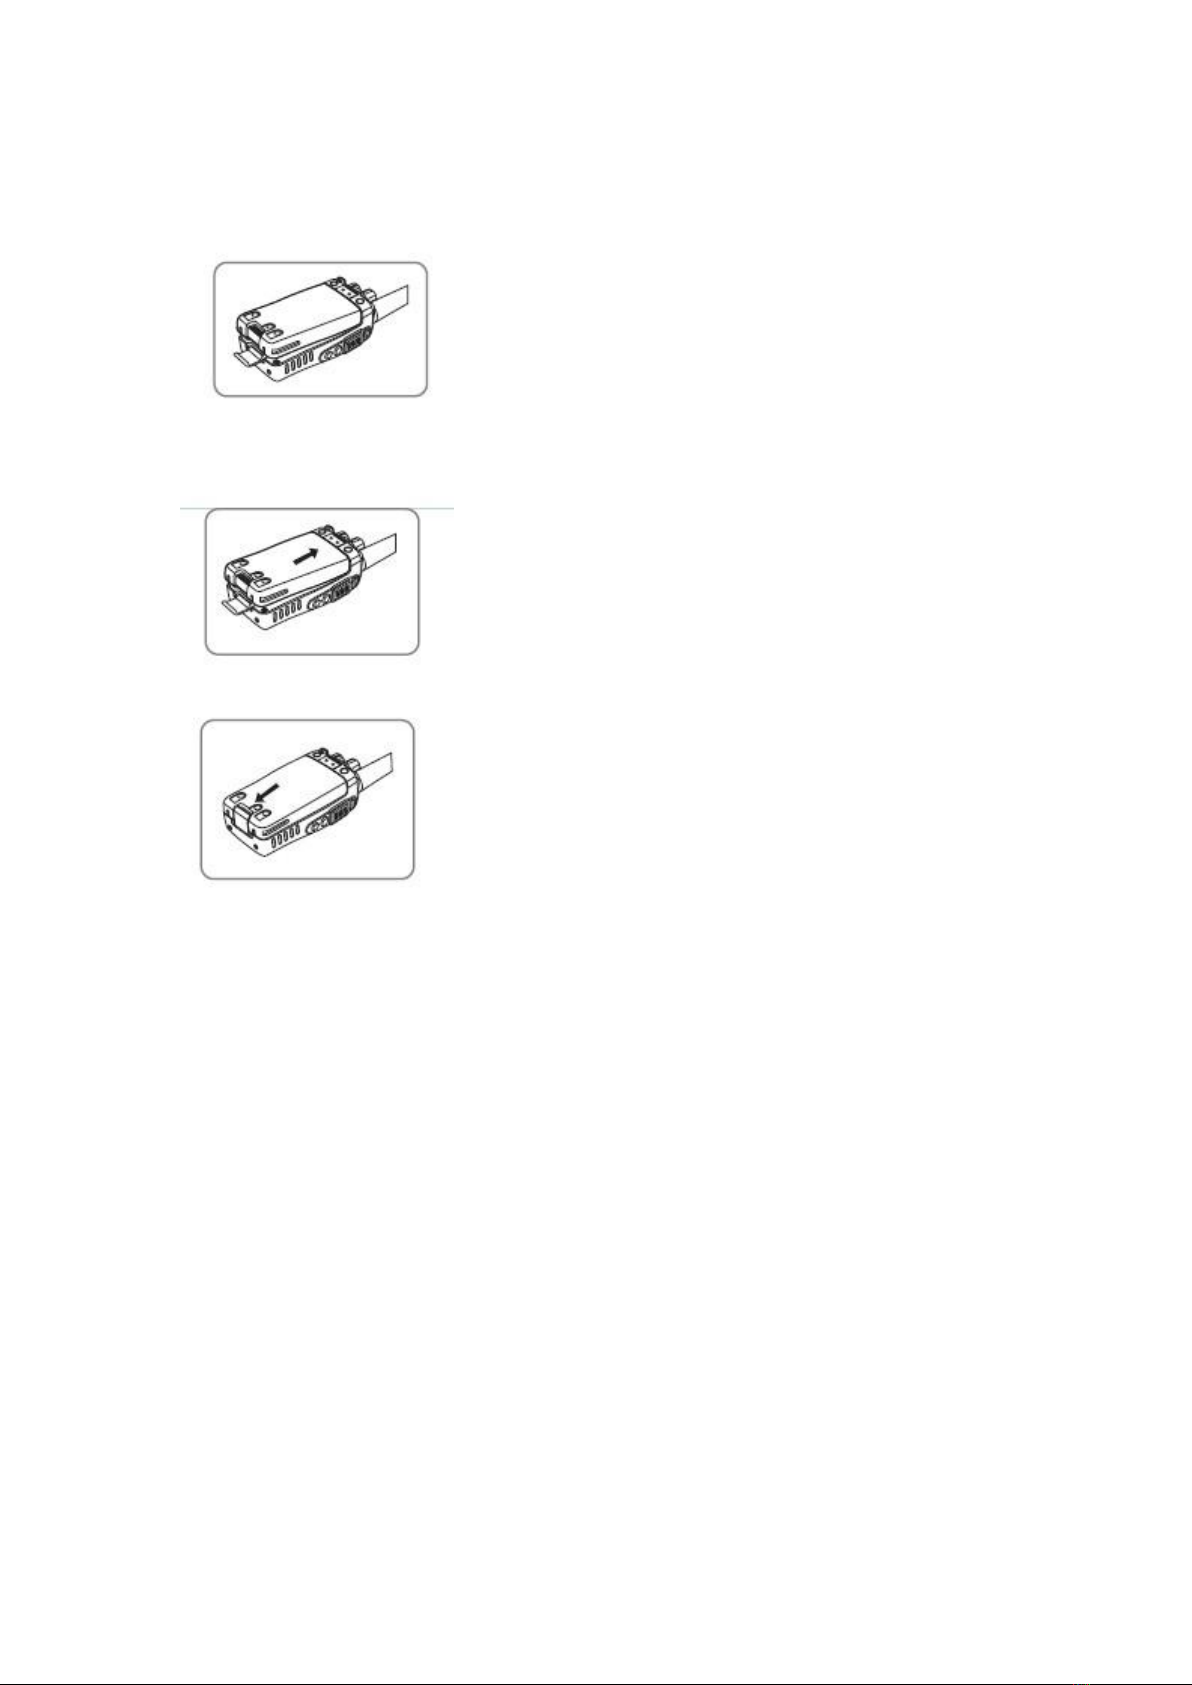
Function key FUN
1) As the storage key: In frequency mode, setting all information in frequency
mode, press FUN key and press VFO/MR key until “F” icon and channel
number flashing on corner, to storage the channel, press VFO/MR key.
2) As the function key, in key lock mode, press FUN key and rotate the knob to
enter the menu function.
3) As the high/low output power switch, press FUN key and press PTT key
4) As the keylock button, press FUN and press ENT to lock the keypad.
5) As the frequency step key, in frequency mode, press and hold FUN key, the
number above the “MHZ” is flashing, rotate the knob to increase/decrease the
frequency (1MHZ), release FUN key to change the frequency as per current
frequency step.
6) As the clear key: press and hold FUN key and turn ON power to enter the all
clearance mode.
Menu functions
● use the menu
1. Press the Menu button [MENU] screen shows "MENU";
2. Press the [ENT] to enter the menu mode;
3. Rotary encoder to select the menu option you want to use;
4. Press the [ENT] to enter the menu settings, through the rotary encoder
to select the desired menu function settings, and press [ENT] key to
confirm;
5. After setting press [VFO / MR] key to exit the menu mode.
Menu function setting
All channel scan
In Channel/Frequency status, press VFO/MR for 3s , the radio will scan from the
channel in use through all the channels/frequency, whenever any activity is
detected, the radio will suspend the scan for 5 seconds. It will then continue to
scan unless you press PTT or ENT key to end scanning.
Priority channel scan
Priority scan is to scan the priority channel firstly then scan other channel, if you
set priority channel 1, it will scan 1-2; 1-3; 1-4; and continue. In channel Mode,
press MENU , and press ENT until displays “PRI? 001” and press ENT to scan,

radio begin to scan priority channel, whenever any activity is detected, the radio
will suspend the scan for 5 seconds. It will then continue to scan unless you press
PTT or ENTER key to end scanning.
Select scan type
In channel/frequency mode, press MENU and press ENT to enter menu mode,
Rotate the Encoder until the display shows “SCANS 010”. Press ENT and turn the
Encoder knob again to select the scan type (TO/CO/SE).
TO: Time-operated scan
Even though the radio stops on a busy channel, it will continue scanning the other
channels.
CO: Carrier-operated scan
The radio stops on a busy channel until there is no activity, and then radio begins
scanning the other channels
SE: Search scan
The radio stops on a busy channel and exits the Scan mode.
Setting the VOX sensitivity level
The VOX function is deactivated by default. To activate it follow the procedure
here below:
1. press the MENU and ENT button to enter;
2. turn the Encoder knob until the display shows “VOX? 002” (menu 002);
3. push the ENT key;
4. turn again the Encoder knob and select the desired VOX level (you can
choose amongst 9 different levels);
5. push the ENT key again;
6. to exit, press VFO/MR
Setting the transmission power
To select desired power level:
1. press the MENU and ENT button;
2. turn the Encoder knob until the display shows “POW? 003”(menu 003)
3. push ENT;
4. turn again the Encoder knob and select the desired power level (you can
choose between 2 levels: ‘H’and ‘L’);
5. press ENT
6. press the VFO/MR to exit

Setting squelch
To select the squelch level:
1. press the MENU and ENT button;
2. turn the Encoder knob until ‘SQL? 004’(menu 004) is displayed
3. push ENTER;
4. turn the Encoder knob and select the desired squelch level (9 different
levels are available);
5. press ENTER
6. press the VFO/MR to exit
Scrambler Setting
1. press the MENU and ENT button;
2. turn the Encoder knob until ‘SCRM ? 005’(menu 005) is displayed
3. push ENTER;
4. turn the Encoder knob to select ON or OFF.
5. press ENTER
6. press the VFO/MR to exit
Backlight color selection
To select the LCD backlight color, follow this procedure:
1. press the MENU and ENT button;
2. turn the Encoder knob until ‘LED? 006’(menu 006) is displayed
3. push ENTER;
4. turn the Encoder knob to select AUTO, ON, OFF ;
5. press ENTER
6. press the VFO/MR to exit
Beep on/off
The keypad beep is activated by default. To deactivate it::
1. press the MENU and ENT button;
2. turn the Encoder knob until ‘BEEP? 007’(menu 007) is displayed
3. push ENTER;
4. turn the Encoder knob and activate/deactivate the beep (ON=beep enabled;
OFF=beep disabled);
5. press ENTER
6. press the VFO/MR to exit
Keypad lock setting
To lock the keypad to prevent the wrong operation:
1. press the MENU and ENT button;
2. turn the Encoder knob until ‘KEYBO? 008’(menu 08) is displayed

3. push ENTER;
4. turn the Encoder knob to select AUTO, MANUAL
5. press ENTER
6. press the VFO/MR knob to exit
TOT setting
To prevent continuous emission of the radio, the unit can be set of 30-270
seconds continuous emission limits, a warning tone will be hear in the due time.
1. press the MENU and ENT button;
2. turn the Encoder knob until ‘TOT?’(menu 09) is displayed
3. push ENTER;
4. turn the Encoder knob to select from OFF, 30, 60, 90, 120, 150, 180, 210, 240,
270.
5. press ENTER
6. press the VFO/MR knob to exit
Voice function
With this function, you activate a voice that informs about any
operation/selection you are doing. To activate or select it. Follow these steps:.
1. press the MENU and ENT button;
2. rotate the Encoder knob until ‘VOICE’(menu 119) is displayed
3. push ENTER;
4. turn the Encoder knob to activate or select from CHS, ENG (CHS=Chinese;
ENG=English);
5. press ENTER again;
6. press the VFO/MR to exit.
Select CTCSS and DCS tones
There are 3 kinds
--- RX and TX
--- RX only
--- TX only
1. Press the MENU and ENT button;
2. rotate the Encoder knob to item 12/13/14 until ‘C-CDC? 012’(setting RX/TX
tone), ‘R-CDC? 013’(setting RX tone), ‘T-CDC? 014’(setting TX tone), is
displayed
3. push ENTER;
4. turn the Encoder knob and select the desired CTCSS tone, or press side key 3
to select DCS tone,
(While selecting the codes, if you press side key 4, you will select the
normal (N) or inverted (I) DCS codes.)
5. press ENTER to confirm and VFO/MR to exit ;

Channel name edit
1. press the MENU and ENT button;
2. turn the Encoder knob until ‘NAME?’(menu 15) is displayed
1. push ENTER;
2. turn the Encoder knob to select ON/OFF;
3. press ENTER
4. press the VFO/MR to exit
Repeater shift adjustment (for communications through repeaters)
1. Press the MENU and ENT button;
2. rotate the Encoder knob until ‘OFFSET’(menu 16) is displayed
3. push ENTER;
4. turn the Encoder knob and select the repeater shift. (VHF range 0-42Mhz,
UHF range 0-80Mhz)
5. press ENTER ;
6. press the VFO/MR to exit
Repeater shift (for communications through repeaters)
To activate this function, follow these steps:
1. Press the MENU and ENT button;
2. rotate the Encoder knob until ‘S-D?’(menu 17) is displayed
3. push ENTER;
4. Turn the Encoder knob and select the repeater shift. You can choose amongst
the following options +, - and 0;
5. press ENTER again;
6. press the VFO/MR to exit
Wide and Narrow band selection
1. press the MENU and ENT button;
2. turn the Encoder knob until ‘N/W?’(menu 18) is displayed
3. push ENTER;
4. turn the Encoder knob to select from NARROW or WIDE.
5. press ENTER
6. press the VFO/MR knob to exit
Automatic Numbering Identification (ANI) setting
You can set an automatic number identifier visible from the radio’s display of
your partner each time you send a call signal.:
To activate it or select different mode:
1. press the MENU and ENT button;
2. turn the Encoder knob until ‘ANI’(menu 19) is displayed
3. push ENTER;
4. turn the Encoder knob to select ON/OFF

5. press ENTER
6. press the VFO/MR knob to exit
Identification code (ANI), can be programmed by software to two ways: ①Before
TX, ②End TX; There are two signaling for choose: MSK, DTMF
Note: item 16-19 insert by programming software, 16-17 only available in
frequency mode.

Technical specification
General
Frequency Range
136―174MHz,400—470MHz, other custom
Working Temperate
-20℃―+50℃
Operating Voltage
DC 7.4V
Operate Mode
Same frequency/different frequency full duplex
Dimension
115mm×55mm×35mm (Not included Antenna)
Weight
243g (Including battery)
Antenna impedance
50Ω
Transmitter
Frequency Stability
±2.5PPM
Output Power
> 4W
Max Frequency Deviation
≦5KHz
Audio Distortion
≦5%
Modulation Character
+3dB—-3dB
Adjacent Channel Power
≥65dB
Spurious Radiation
≤7.5UW
Occupied Bandwidth
≤16KHz

Receiver
RF Sensitivity
<0.2UV
Audio Distortion
≦5%
Audio Response
+2dB—-10dB
Adjacent Channel Selectivity
≥60dB
Intermodulation Rejection
≥60dB
Spurious Response
≥60dB
Blocking
≥80dB
* Technical specification subject to change without notice
Other manuals for R-58
1
Table of contents
Other Dynascan Two-way Radio manuals