DYS Summer User manual

Summer
User Manual
(V1.0 2015.02)

Disclaimers and Warnings
Battery and charge attentions
Thank you for purchasing this product. Please read this manual and disclaimer carefully.
Please read this instruction manual carefully before using the product. By using this product, you
hereby agree to this disclaimer and signify that you have read it in full.
You agree that you are responsible for your own conduct and any content created while using this
product, and for any consequence thereof. You agree to use this product only for purposes that are
proper and in accordance with local regulations, terms and any applicable polices and guidelines.
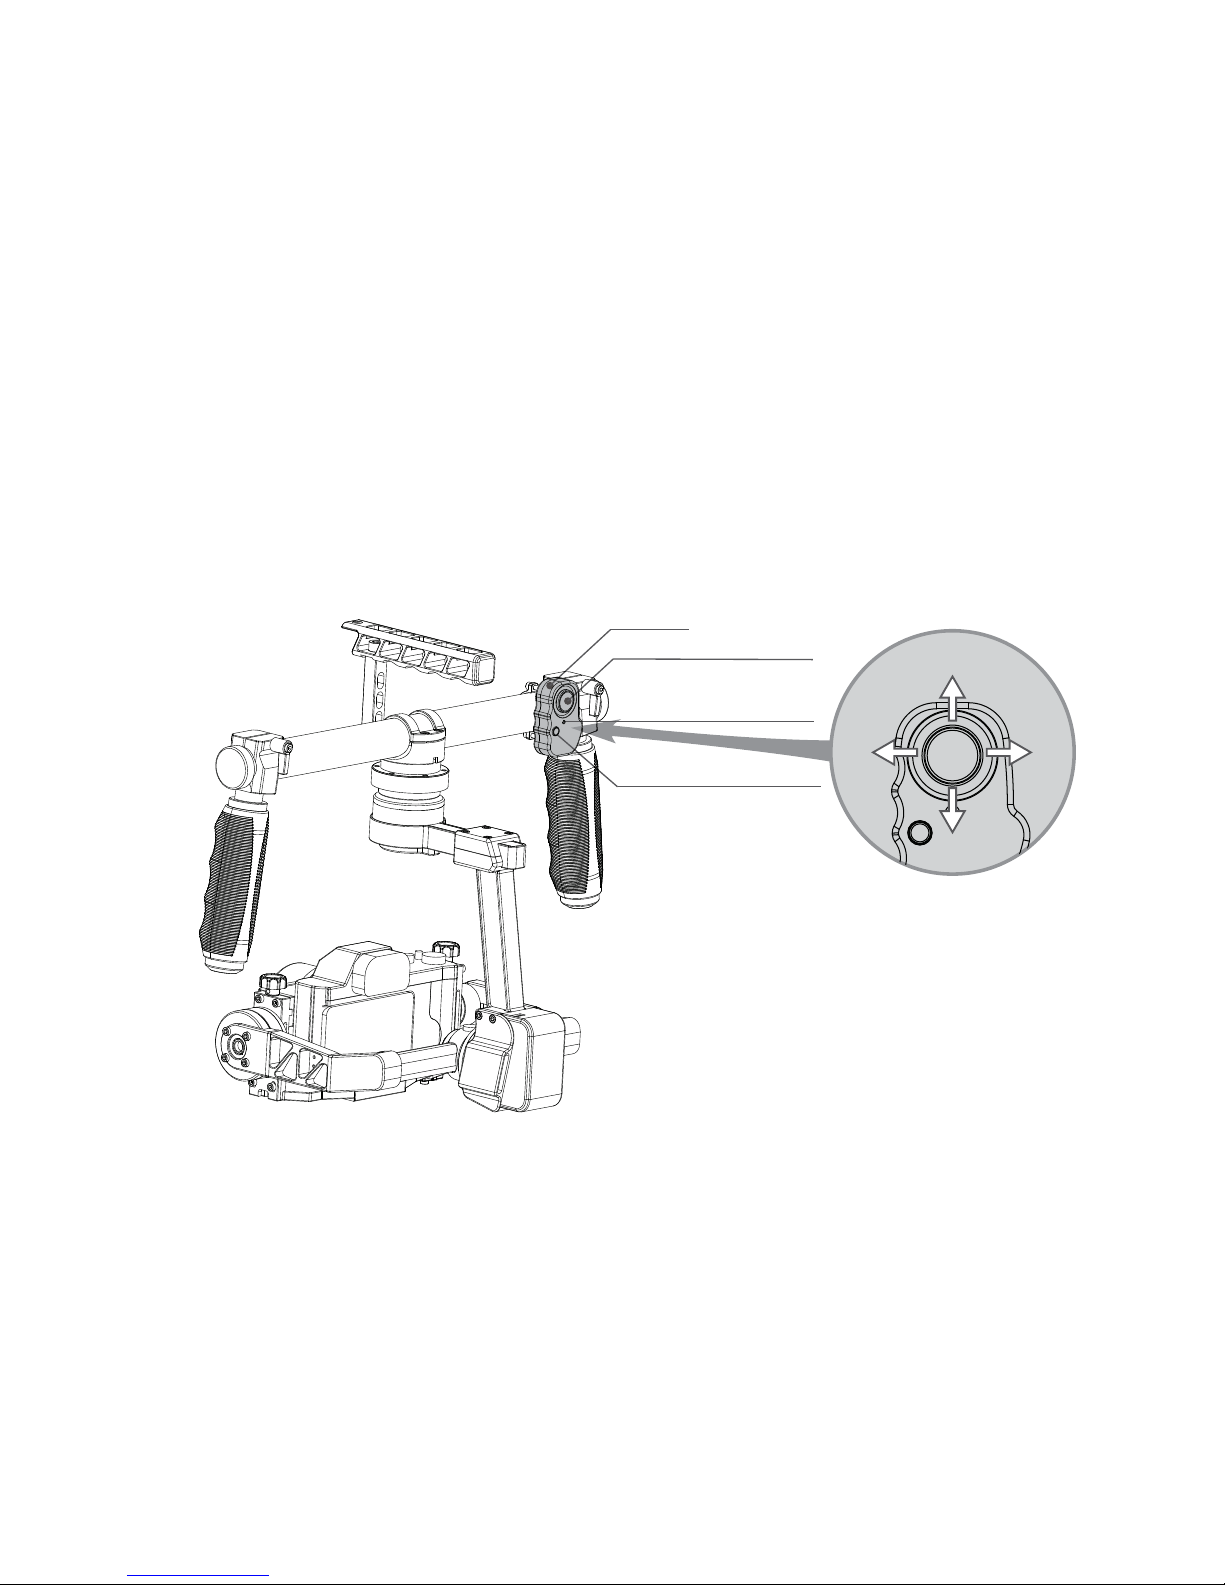
No modification or amending to the Summer is allowed. Please make sure the camera mounted on the
gimbal firm enough before installing the battery.
Summer already finished calibration for camera Panasonic GH4, Olypus M.ZUKIKO DIGITAL ED 12-
40mm f/2.8 PRO before leave factory.
As Manufactory has no control over use, setup, final assembly, modification or misuse, no liability shall
be assumed nor accepted for any resulting damage or injury. By the act of use, setup or assembly, the
user accepts all resulting liability. Manufactory assumes no liability for damage(s) or injuries incurred
directly or indirectly from the use of this product.
Any parts of this disclaimer is subject to change without prior notice.
Any problems while mounting or using this product, please contact with the authorised agent or the
customer service of Manufactory.
1. Do not soak battery into water, keep the battery in dry and cool place when unused for a long time.
2. Do not use the battery with disposable battery such as dry cell, or other battery with different
capacities, models and varieties.
3. Do not leave or use battery near source of heat, otherwise it may catch fire or auto ignition while
overheating.
4. Charge battery with equipped charger. Do not charge when no one is around.
5. Pay attention to discharge voltage, battery will overheat and slowdown in performance, expansion,
even fire and explosion.
6. Please pull the plug in time while full charge; Do not overcharging.
7. Please ensure that the battery is installed properly while using.
8. Do not heat or throw the battery into fire.
9. Do not short the battery by wire or any metals.
10. Do not ship or store battery with necklaces, hairpins or other metals.
11. Do not strike or drop battery, avoid battery of hitting with hard objects.
12. Do not impale battery with nails or other sharp objects;
13. Do not hammer or tread the battery.
14. Do not decompose the battery in any way.
15. Do not use the battery if any odor, deformation by heat or abnormal phenomena.
16. Improper use, leakage or overcharging all may result in exploding or fire.
17. Please clean the dirty battery ends with dry cloth. Or it may lead to poor contact, even energy
loss or unable to charge.
18. Do not throw the battery casually.
19. Do not use batteries except for 18650 battery.
20. Keep battery out of the reach of children.
1

Contents
Disclaims and warnings 1
1
2
3
4
5
5
6
6
7
7
7
8
8
9
9
Using battery and charging
Contents
Gimbal Description
Box list
Assemble stand
Install handle with the gimbal
Camera mount
Battery installation
Gimbal balance
Pitch axis balance
Pitch vertical balance
Advanced pitch adjustment
Roll axis balance
Pan axis balance
Joystick usage
Maintenance
2

Gimbal description
Panasonic
SONY
SONY A7S
Supported lens
Lens size
Brand
DMC- GH4
Olyplus & Panasonic ILDC lens
Camera size requirements: the maximum horizontal length between gravity and
Roll axis is 75mm;
Width of camera is 147mm, height is 157mm as above picture shows.
While mounting camera, please keep the camera power off.
233mm
347mm
147mm
157mm
75mm
3
The Summer comes with dedicated camera fixing board, easy to install and take apart the camera, as
well as balance the camera. By testing, the Summer can be used with the following cameras. Any
similar in size and weight camera may also work.

Box list
Gimbal x 1set
1/4”Camera mount screw x1
Fixing stand tube
upper tube x2
Lower tubes x2
Vertical tube x1
Left tube clamp x2 Right tube clamp x2
90°tube clamp x2
Battery 18650x4(exclude)
Gimbal handle
90°tube clamp parts x2
Others
4
Summer only work with battery 18650 size within 67mm, please pay more
attention while purchasing
Hexagonal spanner x 1 ( for stand installation)
Battery charger x 1 ( for battery 18650)
Screw M8x20mm (for stand mounting)
Screw nut M8x20mm ( for stand mounting)

Assemble stand
Install handle with the gimbal
1. Summer handle is placed separately before leaves factory, please install the handle onto the
gimbal with screw as shown.
2. Please be sured that the pan axis motor can rotate 360° without obstruction after installation.
Please assemble stand as follows.
Assembled
Adjustable stand
5
360°
Pan axis

Camera mount
1. Mount the camera on the fixed plate with 1/4'' screw, you can adjust the camera according to the
camera gravity.
2. Mount the connection part and lens fixed bracket on the camera, the mounting height depends on
the camera. Adjust the height with screw in order that the lens can go through the U- shaped ring of
the fixed bracket. Make sure the lens fixed bracket and lens is stable.
Battery installation
1. Screw out the stoppers, put 4 pieces 18650 battery as picture shows, and make sure the batteries
are connected well.
2. Tighten the stoppers up.
1. Summer just work with 18650 battery.
2. Please charge the battery first before use the gimbal.
3. Please keep the power off while install the battery.
4. If the battery do not install correctly, poor connection or power off may occur.
Joystick
Switch
18650 battery x4 Negative stopper
Positive stopper
Chute for
adjusting camera gravity
Connection parts
1/4'' screw
Lens fixed bracket
Balancer
Camera fixed plate
Adjustable screw for
fixed bracket
Adjustable screw for
camera height
(Vertical balance for pitch axis)
Adjustable screw for
fixed bracket
Adjustable screw for
camera height
Pic 1 Pic 2
6
++
-
+
-
+
-
-
Before assemble the lens to the bracket, please be sure the camera mounted on the fixed
plate firmly.

Gimbal balance
It is essential to balance the Summer for the best performance. Especially for some extreme sports or
accelerations, accurate balance can improve the shoots quality, as well as the battery life. The balanc-
er will help a lot to adjust the pitch, roll, pan axis while power on. Balance finished and without power,
all 3 axes almost keep in horizontal level, will not deflect one side seriously.
1) Camera locking screw hole is the chute for adjusting camera gravity (see pic 1 of page 7). Adjust
properly ( slightly adjust ) to keep the camera in horizontal level.
2) After balanced, the camera can stay in any tilt angle you rotate.
1) Rotate the camera to one position( note that the lens can reach), remove your hand and adjust the
vertical balance screw, slightly adjust and keep scales of both sides are same. Otherwise, the
camera will deflect to one side, and the tit motor cannot rotate. Adjust again in order that the camera
lens can stay in the position when remove your hands.
2) After adjusted, you should turn the camera by hand to confirm the pitch motor work properly. If
vertical balance need to adjust significantly, the pitch axis balance may be adjusted again. After
that, the camera will stay in that position no matter where you rotated.
If it cannot balance well with vertical adjustment screw, please try to adjust the 4 screws of fixed plate
to balance it.( see pic 2 of page 7).
Step 1: Pitch axis balance
Step 2: Vertical balance for pitch axis
Advance pitch adjustment:
Vertical adjustment screw
Vertical adjustment screw Banlancer
Scale Scale
Remove the lens cap and insert memory card after mounting the camera and lens. Make sure
the camera is ready to shoot before balancing the gimbal. Please be sured the power is off
while balance the gimbal.
7

1) Loosen the 2 screws as picture shows to allow camera move left and right;
2) Adjust properly to make the camera remain level when remove your hands;
3) Lock the screw to finish balancing roll axis; After that, the camera will stay in that position while
rotating the camera to any roll angles.
Last step is to balance the pan axis. Move the fixed button while balancing the axis.
1) Loosen the 4 screws of fixed button, lift one handle of both sides, slide the camera forwards or
backwards to balance it according to the deflection. For example: Lifted left handle, if the pan axis
turn to right side(far away from left handle), then move the pan axis to pan motor side( gimbal front
side); Lifted left handle, if the pan axis turn to left side( far away from right handle), then move the
pan axis away from pan motor side( gimbal back side).
2) Lock screws, lift one handle of both sides, the pan axis is balanced well if the camera do not swing.
Step 3: Roll axis balance
Step 4: Pan axis balance
Fixed screw x2
Fixed parts
Balancer
8
Fixed button
Fixed screw

Joystick usage
Maintenance
1. Direction slide button
2. LED indicator
When the Summer is working, LED indicator is red.
3. Working mode button
It can slide to 4 directions, the movement direction is same as the camera.
Joystick
Direction slide button
LED indicator
Working mode button
Up
Down
Left
Right
U
D
L R
The Summer comes with following 4 working modes before leaving the factory, mode switch as
below steps,
1) Press 1 time, yaw follow mode will work, sounds DaDaDi means mode switch successfully;
2) Press 2 times, lock mode will work, sounds DaDaDi means mode switch successfully;
3) Press 3 times, pitch lock and yaw follow mode, sounds DaDaDi means mode switch successfully;
4) Press 4 times, yaw and roll switch mode, sound Di means mode switch successfully.
9
While using Summer, please keep it away from sand, dust and water. Please clean Summer with the
soft dry cloth after using.
Table of contents
Other DYS Camera Accessories manuals