Die Ausrüstung darf/sollte nicht eingesetzt werden:
• EN12941 Gebläse mit Hauben
wenn das Gebläse ausgeschaltet ist oder im Betrieb ausgeht. In dieser ungewöhnlichen Situation bietet die
Ausrüstung keinen Schutz; zudem besteht die Gefahr der raschen Ansammlung von Kohlendioxid im Kopfteil mit
anschließendem Sauerstomangel. Der Gefahrstobereich muss dann sofort verlassen werden.
• EN12942 Gebläse mit Vollmaske
wenn das Gebläse ausgeschaltet ist oder im laufenden Betrieb ausgeht. Falls das Gebläse unabsichtlich
abschaltet oder die Stromversorgung unterbrochen wird, soll das Atemschutzgerät nicht abgenommen werden,
weil es weiterhin als Unterdruck Gerät funktioniert. Verlassen Sie dann Umgehend den Gefahrenbereich und
melden den Defekt
• bei schwerfallender Atmung.
• wenn Sie den Geruch oder Geschmack von Verunreinigungen wahrnehmen.
• wenn Sie Schwindelgefühl, Übelkeit oder andere Arten von Unbehagen empnden.
• Filtergeräte dürfen nicht benutzt werden, wenn die Umgebungsverhältnisse (Art und Konzentration der
Gefahrstoe) unbekannt sind. In Zweifelsfällen sind Isoliergeräte zu benutzen, die von der
Umgebungsatmosphäre unabhängig wirken.
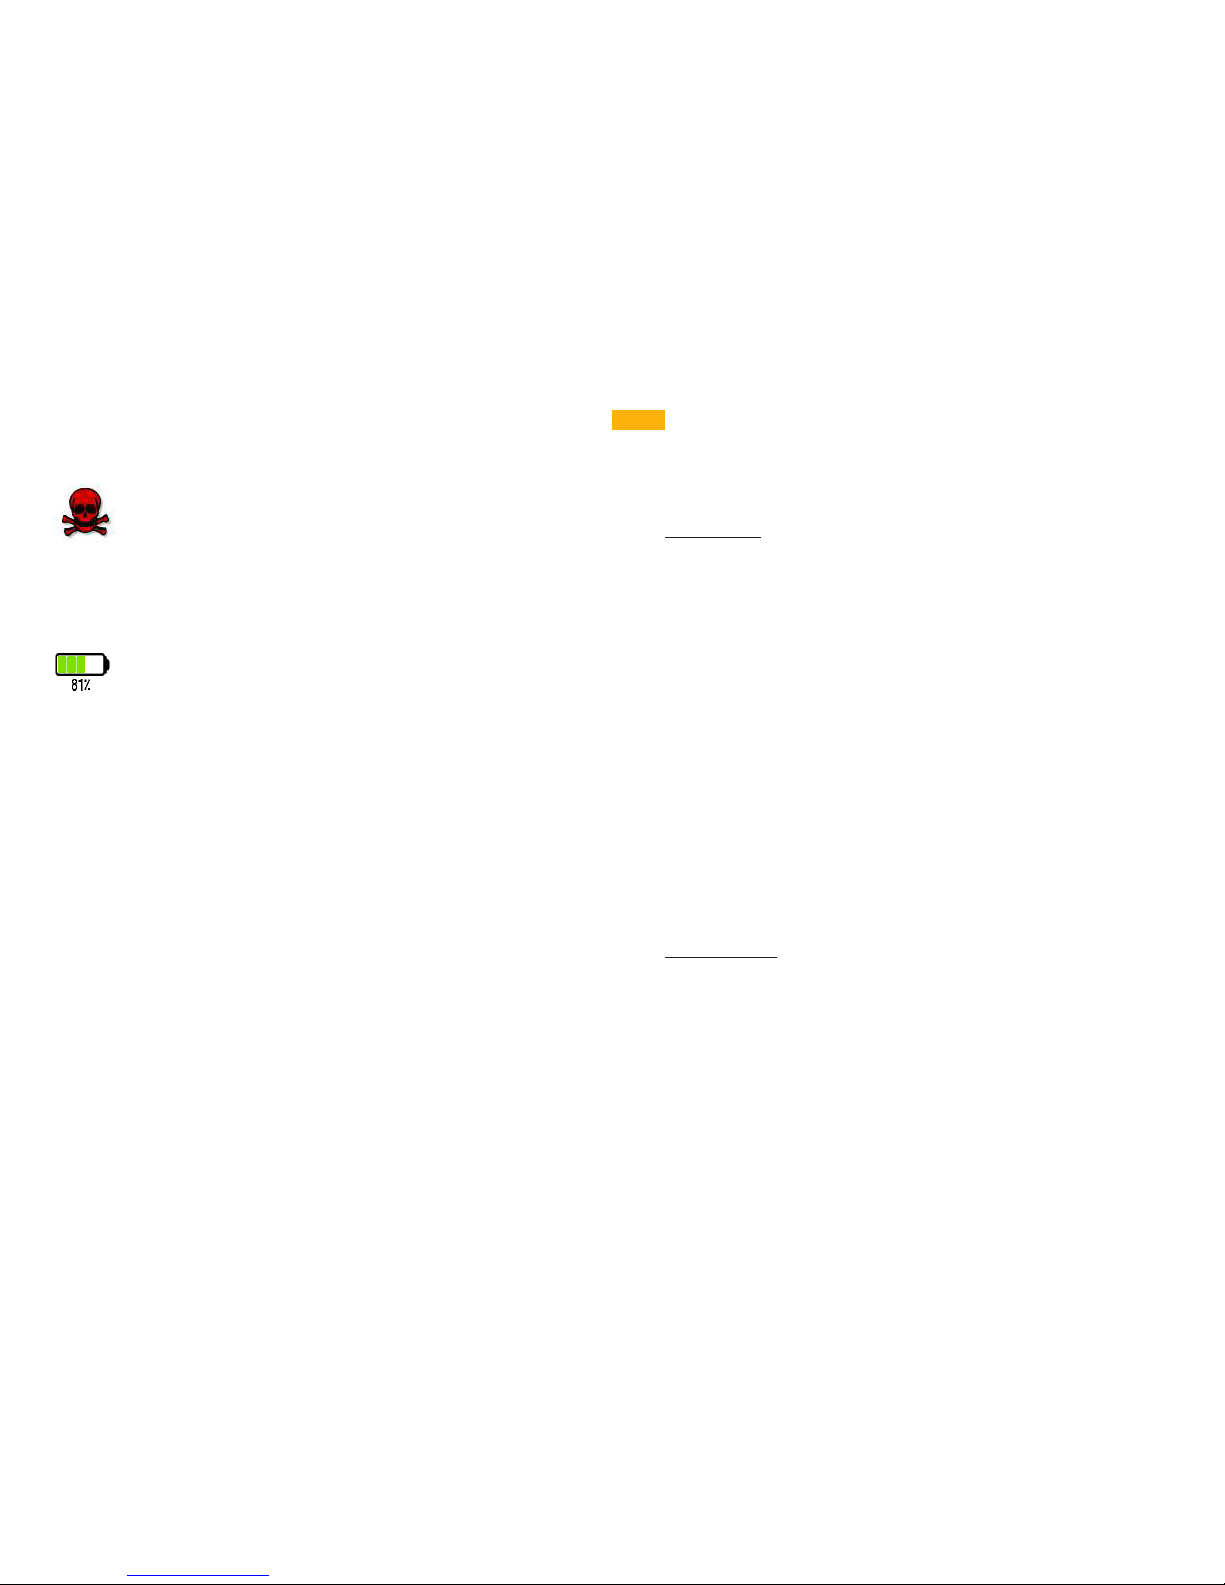
• in Umgebungen, die unmittelbar lebensgefährlich und gesundheitsschädlich sind (IDLH).
• Filtergeräte dürfen nicht in ungelüfteten engen Räumen (z.B. Behälter, Tanks, Gruben oder Kanäle)
eingesetzt werden, da ein Mangel an Sauersto oder schwere sauerstoverdrängende Gase (z.B. Kohlendioxyd)
vorkommen können.
• Bei Verwendung eines Filtergerätes muss der Sauerstogehalt der Umgebungsluft mindestens 17% Vol.
aufweisen (Entsprechend nationaler Bestimmungen kann dieser Grenzwert variieren).
• in Atmosphären mit Sauersto oder sauerstoangereicherter Luft.
• das Gebläse und Zubehör darf nicht in Bereichen mit Explosionsgefahr verwendet werden
• wenn Sie sich bezüglich Auswahl und Handhabung der Ausrüstung nicht sicher sind, wenden Sie sich bitte an
Ihren Vorgesetzten oder an die Verkaufsstelle.
• Dieses Produkt darf nur von qualizierten Personen verwendet werden, die sich der Gefahren am Arbeitsplatz
vollkommen bewusst sind und mit Gebrauch und Handhabung des Gerätes vertraut sind.
• Es dürfen nur von e-breathe zugelassene Filter verwendet werden. Die Verwendung andere Filter ist nicht
zugelassen und kann den Schutzgrad verringern.
• Das Gebläse ist stets mit mindestens einem Partikellter oder durch Zubehör mit zwei Kombinationsltern des
selben Typs zu verwenden.
• Ein Gaslter schützt nicht gegen Partikel und ein Partikellter schützt nicht gegen Gase und Dämpfe.
Im Zweifelsfall Kombinationslter einsetzten.
• Normale Filtergeräte schützten nicht gegen bestimmte Gase wie CO (Kohlenmonoxyd), CO2 (Kohlen-Dioyxd)
oder N2 (Sticksto) und Stickstooxyde.
• Partikellter gegen radioaktive Stoe und Mikroorganismen (Viren, Bakterien, Pilze und deren Sporen) sollten nur einmal
verwendet werden.
• Gas- und Kombinationslter müssen bei Wahrnehmung von Geruch oder Geschmack gewechselt werden
• Bei Arbeiten mit oenen Flammen oder üssigen Metalltröpfchen besteht die Gefahr für ein Entzünden des
aktivkohlehaltigen Filter ( Gas- oder Kombinationslter) und ein damit verbundenes Auftreten akut gefährdender
Konzentrationen toxischer Stoe.
• Bei Verwendung mehrerer Filter sind diese gleichzeitig auszutauschen.
• Prüfen Sie sorgfältig die Kennzeichnung der Filter, die zusammen mit dem Gebläse zu verwenden sind und
achten Sie darauf, nicht die Klassizierung gemäß EN 12941 oder EN 12942 mit der Klassizierungdes Gebläses
nach anderen Standards zu verwechseln.
• Bei sehr hoher Arbeitsbelastung kann in der Einatmungsphase im Kopfteil ein Unterdruck entstehen, wodurch
Verunreinigungen eindringen können.
• Bei Verwendung der Ausrüstung in Umgebungen mit hohen Windgeschwindigkeiten kann sich der Schutzfaktor
verringern.
• Filter dürfen nicht direkt an den Gesichtsschutz oder am Atemschlauch befestigt werden.
• Achten Sie darauf, dass sich der Atemschlauch nicht an Gegenständen der Umgebung verfängt.
• Die Ausrüstung darf niemals am Atemschlauch angehoben oder getragen werden.
• Vor dem Einsatz des Gebläses sollte eine Überprüfung des Mindestluftvolumenstroms erfolgen.
• Atemschutzgeräte sind entsprechend Art und Konzentration der Gefahrstoe auszuwählen.
• Ungenügende Warneigenschaften von Gefahrstoen erfordern spezielle Einsatzregeln.
1.3 Warnungen
1.4 Einschränkungen
Luftstrom
Bei Normalbetrieb mindestens 135 l/min, was dem vom Hersteller empfohlenen Mindeststrom entspricht.
Die automatische Strömungsregelung des Gebläses sorgt für konstante Strömung während der gesamten
Betriebszeit.
Bei Vollmasken Betrieb dient der Smartblower als Atemunterstützung und warnt nur wenn die Batterie
nahezu entladen ist oder die Stromversorgung nicht mehr gewährleistet werden kann.
Batterien
Standard, 11.25V , 2.95Ah, Lithium-Ionen.
• Die Ladezeit für die Batterie beträgt ca. 2 Stunden.
• Die Lebensdauer liegt mindestens bei 300 - 500 Ladezyklen.
• Die Batterie muss vor dem Auaden nicht entladen werden.
Betriebszeiten
Die Betriebszeiten variieren je nach Temperatur und Batterie- bzw. Filterzustand. In der nachstehenden
Tabelle sind die zu erwartenden Betriebszeiten unter idealen Bedingungen aufgeführt.
Anzahl
Filter
Filter Luftstrom zu erwartende Betriebszeit
1x Partikellter
PM P3 R SL
e-breathe P3 R SL
135 l/min 8 h
2x Kombinationslter
CF 32 A2B2E2K2-P3 R SL
135l/min 4-6 h
Lagerfähigkeit
Ein sachgemäß gelagterter, unbenutzter Smartblower ist auch nach einer langen Lagerung noch
funktionstüchtig
. Beachten Sie jedoch, dass die Batterie mindestens einmal im Jahr aufgeladen werden
muss.
Temperaturbereiche
• Lagertemperatur. -10°C / +40°C Rh 70%
Tabelle 2
2. Technische Spezikation
3. Anwendung
3.1 Auspacken
Überprüfen Sie die Ausrüstung auf Vollständigkeit anhand der Packliste sowie auf eventuelle
Transportschäden.
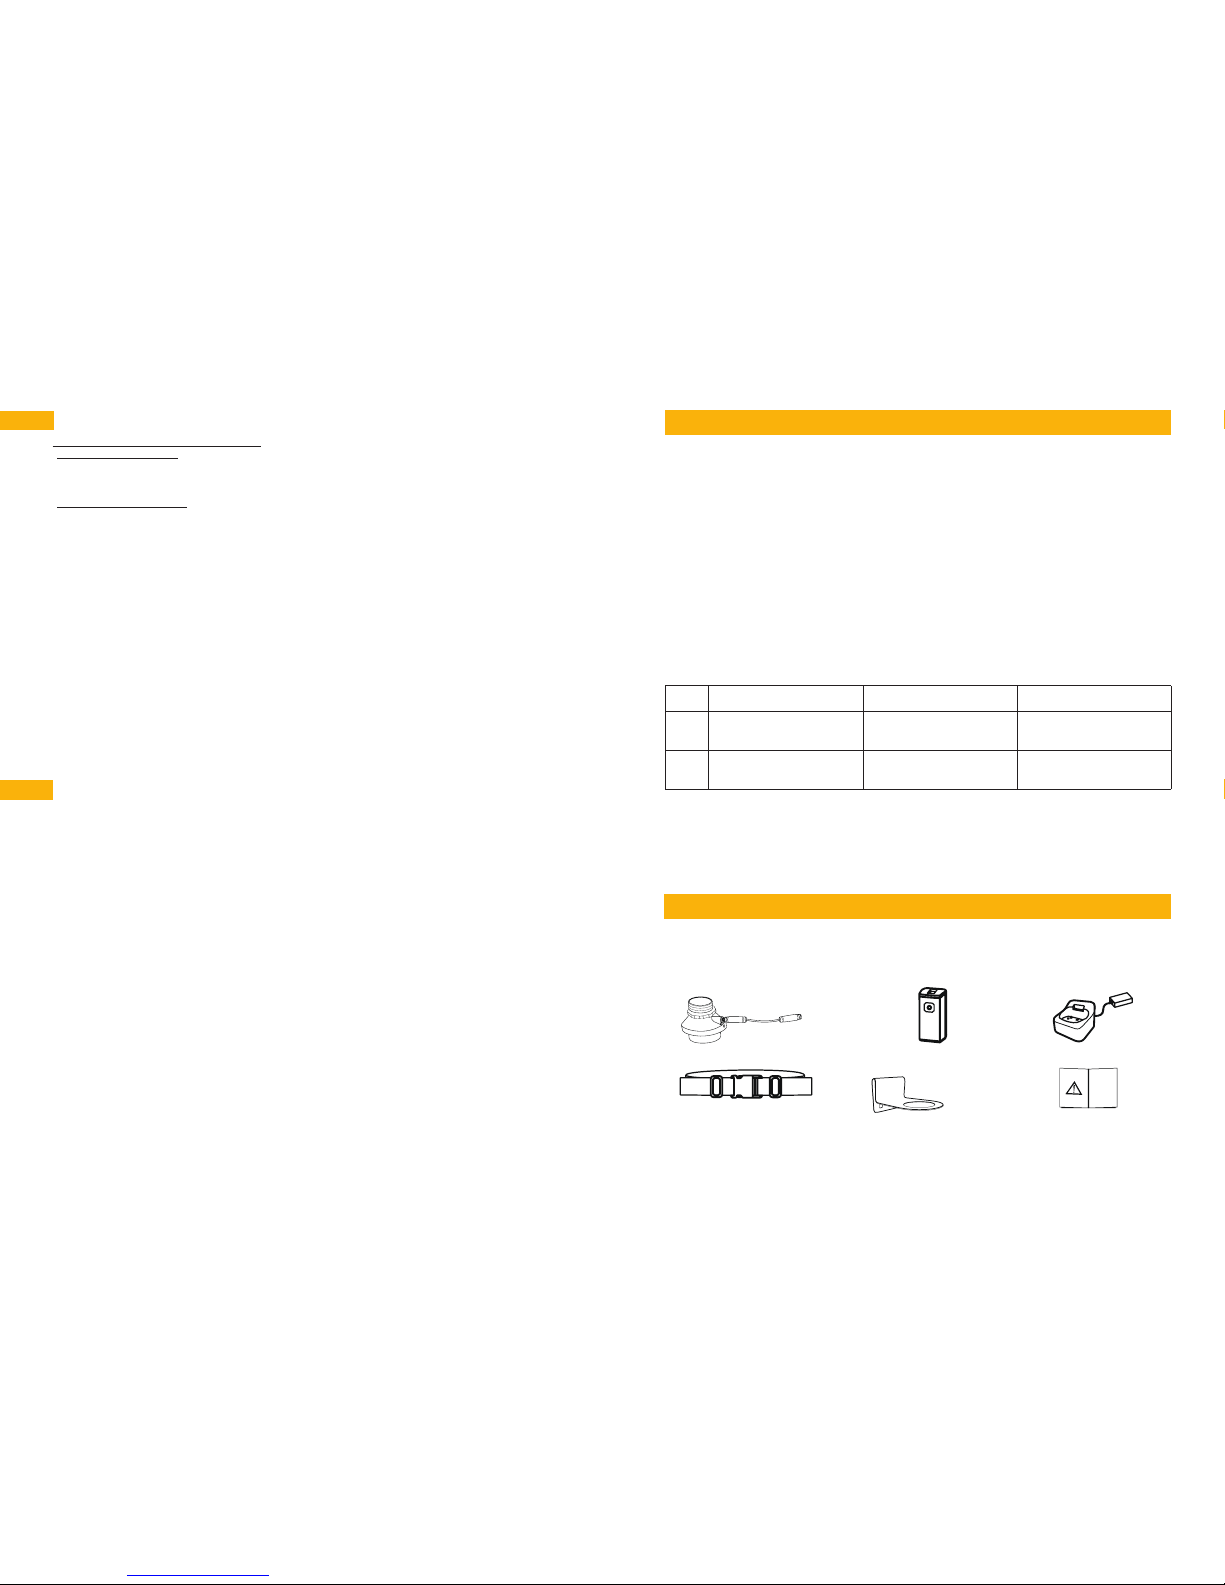
3.2 Packliste
3.3 Batterie
Neue Batterien benden sich im Schlafmodus und müssen vor der ersten Verwendung in der
Ladestation vollständig geladen werden. Bei längerer nicht Verwendung der SVE/Batterie geht
diese automatisch wieder in den Schlafmodus damit sich der Akku nicht tiefen entlädt.
1. Gebläse + Kabel 2. Batterie SVE 3. Ladeschale
4. Gürtel oder Smartbelt 5. Zubehör: GurtClip oder
Y-Connector
(Nur bei Hauben)
6. Gebrauchsanleitung