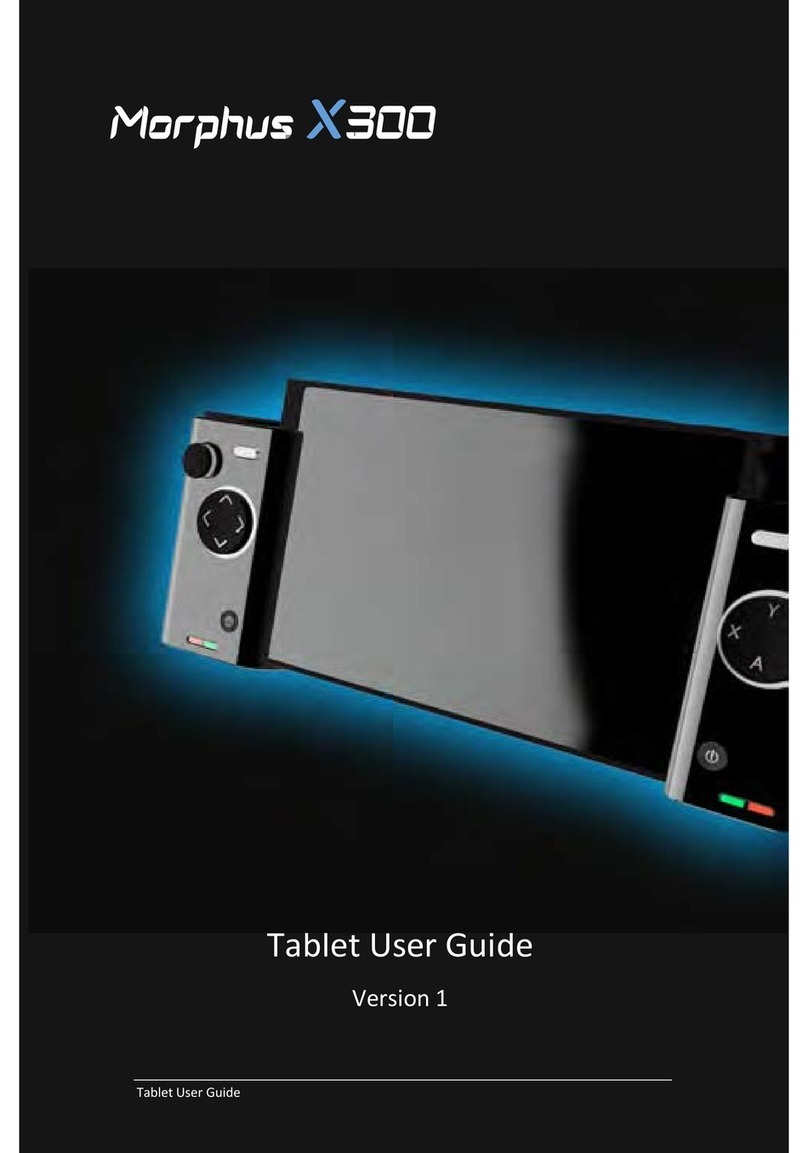
e-Capture eyesmap User manual

USER MANUAL
EYESMAP
Version 1.0
Revision A
June 2015

User Manual 2
Contents
1. Introduction .......................................................................................................................... 5
1.1. EyesMap Tablet............................................................................................................. 6
1.2. How does EyesMap work? ............................................................................................ 7
1.3. Eyesmap Standard Configuration Package.................................................................... 8
2. Technical Specifications ........................................................................................................ 9
2.1. Tablet........................................................................................................................... 10
2.2. Cameras....................................................................................................................... 11
2.3. Depth Sensor............................................................................................................... 11
2.4. GPS .............................................................................................................................. 11
2.5. IMU.............................................................................................................................. 12
3. Starting up with EyesMap ................................................................................................... 13
3.1. General Security Information...................................................................................... 14
3.2. Charging the battery ................................................................................................... 14
3.3. Transport..................................................................................................................... 15
3.4. Power Supply............................................................................................................... 15
3.5. Switching on the tablet ............................................................................................... 15
4. EyesMap Applications ......................................................................................................... 17
4.1. Main Application Screen ............................................................................................. 18
4.2. Standard Windows and Buttons ................................................................................. 19
4.3. Target Types and Their Use......................................................................................... 20
5. EyesMap Modules ............................................................................................................... 22
5.1. Menu ........................................................................................................................... 23
5.1.1. Main Application Screen ..................................................................................... 23
5.1.2. Project Management........................................................................................... 23
5.1.3. Camera Calibration.............................................................................................. 28
5.1.4. Camera Orientation............................................................................................. 29
5.1.5. Updating/Restoring EyesMap ............................................................................. 31
5.2. Point-to-Point Photogrammetry ................................................................................. 32
5.2.1. Photograph Capture and Management .............................................................. 32
5.2.2. Image Gallery ...................................................................................................... 36
5.2.3. Image Viewer....................................................................................................... 36
5.2.4. Choosing Orientation Mode................................................................................ 37
5.2.5. Scaling with the StereoTarget ............................................................................. 41

User Manual 3
5.2.6. Point-to-Point Measurement Screen .................................................................. 43
5.2.7. Results Screen and Export of Results .................................................................. 47
5.2.8. Orientation Errors ............................................................................................... 49
5.3. 3D Modelling ............................................................................................................... 50
5.3.1. Photograph Capture and Management .............................................................. 50
5.3.2. Image Gallery ...................................................................................................... 53
5.3.3. Image Viewer....................................................................................................... 53
5.3.4. Model Resolution Screen .................................................................................... 54
5.3.5. stereoTarget Scaling Screen ................................................................................ 56
5.3.6. Master and Secondary Image Selection Screens ................................................ 57
5.3.7. Results Screen ..................................................................................................... 63
5.4. Depth Sensor............................................................................................................... 65
5.4.1. RGBD Menu......................................................................................................... 65
5.4.2. Capture a 3D Model ............................................................................................ 66
5.4.3. Post-Processing Software.................................................................................... 71
5.4.4. 3D Viewer ............................................................................................................ 77
5.5. Orthophoto ................................................................................................................. 78
5.5.1. Photo Development and Management Screen................................................... 78
5.5.2. Image Gallery ...................................................................................................... 81
5.5.3. Image Viewer....................................................................................................... 81
5.5.4. Final Results Quality Selection Screen ................................................................ 82
5.5.5. Projection Plane Selection Screen....................................................................... 84
5.5.6. Screen for Indicating the Projecting Plane on the Image.................................... 84
5.5.7. Image Selection Screen to Choose the Control Points and the Reference Points
on the X Axis........................................................................................................................ 86
5.5.8. Control Points and Reference Points on Axis X Selection Screen ....................... 87
5.5.9. Additional Image Selection Screen to Choose more Control Points and more
Reference Points on the X Axis ........................................................................................... 90
5.6. GPS .............................................................................................................................. 92
5.6.1. Protocols.............................................................................................................. 92
5.6.2. COM Port Properties and Changing COM Port ................................................... 93
5.6.3. Real-Time Data Screen ........................................................................................ 96
5.6.4. Change Protocol .................................................................................................. 98
5.6.5. Post-Processing ................................................................................................. 102
6. Viewers.............................................................................................................................. 108

User Manual 4
6.1. MeshLab Touch ......................................................................................................... 109
6.2. Filters......................................................................................................................... 111
6.2.1. Remove Outliers................................................................................................ 111
6.2.2. Create Mesh ...................................................................................................... 112
6.2.3. Clean Noise........................................................................................................ 114
7. Practical Cases................................................................................................................... 116
7.1. Point-to-Point Photogrammetry ............................................................................... 117
7.1.1. Methodology..................................................................................................... 117
7.1.2. Orientation with Targets. .................................................................................. 139
7.1.3. Use of Targets.................................................................................................... 146
7.2. 3D Photomodelling.................................................................................................... 151
7.3. Depth Sensor............................................................................................................. 161
7.4. Orthophoto ............................................................................................................... 168
7.5. GPS ............................................................................................................................ 181
8. Orientation Errors ............................................................................................................. 192

1 Introduction
User Manual 6
This document describes the detailed operation of the Eyesmap Tablet for each
individual module and feature. It intends to be a guide explaining the use of the
different modules, for you to get the best out of your Eyesmap tablet. This manual will
help you how best to capture 3D data in the field in order to obtain the best final results
possible.
1.1. EyesMap Tablet
EyesMap is a High Capacity Tablet PC that allows measurement, 3D modelling and
documentation of the environment around us. This measurement device, with its two
integrated and calibrated HR cameras, is based on photogrammetry, and in addition
relies on other sensors to capture detailed 3D models of the environment and complex
3D geometric objects quickly and conveniently.
The results obtained by this tablet are 3D models of both small objects, as well as mid-
sized and big objects containing millions of points. It allows real-time measurement of
coordinates, distances and surfaces and generation of real orthophotos. All these
results can be positioned geographically in real time thanks to the integrated GPS.
High Processing Capacity
Simple and intuitive Interface
High mobility due to the portability
and light weight of the device
Attractive and ergonomic design
High connectivity through USB,
Micro SD and HDMI.
Speed
High Resolution 3D models
generated.
Integrated inertal system
Integrated GPS
High speed data communication
through WLAN and 3G.

1 Introduction
User Manual 7
1.2. How does EyesMap work?
The measurement modules and the 3D Photo modelling are based on
photogrammetric techniques. Photogrammetry is a technique to determine the
geometric properties of an object from photographic images. By orienting the different
captured images of an object we can create stereoscopic view, allowing the generation
of 3-dimensional information.
In the following image the position of the cameras is displayed.
For 3D modelling indoors, the use of the depth sensor is recommended. This sensor is
projector of infrared points combined with a CMOS sensor allowing to capture the
environment in 3D in any light conditions. The useful detection range of the depth
sensor is up to 4 meter.
In the following image the position of the depth sensor is displayed.
The obtained 3D results can be geo-referenced real-time through the integrated GPS
at a best accuracy of 0.6m. If higher absolute precision is required, the –at least 10
minutes- collected data can be post-processed up to a best accuracy of 0.10m.
The integrated inertial system comprises a gyroscope, an accelerometer and a
magnetometer, which provides us information of the tablet 3D movement speed,
orientation and gravitation forces in real-time.

1 Introduction
User Manual 8
1.3. Eyesmap Standard Configuration Package
The Eyesmap package comes as standard in the following configuration:
1. Transport Case
2. Tablet
3. AC charger and Cable (Euro plug)
4. GPS Antenna
5. Keyboard
6. Set of Targets existing of:
a. 40 symmetric Point Targets
b. 20 Asymmetric Targets
c. 1 Stereo Target for small objects
d. 1 Stereo Target for big objects
4
2
3
6
5
1

2 Technical Specifications
User Manual 10
2.1. Tablet
Find below the technical specifications of the main components of the Eyesmap Tablet.

2 Technical Specifications
User Manual 11
2.2. Cameras
Number of cameras: 2
Base Line Length: 230 mm
Field of View: 67º (Diagonal)
Focusing distance: 2.8 mm
Pixel size: 1.4um x 1.4um
Depth of field: 10 cm
Optical distortion, Interior &
exterior orientation: Yes
Cameras Calibration: < 1 px
Calibration stability: 2 px
Calibration of other sensors vs.
Cameras: Yes
Manual and Auto Focus
Macro
Digital Stabilizer
2.3. Depth Sensor
Typical precision:
1,5mm@1m 2,2mm@2m
30mm@3m
(Post-processing) : 2-3mm@2m
Maximum scanning range in
motion: Unlimited
Maximum depth scanning
distance: < 6 m
Post-processing time: > 3 min.
Depends on total scanning time
and complexity of the section
scanned.
Export Formats: Ascii, .DXF, .pts,
.ply, .xyz, .csv, .las, .PN, .PV, .obj
2.4. GPS
L1 –Single Frequency
GPS, GLONASS, GALILEO,
QZSS, COMPASS & SBAS L1
Nr. Of Channels: 32 GNSS
Data output w/o processing:
pseudo-distance, Carrier Phase
and Doppler.
Data Protocols: NMEA 0183 / IEC
61162-1, binary (BINR) and
RTCM SC-104
Typical precisions
Real Time: 1.5 m aprox.
Post-processing: 30 cm aprox. (at
10 minutes of field data capture)

2 Technical Specifications
User Manual 12
2.5. IMU
Acelerometer
Acceleration Measurement
Max
± 8 g
Acceleration Measurement
Resolution
976.7 μg
Accelerometer White Noise σ
2.8 mg
Accelerometer Minimum Drift
σ
1.9 mg
Accelerometer Optimal
Averaging Period
286 s
Gyroscope
Gyroscope Speed
Max
± 2000°/s
Gyroscope Resolution
0.07°/s
Gyroscope White
Noise σ
0.59°/s
Gryoscope Minimum
Drift σ
0.0019°/s
Gyroscope Optimal
Averaging Period
8628 s
Compass
Magnetic Field Max
5.5 G
Compass Resolution
3 mG
Compass White Noise σ
1.2 mG
Compass Minimum Drift σ
87 μG
Compass Optimal Averaging
Period
52 s

3 Starting up with EyesMap
User Manual 14
Read this manual carefully before starting to use Eyesmap. Refer to this content when
necesary. Pay attention to the following instructions and follow them step by step.
3.1. General Security Information
The maintenance and repair of the Eyesmap Tablet can only be done by
qualified personnel authorized by e-Capture.
Contact authorized service personnel in the following situations:
The power cable is damaged.
The Tablet has been exposed to rain, water or other liquids.
The Tablet has been dropped or damaged.
The Tablet does not work normally when following the operating instructions.
Do not expose the Tablet to extreme temperatures. Do not use the Tablet near
to artificial heating sources.
Do not use the Tablet in strong magnetic or electric field areas.
Do not submerge the Tablet in water.
Consult your authorized dealer or support@ecapture.es for any questions or doubts
you may have.
3.2. Charging the battery
The following safety precautions must be taken when using the Tablet with power cable
connected:
Only use the charger as provided by e-Capture to charge the battery.
Don not charge the Tablet when it is stored in the carrying case.
It is recommended to charge the battery at temperatures between 5ºC (41°F)
and 35ºC (95°F).
To charge the battery, connect the charging cable plug to the DC IN input port of the
Tablet.

3 Starting up with EyesMap
User Manual 15
3.3. Transport
When transporting the Tablet, be careful not to drop it. A strong impact may damage
the unit and cause malfunctioning of the scanning function. Always transport the
Tablet in its original carrying case..
When shipping EyesMap by any means of transport, please make sure to use the
original shipping case and to place all components correctly, to avoid possible shock
and vibration. Keep the tablet switched off during transport in the carrying case.
3.4. Power Supply
If you are storing the tablet for a long period of time, be sure NOT to leave the battery
completely discharged. Make sure the tablet is stored clean and in its original case.
Keep all components in a low-humidity environment. The stored device shall be not
subject to extreme temperatures.
3.5. Switching on the tablet
To start using the Eyesmap Tablet for the first time, press the ON/OFF switch located
on top of the Tablet.
Both the Microsoft Windows 8.1 Operating System and the other software required to
run the Eyesmap Tablet properly have been pre-installed by the Manufacturer.
As a registered user of Eyesmap, you are officially licensed to update the device with
the latest Windows security enhancements and functionality.

3 Starting up with EyesMap
User Manual 16
A variety of software programs are included as standard in Eyesmap to perform your
everyday tasks and data processing:
Eyesmap Software
Internet explorer
Meshlab
Daemon tools lite.
Microsoft Visual Studio 2008,2010 and 2012.
NotePad++
Winrar
Drivers of all the components installed
Etc.
Once when switched on the Tablet, you can start using the application by pressing the
main Eyesmap application icon (1), or activating the visualizer (2), or by opening the
project directories (3).
3
1
2

4. EyesMap Applications
In this chapter, we shall see:
Main Application Screen
Text Windows and Standard Buttons
Types of Targets and How to Use Them
4

4 EyesMap Applications
User Manual 18
In this chapter, the tablet’s main application screen shall be explained, as well as the
different buttons which are common to all modules.
4.1. Main Application Screen
When you start the “EyesMap” application, the main menu appears. The available
modules can be selected from this menu.
With this intuitive interface, you can take measurements, generate 3D models, create
orthophotos, use the GPS and manage the projects you undertake.
The application is made up of 8 modules:
The first 3 modules are for point-to-point photogrammetry for the measuring of
coordinates, distances and surfaces.
3D Photomodelling: this is the module used for creating 3D models with
photogrammetric methods using the stereo cameras.
3D Depth Sensor: Generation of a 3D point cloud using the depth sensor. Best
for close-up use (max. 4 metres) and interiors. Especially useful for
homogeneous surfaces which do not have texture.
Orthophoto: Generation of orthophotos which allow images of objects to be
created with orthogonal projection. This is very useful for architectural and
archaeological applications.
GPS: This module allows for the absolute positioning of the tablet´s coordinates
in real time. The post-processing module can also be used to improve
accuracy.
Menu: This module allows you to manage projects, update the application and
calibrate and orient the cameras.

4 EyesMap Applications
User Manual 19
4.2. Standard Windows and Buttons
The application has navigation buttons which will allow you to move with ease through
the available features and tools.
Click to minimise the application.
Click to close the application. Before closing the application
definitively, you will be asked if you want to save the work you have
done or if you wish to exit without saving.
All running processes will be stopped.
Click to go to the next screen or return to the previous screen.
Find the location of these icons on the following image:

4 EyesMap Applications
User Manual 20
This image indicates that the application is processing data.
Please be patient as, depending on the process, it may take
several minutes.
Information Boxes
These boxes provide
additional information
which can be of help for
you in the different steps
that you must follow.
4.3. Target Types and Their Use
A target is a piece of paper, cardboard or another material on which a code is written in
black and white and which is detected by the system automatically in the images taken.
The targets identified provide information for the orientation of images, measuring of
points or scaling of 3D models, depending on the case.
stereoTarget for Medium and Large Objects (59 cm)
59 cm
This stereoTarget (the larger of the two) is used to scale the measurements taken
(point-to-point photogrammetry module) and for scaling 3D models made with
photogrammetry (3D photomodelling module).
It is used solely for medium and large objects.
While it is not necessary for the stereo target to appear in all photographs, it is
recommendable for it to appear in as many images as possible so that scaling is more
accurate.
Table of contents


