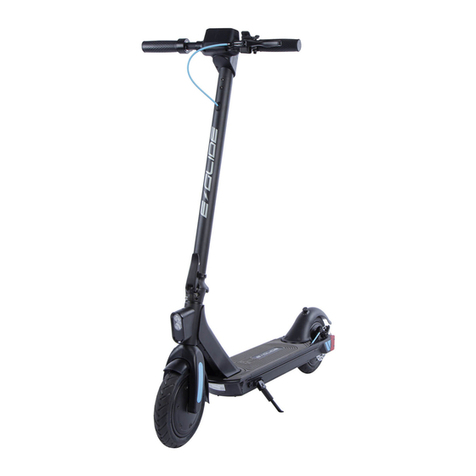
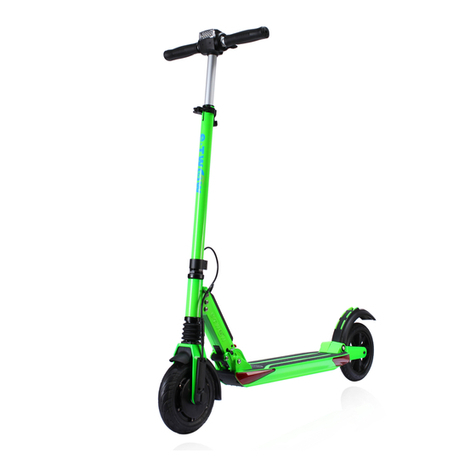
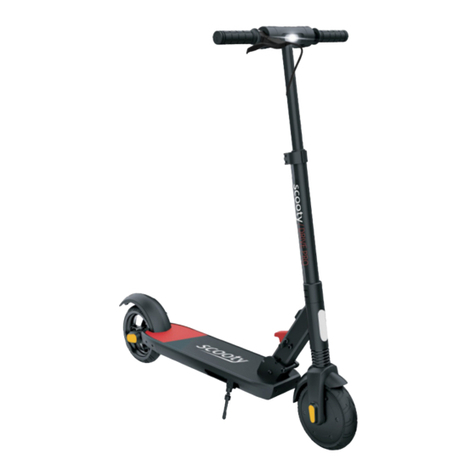
E-Glide Mach 10 User manual

ELECTRIC SCOOTER
INSTRUCTION MANUAL

CONTENTS
1
1. Quick star guide ............................................ 1
2. Batery Information ..................................... 5
3. Riding Safety ................................................... 6
4. Scooter Maintenance ............................... 7
5. Warranty Information .................................. 11
6. Warranty Card .............................................. 12
1. Unlock the clamp
2. Lif the steerer tube
3. Lock the clamp
UNFOLD

1. Turn power of
2. Unlock the clamp
3. Lower the steerer tube
BASIC OPERATION
Power Buton
Press and hold the power buton for 3 seconds to turn scooter on. Press and hold
for 3 seconds to turn of. Scooter will auto power of afer 90 seconds of inactivity.
Change Speed Modes
With the scooter powered on, press the power buton. L1 will show on the display
indicating mode 1 (15-20km/h). Pulling the throtle while riding controls the amount
of acceleration sent to the motors. Hold the mode buton for 3 seconds to turn on
the headlights. Repeat to turn of.
Batery Indicator
Number of bars indicates remaining charge.
Note: Recharge the scooter before batery is completely flat. Over discharge can
damage the batery.
Mileage
When scooter powers on, ODO will be displayed on screen. Press the power
buton and TRIP will be displayed. Press again to display VOLTAGE. With TRIP
displayed, press mode buton for 3 seconds to reset TRIP data.
2 3
FOLD

Speed
Batery Indicator
Throtle Lever
Power Buton
Mode Buton
Acceleration Control
Pulling the lever activates acceleration.
Slight pull = lower acceleration.
Strong pull = fast acceleration.
NOTE: Please fully charge the batery before first use of the scooter.
BATTERY INFORMATION
The capacity of the batery ulimately decides the travel range of the scooter. A
scooter with larger batery capacity will enable a longer travel distance.
1Balanced charging protection: automatically balances the volage of internal cells to
protect the batery.
2Overcharge protection: overcharging may severely damage the batery. When the batery
is fully charged, the charging process will be ceased automatically.
3Charging temperature protection: the batery may be damaged, or operate improperly if
charging intemperatures under 5’C or above 40’C.
4Overcurrent protection: overcurrent during charging process may severely damage the
batery. When the charging current is larger than 8V, the batery will stop charging.
5Overdischarging protection: overdischarging may severely damage the batery. When the
volage drops to 48V, the batery will stop output.
6Shor-circuit protection: when there is shor-circuit, the batery will stop output to protect
itsel.
7Auto sleep: afer initiation, the batery will enter sleep mode if there is no load in 20
minutes to save power.
1Power the scooter of
2Connect the charger to the scooter
3Plug charger into power socket and turn on.
4When light on charger turns from green to red, the scooter is fully charged.
Batery Features
Charging
4 5

RIDING SAFETY SCOOTER MAINTENANCE
Riding electric scooters is dangerous. Always wear safety gear such as a
helmet and knee / elbow pads when riding. Obey the laws in your area and be
coureous to other road users and pedestrians.
1 Do not ride in the rain, or on wet suraces. It is dangerous and water ingress can damage
the scooter.
2 Electric scooters are designed to only be ridden by one person at a time.
CAUTION
1 Use a sof cloth to clean the scooter. Do not use a hose and avoid geting the scooter wet
during cleaning. Water ingress will damage the electrics.
2 Do not use alcohol, gasoline, kerosene or other corrosive chemical solution to clean.
3 When not in use, store the scooter in a cool dry place.
4 Do not store the scooter in direct sunlight, or outdoors where rain or other weather
conditions could damage the scooter.
1 Do not install any other batery than that supplied by the manufacturer.
2 Do not dismantle or puncture the batery.
3 Use only the original charger for charging the scooter.
4 Afer each use, fully charge the scooter to prolong the life of the batery.
5 Do not expose the batery to temperatures higher than 50C or lower than -20C
6 If storing for longer than 30 days, fully charge the batery first. When in storage the batery
must be fully charged every 60 days.
Cleaning and Storage
Batery Maintenance
6 7

DISC BRAKE ADJUSTMENT ADJUSTING STEERER TUBE WOBBLE
If the disc is rubbing against the brake pads, use a M5 hex wrench to undo the
cable holder on the caliper. Gently reduce the amount of cable feeding into the
caliper until there is no more rubbing. Tighten the cable holder to secure. If the
pads are not gripping the disc enough, repeat the process and increase the cable
feed into the caliper.
If the steerer tube wobbles during riding, the locks on the clamp need to be
tightened to secure it.
8 9

INFLATING THE TYRES
WARRANTY INFORMATION
Remove valve cap and atach pump nozzle to the tyre valve. Continue to inflate.
(50PSI recommended)
For any fauls or issues you may experience with the G10X electric scooter, please
contact the retailer where you purchased the scooter to have it assessed for
warranty.
The warranty will be null and void if
1Damage is caused by failure to regularly service or maintain the scooter. (eg: tyres, brakes etc.)
2Damage is caused by misuse, trafic accidents or collisions.
3Damage is caused by environmental factors such as rain or excessive sunlight.
4Damage is caused by riding on rough, uneven suraces or from perorming stunts such as jumping the
scooter.
5The scooter has been modified in any way or tampered with by a non authorised repairer.
6The scooter or batery is in any way damaged through malice or rough intent.
7The batery has overheated or been stored at a temperature above or below the recommended
parameters.
8There is any sign of water ingress into any par of the scooter.
9Damage to the scooter caused by natural disaster or irresistible force.
Proof of purchase is required for any warranty claim. All warranties should go through the retailer where you purchased the product.
For furher information on the e-Glide warranty and product care, please visit .e-glide.com.au/warranty
Tyres, brake pads, handlebar grips and plastic decorative covers are not covered by any warranty.
10 11

User information
Name:
Contact number:
Email:
Address:
Product information
Model:
Repair station:
Date of return:
Faul description:
Faul cause:
GUARANTEE CARD
START DATE OF WARRANTY EXTENSION
START DATE OF WARRANTY EXTENSION
START DATE OF WARRANTY EXTENSION
(DD/MM/YY)
(DD/MM/YY)
(DD/MM/YY)
12

Other E-Glide Scooter manuals
