EarthWalk EcoBuddy10 E10V2 User manual

www.earthwalk.com
888.213.4900
E10V2
EcoBuddy10

!!
!
How to Use This Manual................................................ 1
Safety Precautions......................................................... 3
ϮSet Up Your Notebook
Where to Place Your Notebook......................................7
Power System................................................................9
Turning Your Notebook On/Off.....................................10
Switching User Account................................................11
ϮBefore Operating Your Notebook
Introducing Your Notebook...........................................12
Connecting AC Adapter and Charging Battery.............18
Using Touchpad...........................................................22
Using Keyboard............................................................23
Adjusting Volume.........................................................27
Adjusting LCD Resolution............................................28
Using Wireless LAN.....................................................29
Using Web Camera......................................................33
ϮPeripherals
Using Peripherals.........................................................34
Before Installing Peripherals........................................36
Connecting AV Equipments.........................................38
Using USB Compatible Peripherals.............................39
Using Memory Cards...................................................40
Installing Memory Module............................................42
Installing Other Modules..............................................45
Connecting External Display........................................47
Please read the safety precautions mentioned
on Page 3 before you operate the notebook.
User’s Manual
Windows®XP Edition
Set Up Your Notebook Before Operating Your Notebook Peripherals
You are reading the User’s Manual provides information
regarding the various componets in the notebook PC
and how to use them. After you read through this
manual, please keep it well for you can refer it anytime in
the future.

!
!
!
!
!
!
!
!
!
!
!
!
Page X
How to Use This Manual
About the Symbols
You will come across the following symbols in this manual.
Warning
Attention
Tip Helpful points and tricks for operating your notebook
Points out possible damage to property, personal injury or death
To help you note and avoid possible damage to your notebook’s hardware or software,
or loss of your work
Important notice for non-operational actions or the points you must know for your operation
Notice
There may be differences between your
notebook and the pictures shown in this
manual. Please accept your notebook as
being correct.
Information in this manual is subject to
change without notice.
Notice
The detail information is mentioned in the specific page
1

The Operation of Menu SelectingThe Operation of Pushing the Plural Keys Simultaneously
While pushing the plural keys simultaneously, we use the
symbol “ + ”, to represent pushing and holding one key first,
then pushing the other key.
For example, as showed in the upper figure, while pushing the
Shift key, holding the Shift key and pushing the Delete key.
It showed as the figure below:
Rule of Presenting Operation Behavior in This Manual
Corresponding Chart of Key Inscription and Keyboard
The descriptions of each key on the keyboard are showed as follows.
in this Manual
Ξ!
Actual key!in this Manual !Actual key!in this Manual !Actual key!in this Manual !Actual key
Ξ!
Two methods are used to represent the window in
Windows XP. They are “Classic View” and “Category View”
We use “Category View” to illustrate the operation under
Windows XP.
Abbreviation for Windows XP or Windows
In this manual, Windows XP or Windows is abbreviated from
Microsoft Windows XP Home Edition.
Rule of Presenting Windows XP Operation in This Manual
How To Use This Manual
Shift Delete
+
“Using the symbol ”→”, it abbreviates the operation of keeping
selecting the menu one after another.
For example, as like the upper picture, [Paint] is selected from
the start button.
[Start] →[All Programs] → [Accessories] →[Paint]
Esc
Tab
Ctrl
Alt
Shift
BackSpace
Insert
Delete
Home
Enter
End
PageUp
PageDown
F1 F2
ϡdepending upon the different product model, the keyboard
layout may be different
Using Category View to Illustrate the Operation
2

The following safety precautions will increase the life of the notebook. Follow all precautions and instructions.
Except as described in this manual, refer all servicing to qualified personnel. Do not use damaged power cords,
accessories, or other peripherals. Do not use strong solvents such as thinners, benzene, or other chemicals on
or near the surface of your notebook.
!!The sign shows the behavior prohibited
!
!!The sign shows the regulative behavior or the indication
!
ϥDO NOT expose to or use near liquips,
rain, or moisture. DO NOT use the LAN
during the electrical storm.
ϥDO NOT use the AC adapter not
included in the package. Use of
another type of adapter may risk
fire or explosion.
ϥDO NOT attempt to service this product
by yourself. As opening or removing covers,
you will be exposed to the dangerous
voltage or other risks. !
ϥWhen you fell the surface of the AC
adapter is very hot or bad odor give
off from it. Please pull out the power
plug immediately. Continue to use
the AC adapter may risk fire or
electrical shock.
ϥBefore you connect the notebook
to a power source, ensure the
voltage rating of the AC adapter
matches the available power
source. !ϥDO NOT leave the notebook on your
lap or any part of the body to prevent
discomfort or injury from heat
exposure. !
Safety Precautions
Warning (The device and AC adapter)
3

ϥUnplug this notebook from the wall
outlet when you stop using this
notebook. !
!
ϥDO NOT press or touch the display
panel. DO NOT place together with
small items that may scratch or enter
the notebook. !
!
ϥIf you operate the touchpad with
unreasonable force or posture, it
may hurt you finger or wrist.
!
!
ϥAvoid using the notebook during an
electrical storm. Disconnect all plugs
and cables to avoid the possible
damage. !
!
!
ϥDO NOT allow anything to rest on the
power cord. DO NOT locate this notebook
where people will step on the cord.
!
ϥPlease be sure not to pull out the
power plug from the cord only. You
have to pull out the power plug from
the plug part. !
ϥWhen you carry the notebook, please close
the display lid. It is possibe to break the
dispplay panel by the unexpected force.
!
!
ϥIf an extension cord is used with this notebook,
make sure that the total ampere rating of the
equipment plugged into the extension cord
does not exceed the extension cord ampere
rating.
!
!
ϥDO NOT place this notebook on an
unstable cart, stand, or table. DO NOT
place heavy object on this notebook.
It may be broken to cause some serious
damage.
ϥPlease verify whether there is no foreign
object such as ball-point pen on the
keyboard when you close the notebook lid.
When while the foreign object is put, there is
possible to break display panel.
!
!
ϥSAFE TEMP: This notebook should only
be used in environments with ambient
temperatures between 10°C and 35°C.
!
Safety Precautions
Attention (The device and AC adapter)
4

ϥDanger of explosion may occur if battery
is incorrectly replaced. Replace only with
the same or equivalent type battery
recommended by the manufacturer.
ϥDO NOT impact the battery. ϥIf the battery pack leaks and the fluid get
in your eyes, do not rub them. Instead,
rinse your eyes with clean running water
and immediately seek medical attention.
Otherwise, eye injury may be resulted.
ϥIf it exceed the specified charge time and
the charge doesn’t complete, please stop
the battery charge. It may risk fire or
explosion if you continue to charge the
battery.
ϥIf the battery pack leaks, gives off a bad
odor, generates heat, becomes discolored
or deformed, or in any way appears
abnormal during use, recharging oT
storage, immediately remove it from the
notebook and stop using it.
ϥDo not crush, disassemble, puncture, or
incinerate the short external contacts of
the battery pack.
ϥDO NOT dispose batteries in a fire.
They may explode. Check with local
authorities for disposal instructions.
Warning (Battery Pack)
5

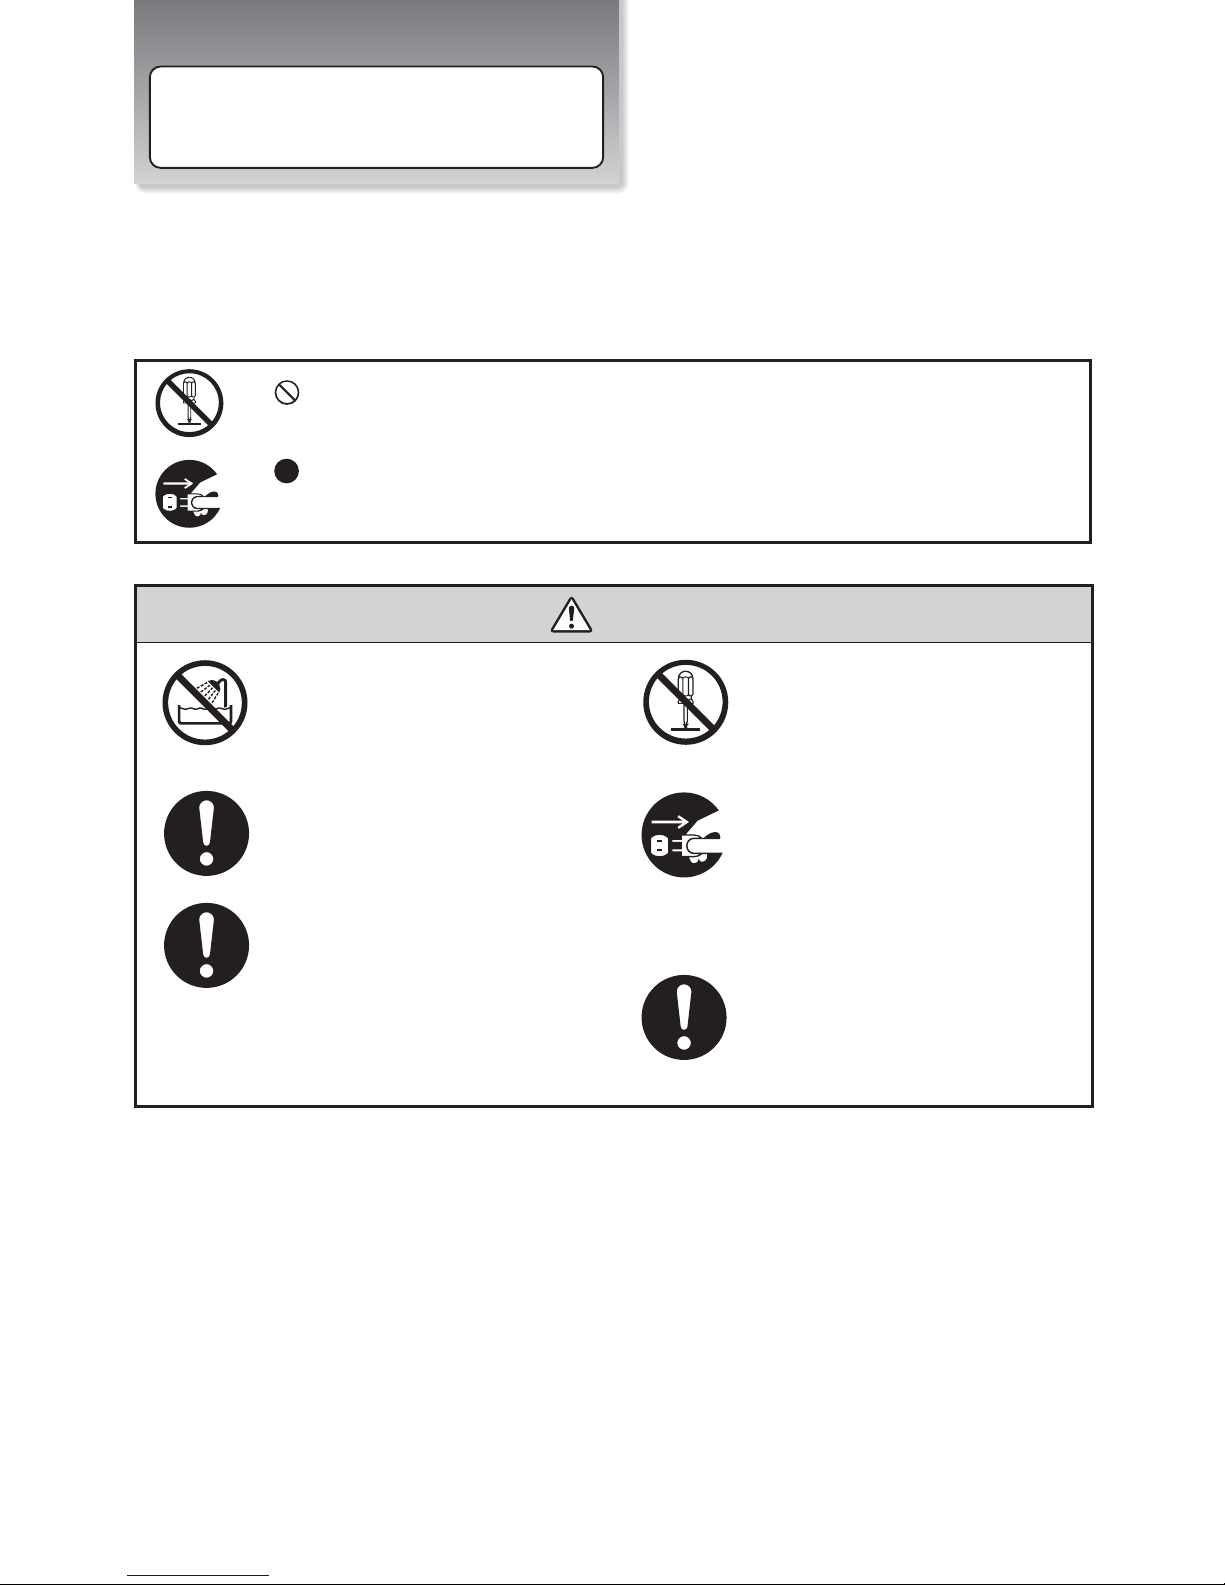
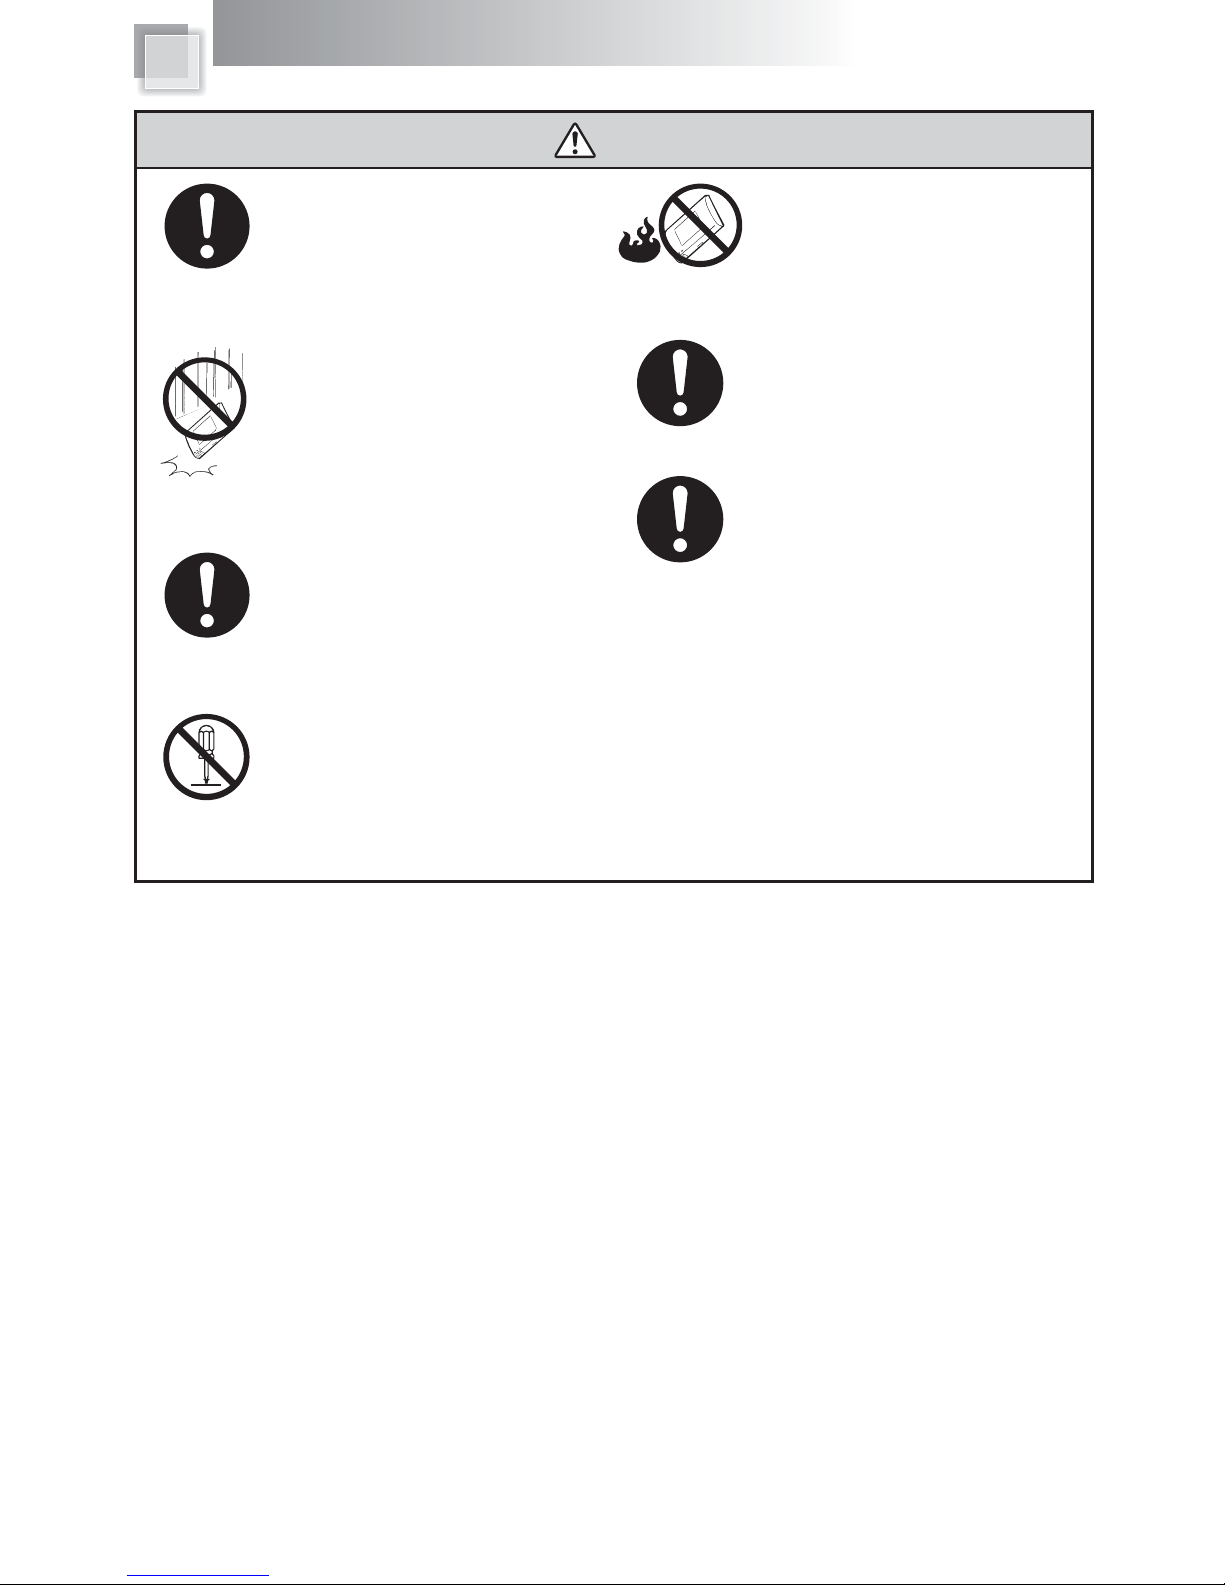
ϥIf liquid solution from the battery comes
out and contacts with skin or clothes,
flush out with clean water.
ϥDo NOT immerse the battery pack in water
or allow it to get wet. Its protective features
can be damaged. Abnormal chemical
reactions may occur, possibly leading it to
leak acid, overheat, emit smoke, burst and
/or ignite.
!
ϥKeep the battery away from children.
!
ϥIf you find a bad odor, overheating, battery
balloon or swell up, discolor, deformation,
and/or other irregularities when using the
battery, return it to your supplier or vendor.
!
!
ϥDo not connect the positive (+) and
negative (-) terminals with a metal object
such as wire. Short-circuiting may occur
leading the battery pack to leak acid,
overheat, emit smoke, burst and/or ignite.
DO NOT throw the battery in fire.
LCD Panel and battery are consumable parts.!
The LCD has effective pixels of 99.99% or more. It may include blemishes of 0.01% or less such as a missing pixel or a pixel lit all of the time.
You may find slightly uneven brightness on the screen depending on Windows desktop pattern you use.
!
!
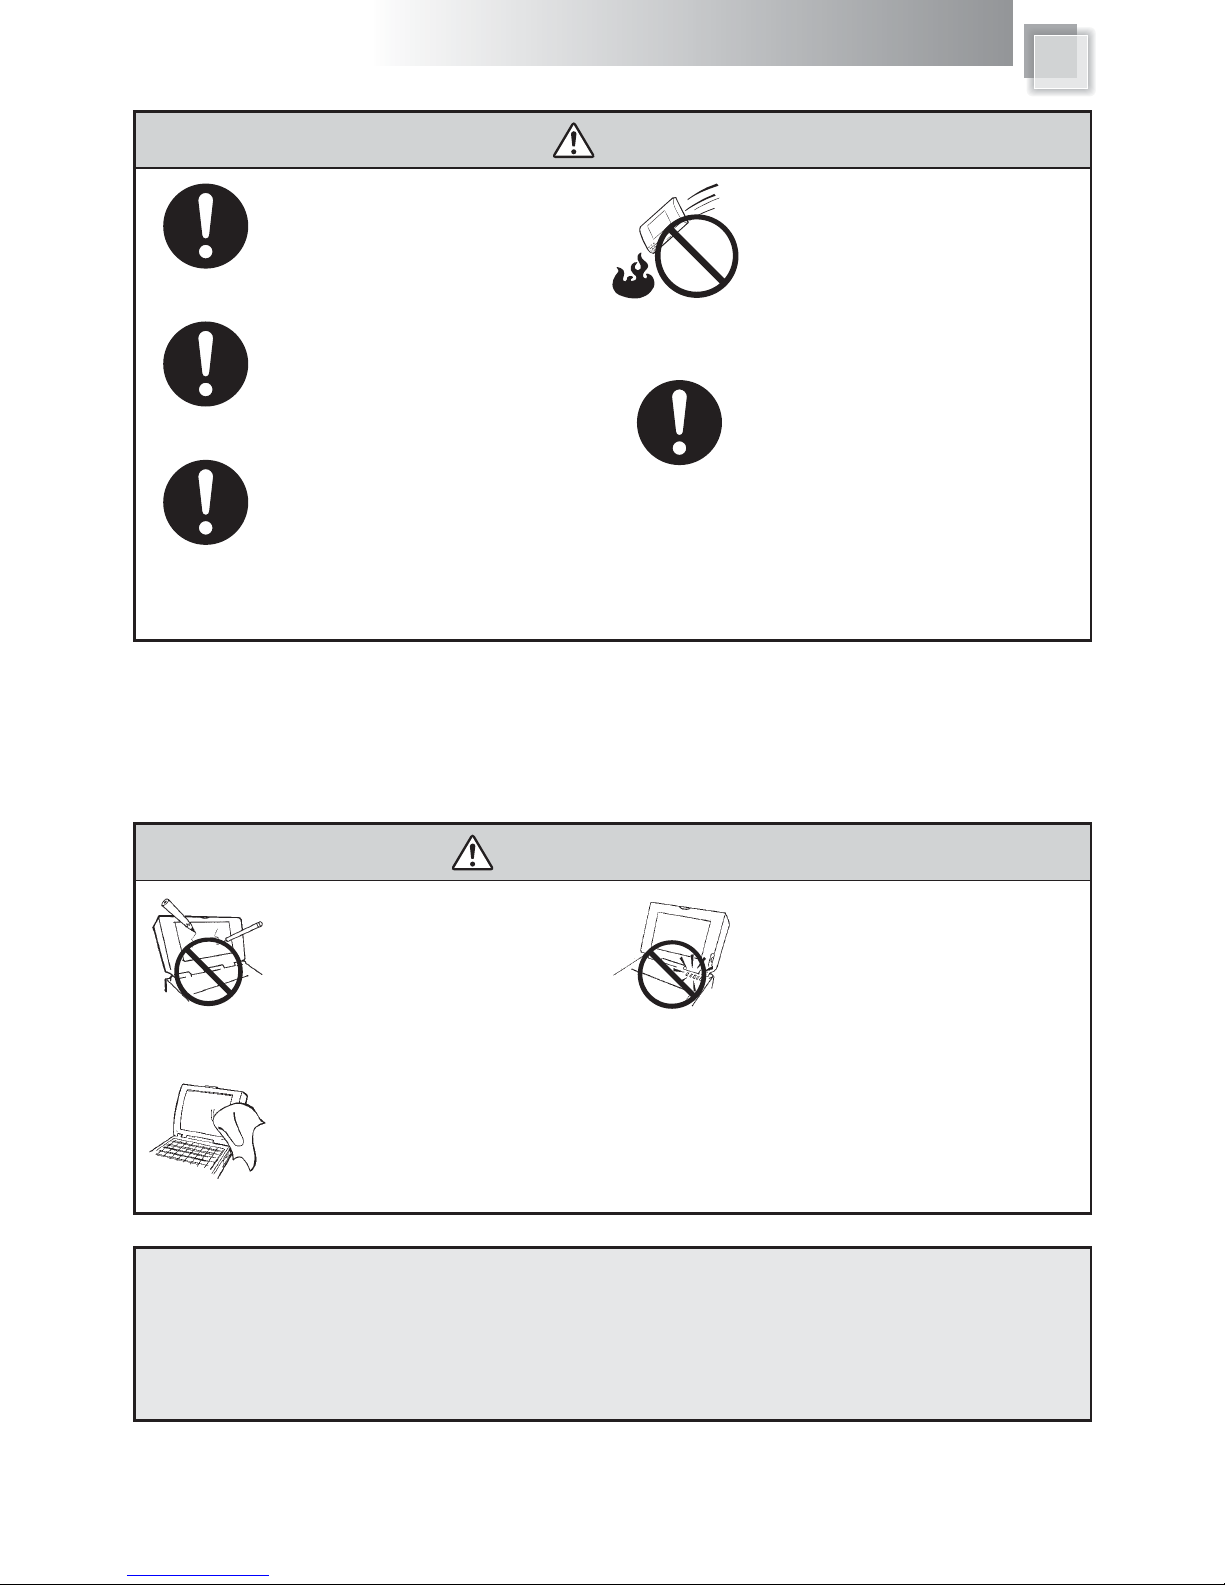
ϥLCD monitors are obviously more vulnerable
to damage than the classic CRT. Even the
slightest contact with a sharp object can
leave your liquid crystal display damaged.
ϥClean your computer with a soft cloth
dampened with water. Do not use liquid
or aerosol cleaners, which may contain
flammable substances.
ϥDO NOT remove your notebook while
the hard disk is in operating status. It
may be broken to cause some serious
damage. !
!
ϥPlease keep all accessories well.
!
!
ϥPeriodically backup your data in the
hard disk.
Attention (Battery Pack)
General Warnings
DO NOT
knock or scratch
the machine
DO NOT
moving the machine
while operating
Safety Precautions
6

Set Up Your Notebook
Where to Place Your Notebook
15cmД
Make sure that your notebook is placed in a well-ventilated area.
Please reserve at least 15cm distance around the notebook.
Please reserve suitable space in front of keyboard and touchpad
for operating the notebook comfortably.
!
Avoid placing the notebook on a bed, sofa, rug, or similar surface
to prevent from blocking ventilations.
!
2
2
3
4
3
4
This notebook should never be placed near or
over a radiator or a heat register, or under direct
sunlight.
DO NOT operate this notebook near water, for
example near a sink, bathtub or laundry tub.
DO NOT place this notebook on uneven or
unstable work surfaces.
Where Not to Place Your Notebook
7

Where to Place Your Notebook
Adjusting the Angle of The Display Panel
You can adjust the display to a easy to see angle.
Management
DO NOT rest anything on the notebook or
power cable. DO NOT block or cover the
opening provided for the ventilation on the
notebook.
Correct Posture for Operating Your Notebook
Please sit down before the notebook with correct
posture.
Sit up straight in front
of the notebook
Adjust the display to a
easy to see angle
Arm parallel with floor
8

Set Up Your Notebook
Power System
Battery Pack
DC-IN Jack
Connect the DC plug to DC-IN Jack
!
Connect the AC power cord to the AC adapter
Connect the AC power cord to an AC outlet
!
3
To install the battery pack !
Close the notebook lid and
turn over it gently.
1Slide the battery pack into the
slot.
2
1
2
9

Turning Your Notebook On/Off
After set up the notebook, press the power button to
turn on it. Windows XP desktop screen will appear.
Press the power button to turn on your notebook
Windows XP desktop screen will appear after
the power button is pressed.
ϡDepending on your notebook setup and
software, your desktop may have different
or additional shortcuts.
When you see two or more user account icons
are showed on Welcome Screen, please select
the account you want to log in.
Operates from the “start” menu to power off your notebook
Click [Start] → [Turn Off Computer], and the
“Turn off computer” dialog box will appear.
Click [Turn Off].
The notebook will be powered off later.
Turn off the power of peripherals connected if
necessary.
Restart
We suggest you to do Windows restart when new device
driver installed or Windows is running unstably. Click
[Start] → [Turn off computer] → [Restart].
If mouse cursor freeze or the operation is unable to
continue during the process of application software,
please simultanely press Ctrl + Alt + Delete . It
may terminate the specific application running.
Tip
4
3
2
Tip
power button
2
Turning Your Notebook On Turning Your Notebook Off
Attention
DO NOT turn off the notebook by pressing the power
button directly. It may damage Windows XP operating
system sometimes and you have to install Windows
XP again. Please follow the correct procedure to turn
off the notebook.
Set Up Your Notebook
10

Switching User Account
Close current user account and start another account’s
operation.
Click [Start] → [Log Off], the “Log Off Windows” dialog
box will appear.
Click [Log Off], when you want to close current user
account.
To log on, select user account icon on the
Welcome Screen.
If the password was assigned for the account, please type
the password.
The password is case sensitive. For example, the same
letter in upper case and the same letter in lower case will
be considered to be two different letters.
The Windows XP desktop screen will appear
later.
ϡ
While the present user account uses the notebook, also
another user starts the use of the notebook simultaneously.
Click [Start] → [Log Off], the “Log Off Windows” dialog
box will appear.
Click [Switch User], the Welcome Screen with multiple
user account icons will appear.
Click another user account icon, Windows displays
the new user’s desktop and settings.
ߒ߫ࠄߊߔࠆߣΕXjoepxt! YQߩ࠺ࠬࠢ࠻࠶ࡊ
4
3
2
Tip
4
3
2
Switch to Another User Accout
Set Up Your Notebook
Depending on your notebook setup and
software, your desktop may have different
or additional shortcuts
Change Users without Log Off
11

Before Operating Your Nptebook
Introducing Your Notebook
Open/Close the Notebook
Front Side
1Web Camera
2!Display Panel
5!Keyboard
6!Internal Microphone
4!Power Button
3!Wireless LAN Switch !
8!Stereo Speaker
9 Touchpad(right button) !
9!Touchpad(left button) !
8!Stereo Speaker
10!Touchpad
7!Status LEDs
Open the panel cover and adjust it to a easy to
see angle.
Close the panel cover and make sure the notebook is
closed well.
12

Introducing Your Notebook
1Web Camera
ΰPage 32α
2Display Panel
It functions as the same as a desktop monitor. The
LCD panel does not produce any radiation or flickering
so it is easier on the eyes. Use a soft cloth without
any chemical liquids to clean the display panel.
3Wireless LAN Switch ΰα
Press the button to enable the built-in Wireless
LAN.
ΰPage 29α
5Power Buttonΰα
The button allows powering ON and OFF the notebook.
ΰPage 10α
The blue indicator LED lights when the notebook turned on.
Click [Start] → [Control Panel] →
[Performance and Maintenance] → [Power Options]
for the advanced power option setting.
5Keyboard
The keyboard provides with comfortable travel (depth
at which the keys can be depressed) and palm rest
for both hands.
ΰPage 23~26α
6Internal Microphone
It can be used for video conferencing, voice narration
, audio recording, and multimedia applications.
7Status LEDs
Indicate the system status of the notebook.
ΰPage 17α
8Stereo Speaker
The built-in speaker allows you to hear audio without
any additional attachment.
For Speaker volume down and up, you can use the Fn key to
increase/decrease the volume.
9Touchpadΰright buttonleft buttonα
The touchpad and its buttons comprises a pointing device
that provides the same functions as a desktop mouse.
ΰPage 22α
10 Touchpad
This is the pointing device of the notebook.
ΰPage 22α
The built-in camera allows picture taking or video
recording
Tip
Attention
When HDD LED light up, please do not directly
push the power button to turn off the notebook.
It is possibe to damage the data or notebook.
After turn OFF the notebook, please wait 5
more seconds for the second time power on.
ΰPage 24α
13

1DC-IN Jackΰ! !!α!
3LAN Port ΰ!! α!
4USB Port ΰ! !!α!
5 Memory Card Slot ΰ!!!!!!α!
2Display Output Port ΰ! !α!
Right Side
1DC-IN Jack ΰα
To connect the AC adapter ΰPage 18α
2Display Output Port ΰα
To connect an external monitor ΰPage 46α
3LAN Port ΰα
The 10/100/1000 Ethernet connector is used to connect
a LAN cable for network connection.
4USB Port ΰα
The USB port is compatible with USB 2.0 or 1.1 devices.
It allows many devices to run simultaneously on a single
computer, with some peripherals acting as additional
plug-in sites or hubs. The USB also supports
hot-swapping function.
5Memory Card Slot ΰα
The following cards listed belowncan be used on this notebook.
ΰPage 39~40α
Memory Stick
Memory Stick Pro
SD
MMC
Attention
To prevent damage to the notebook and battery
pack, always use the supplied power adapter.
May become warm to hot when in use. Be sure
not to cover the adapter and keep it away from
your body.
Attention!
The cable which can be connected to the LAN
port is the 10BASE-T/100BASE-X/1000BASE-T
standard Ethernet cable.Please do not use the
cable other than that.
Do not connect the especially ISDN cable and
the modular cable to the LAN port. It may be
broken to cause damage.
Notice
Memory cards have different insert directions,
Please make sure the correct direction before
insert it into the memory card slot.
miniSD card cannot insert into the memory
card slot. Please verify the card type before
you insert it.
ΰPage 38α
14

Introducing Your Notebook
Left Side
1Kensington Lock Port ΰα
Allows the notebook to be secured using Kensington
Lock.
2Ventilation Slot
The slot is designed to cool the system. DO NOT
block the ventilation for air circulation.
3USB Port ΰα
The USB port is compatible with USB 2.0 or 1.1 devices.
It allows many devices to run simultaneously on a single
computer, with some peripherals acting as additional
plug-in sites or hubs. The USB also supports
hot-swapping function.
ΰPage 38α
4Microphone Jack
It is designed to connect the microphone used for
Skype, voice narrations, or simple voice recordings.
ΰPage 37α
5
Headphone Output Jack
It connects the notebook’s audio out signal to amplified
speakers or headphones. Using this jack automatically
disables the built-in speakers.
ΰα
ΰPage 37α
4 Microphone Jack
ΰ! !α!
!
5Headphone Output Jackΰ! !α!
1!Kensington Lock Port ΰ!! α!
3USB Port ΰ!!α!
2!Ventilation Slot
15

1Battery Release Latch!
4 Memory Module Cover
3Battery Lock Switch
2Battery Pack
Bottom Side
1Battery Release Latch
The latch keeps the battery pack secure. When the
battery pack is inserted, it will automatically lock.
When removing the battery pack, this latch must be
retained in the unlocked position.
ΰPage 21α
2Battery Pack
The notebook will be powered by the battery pack
when the AC adapter is disconnected.
ΰPage 18, 21α
3Battery Lock Switch
The switch is used to keep the battery pack secured.
Move the lock to the unlocked position to insert or
remove the battery pack. Move the lock to the locked
position after inserting the battery pack.
ΰPage 21α
4Memory Module Cover
The memory module, hard disk drive, and wireless
LAN module are located under the cover. Please take
the cover off when adding/removing the module.
ΰPage 42, 44α
16

Introducing Your Notebook
①Num LK LED
This LED lights when you press Num LK key in
keyboard.
②Caps Lock LED
Pressing Caps Lock key will set this LED lights and
in lower case when the Shift key is pressed the letter
typed will be in lower case.
③HDD LED
The LED blinks when data is written to or read from HDD.
④Battery LED
It shows the status of the battery’s power.
ΰPage 19α
⑤Power LED
The LED lights when the notebook is turned ON and
blinks slowly when the notebook is in the Save-to-RAM
(Suspend) mode. The LED is off when the notebook is
turned OFF.
ΰPage 19α
⑥Wireless LAN LED
When the built-in WLAN is enabled, the LED lights.
ΰPage 29α
① Num LK LED
② Caps Lock LED
③ HDD LED
④ Battery LED
⑤ Power LED
⑥ Wireless LAN LED
About Status LEDs
Attention
垸When HDD LED light up, please do not directly
push the power button to turn off the notebook.
It is possibe to damage the data or notebook.
垸After turn OFF the notebook, please wait 5
more seconds for the second time power on.
( )
( )
( )
( )
( )
( )
17

Tip
3
DC-IN Jack
2
Tip
Connecting AC Adapter
and Charging Battery
For the First Time Using
Waring!
垸DO NOT use the AC adapter not included in
the package. Use of another type of adapter
may risk fire or explosion.
垸DO NOT allow anything to rest on the AC
adapter. It may overheat the AC adapter
and risk fire or explosion.
The battery included in the package is not fully
charged. When you use the notebook for the
first time, please connect the AC adapter after
slide the battery pack.
垸You can use the notebook while charging the batery.
Connecting AC adapter and charging battery
Connect the DC plug to DC-IN Jack.
Connect the AC power cord to the AC adapter and
connect the AC power cord to an AC outlet.
Battery LED!ΰ αlights and the charge of
battery starts.
垸The notebook comes with a universal AC-DC adapter for
connecting to any 100V-240V outlets without setting switches
or using power converters.
Different countries may require an adapter to connect the
provided AC power cord to a different standard. Most hotels
will provide universal outlets to support different power cords
as well as voltages.
When operating with the battery only, please remove the AC
adapter.When using with AC power, please connect the AC
adapter.
Before Operating Your Notebook
18
Table of contents
Other EarthWalk Laptop manuals

EarthWalk
EarthWalk eBuddy 7.2 User manual

EarthWalk
EarthWalk eBuddy Series 3 User manual

EarthWalk
EarthWalk eBuddy 8.1 User manual

EarthWalk
EarthWalk R12-CT User manual

EarthWalk
EarthWalk eBuddy R14L User manual

EarthWalk
EarthWalk eBuddy EB14-RY User manual

EarthWalk
EarthWalk eBuddy 6.7 User manual

EarthWalk
EarthWalk eBuddy 8.5 User manual

EarthWalk
EarthWalk eBuddy R15-C User manual

EarthWalk
EarthWalk eBuddy 6.5 User manual