EarthWalk R12-CT User manual


Table of Contents
COPYRIGHT................................................................................................4
REGULATORY STATEMENT................................................................................4
Federal Communications Commission Statement ..........................................................................................................4
Declaration of Conformity ...............................................................................................................................................4
RF exposure warning........................................................................................................................................................5
European Notice ...............................................................................................................................................................5
R&TTE (CE) MANUAL REGULATORYREQUIREMENT (WLAN - IEEE 802.11b/g)..............................................5
Canadian Department of Communications.....................................................................................................................6
Battery Disposal................................................................................................................................................................6
CLASS 1 LASER PRODUCT...........................................................................................................................................6
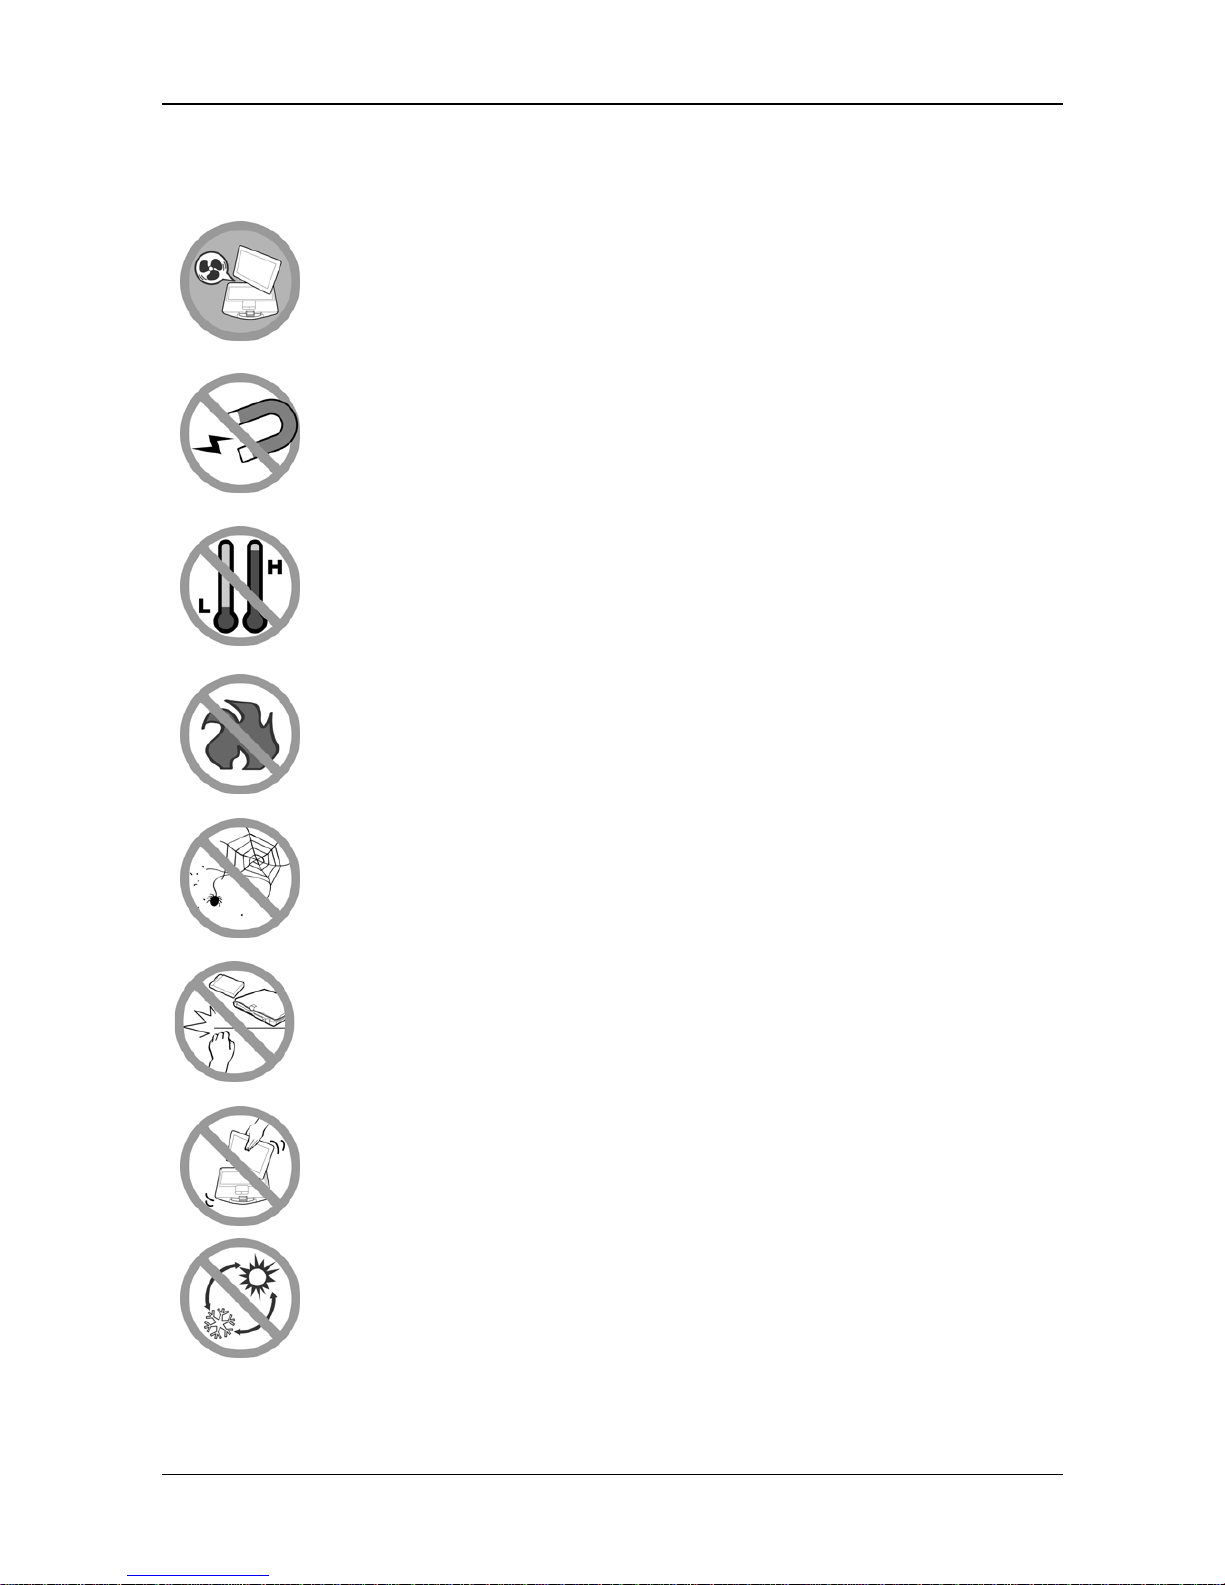
SAFETY INSTRUCTIONS ..................................................................................7
BEFORE YOU START ................................................................9
PACKAGE CONTENTS.....................................................................................9
FEATURES ............................................................................................... 10
COMPONENTS........................................................................................... 11
Front View....................................................................................................................................................................... 11
Left View..........................................................................................................................................................................13
Right View........................................................................................................................................................................13
Back View........................................................................................................................................................................14
Bottom View.....................................................................................................................................................................15
Status Indicators..............................................................................................................................................................16
GETTING STARTED................................................................17
POWERING UP YOUR NOTEBOOK ..................................................................... 17
Connecting the AC Adapter............................................................................................................................................17
Using Battery Power.......................................................................................................................................................17
INSTALLING THE BATTERY ............................................................................. 18
Charging the Battery.......................................................................................................................................................18
Checking the Battery Level.............................................................................................................................................18
Removing the Battery......................................................................................................................................................19
STARTING YOUR NOTEBOOK .......................................................................... 19
Using the Display Panel.................................................................................................................................................19
Turning On Your Notebook.............................................................................................................................................20
Adjusting the LCD Panel Brightness.............................................................................................................................20
Changing the Display Orientation.................................................................................................................................21
Shutting Down Your Notebook.......................................................................................................................................21
USING THE KEYBOARD................................................................................. 22
USING THE TOUCH PAD................................................................................ 23
USING THE STYLUS .................................................................................... 24
Calibrate the Screen........................................................................................................................................................24
USING THE QUICK MENU.............................................................................. 26
2

USING THE MEMORY CARDS .......................................................................... 27
Inserting a Memory Card...............................................................................................................................................27
Removing a Memory Card .............................................................................................................................................27
MAKING CONNECTIONS........................................................28
CONNECTING EXTERNAL DISPLAY DEVICES ......................................................... 28
Connecting a Projector or Display Monitor .................................................................................................................28
Connecting a TV .............................................................................................................................................................28
CONNECTING USB DEVICES.......................................................................... 29
CONNECTING HEADPHONES........................................................................... 30
CONNECTING EXTERNAL MICROPHONE .............................................................. 30
CONNECTING TO A LOCAL AREA NETWORK (LAN)................................................. 31
CONNECTING AN EXTERNAL SATA HDD............................................................ 31
CONNECTING TO WIRELESS CONNECTIONS......................................................... 32
Connecting to a Wireless Local Area Network..............................................................................................................32
Connecting to a Bluetooth Device .................................................................................................................................33
POWER MANAGEMENT ..........................................................35
USING THE POWER PLAN.............................................................................. 35
USING THE POWER SAVING MODE................................................................... 36
USING THE BIOS SETUP UTILITY..........................................37
BIOS SETUP MENU.................................................................................... 37
STARTING THE BIOS SETUP UTILITY................................................................ 37
NAVIGATING AND ENTERING INFORMATION IN BIOS.............................................. 37
MAIN MENU............................................................................................. 38
ADVANCED MENU ...................................................................................... 38
BOOT MENU............................................................................................. 39
SECURITY MENU........................................................................................ 39
SAVE &EXIT MENU.................................................................................... 40
TROUBLESHOOTING..............................................................41
SPECIFICATIONS ..................................................................42

Preface
Copyright
Copyright©2013. All rights reserved.
No part of this user manual may be transmitted, stored in a retrieval system, or
translated into any language or computer language, in any form or by any
means, without the prior written permission of the manufacturer. Information is
subject to change without prior notice.
Regulatory Statement
Federal Communications Commission Statement
This equipment has been tested and found to comply with the limits for a Class
B digital device, pursuant to Part 15 of the FCC Rules. These limits are designed
to provide reasonable protection against harmful interference in a residential
installation. This equipment generates, uses, and can radiate radio frequency
energy and, if not installed and used in accordance with the instructions, may
cause harmful interference to radio communications. However, there is no
guarantee that interference will not occur in a particular installation. If this
equipment does cause harmful interference to radio or television reception,
which can be determined by turning the equipment off and on, the user is
encouraged to try to correct the interference by one or more of the following
measures:
Reorient or relocate the receiving antenna.
Increase the separation between the equipment and the receiver.
Connect the equipment into an outlet on a circuit different from that to
which the receiver is connected.
Consult the dealer or an experienced radio/TV technician for help.
Shielded interconnect cables and shielded AC power cable must be employed
with this equipment to insure compliance with the pertinent RF emission limits
governing this device. Changes or modifications not expressly approved by the
system's manufacturer could void the user's authority to operate the equipment.
Declaration of Conformity
This device complies with part 15 of the FCC rules. Operation is subject to the
following conditions:
This device may not cause harmful interference
This device must accept any interference received, including interference
that may cause undesired operation.
4

Preface
RF exposure warning
This equipment must be installed and operated in accordance with provided
instructions and must not be co-located or operating in conjunction with any
other antenna or transmitter. End-users and installers must be provided with
antenna installation instructions and transmitter operating conditions for
satisfying RF exposure compliance.
SAR Value: 0.150 W/kg
European Notice
Products with the CE Marking comply with both the EMC Directive (89/336/EEC)
and the Low Voltage Directive (73/23/EEC) issued by the Commission of the
European Community.
Compliance with these directives implies conformity to the following European
Norms:
EN 55022 ( CISPR 22 ) Radio Frequency Interference
EN 55024 ( EN61000-4-2, EN61000-4-3, EN61000-4-4, EN61000-4-5,
EN61000-4-6, EN61000-4-8,EN61000-4-11, EN61000-3-2, EN61000-3-3 )
Generic Immunity Standard
EN 60950-1 ( IEC 60950-1 ) Product Safety
R&TTE (CE) MANUAL REGULATORY REQUIREMENT (WLAN - IEEE
802.11b/g)
802.11b Restrictions:
European standards dictate maximum radiated transmit power of 100mW
EIRP and frequency range 2.400-2.4835GHz.
In France, the equipment must be restricted to the 2.4465-2.4835GHz
frequency range and must be restricted to indoor use.
CE Declaration of Conformity
CE!
Is herewith confirmed to comply with the requirements set out in the Council
Directive on the Approximation of the Laws of the Member States relating to
Electromagnetic Compatibility (89/336/EEC), Low-voltage Directive
(73/23/EEC) and the Amendment Directive (93/68/EEC), the procedures
given in European Council Directive 99/5/EC and 89/3360EEC.
The equipment was passed. The test was performed according to the
following European standards.
EN 300 328 V1.7.1 (2006-05)
EN 301 489-1 V.1.4.1 (2005-09) / EN 301 489-17 V.1.2.1 (2002-04)
EN 60950-1:2006
5

Preface
Canadian Department of Communications
This class B digital apparatus meets all requirements of the Canadian
Interference-causing Equipment Regulations.
Battery Disposal
THIS PRODUCT CONTAINS A LITHIUM-ION OR NICKEL-METAL HYDRIDE
BATTERY. IT MUST BE DISPOSED OF PROPERLY. CONTACT LOCAL
ENVIRONMENTAL AGENCIES FOR INFORMATION ON RECYCLING AND
DISPOSAL PLANS IN YOUR AREA.
CLASS 1 LASER PRODUCT
LASERSCHUTZKLASSE 1 PRODUKT TO EN60825
CAUTION: THIS APPLIANCE CONTAINS A LASER SYSTEM AND IS
CLASSIFIED AS A "CLASS 1 LASER PRODUCT.” TO USE THIS
MODEL PROPERLY, READ THE INSTRUCTION MANUAL
CAREFULLY AND KEEP THIS MANUAL FOR FUTURE REFERENCE.
IN CASE OF ANY TROUBLE WITH THIS MODEL, PLEASE CONTACT
YOUR NEAREST "AUTHORIZED SERVICE STATION.” TO PREVENT
DIRECT EXPOSURE TO THE LASER BEAM, DO NOT TRY TO OPEN
THIS ENCLOSURE.
ANNEX IV
Symbol for the marking of electrical and electronic equipment
The symbol indicating separate collection for electrical and electronic equipment
consists of the crossed-out wheeled bin, as shown below. The symbol must be
printed visibly, legibly and indelibly.
6

Preface
Safety Instructions
DO NOT block the opening vents provided for ventilation.
Blocking these vents may cause the notebook processor to
overheat.
Always keep strong magnetic or electrical objects away from your
notebook.
DO NOT use or store your notebook in extreme temperatures.
DO NOT place your notebook near fire or other sources of heat.
DO NOT expose to dust or corrosive materials.
DO NOT tamper the battery. Keep it away from children.
Never pick up or hold your notebook by the display.
DO NOT expose your notebook to sudden changes in temperature
or humidity. Keep your notebook away from air conditioners or
heating vents.
7

Preface
DO NOT attempt to service your notebook yourself. Any attempt
to do so will make the warranty invalid.
When servicing, refer to qualified service personnel.
For better environmental protection, waste batteries should be
collected separately for recycling or special disposal.
CAUTION FOR ADAPTER
THIS NOTEBOOK IS FOR USE WITH DEDICATED AC ADAPTER.
BATTERY SAFETY
DANGER OF EXPLOSION IF BATTERY IS INCORRECTLY REPLACED.
REPLACE ONLY WITH THE SAME OR EQUIVALENT TYPE RECOMMENDED BY THE
MANUFACTURER. DISPOSE OF USED BATTERIES ACCORDING TO THE
MANUFACTURER'S INSTRUCTIONS.
8

Before You Start
Before You Start
Congratulations on your purchase of this notebook.
This business notebook is portable and suits a wide-range of user requirements,
providing users with maximum computing experience. Before you begin using
your notebook, read this chapter to familiarize yourself with the main
components installed in the system.
Package Contents
The following items come with your package. If any of them is damaged or
missing, please contact your retailer.
Notebook Power adapter
Utility DVD Power cord
NOTE
The pictures are for reference only, actual items may slightly differ.
9

Before You Start
Features
Intel HM75 platform (Optional HM77 with i-core CPU)
Operating system supports Microsoft®Windows 7
12.1” convertible LCD display
High capacity hard disk drive
Light weight
Spill Proof
Intel WLAN capability
Bluetooth 4.0 connectivity
WWAN
Express card slot
Two battery packs which support 8 hours battery life
Optional 1.3 Mega-pixel Webcam
Optional M-SATA Solid State Primary Drive (SSD)
Optional GobiTM 2000 3G and GPS
Optional Finger Print Scanner
10

Before You Start
Components
Front View
No. Item Description
1 Camera Use to take picture, record videos, or video
conference.
2 Display panel Provides visual output.
3 Fingerprint scanner Scans fingerprints for biometric identification.
11

Before You Start
No. Item Description
4 Brightness control
button Press to increase the LCD panel brightness by one
level.
5 Brightness control
button Press to decrease the LCD panel brightness by one
level.
6 SAS button Press to exit Windows and switch to Standby
mode.
7 Power button Press to turn your notebook on or off.
8 Quick menu button Press to access the quick menu.
9 LCD direction button Press to rotate the screen orientation.
10 Program button Press to start playback of chosen program.
11 Stealth mode button Press to disable all emitting lights and sound.
12 Status Indicators
(Power, Wireless,
HDD, Caps Lock,
Num lock, Battery)
Indicates the corresponding function status.
13 Keyboard Press the keys to input information.
14 Touch pad Use to point, select, drag, or scroll objects on the
screen.
15 Touch pad button Press to select objects or display a shortcut menu.
16 Chassis latch Locks the notebook chassis.
17 Handle Use for carrying the notebook around on-the-go.
12

Before You Start
Left View
No. Item Description
1 USB port Connects USB peripheral devices.
2 Card reader Use to insert memory cards to transfer pictures,
music, and data between your notebook and flash
compatible devices. The card reader supports SD
(Secure Digital), SDHC, Mini-SD (with adapter),
MMC (Multi-media card), MMC+, Mini-MMC (with
adapter) cards.
3 eSATA/USB Combo
port Connects an external hard disc drive using an
eSATA cable for faster data transfer, or a USB cable
for USB peripheral devices.
4 ExpressCard slot and
PC Card slot Use to insert one 34/54 ExpressCard or Type II PC
Card.
5 Microphone jack Connects an external microphone.
6 Headphone jack Connects headphones or external speakers.
Right View
No. Item Description
1 USB port Connects USB peripheral devices.
2 Serial port (RS232) Connects a peripheral device, such as a printer or
other device with serial port.
3 USB port Connects USB peripheral devices.
13

Before You Start
Back View
No. Item Description
1 Kensington lock slot Connects to a Kensington-compatible notebook
security lock.
2 VGA port Connects to a display device. (e.g. external
monitor, LCD projector).
3 LAN (RJ-45) port Connects to a local area network (LAN) using an
Ethernet cable.
4 DC-in jack Connects the power adapter.
14

Before You Start
Bottom View
No. Item Description
1 Docking station port* Connects the notebook to a docking station.
2 Modular I/O port
bays Use for user changeable modular I/O bay to
accommodate various devices applications.
3 Cooling vents Use for air convection. Do not cover the cooling
vents to protect your notebook from overheating.
4 Stylus Use for accurate control input to the LCD touch
panel and digitizer.
5 Battery compartment Contains the battery.
6 Battery latch Locks the battery in place.
7 Hard disk drive
(HDD) compartment Contains the hard disk drive.
8 HDD latches Locks the HDD in place.
*Docking station port function might not work on your system. Please check
with your dealer for more details.
15

Before You Start
Status Indicators
The status indicators in the upper left corner of the keyboard light up when a
particular function of the notebook is active. Each indicator is marked with a
symbol.
Icon Item Description
Power indicator The LED always lights on (blue) when the
system is running. When the system is in sleep
mode, the LED will blink.
WLAN Indicates the status of wireless LAN
communication.
HDD A blinking HDD LED indicates HDD activity (data
is being read or written).
Num Lock Lights on when Num Lock is activated.
Caps Lock Lights on when Caps Lock is activated.
Battery
Indicate the battery status:
Green: The battery is fully charged or the
charging current is 0 for more than 3 minutes
with the battery capacity higher than 95%.
Blinking green: The system is calibrating the
battery.
Orange: The battery is being charged.
Blinking orange: The battery is being charged
but the battery temperature is out of charging
range (0~60ºC), the battery is being charged
for more than 10 hours, or the charging
current is 0 for more than 3 minutes with the
battery capacity lower than 85%.
Blinking red: The battery power is low (less
than 7%).
Off: The battery is discharged.
16

Getting Started
Getting Started
This chapter will guide you on how to use your notebook.
Powering Up Your Notebook
Your notebook can be powered up using the AC adapter or the Lithium-ion
battery.
Connecting the AC Adapter
The AC adapter powers up your notebook and charges the battery.
1. Connect the AC adapter to the DC-in jack of your notebook.
2. Connect the AC adapter to the power cord.
3. Plug the power cord to an electrical outlet.
Using Battery Power
1. Install a charged battery in the battery compartment.
2. Remove the AC adapter (if plugged). Your notebook will automatically use
the battery power.
NOTE
If your notebook is connected to an electrical outlet and the battery is
installed, your notebook uses power from the electrical outlet.
17

Getting Started
Installing the Battery
To install the battery, follow the steps below:
1. Slide and hold the battery latch to the unlock
position.
2. Align and insert the battery to the battery
compartment.
3. Push completely until the battery locks into place.
4. Release the latch to the lock position to secure the
battery.
Charging the Battery
The Lithium-ion battery is not fully-charged upon purchase.
To charge the battery, follow the steps below:
1. Install the battery to your notebook. See procedures above.
2. Connect the AC adapter to the DC-in jack of your notebook.
3. Connect the AC adapter to the power cord.
4. Plug the power cord to an electrical outlet.
NOTE
The charging time may be longer if you are using your notebook while
charging the battery.
CAUTION
DO NOT charge the battery if the temperature is below 0ºC or higher than
50ºC.
Use only the supplied AC adapter. Using other AC adapters may damage the
battery or your notebook.
Checking the Battery Level
The Battery LED flashes red when the battery is nearly depleted.
When this happens, save your work and plug the AC adapter to charge the
battery or replace the battery with a fully charged one.
NOTE
Make sure the system has shut down before you change the battery.
18

Getting Started
Removing the Battery
To remove the battery, follow the steps below:
1. Slide and hold the battery latch to the unlock
position.
2. Remove the battery out of the battery compartment.
Starting Your Notebook
Using the Display Panel
• To open the display panel, unlock the chassis
latch to open the notebook chassis. Lift the
cover lid up to upright position.
• To adjust the LCD panel, twist the LCD panel
according to your preference.
19

Getting Started
• To switch to tablet mode operation, twist the
LCD panel 180°, then place it back on the
notebook chassis. Lock the chassis latch to
secure the LCD panel.
Turning On Your Notebook
Press the button until the Power LED lights up.
Adjusting the LCD Panel Brightness
You can adjust the brightness by pressing the Brightness control buttons.
To increase the brightness, press the button.
To decrease the brightness, press the button.
20
Table of contents
Other EarthWalk Laptop manuals

EarthWalk
EarthWalk eBuddy R14M User manual

EarthWalk
EarthWalk eBuddy R14L User manual

EarthWalk
EarthWalk eBuddy 7.2 User manual

EarthWalk
EarthWalk eBuddy Series 3 User manual

EarthWalk
EarthWalk eBuddy 8.5 User manual

EarthWalk
EarthWalk eBuddy 6.5 User manual

EarthWalk
EarthWalk eBuddy 8.1 User manual

EarthWalk
EarthWalk eBuddy 6.7 User manual

EarthWalk
EarthWalk eBuddy R15-C User manual

EarthWalk
EarthWalk EcoBuddy10 E10V2 User manual