Eastwood 51460 User manual

BUFFING MOTORS
INSTRUCTIONS
Item #30147
#51460 1 HP Dual-Speed Buff Motor
#13542 1/2 HP Buff Motor

SAFETY INFORMATION
In this manual, on the labeling, and all other information provided with this product:
DANGER indicates a hazardous situation which, if not avoided, will result in death or serious injury.
WARNING indicates a hazardous situation which, if not avoided, could result in death or serious injury.
CAUTION used with the safety alert symbol, indicates a hazardous situation which,
if not avoided, could result in minor or moderate injury.
NOTICE is used to address practices not related to personal injury.
2Eastwood Technical Assistance: 800.343.9353 >> techelp@eastwood.com

SAFETY INFORMATION
Read and understand all instructions thoroughly.
Save this instruction manual for future reference.
Keep out of reach of untrained persons and children.
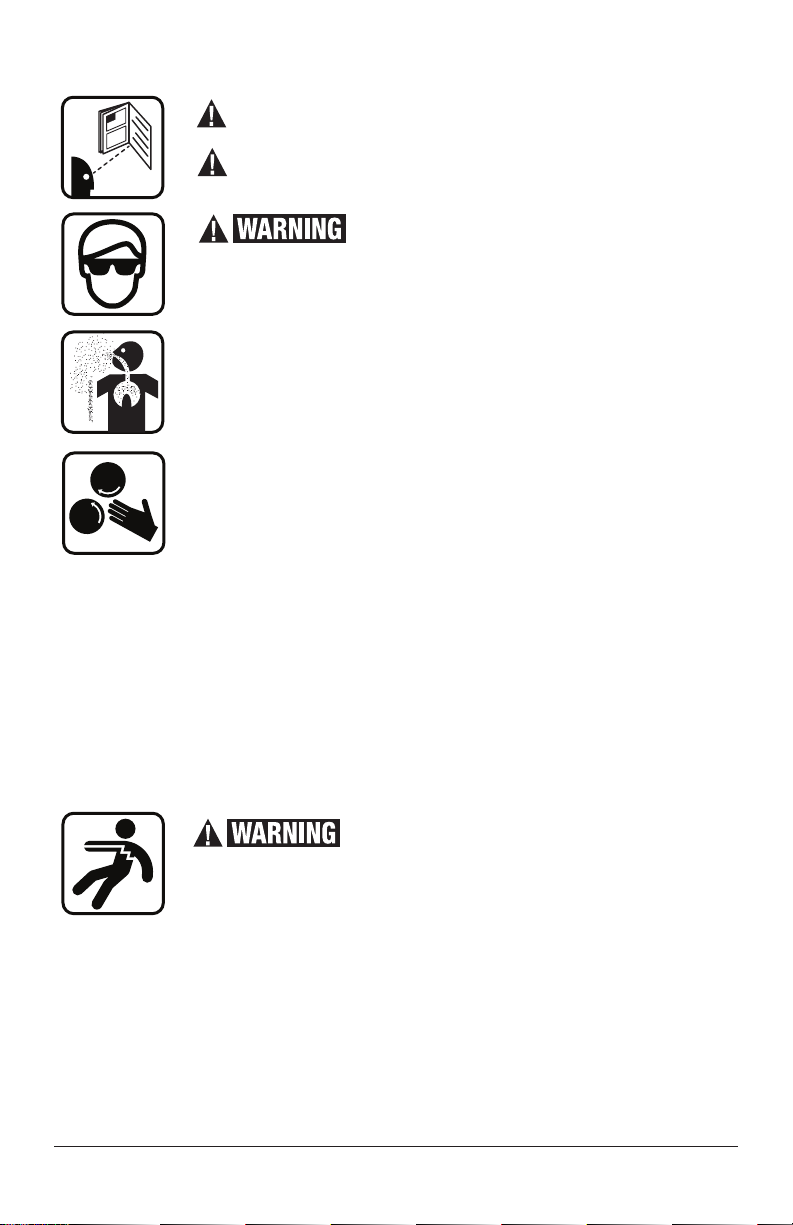
HEALTH & INJURY HAZARDS!
• Under certain conditions the buff wheel can grab the work piece and
throw it at the operator with great force causing personal injury and
damage to the surroundings. Always wear a face shield and ANSI
approved safety glasses when buffing to protect the face and eyes.
• The dust produced by buffing can contain hazardous toxic compounds
depending on the substrate being buffed. Always wear a NIOSH approved
breathing apparatus when buffing.
• Spinning buff wheels can cause burns and abrasions if touched by the
operator. Do not touch the wheels while they are spinning. Always wear thick
close fitting leather gloves while buffing to protect your hands from injury.
• Unplug the buff motor before changing buff wheels to avoid injury.
• DO NOT USE GRINDING WHEELS ON THIS BUFF MOTOR. This buff motor
is designed for fabric buff wheels ONLY as it does not have the machine
guards necessary to protect the operator from the flying debris produced
when a wheel shatters. Severe personal injury and death could result from
using grinding wheels on this buff motor.
• Loose clothing, long hair or jewelry can become caught in the rotating
parts of this machine causing severe physical injury. Wear appropriate
clothing and contain long hair.
• Keep bystanders, observers and children away when operating this tool.
• Never leave the tool running while unattended.
• Secure buff motor to a bench or stand before use.
ELECTRICAL SHOCK HAZARD!
This equipment is equipped with a power cord having an equipment-
grounding conductor. An outlet with a properly functioning grounding
conductor must be used. Do not remove the grounding pin from the plug
of this cord or use an adapter which does not allow proper grounding.
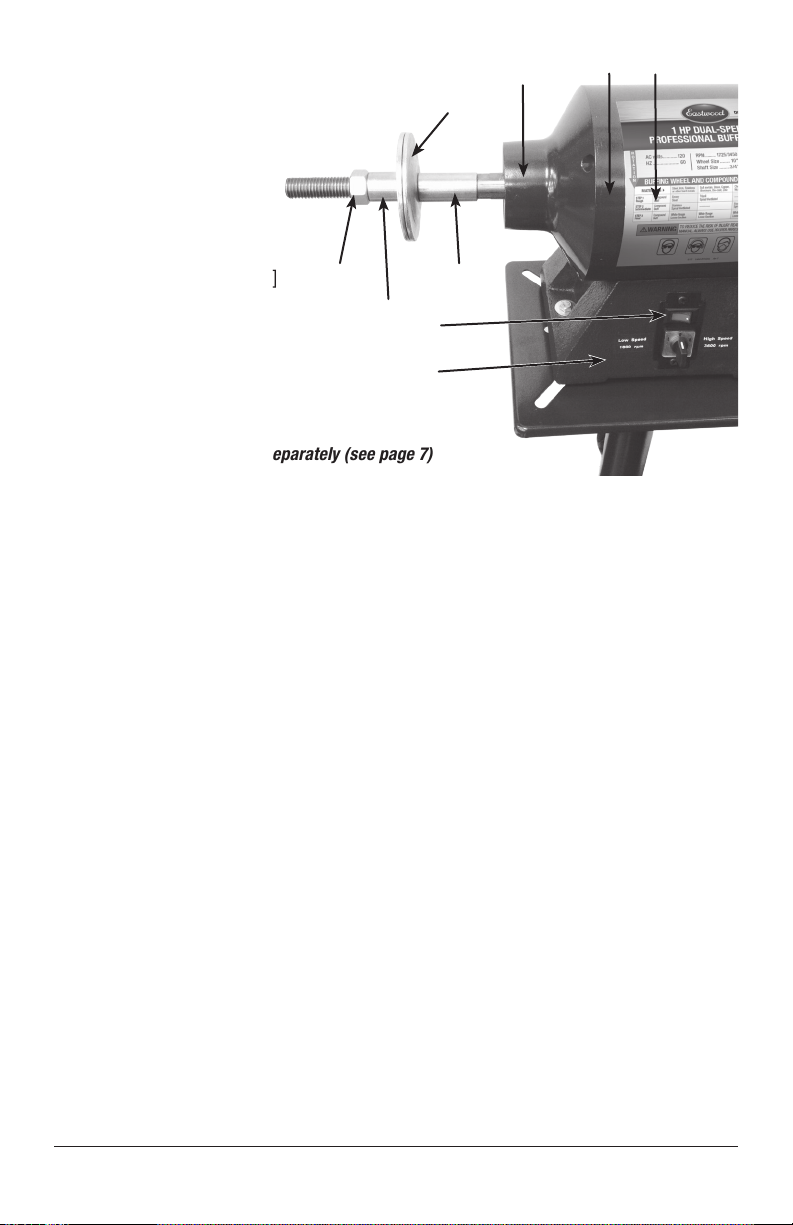
To order parts and supplies: 800.343.9353 >> eastwood.com 3

ELECTRICAL REQUIREMENTS
These motors are designed to operate on 120V AC, 60 HZ. Amperage requirements are listed below. A
grounded 15 amp circuit should be used with this buffer.
EXTENSION CORDS
If you find it necessary to use an extension cord with your buffer, make sure the cord has a 3-prong
grounded plug and receptacle, is no more than 25 ft long, and is 16 gauge or larger.
SPECIFICATIONS
#51460 1 HP Dual-Speed Motor
AC VOLTS 120
HZ 60
WATTS 370/750
AMPS 3.36/6.30
RPM 1725/34 50
WHEEL SIZE 10"
ARBOR SIZE 3/4"
#13542 1/2 HP Motor
AC VOLTS 120
HZ 60
WATTS 370
AMPS 3.36
RPM
3450
WHEEL SIZE 8"
ARBOR SIZE 5/8"
4Eastwood Technical Assistance: 800.343.9353 >> techelp@eastwood.com

SET UP
Remove all items from the box.
Compare with list below to
make sure unit is complete.
(2) Arbor Nut [1]
(4) Flange [2]
(2) Spacer (short) [3]
(2) Spacer (long, 1HP only) [4]
End Caps [5]
Label [6]
Power Switch [7]
Base [8]
Motor Housing [9]
NOTE: Buffing wheels sold separately (see page 7)
MOUNTING
Eastwood buff motors are quite heavy. Make sure the workbench on which you plan to use can hold the
weight of the motor and the added loading when the buffer is in use. The workbench should have a level
surface and be heavy, or attached to the floor, so it will not move during operation.
TO MOUNT THE BUFFER
1. Pick a spot on the workbench that will allow enough room to move the size of an anticipated
workpiece around the buffer. The operator should have enough room to move out of the way in
case of an emergency.
2. Mount the buffer to the pedestal or workbench with bolts that are long enough to exceed the
thickness of your mounting surface and the buffer base. Secure these bolts with flat washers,
a lock washer and a hex nut. This hardware is NOT included because the size of bolts and
hardware that are needed for this step will vary depending on your application.
3. Mount the buffer in an area with proper lighting and near electrical outlets. Lighting should
be bright enough to eliminate shadow and prevent eye strain. Electrical circuits should be
dedicated or large enough to handle amperage requirements. Keep power or extension cords
clear of high-traffic areas. Observe local electrical codes for proper installation of new lighting,
outlets, or circuits.
9 6
5
7
8
1
2
3
4
To order parts and supplies: 800.343.9353 >> eastwood.com 5

OPERATION
Plug in the buffer and turn it on in low speed to check the balance of the newly installed wheels. If
excessive vibration occurs, dress the wheels or remount them for better balance. Only buff using the
portion of the wheel shaded in the illustration below.
Front
NOTE: This side profile illustration, shows the only portion of the
wheel that should be used during buffing.
D
I
R
E
C
T
I
O
N
O
F
R
O
T
A
T
I
O
N
6Eastwood Technical Assistance: 800.343.9353 >> techelp@eastwood.com

WHEEL REMOVAL & INSTALLATION
• To remove the buffing wheels, ensure that the switch is turned OFF and the power cord is
disconnected. Hold the shaft with one hand while loosening the nut with a wrench.
REMEMBER, THE LEFT-HAND NUT AND SHAFT HAS LEFT-HANDED THREADS.
• To install the buffing wheels, ensure that the switch is turned OFF and the power cord is
disconnected. Hold the shaft with one hand while tightening the nut with a wrench.
REMEMBER, THE LEFT-HAND NUT AND SHAFT HAS LEFT-HANDED THREADS.
Unplug the buffer when removing or installing the wheels. Failure to do so may result in
serious personal injury.
RELATED ITEMS
#13061 10" Sisal Buffing Wheel w/3/4" hole
#13033 8" Spiral Sewn Buffing Wheel
#13038 10" Spiral Sewn Buffing Wheel w/3/4" hole
#13041 10" Loose Section Buffing Wheel w/3/4" hole
#13044 8" Loose Section Buffing Wheel
#13001 White Rouge Buffing Compound, 14 oz
#13134 Emery Buffing Compound, 17 oz
#13135 Tripoli Buffing Compound, 13 oz
#13136 Stainless Buffing Compound, 17 oz
#13137 Jewelers Buffing Compound, 18 oz
#13138 Plastic Buffing Compound, 13 oz
To order parts and supplies: 800.343.9353 >> eastwood.com 7

© Copyright 2017 Easthill Group, Inc. 11/17 Instruction item #30147Q Rev 1
If you have any questions about the use of this product, please contact
The Eastwood Technical Assistance Service Department: 800.343.9353 >> email: techelp@eastwood.com
PDF version of this manual is available at eastwood.com
The Eastwood Company 263 Shoemaker Road, Pottstown, PA 19464, USA
800.343.9353 eastwood.com
Other manuals for 51460
1
This manual suits for next models
2
Table of contents