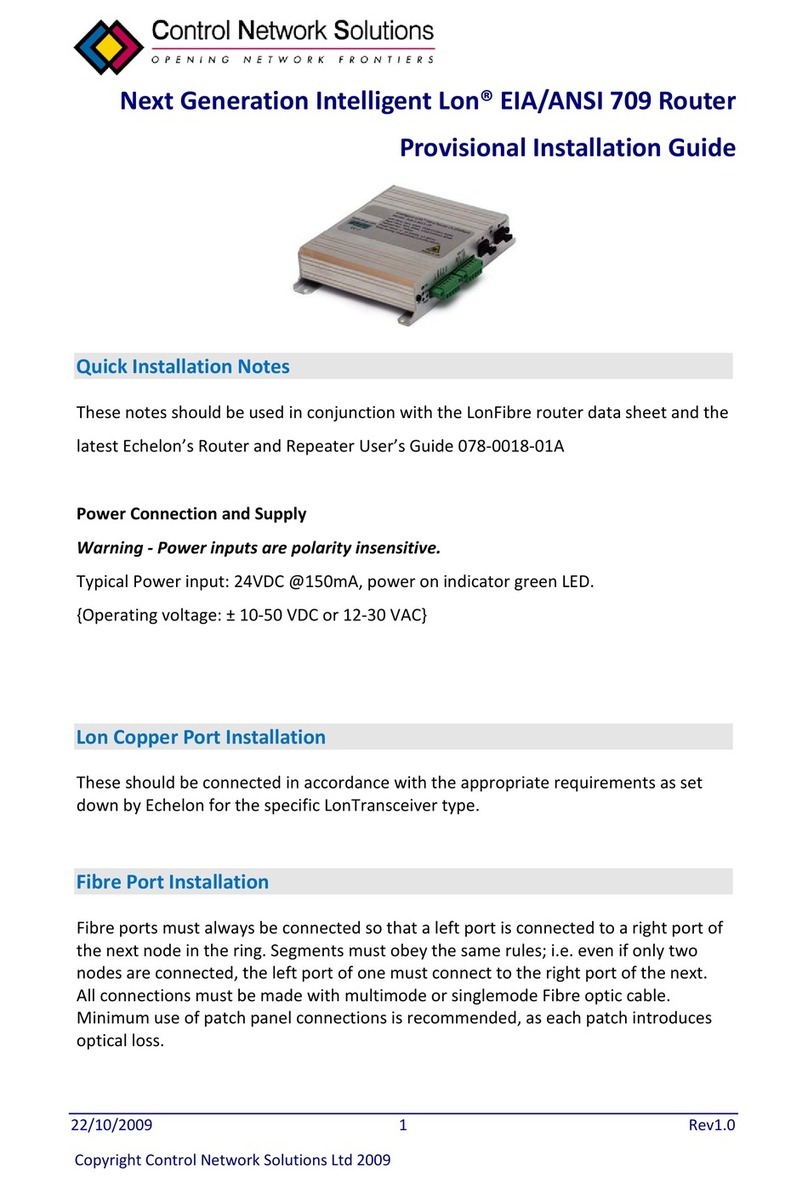
Echelon LonWorks MPR-50 User manual

MPR-50 Multi-Port Router
User’s Guide
@®
078-0308-01B

Echelon, LON,LONWORKS,LonMaker, LNS, LONMARK, LonTalk, Neuron, 3120,
3150, LonPoint, and the Echelon logo are trademarks of Echelon
Corporation registered in the United States and other countries.
LonScanner is a trademark of Echelon Corporation.
Other brand and product names are trademarks or registered
trademarks of their respective holders.
Neuron Chips and other OEM Products were not designed for use in
equipment or systems which involve danger to human health or
safety or a risk of property damage and Echelon assumes no
responsibility or liability for use of these products in such applications.
Parts manufactured by vendors other than Echelon and referenced in
this document have been described for illustrative purposes only, and
may not have been tested by Echelon. It is the responsibility of the
customer to determine the suitability of these parts for each
application.
ECHELON MAKES AND YOU RECEIVE NO WARRANTIES OR
CONDITIONS, EXPRESS, IMPLIED, STATUTORY OR IN ANY
COMMUNICATION WITH YOU, AND ECHELON SPECIFICALLY DISCLAIMS
ANY IMPLIED WARRANTY OF MERCHANTABILITY OR FITNESS FOR A
PARTICULAR PURPOSE.
No part of this publication may be reproduced, stored in a retrieval
system, or transmitted, in any form or by any means, electronic,
mechanical, photocopying, recording, or otherwise, without the prior
written permission of Echelon Corporation.
Copyright © 2005, 2006 by Echelon Corporation.
Echelon Corporation
www.echelon.com

FCC Notice (for USA only)
Federal Communications Commission Radio Frequency Interference
Statement
Warning: This equipment has been tested and found to comply with the limits for a Class B
digital device, pursuant to part 15 of the FCC Rules. These limits are designed to provide
reasonable protections against harmful interference in a residential installation. This
equipment generates, uses, and can radiate radio frequency energy and, if not installed
and used in accordance with the instructions, may cause harmful interference to radio
communications. However, there is no guarantee that interference will not occur in a
particular installation. If this equipment does cause harmful interference to radio or
television reception, which can be determined by turning the equipment off and on, the
user is encouraged to try to correct the interference by one or more of the following
measures:
* Reorient or relocate the receiving antenna;
* Increase the separation between the equipment and the receiver;
* Connect the equipment to an outlet on a circuit different from that to which the
receiver is connected; or
* Consult the dealer or an experienced radio/TV technician for help.
Changes or modifications not expressly approved by Echelon Corporation could void the
user's authority to operate the equipment.
Safety
TÜV
Certified, per EN 60950, 2000, IEC60950, 2000
MPR-50 Multi-Port Router User's Guide 3


Preface
This document describes how to install and use Echelon’s
MPR-50 Multi-Port Router and is written for system
designers and installers.
MPR-50 Multi-Port Router User's Guide i

Content
This manual provides information about the MPR-50 Multi-Port Router.
• Chapter 1 introduces the MPR-50 Multi-Port Router and provides
a quick overview.
• Chapter 2 describes the router hardware and how to connect it to
a network. Software content is described, too.
• Chapter 3 describes how to install the router on a network.
• Chapter 4 introduces the built-in channel monitor.
• Chapter 5 provides troubleshooting symptoms and diagnoses.
• Appendix A describes the Buffer Management Utility.
Preface
ii

Contents
FCC Notice
Declaration of Conformity
Preface i
Content ii
1 Overview 1
Introduction 2
2 MPR-50 Multi-Port Router Hardware and Software 3
Mechanical Description 4
Mounting and Connecting 4
MPR-50 Multi-Port Router Dimensions 6
Screw Terminal Connectors 6
Applying Power to the MPR-50 Multi-Port Router 7
Attaching the Router to a LONWORKS®Network 7
LED Legends 8
Service Buttons 10
Channel Connectors 10
Software 10
3 Connecting to the Network 11
Installing the MPR-50 on a Network 12
Repeater Mode 12
Commissioning with Network Tools other than the LonMaker®Tool 12
Commissioning with the LonMaker Integration Tool 13
Defining an MPR-50 Router 13
Moving a LonMaker Shape 14
Commissioning an MPR-50 Router 14
Buffers 18
4 MPR-50 Monitor 21
Introduction 22
Self-Installation 22
Service Button 22
Wink Request 23
Node Object Functional Block 24
Network Variables 24
Configuration Properties 26
Error Log 26
Channel Monitor Functional Blocks 27
Network Variables 27
Configuration Properties 28
Alarms 29
MPR-50 Multi-Port Router User's Guide iii

5 Troubleshooting 31
Troubleshooting Table 32
Appendix A Buffer Management Utility 35
Buffer Management Utility 36
Installing and Running the MPR Buffer Management Utility 37
Using the MPR Program 37
Checking the Current Buffer Sizes 37
Using Buffer Configure 37
Using Buffer Recovery Mode 39
Changing the Utility's Buffer Sizes 41
Preface
iv

1
Overview
This chapter introduces Echelon’s MPR-50 Multi-Port Router.
MPR-50 Multi-Port Router User's Guide 1

Introduction
Echelon’s MPR-50 Multi-Port Router performs LonTalk®(ANSI/CEA-709.1
standard) routing between five LonTalk channels: one TP/XF-1250 channel and four
TP/FT-10 channels. The MPR-50 may be used as a 2-way, 3-way, or 4-way
TP/FT-10–to–TP/FT-10 router, or in any combination with the TP/XF-1250 router.
The MPR-50 helps reduce the number of routing devices in multi-channel networks,
reducing both installation cost and time. The MPR-50 provides the highest possible
messaging performance: all four of the TP/FT-10 channels operate at saturation, the
maximum possible operating rate. The MPR-50 includes a flexible power supply, a
LONMARK®certified Monitor that displays status locally on LEDs as well as provides
status, and a time-stamped alarm log that is accessible via the network. In addition,
the router includes an intelligent repeater mode that requires no tools to install and
will typically be used in place of a four-way TP/FT-10 physical-layer repeater.
The MPR-50 can be installed by both LNS®and non LNS based network tools,
including the LonMaker Integration Tool. The router is wall and 35mm DIN rail
(EN 50 022) mountable, includes screw terminal connectors for power and channel
wiring, and provides separate service switches and 3.5mm jacks for each channel. A
CD included with the product provides documentation, LONMARK resource files, and
a LonMaker stencil to simplify router installation with the LonMaker tool.
2Overview

2
MPR-50 Multi-Port Router
Hardware and Software
This chapter provides a description of the MPR-50 Multi-Port
Router hardware, including enclosure construction, mounting
instructions, explanation of indicators and connectors, and
wiring guidelines. In addition, the Multi-Port Router CD
contents and installation instructions are described in this
chapter.
MPR-50 Multi-Port Router User's Guide 3

Mechanical Description
The MPR-50 is 35mm DIN rail compatible, 9 TE wide, and conforms to EN 50 022.
The figure below presents the front view of the MPR-50 Multi-Port Router. The face
of the MPR-50 includes a network diagram that shows how the five routers and the
Monitor are externally and internally connected.
Status LED Indicator
Service Button
Channel Mono Phone Jack (3.5mm, 1/8”)
Power LED
Wiring Screw Terminals
Figure 2.1 MPR-50 Multi-Port Router Enclosure (front view)
Mounting and Connecting
The MPR-50 Multi-Port Router enclosure is designed for mounting on a DIN rail or
wall/panel. A spring-loaded DIN rail lock securely grabs the DIN rail onto which the
enclosure is mounted. Tabs in the DIN rail area present a pressure fit on the DIN
rail, which prevents the MPR-50 from sliding. The DIN rail lock must be activated to
either remove the MPR-50 from a DIN rail or to slide the router along the DIN rail.
To release the enclosure from the DIN rail, insert a flathead screwdriver into the
DIN rail locking tab and gently pull the tab downwards (away from the enclosure).
Figure 2.2 shows the location of the DIN rail-locking tab.
4MPR-50 Multi-Port Router Hardware and Software

Four key hole slots in the rear of the enclosure are provided for wall/panel
mounting the router. The key hole slots on each side of the DIN rail allow
mounting normally or upside-down. The top of the MPR-50 includes two scored
alignment guides for positioning the screws and for aligning the MPR-50 with
the screws during mounting.
Figure 2.2 MPR-50 Multi-Port Router Enclosure (back view)
Key Hole Slots for Mounting
DIN Rail Lock
Use the following steps to mount the router.
1. Insert two 6-32 flat-head screws into the surface upon which the MPR-50 is to be
mounted. Mounting dimensions are shown in the following drawing, in millimeters.
3. Be sure the heads of screws are protruding slightly from the mounting surface.
4. Slide the MPR-50 onto the screws. It may be necessary to adjust the screws into or
out of the wall slightly to assure a secure mounting.
MPR-50 Multi-Port Router User's Guide 5

MPR-50 Multi-Port Router Dimensions
For mounting purposes, the following figure provides further dimensions of the
router. All measurements below are in millimeters.
Figure 2.3 MPR-50 Multi-Port Router Dimensions
Screw Terminal Connectors
The screw terminals for connecting power and network wires are located on the
bottom edge of the enclosure. The screw terminals accept 0.34–4.0 mm2(22–
12AWG) gauge wire. The optimum tightening torque for the screw terminals is
0.75mm (6 lbs. in.) maximum. The ideal flathead screwdriver tip width for use
with the screw terminal connectors is 3mm (0.12”). Wires should be stripped to a
length of 7mm (0.28”). A soldering iron may be used to tin the stripped lengths of
any stranded wires to prevent fraying and inadvertent contact with adjacent
terminals, although this is not required.
6MPR-50 Multi-Port Router Hardware and Software

Applying Power to the MPR-50 Multi-Port Router
Connect earth ground, if available, to terminal 3. Then connect 9–28VAC (40–70Hz)
or 9–35VDC power to terminals 1 and 2—the power terminals are polarity-
insensitive so the polarity of the DC input is unimportant. The green Power LED
will illuminate to indicate the unit is powered and the Status LEDs will begin
operating within seconds.
Attaching the Router to a LONWORKS Network
Connect the screw terminals marked Router 1 through Router 5 to the desired
channels. Router 1 is for the TP/XF-1250 channel, while Routers 2–5 are for the
TP/FT-10 channels. TP/XF-1250 and TP/FT-10 channel wiring is polarity-
insensitive, and the TP/FT-10 connections are link power compatible. Any router
that is not going to be used may be left unconnected.
Figure 2.4 Router Connections for the Multi-Port Router
For complete information about acceptable wire types, maximum stub lengths,
termination requirements, and cable vendors, consult the Junction Box and
Wiring Guidelines for Twisted Pair LONWORKS Networks Engineering Bulletin
available from Echelon’s Web site.
MPR-50 Multi-Port Router User's Guide 7

LED Legends
The Power LED will illuminate whenever power is connected to the MPR-50.
The following two tables describe the behavior of the Status LEDs for the Monitor
and for Routers 1–5. For easy reference, shortened versions of the Status LED
legends are printed on the front panel of the MPR-50.
The Status LEDs illuminate as green, orange, and yellow. When yellow is displayed,
orange and green may appear illuminated together depending upon the lighting
conditions.
Table 2.1 Monitor Status LED Legend
Color Description
Off No power to MPR-50.
Green on steadily The Monitor and Routers 1–5 are configured. Since
power-up, no errors have been logged for Routers 1–5
or their externally connected channels.
Green slow flashing Repeater mode. Routers 1–5 will repeat all valid
traffic. This mode is useful for plug ‘n play use without
network management tools.
Slow flashing is defined as on-for-one-second/off-for-
one-second.
Yellow on steadily Monitor is offline. All of the router Status LEDs will
also be yellow on, although the routers will still be
routing if they were previously configured to do so.
The router Status LEDs are yellow on since the
Monitor, being offline, is unable to determine the states
of the routers.
Yellow slow flashing Monitor has not been commissioned. Slow flashing is
defined as on-for-one-second/off-for-one-second. The
router Status LEDs continue to indicate the current
status for their associated routers and attached
channels.
Orange fast flashing Router alarm condition(s) logged.
Fast flashing is defined as on-for-one-half-second/off-
for-one-half-second.
8MPR-50 Multi-Port Router Hardware and Software

Table 2.2 Routers 1–5 Status LED Legend
Color Description
Off No power to MPR-50.
Green on steadily Router is configured. No errors have been detected on the
router or on the external channel to which it attaches within
the past 10 seconds. The channel has been idle for at least
the past 10 seconds.
Green slow flashing
Router is configured. No errors have been detected on the
router or on the external channel to which it attaches within
the past 10 seconds. There has been traffic on the channel
within the previous 10 seconds.
Slow flashing is defined as on-for-one-second/off-for-one-
second.
Yellow on steadily
If the Monitor LED is also yellow on, the router Status LED
does not indicate the router state—the router will still be
routing if it was previously configured to do so. If the
Monitor LED is not yellow on, then the router is disabled or
offline, and is not routing messages.
Yellow slow flashing Router unconfigured or not responding.
Slow flashing is defined as on-for-one-second/off-for-one-
second.
Orange fast flashing
An alarm condition on the router or its attached external
channel has been detected within the past 10 seconds.
After the alarm condition clears, the router Status LED will
revert to another status. The alarm condition will continue to
be reported by the Monitor Status LED for as long as power
is continuously applied to the router, even after the condition
is cleared.
Fast flashing is defined as on-for-one-half-second/off-for-
one-half-second.
MPR-50 Multi-Port Router User's Guide 9

Service Buttons
The MPR-50 Multi-Port Router has six service buttons: one for the Monitor and one
for each of the routers. To reset the MPR-50 Multi-Port Router to factory defaults,
hold the Monitor service button down for 10 seconds.
Note that service pin messages are broadcast onto any attached channels when the
unit is put into factory default state. Some tools that listen for service pin messages
and perform automatic configuration may recognize the MPR-50 and begin
configuring it, potentially unexpectedly.
Channel Connectors
The MPR-50 front panel includes a separate 3.5mm (1/8”) mono phone jack for each
of the five external channels. The jack is compatible with the connector used on the
LonPoint®Routers, LonPoint Modules, and various third-party products.
Echelon manufactures cables for connecting the MPR-50 to Echelon network
interfaces such as the PCC-10 PC Card Network Interface and the U10 USB
Network Interface.
Software
The MPR-50 Multi-Port Router CD includes the following content:
•ReadMe
•Quick Start Guide
•User's Guide
•Software installer to install the above-listed content as well as LONMARK
resource files for the Monitor and the LonMaker stencil
The MPR-50 software does not need to be installed in order to commission
Routers 1–5;however, the software must be installed in order to access the MPR-50’s
status over the network.
To install the MPR-50 software, first insert the CD into a CD-ROM drive. The
installation program starts automatically. If not, run setup.exe. Follow the prompts
to complete the software installation. After installation completes, documentation is
available from the Echelon Routers program shortcut. The LONMARK resource files
for the Monitor are installed into the folders recommended by LONMARK
International, and the LonMaker stencil is installed into the default LonMaker
stencils folder.
10 MPR-50 Multi-Port Router Hardware and Software

3
Connecting to the Network
This chapter demonstrates how to install the MPR-50 Multi-
Port Router on a network.
MPR-50 Multi-Port Router User's Guide 11

Installing the MPR-50 on a Network
Once the MPR-50 is physically attached to a network and powered-up, it must be
logically installed on the network. The MPR-50 is by default unconfigured and will
not route messages in this state. The MPR-50 can either be put into repeater mode
(which requires no network management tools), or it can be commissioned using
standard network management tools such as the LonMaker tool.
The Monitor within the MPR-50 only needs to be commissioned to interact with it
over the network. If the Monitor will not be accessed over the network, it does not
need to be commissioned.
Repeater Mode
To use the MPR-50 on a network without using network management tools, it must
be put into the repeater mode. Repeater mode is useful for the following:
•Self-installed networks where physical length of the network or node density
per-channel requires the use of a router
•Replacing free topology physical-layer repeaters, as physical-layer repeaters
are susceptible to noise which can halt traffic not just on the noisy channel,
but on the entire network
•Networks that have low traffic density and protocol routing is not required.
When in the repeater mode, the MPR-50 does not segregate traffic and may not be
appropriate for larger networks, or networks with traffic levels that in aggregate
approach saturation for the slowest channel.
To put the MPR-50 into repeater mode, hold down the Monitor Service button
continuously for 20 seconds. The Monitor Status LED will slowly flash green after
repeater mode is entered. To take the MPR-50 out of repeater mode, either hold
down the Monitor Service button continuously for 10 seconds (this will set the MPR-
50 to the factory default state), or commission Routers 1–5 with a network
management tool (in this case it is not necessary to first take the MPR-50 out of
repeater mode).
Commissioning with Network Tools other than the LonMaker Tool
The MPR-50 contains five routers and a Monitor. Before installing the Monitor,
install the software as described in the previous chapter. The LONMARK resource files
for the Monitor are installed into the LONMARK recommended folders. See the
following chapter for a detailed description of the Monitor.
12 Connecting to the Network
Table of contents
Other Echelon Network Router manuals

