Echo 99944200553 User manual
Specifications, descriptions and illustrative material in this literature are as accurate as known at the time
of publication, but are subject to change without notice. Illustrations may include optional equipment and
accessories, and may not include all standard equipment.
Operator’s Manual
X7702093405
© 08/2013 ECHO Inc.
x7722271404 / x772000164
99944200553
ProSweep Attachment
FOR MODELS: SRM-2400SB, 260SB, 261SB, PAS-2400, 2601,
230, 231, 260, 261, 265, 266, 280
Users of this equipment risk injury to themselves and others if the unit is used
improperly and/or safety precautions are not followed. ECHO provides an operator’s
manual. It must be read and understood for proper and safe operation. Failure to do so
could result in serious injury.

2X77702093405
© 08/2013 ECHO Inc.
TABLE OF CONTENTS 99944200553
TABLE OF CONTENTS
Table of Contents .............................................................................................................................. 2
Introduction ........................................................................................................................................ 3
The Operator’s Manual ................................................................................................................ 3
Servicing Information ......................................................................................................................... 3
Parts/Serial Number..................................................................................................................... 3
Service......................................................................................................................................... 3
Echo Consumer Product Support ................................................................................................ 3
Warranty Registration .................................................................................................................. 3
Additional or Replacement Manuals ............................................................................................ 3
Safety................................................................................................................................................. 4
Manual Safety Symbols and Important Information..................................................................... 4
International Symbols .................................................................................................................. 5
Personal Condition and Safety Equipment .................................................................................. 5
Equipment.................................................................................................................................... 8
Description......................................................................................................................................... 9
Contents .......................................................................................................................................... 10
Assembly ......................................................................................................................................... 11
ProSweep Gear Housing Assembly to Lower Drive Shaft Assembly ........................................ 11
Power Head Shaft/Lower Shaft Assembly................................................................................. 11
Operation ......................................................................................................................................... 13
Operating Techniques................................................................................................................ 13
Maintenance .................................................................................................................................... 15
Skill Levels................................................................................................................................. 15
Maintenance Intervals................................................................................................................ 15
Lubrication ................................................................................................................................. 15
Brush Replacement ................................................................................................................... 17
Storage ............................................................................................................................................ 18
Storage Hook Installation........................................................................................................... 18
Specifications................................................................................................................................... 19
Warranty Statements ....................................................................................................................... 20
Notes ............................................................................................................................................... 22
99944200553 INTRODUCTION
X7702093405 3
© 08/2013 ECHO Inc.
INTRODUCTION
Welcome to the ECHO family. This ECHO product was designed and manufactured to provide long life and
on-the-job dependability. Read and understand this manual. You will find it easy to use and full of helpful
operating tips and SAFETY messages.
The Operator’s Manual
Keep it in a safe place for future reference. Contains specifications and information for safety, operation,
maintenance, storage and assembly specific to this product.
SERVICING INFORMATION
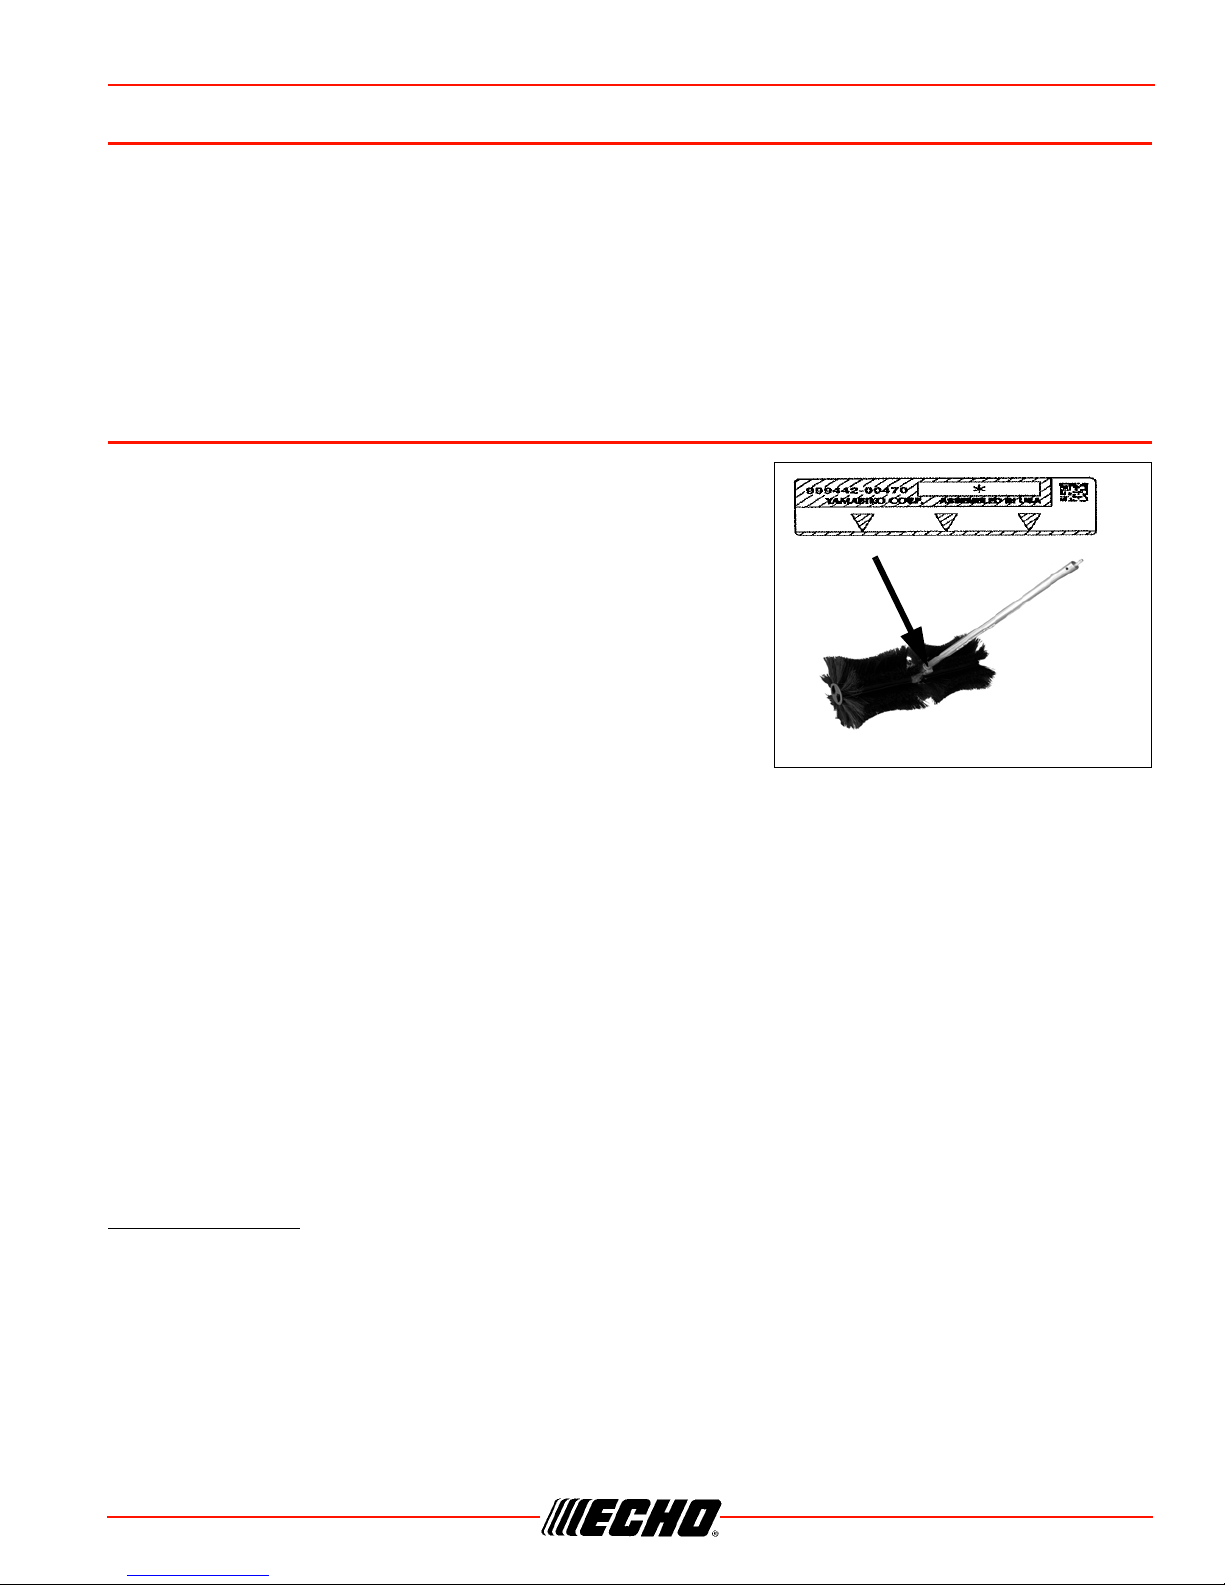
Parts/Serial Number
Genuine ECHO Parts and ECHO REPOWER™ Parts and
Assemblies for your ECHO products are available only from an
Authorized ECHO Dealer. When you do need to buy parts always
have the Model Number and Serial Number of the unit with you. You
can find these numbers on the engine housing. For future
reference, write them in the space provided below.
Model No. _________________ SN. ___________________
Service
Service of this product during the warranty period must be performed by an Authorized ECHO Service
Dealer. For the name and address of the Authorized ECHO Service Dealer nearest you, ask your retailer or
call: 1-800-432-ECHO (3246). Dealer information is also available on our Web Site. When presenting your
unit for Warranty service/repairs, proof of purchase is required.
Echo Consumer Product Support
If you require assistance or have questions concerning the application, operation or maintenance of this
product you may call the ECHO Consumer Product Support Department at 1-800-673-1558 from 8:30 am to
4:30 pm (Central Standard Time) Monday through Friday. Before calling, please know the model and serial
number of your unit.
Warranty Registration
To ensure trouble free warranty coverage it is important that you register your ECHO equipment on-line at
www.echo-usa.com or by filling out the warranty registration card supplied with your unit. Registering your
product confirms your warranty coverage and provides a direct link between you and ECHO if we find it
necessary to contact you.
Additional or Replacement Manuals
Replacement Operator, Safety Manuals, and Parts Catalogs are available from your ECHO dealer or at
www.echo-usa.com or by contacting ECHO Inc., 400 Oakwood Road, Lake Zurich, IL 60047
(800-673-1558). Always check the ECHO Web Site for updated information.
Safety Videos are available from your Echo dealer. A $5.00 shipping charge will be required for each video.
4X77702093405
© 08/2013 ECHO Inc.
SAFETY 99944200553
SAFETY
Refer to your Pro Attachment Series or Split Boom Operator's Manual for correct engine fueling,
starting and stopping instructions.
Manual Safety Symbols and Important Information
Throughout this manual and on the product itself, you will find safety alerts and helpful, informational
messages preceded by symbols or key words. The following is an explanation of those symbols and key
words and what they mean to you.
The safety alert symbol accompanied by the word “DANGER” calls attention to an act or condition
which WILL lead to serious personal injury or death if not avoided.
The safety alert symbol accompanied by the word “WARNING” calls attention to an act or condition
which CAN lead to serious personal injury or death if not avoided.
The safety alert symbol accompanied by the word “CAUTION” calls attention to an act or condition
which may lead to minor or moderate personal injury if not avoided.
The enclosed message provides information necessary for the protection of the unit.
Note: This enclosed message provides tips for use, care and maintenance of the unit.
CIRCLE AND SLASH SYMBOL
This symbol means the specific action shown is prohibited. Ignoring these prohibitions can result
in serious or fatal injury.
99944200553 SAFETY
X7702093405 5
© 08/2013 ECHO Inc.
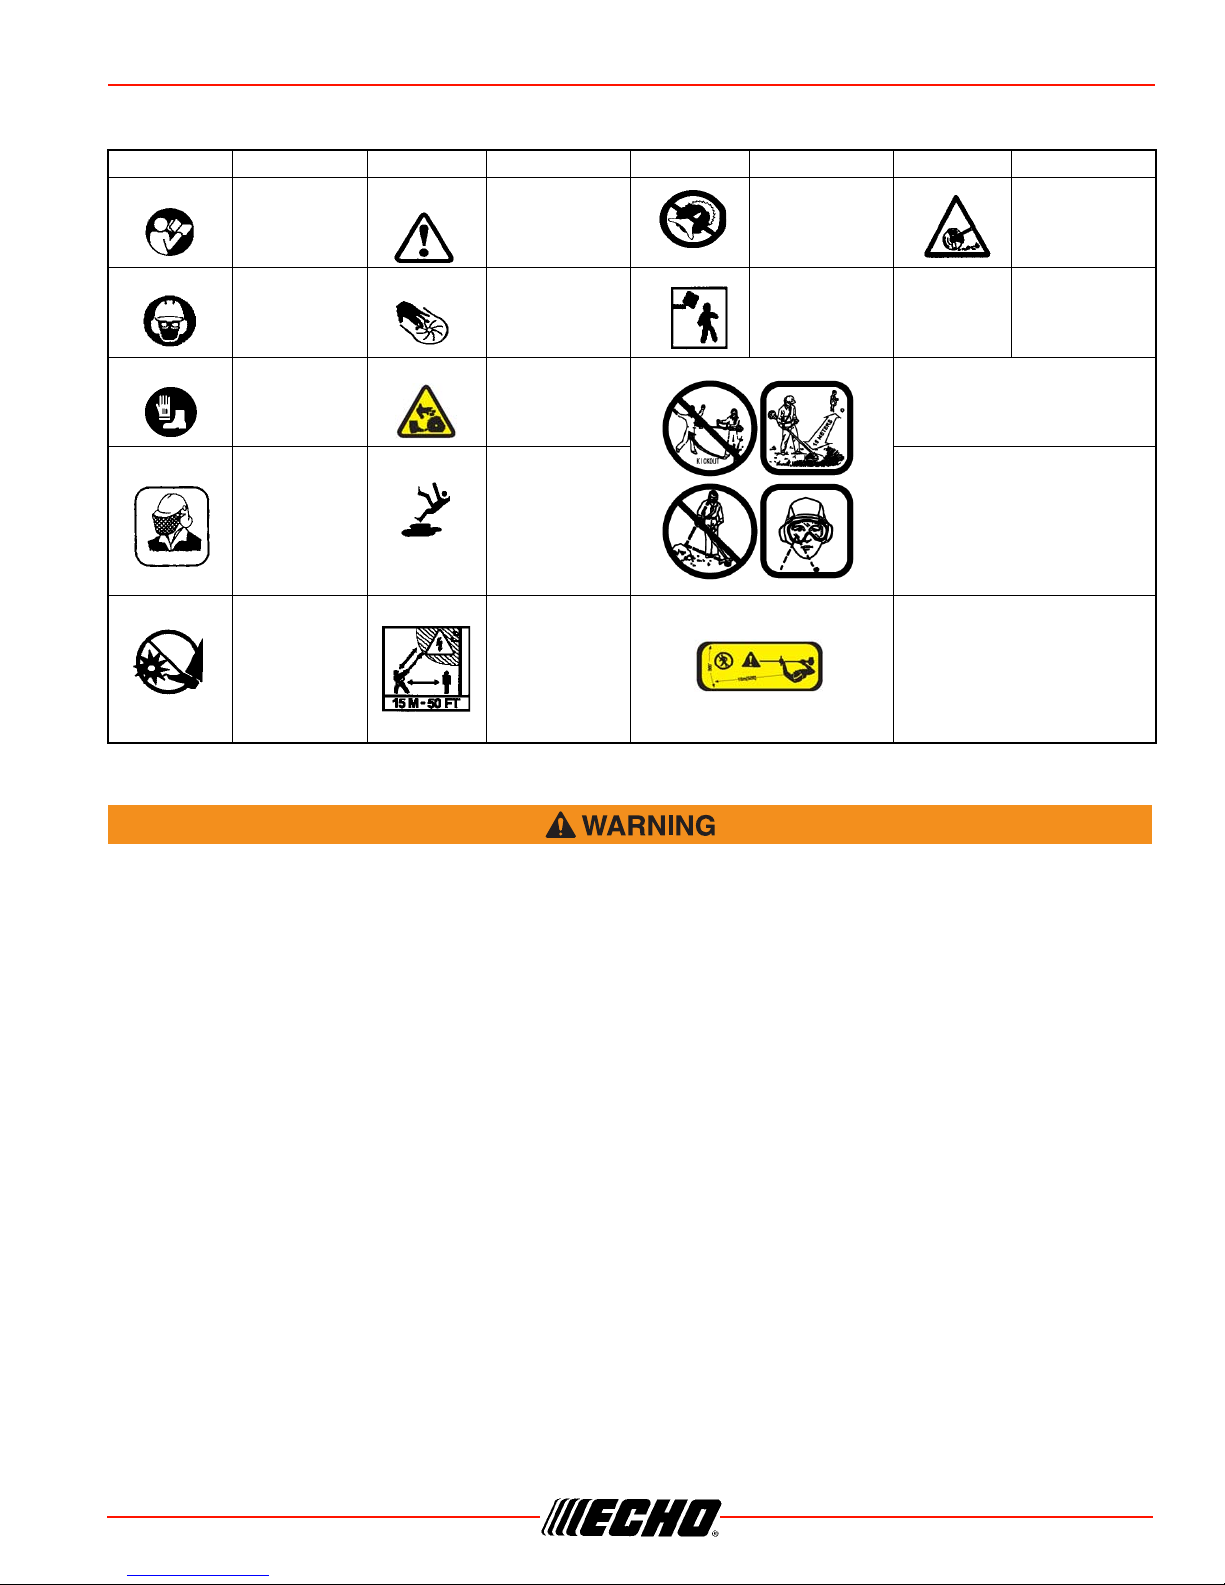
International Symbols
Personal Condition and Safety Equipment
Users of this product risk injury to themselves and others if the unit is used improperly and/or safety
precautions are not followed. Proper clothing and safety gear must be worn when operating unit.
Physical Condition
Your judgment and physical dexterity may not be good:
• if you are tired or sick,
• if you are taking medication,
• if you have taken alcohol or drugs.
Operate unit only if you are physically and mentally well.
Eye Protection
Eye protection that meets ANSI Z87.1, CE, or CSA Z94.3 requirements must be worn whenever you operate
the unit.
Hand Protection
Wear no-slip, heavy duty work gloves to improve your grip on the handles. Gloves also reduce the
transmission of machine vibration to your hands.
Breathing Protection
Wear a facemask to protect against dust.
Symbol Description Symbol Description Symbol Description Symbol Description
Warning, See
Operator’s
Manual
Safety/Alert
DO NOT USE
BLADES - Line
Head Only
Thrown
objects
Wear eye, ear
and head
protection
Finger Severing
Plan retreat
pathfromfalling
objects
Wear hand
and foot
protection
RotatingCutting
Attachment
A V O I D K I C K O U T .
Keep bystanders at least 15 meters
(50 feet) away.
Wear Face
Shield
Wear slip
resistant foot
wear
Beware Thrown Objects
Wear Eye Protection
Keep feet
away from
blade
Do not operate
closer than 15 M
(50 ft.) from
electricalhazards.
Keep
bystanders at
l e a s t 1 5 m e t e r s
(50 feet) away
Keep bystanders and helpers
away 15 m (50 ft.).
Other manuals for 99944200553
1
Table of contents
Other Echo Lawn Mower Accessories manuals


