Safety Instructions
1. Keep the area around the tool
clean and free of obstructions.
2. Keep the area free of flammables
which could ignite while using this
tool.
3. Children and bystanders should
stay clear of the work area to
ensure safety
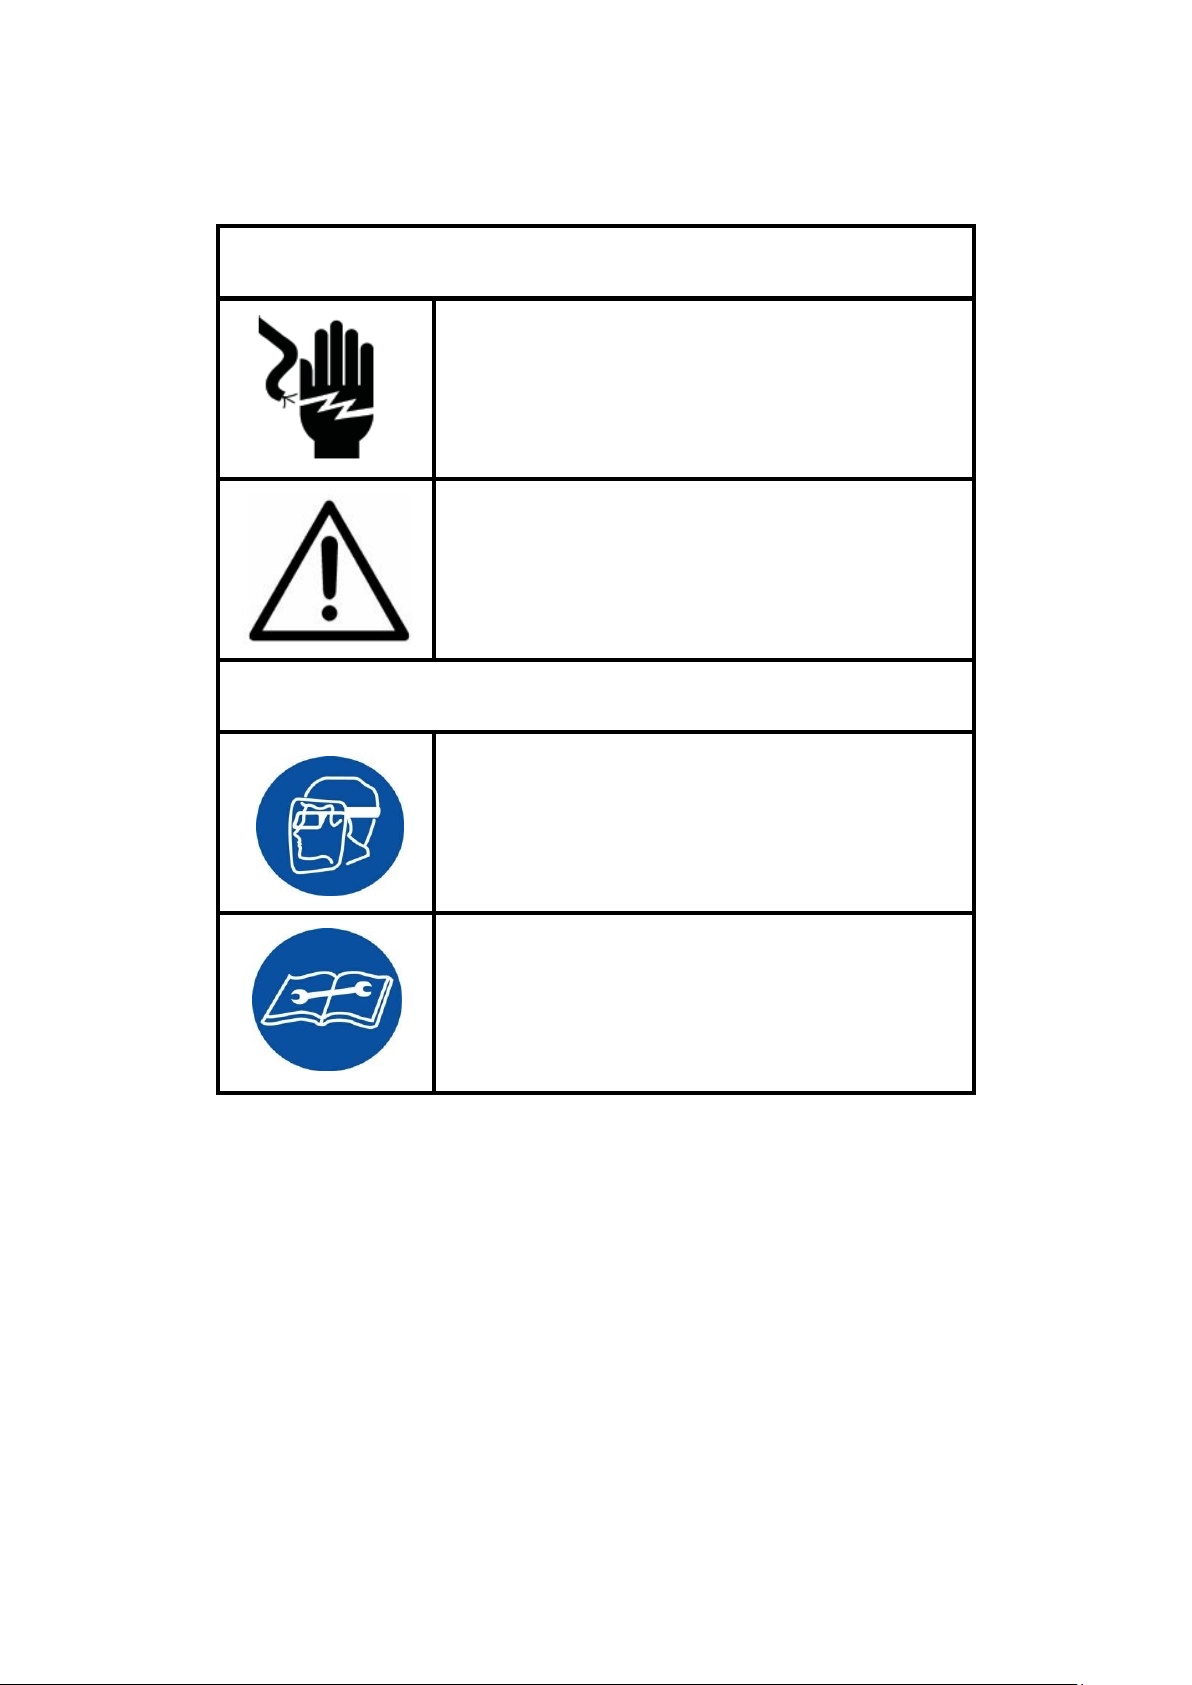
Electrical Safety
1. Use only the specified battery
charger for the battery.
2. Use only the designated battery
pack with this tool.
3. Do not modify the charger in any
way. Ensure the charger matches
the electrical outlet.
4. Avoid electrical shock. Do not
touch grounded metal conductors
while operating this tool.
5. Do not use this tool in wet
conditions. Store this tool in a dry
place.
6. Do not drop or in any way abuse
or disassemble the battery pack
or charger.
1. Stay alert while using this tool to
prevent serious injury. Do not use
under the influence of drugs,
alcohol or medicine.
2. Do not wear loose hair or clothes
that can get caught in the tool
while operating.
3. To reduce the risk of injury, wear
non-conductive gloves and
non-skid safety-shoes. Always
wear protective eyewear.
4. Make sure the tool switch is OFF
or the tool locked before inserting
the battery pack.
5. After servicing the tool, remove
adjusting keys or wrenches from
any moving parts of the tool before
use.
6. Work safely. Maintain your
balance and do not reach while
operating the tool.