1. With the machine disconnected from the mains supply, measure the tile or
piece of material to be cut and proceed to adjust:
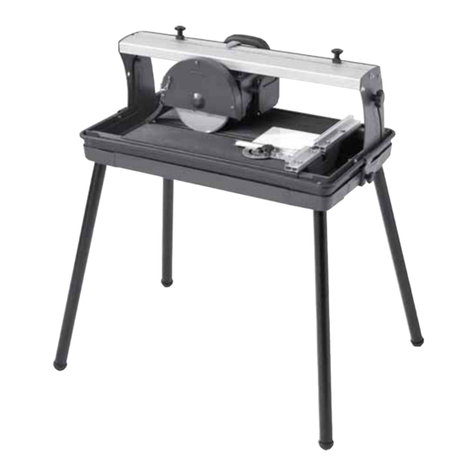
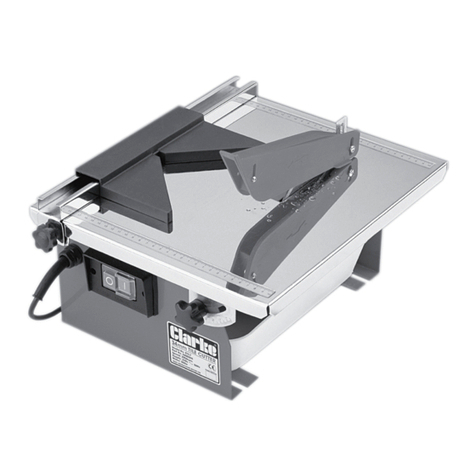
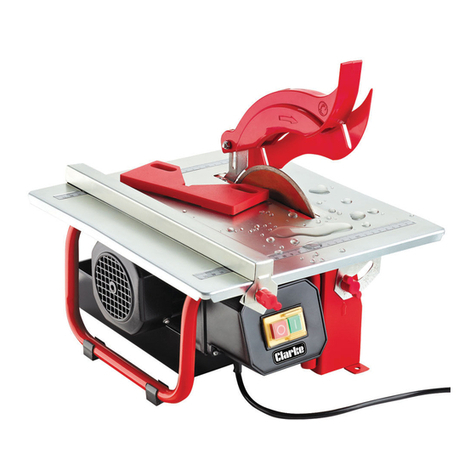
A. The angle of the table which can be adjusted up to 45 degrees from the
horizontal for mitre edge cuts if required. For normal straight cuts at 90
degrees, the table should be set to zero degrees on the bevel scale.
NOTE:
Bevel cuts are usually made on the right side of the cutting disk, i.e. on the ‘downward’
slope side of the disk, so that the glazed side of the tile is uppermost, and as there is little
room here for the parallel fence, this operation is usually carried out freehand. DO NOT
exert side pressure on the cutting disk.
B. The position of the fence on the table top. To ensure accurate cuts, check
the alignment of the fence by reference to the built in calibrations which
are set into each end of the table top.
Retighten all locking knobs securely to ensure secure positions for both the
table and the fence.
2. Fill the water trough located underneath the table with just sufficient water so
that the edge of the cutting disk can be kept constantly wet. Do not overfill
as this can cause an unnecessary mess. Check the water level constantly
during use and top up as necessary.
3. Start the machine by pressing the green button on the switch panel, marked ‘i’.
4. Holding the material firmly at all times, against the parallel fence, or held in
the mitre gauge, as required, move it steadily over the table, into the cutting
edge of the disk.
DO NOT force the tile through the disk. Keep the speed of the disk as near to
its maximum speed as possible..
Always cut in a straight line and DO NOT attempt to cut a curved line.
Keep hands well clear of the disk whilst it is in motion. Remove all pieces using
a piece of wood, or similar, before making the next cut.
5. To stop the machine at any time, press the red button on the switch panel
marked ‘O’.
Always do this as soon as cutting has been completed, and before making
any adjustments to the machine.
NOTE:
In order to get the feel of the machine and reduce the possibility of wastage, we recommend
that trial cuts are made first with surplus or scrap material of a similar type to that to be cut.
OPERATION
INSTALLATION
Provision is made so that the Tile Cutter may be semi-permanently fixed to a workbench
or table, using suitable bolts in the two slotted holes in the base of the machine.
If a permanent location is not feasible or desirable, always ensure its temporary
location is flat and even and at a convenient height with adequate light.
