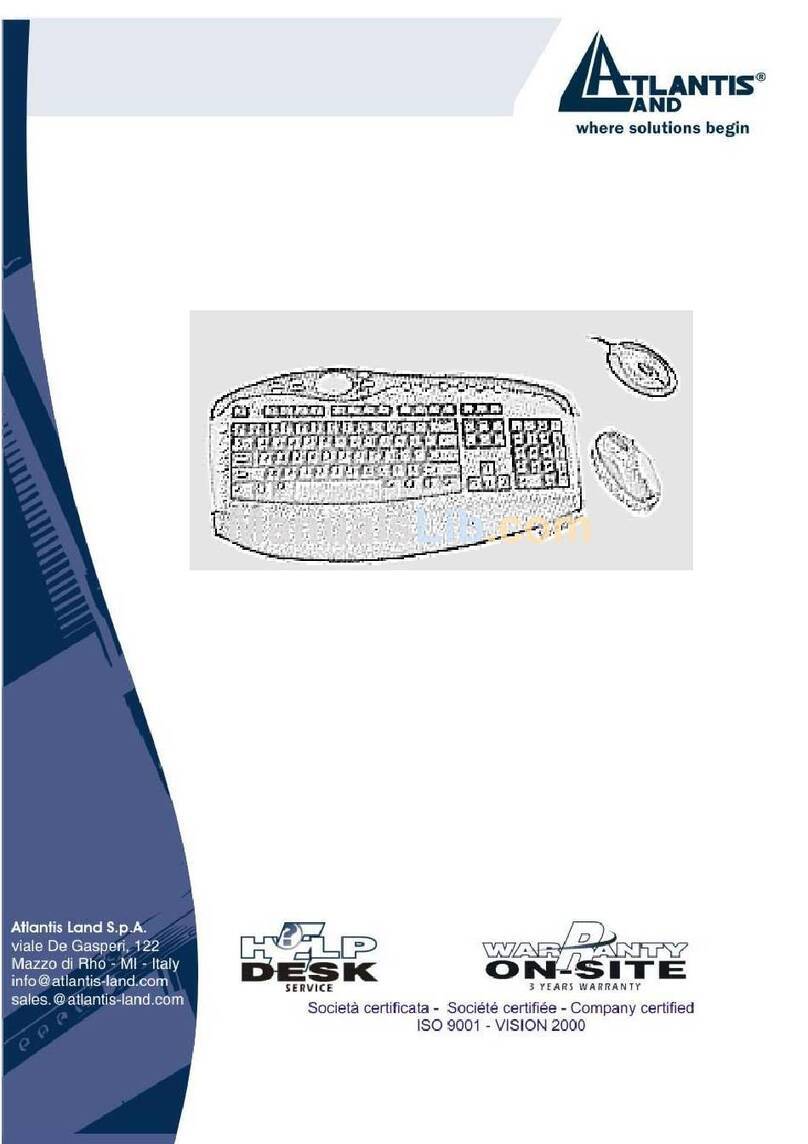
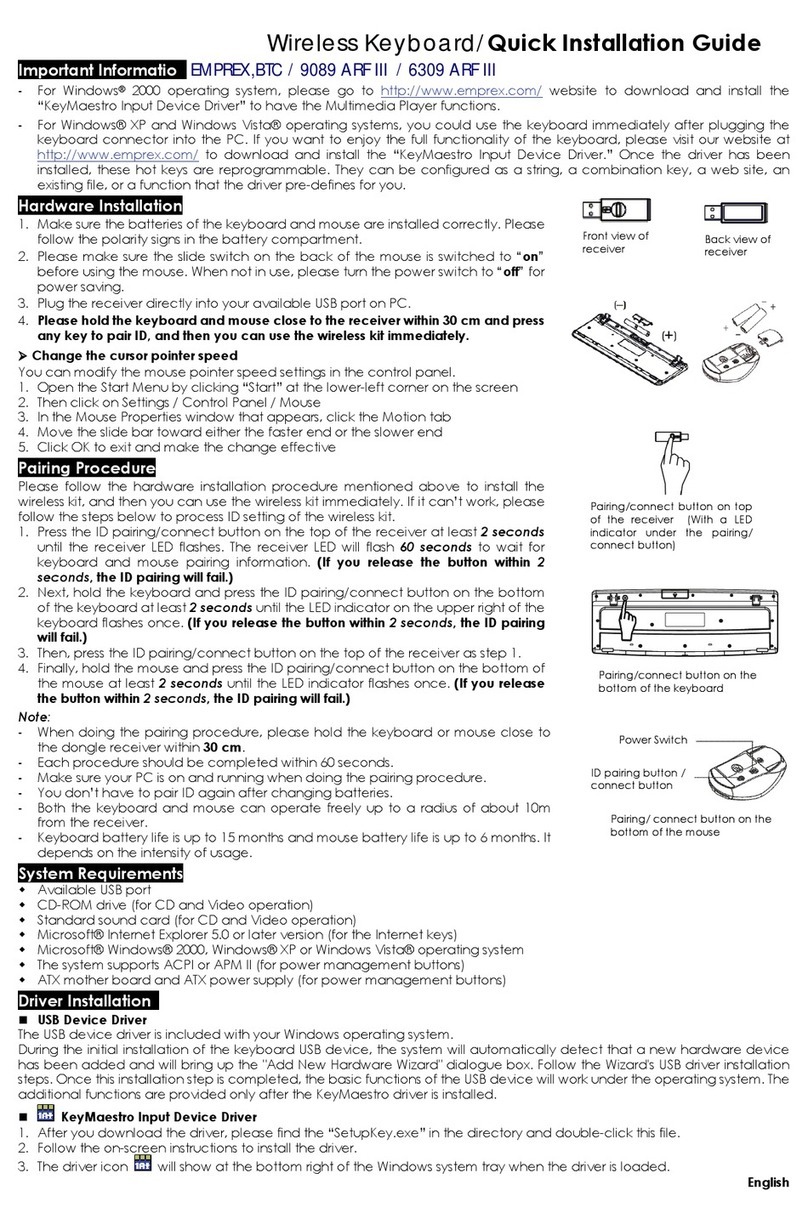
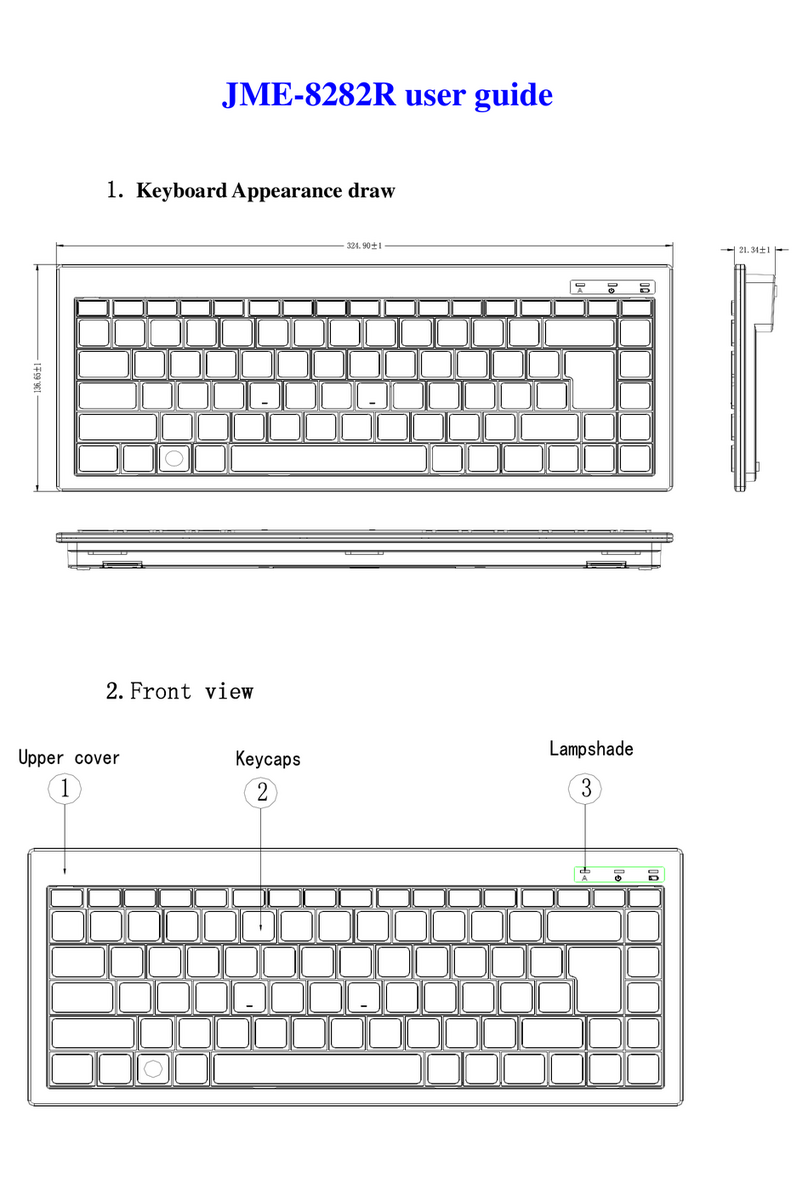
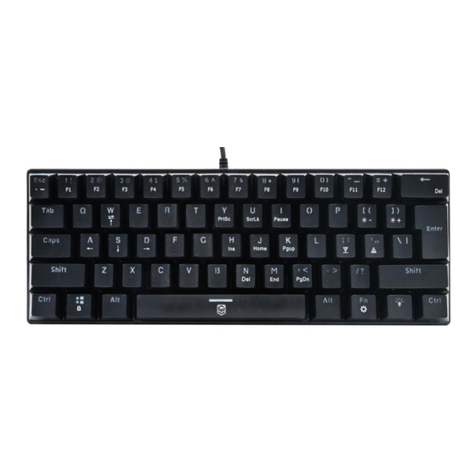
Ecomani MINI User manual

- - I -
Copyright 2011
ALL Rights Reserved-Printed in China
User Guide
Original Issue: 2011-04-06
This manual guides y ou in using y our w ireless key bpard. Informa tion in this
manual has been carefully checked for accu racy and is subject to change w ithout
notice.
No part of this manual may be reprodu ced, stored in a retrieval system, or
transmitted, in any form or by any m eans, electronic, me chanical, photocopy,
recording, or otherwise, without prior written permission.
Trademarks
Product names used herein are for ide ntification purposes onl y and may be t he
trademarks of their respective companies.
Item Check List
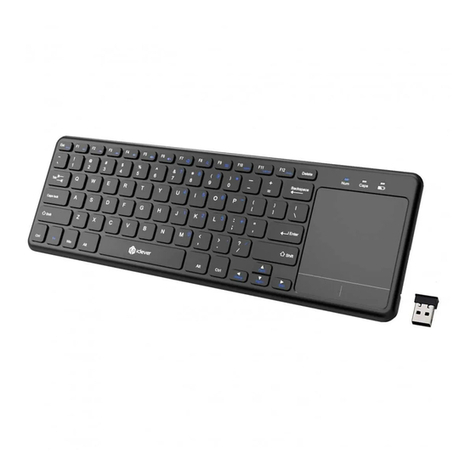
Wireless Keyboard/Touch Pad Combo
USB Reciever adapter
USB Charge Cable
User’s Manual

- II -
Contents
Chapter 1 Sate ty Introduction ...........................................................1
Chapter 2 Produc tion Introduction ...................................................2
2-1 Product Description ............................................................................2
2-2 Product Specifiation ...........................................................................3
2-3 Product Features ...............................................................................3
Chapter 3 Produc tion Overview ........................................................4
3-1 Wireless Keyboard Overview .............................................................4
3-2 USB Reciever Adapter Overview .......................................................4
3-3 Basic Functions .................................................................................5
Chapter 4 U ser’S Tips ........................................................................7
4-1 How to Use Wireless Keyboard .........................................................7
4-2 How to Charge Wireless Keyboard ....................................................7
Chapter 5 Main tenece And Troubleshooting ...................................8
5-1 Battery Caution ..................................................................................8
5-2 Careful Maintenance ..........................................................................9
5-3 Troubleshooting .................................................................................10

- 1 -
Chapter 1 Safety Introduction
Please read this manual carefully before using the keyboard.
The following signs call attention to features and operations that may be
dangerous to the user. Follow the instruction closely to reduce the risk of
physical harm or damage to the equipment.
- Attention to traffic safety
Do not operate or attempt to operate this device while driving or operating any
moving vehicle.
-Turn off this device on the plane
Do not operate or attempt to operate this devie while on an aircraft. Doing so
may cause interference to operation and communication devices of the
aircraft.
- Turn off this device near explosion site
To avoid interference with blasting operations, please turn off the device in the
blasting site.
-- Turn off this device in the vicinity of combusive agents or
chemicals
Please turn the device off while around fuel or any combustible agents or
chemicals.
- Turn off this device in the hospital
Please do not operate or attempt to operate the deive in the hospital. Doing so
may cause interference to the medical operations and communication devices
as with wireless devices. This product may interfere with implanted cardiac
pacemakers, hearing aids and other medical inplant devices.
- Interference
All wireless devices may be subjest to interference, thus attecting the
performance of this product.
- Accessories
Do not use any replacement parts other than thise provided or recommended
by the manufacturer.

- 2 -
This product contains a rechargeable lithium-ion battery. All safety precautions
should be taken into consideration when handling or operating any type of
device that is powered by such a bettery. Do not drop, heat, crush or
submerge this product in water. Do not operate this device in extreme humidity,
heat or cold environment for long periods of time. Misuse of this device may
cause injury and will aoid the device’ warranty.
Chapter 2 Product Introduction
2-1 Product Description
The Ecomani mini Multi-touch Wireless Keyboard-touchpad Combo combines
the standard keyboard and mouse operation in a compact, portable housing. It
is designed to improve the user experience of using keyboard and mouse as
an input device. It allows user to control a mouse cursor, enter text, and
perform Windows 7 multi-touch function wirelessly with the latest capacitive
touch sensing technology. You do not need a touch screen panel any more.
It's small and easy to use. The touchpad is best for you to mouse around the
screen remotely. You can tap the touchpad to click and use multi-touch
gesture to take full advantage of Windows 7. Typing is easily done with its
keyboard pad. You can double click icons or click and hold to drag and drop or
highlight text just like you expect. Two actual mouse buttons are built-in for
applications as required. It stays connected to the
wirelessly without interruption while using it. And the battery (chargeable via a
USB cable) stays charged for operation up to 500hr. The remote goes to sleep
on its own pretty quickly to conserve the battery. Press a mouse button or any
button to wake it up.
If you're looking for a portable control wirelessly with the added function of an
almost-full keyboard, this is fantastic for you. It is perfect as the "remote" for
PC control, presentation, lecture, and especially for entertainment center. Sit
back, relax, and enjoy the control remotely.

- 3 -
2-2 Product Specification
–Size: 168 mm x 90 mm x 12.5 mm
–Weight: 100g / 0.22 poud
–Operating temperature: -10°C — 55°C
–Battery: Build-in 3.7V 600mAh Lithium-ion battery
–Battery life: 400 hrs under keyboard mode, 500 hrs under mouse
mode
–Stand-by time: 500 - 700 hours
–Operating Range: 30 meters / 100 feet
–Transmission Power: Max +4 dBm
–Operating Voltage: 3.3V
–Operating Current: < 80mA
–Charging Voltage: 4.2v - 5.05v
–Charging Current: < 300mA
–System Requirement: Windows 2000 / XP / Vista / 7; Mac OS
10.x or lower; Linux (Debian 3.1 / Redhat 9.0 / Ubuntu 8.10 /
Fedora 7.0)
2-3 Product Feature
–Wireless keyboard with built-in touchpad
–Support Windows 7 multi-touch
–Come with two mouse buttons
–Capacitive sensing type touch with two-finger contact
–104.5 x 67.5 mm large area touchpad
–QWERTY keyboard has more defined buttons
–Navigation keys for easy control during game
–Seamlessly button switch between keyboard mode and touchpad
mode
–Build-in 3.7V 600mAh Li-ion rechargeable battery
–Dedicated USB port for battery charging
–Short recharge time: two hours for full charge
–Standby time : 600 hours
–2.4GHz DSSS wireless transmission up to 10 meter (33 feet)
–Compatible with Windows XP/Vista/7, Mac, and Linux
–Compact portable design (168 X 90 X 12.5 mm) (the size of 3
business card aligned)
–Light weight (140 g)
–Plug and play: no need to install software under XP/Vista

- 4 -
Chapter 3 Product Overview
3-1 Wireless Keyboard Overview
3-2 USB Receiver Adapter Overview
Alt.Button
Shift Button
Ctrl. Button
Caps Lock Button
Mouse Left Button
Mouse Right Button
Direction Keys
KB/Touch Pad Switch
KB/Touch Pad Operation Area
-
-
Power Switch
Above: Battery Charge LED
Below: Caps. Lock LED
-RF Match Point
-RF Match Point

- 5 -
3-3 Basic Functions:
Buttons:
Buttons Description
Power on Button Switch to power on /off keyboard.
KB/Touch Pad Switch Button Press on to switch from keyboard and
touchpad mode.
Caps. Enable/disable capital lock function.
Shift Function as application key [Shift] of a
keyboard.
Ctrl. Function as application key [Ctrl] of a
keyboard.
Alt. Function as application key [Alt] of a
keyboard.
Keyboard:
Users need to select ‘keyboard’ mode by pressing KB/Touch Pad Button at
first before using keyboard function.
Keyboard Description
Primary Key Bits The function printed at each key is
defaulted by pressing the button with
one time.
Sub-Keys Press [Shift] while using these keys,
including:
!,@,#,$,%,^,&,*,(,),~, ",{,},”,-,+,:,<,>,?, |
Directional Keys Each function as Up/Down/Left/Right
direction key as arrow shows.
Touch Pad
Users need to select ‘Touch Pad’ mode by pressing KB/Touch Pad Button at
first before using mouse function.
Once set as ‘Touch Pad ’ mode, the keyboard area can work as touch pad
zone to do the same operation as that of a mouse. Wuickly double-tap can
achieve the double-clck function of a mouse. The two buttons at the bottom of
the wireless keyboard can work as the left and right buttons of a mouse.

- 6 -
Button Description
Mouse Left Button Function as the left button of a mouse.
Mouse Right Button Function as the right button of a mouse.
LED
LED Description
Caps Lock LED (Above) This LED is on when user press [Caps
Lcok] button of the keyboard under
‘Keyboard’ mode
Charge LED (Below) This LED is on and turns orange when
charging the wireless keyboard with a
USB charging calbe.
The LED will turn green when wireless
keyboard is fully charged.

- 7 -
Chapter 4 User’ Tips
4-1 How to Use Wireless Keyboard
The wireless keyboard is very simple to operate. Follow these steps listed
below to enjoy the conviniences of the product:
Step1: Connect USB receiver adapter.
Find the USB receiver adapter and insert it to the standard USB interface of a
computer system (the system must be on).
Step2: Power on the wireless keyboard.
Find the power on/off switch on the upside of the keyboard ( ). Turn it to
the [On] direction to enjoy wireless keyboard-touchpad functions.
Step3: RF Matching Points.
RF Matching Points
The device is set well when come out of factory and you can ensure that
diferenct users using same deivices at the same time won’t interfere with each
other. However, if interference does occure, you can press on the RF matching
point under wireless keyboard and RF matching point of the USB receiver
adapter.
Step4: Power off the device after use.
Find the power on/off switch on the upside of the keyboard ( ). Turn it to
the [Off] direction, then cut off the power, turn off the equipment. The USB
receiver adapter should be plugged out from USB interface well.
Power on Switch

- 8 -
4-2 How to Charge Wireless Keyboard
You need to fully charge the wireless keyboard the first time you are using it.
Follow these steps listed below to charge the wireless keyboard:
1. The device can be recharge via USB data cable which directly connects to a
standard USB data port on the computer. Find the attached USB cable and
connect on end to the USB port of the wireless cable: . The connect the
other end to a standard USB port of a system(The system must be on.)
2. A second later (if the battery is depleted, it would take longer), the charge
indicator at the upper left corner of the device will turn orange.
3. The charge indicator will turn green when charging is completed. In this
case remove the charging cable from the wireless keyboard and system.
Note: This device can be used when charging, but it will extend charging time.
Chapter 5 Maintenance and Troubleshooting
5-1 Battery Caution
► Do not try to disassemble the machine or replace rechargeable batteries
without permission. Otherwise the manufactuere will not be responsible for
the resulting loss.
► Battery charging time depends on the remaining battery capacity and
battery type. The battery can be charged and discharge hundrends of
times, but eventually wear out. When the battery operating time is
significantly shorter than usual, it is time to replace the battery. For that
please contact your local dealer.
► A charged battery without use within a certain period will be self-discharge.
► Use specified charge. When the charger is not in use, please cut off the
power; do not let the battery connected to a charger more than a week.
Overcharging will shorten battery life.
► Do not place the product at places too hot or too cold. This will reduce the
capacity of battery life. Please keep the battery in room temperature. The
battry may be temporarily not working when used under too hot or too cold
temperature, even when battery fully charged. Lithium-ion batteries are
particularly subject to the impact of sub-zero temperatures.

- 9 -
5-2 Careful Maintenance
The following recommendations can help you to comply with warranty, and
pre-long product life. Please follow:
► Put the device and all its parts and accessories at the place where children
can not reach.
► Do not place this quipment at dusty place.
► The touch pad s the most vulnerable part. Strong impact from other objects
or scratching should be avoided.
► Do not put the device at places too hot. High temperatures will shorten the
life of electronic devices.
► Do not put the device at places too cold. When the device temperature
rise(to its normal operating temperature) there will be water vapor
generated inside the device, which could damage the device’s electronic
boards.
► Do not drop, knock or shake the device. Violent action would undermine
the internal circuit boards.
► Do not use rough chemicals, cleasing solvents or stronger cleasing agents
when cleaning the device. Gently scrub with a soft cloth soaked in soapy
water to clean it.
► Do not paint upon the device. Paint will stick to the active part of the device
and impede normal operation.
► If the device, battery, charge or any accessories are not working properly,
please take it to the nearest qualified service center. If necessary, the staff
will help you arrange for repair.

- 10 -
5-3 Trouble Shooting
Please refer to the following troubleshooting list when something is wrong with
the device. If this still can not help solve the issue, please contact your local
dealer or service provider.
Problem Cause of malfunction Solution
Can not boot 1- There is no power in
the battery.
2- The power on/off
switch is not placed
well.
1- recharge the device for
over 15 munites then
switch on;
2- Click if the switch is put
at the [On] place.
RF can not be
connected after a
long time of blicking
1- Receiver is inserted
correctly or not, the
inserted device is in
the boot state or not;
2- The signal is too
weak at your
physical location, or
if there is a wireless
interference.
1- Check if the reciver
inserted correctly and
the inserted device in
the boot state.
2- Move your location and
make sure there is no
interference between
you and the inserted
device.
Operation of the
mouse pointer
jumping or
unresponsive
1- The equipment you
connected itself is
not working properly
2- Your physical
location is too far
away from the
equipment, or there
are too many block
between you and the
equipment
1- Check if the operation
of the equipment has
been confirmed that it’s
working correctly.
2- Move your location or
try from another
location
Device can’t be
charged 1- Chargers and
equipment not being
connected well;
2- Battery performance
degradation
1- Corectly connect the
charger to this device;
2- Replae the same model
batteries; please
contact your local
dealer.

This device complies with part 15 of the FCC rules. Operation is subject to the
following two conditions: (1) this device may not cause harmful interference,
and (2) this device must accept any interference received, including
interference that may cause undesired operation.
NOTE: The manufacturer is not responsible for any radio or TV interference
caused by unauthorized changes and modifications to this equipment. Such
changes and modifications could void the user’s authority to operate the equipment.
NOTE: This equipment has been tested and found to comply with the limits for
a Class B digital device, pursuant to part 15 of the FCC Rules. These limits
are designed to provide reasonable protection against harmful interference in
a residential installation. This equipment generates uses and can radiate
radio frequency energy and, if not installed and used in accordance with the
instructions, may cause harmful interference to radio communications.
However, there is no guarantee that interference will not occur in a particular
installation.
If this equipment does cause harmful interference to radio or television
reception, which can be determined by turning the equipment off and on, the
user is encouraged to try to correct the interference by one or more of the
following measures:
- Reorient or relocate the receiving antenna.
- Increase the separation between the equipment and receiver.
-Connect the equipment into an outlet on a circuit different from that to which
the receiver is connected.
-Consult the dealer or an experienced radio/TV technician for help.
Table of contents

