4
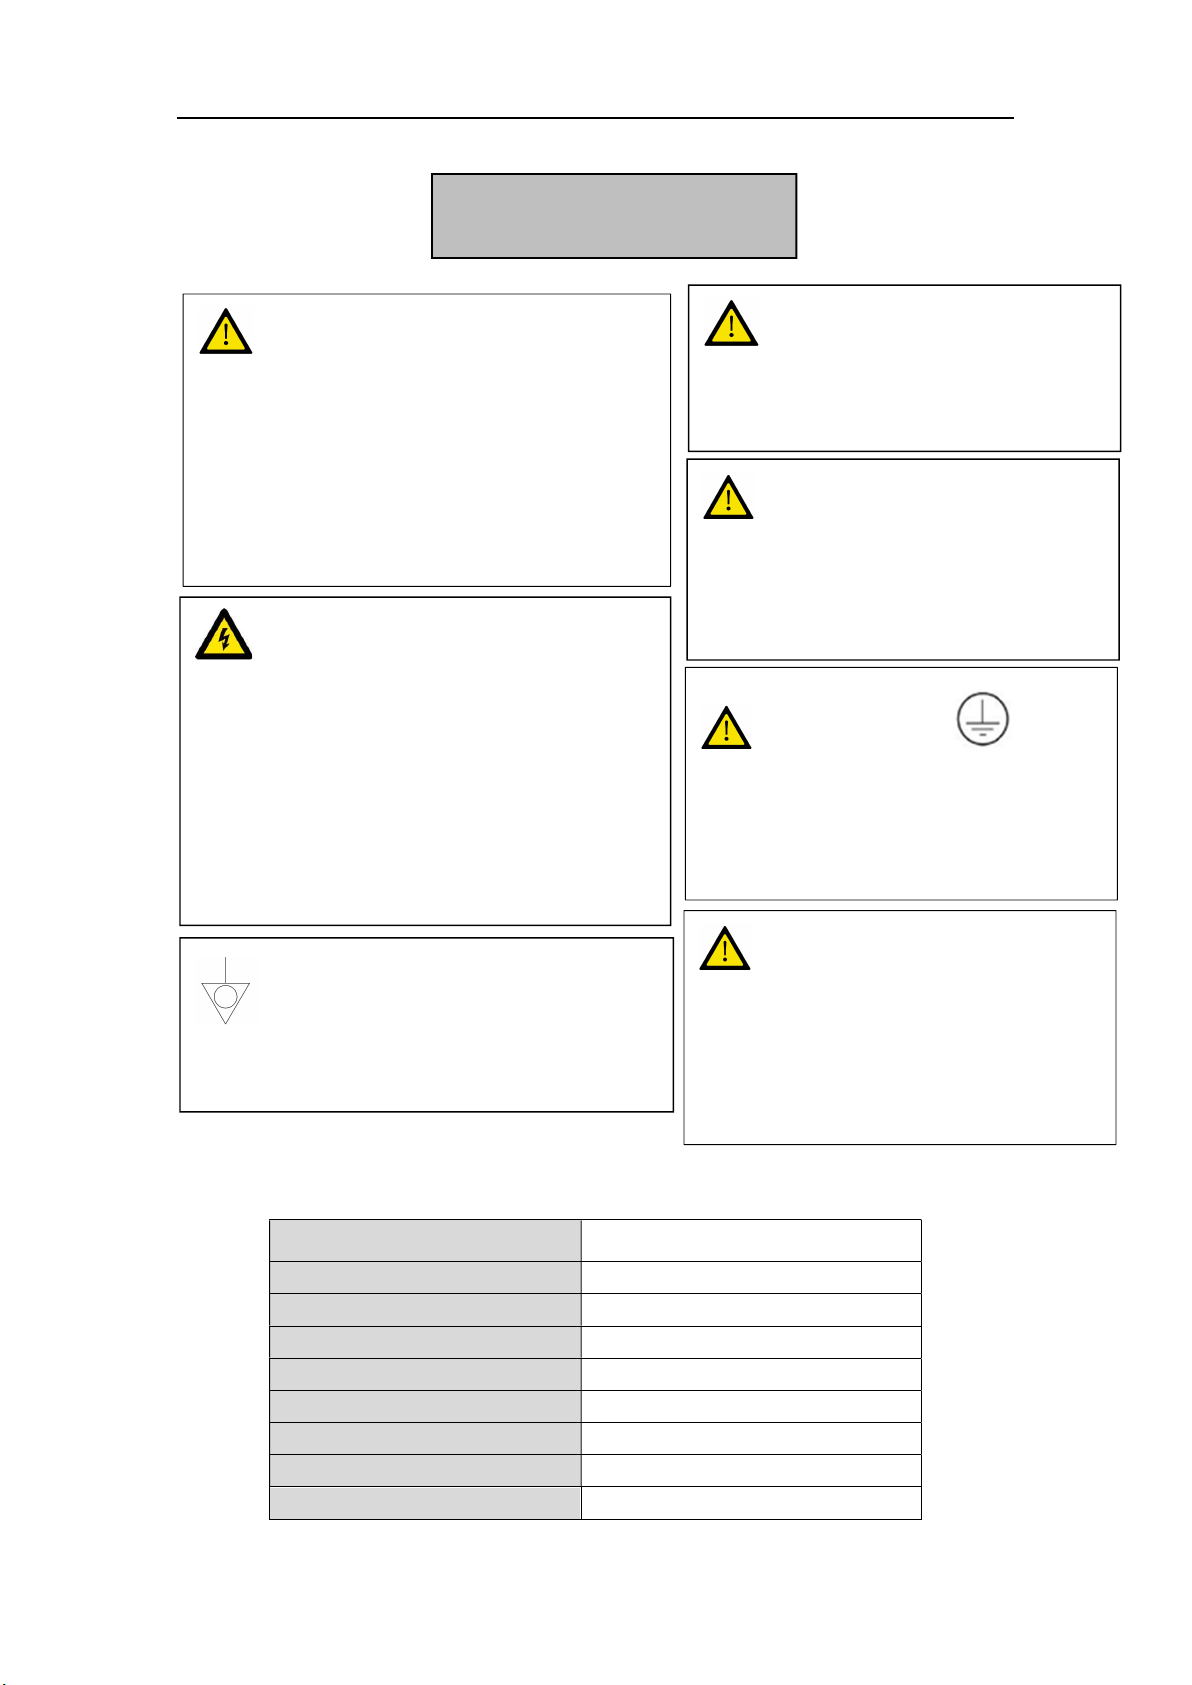
IMPORTANT SAFETY INSTRUCTIONS
1. Please read all instructions carefully before
using the equipment;
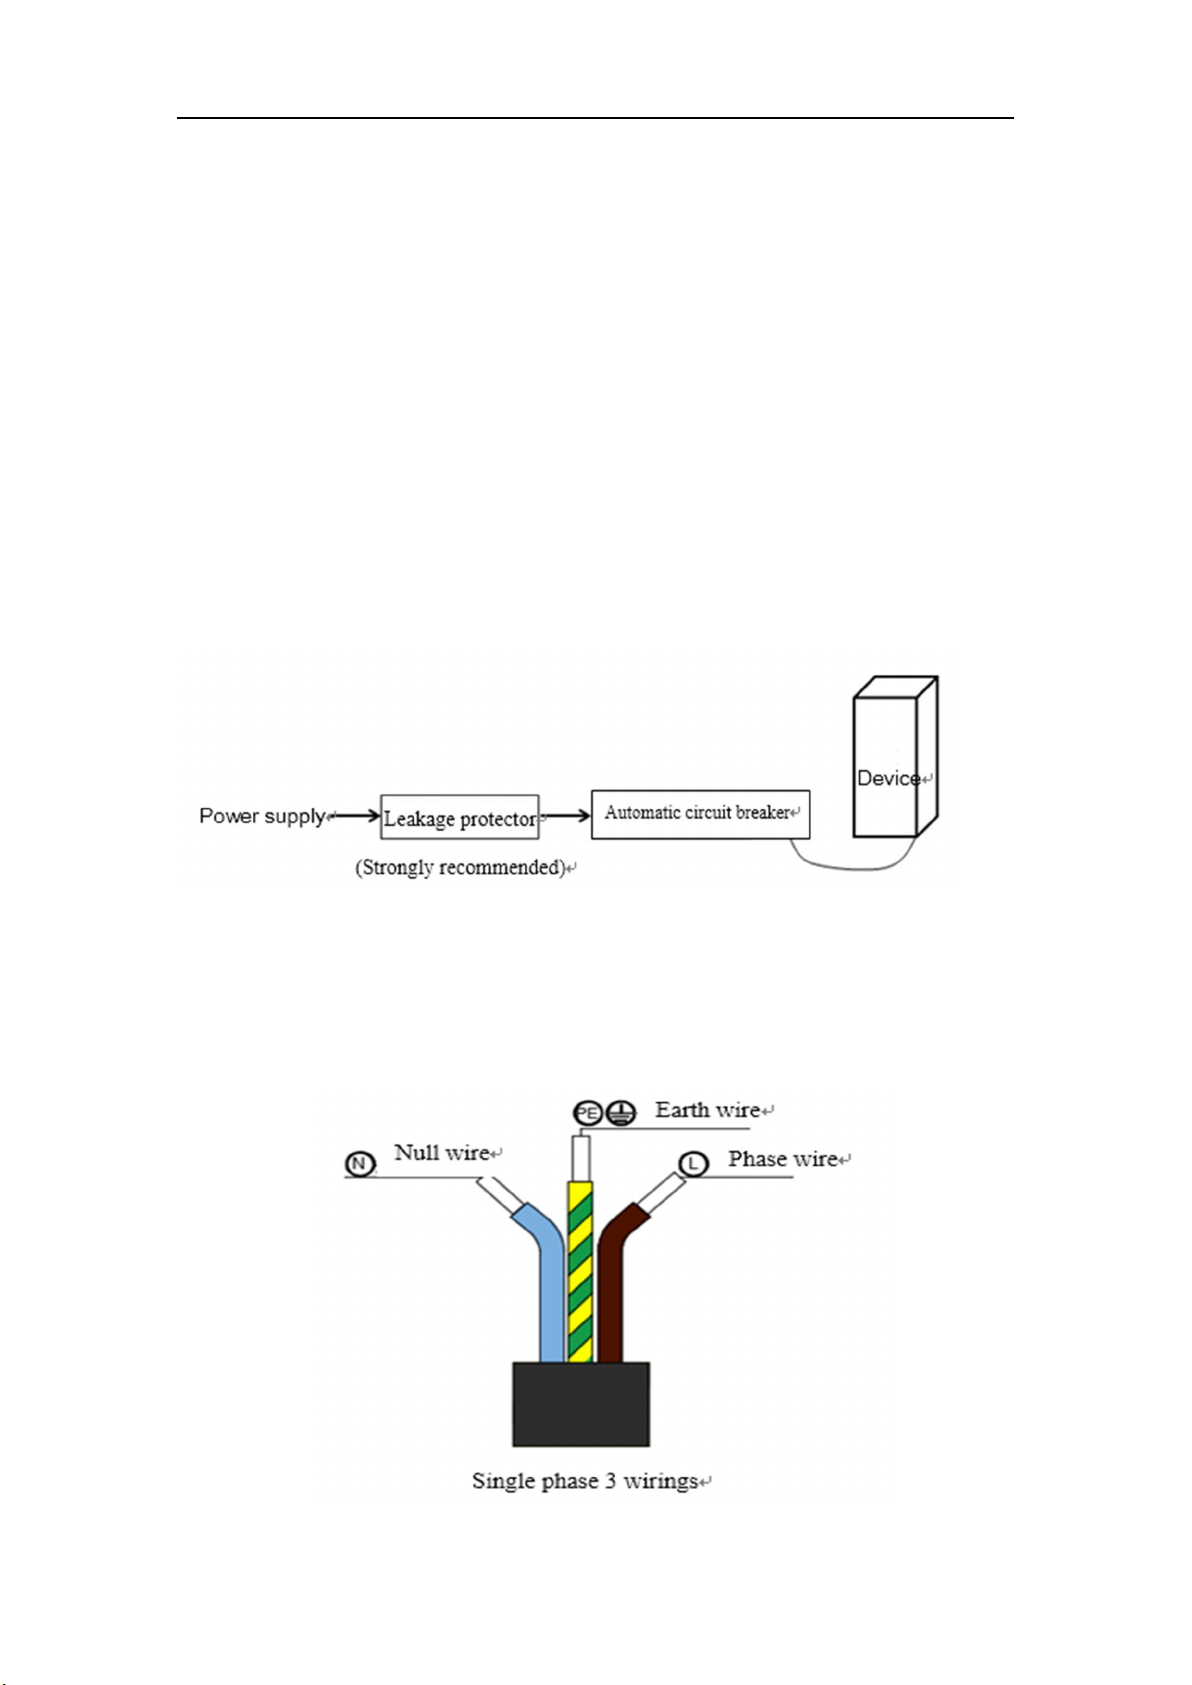
2. The equipment must be grounded, and the
grounding wire must be connected to the
corresponding grounding outlet base (see
"electrical connection");
3. Minors are not allowed to operate this
equipment;
4. Read and follow the instructions on
"prevention of high-intensity microwave
radiation";
5. Do not remove the shell;
6. Do not remove the parts installed in the oven;
7. The equipment can only be installed and
positioned according to the installation
instructions provided;
8. Only qualified personnel can maintain the
equipment. Please contact the nearest
authorized service provider to check, repair or
commission the equipment;
9. Please stop using the oven in case of the
following conditions: the power cord is damaged
/ cannot work normally / there are faults and
shutdown;
10. Do not immerse the power cord or plug in
water, and keep the power cord away from the
heat source;
11. Do not hang the power cord on the table with
sharp edges or be pressed by objects;
12. If any part of the power cord is damaged,
please replace it by a qualified technician;
13. Only microwave ovens and containers
applicable to the equipment can be used;
14. Do not use this oven for heating liquids or
other food with a closed container such as glass
bottles and eggs in order to avoid bursting.
15. DO NOT USE THIS DEVICE WITHOUT
LOADING.
16. Do not block the vents, cooling vents, filters
and steam ports;
17. Do not put the oven near water and cannot
be use the oven in wet areas;
18. Do NOT use caustic cleanser to clean this
product, it will cause permanent damage;
19. To avoid the risk of fire in the oven chamber.
Do not a) over-baked; b) store things in oven
chamber; c) before putting the paper or plastic
bags into the chamber, all metal seals need to
be removed and keep eyes on the operation;
d) If the items in oven catch fire, do not open
the door, shut down device, cut off the oven
power supply;
20. When the liquid food is heated above the
boiling point, the surface of the liquid does not
always occur boiling. The boiling bubble is rarely
been seen under normal circumstances when
removing the container from the microwave oven.
But shaking the container or putting spoon into
the liquid, the liquid will boil violently and
overflow. It is very easy to get burnt when this
happen.
21. When picking and putting hot drink, food or
containers, please pay attention to avoid burns;
22. Do not damage the control panel, door, door
seals and other parts, if the door seal is
damaged, please ask the qualified service
technician for repair;
23. Do not hang clothes or wash cloth in any part
of the oven.
24. Before heating the liquid food, stir the food to
avoid violent boiling.
25. Baby milk bottles and container of the baby
food should not be put into oven for heating;
26. Do not heat wine, such as brandy, rum or any
other foods containing alcohol to avoid
overheat and fire
27. Oven could not make fried food;
28. Untrained person should not operate the
oven without supervised;
29. CHILDREN SHOULD BE SUPERVISED to
ensure that they DO NOT play with the
WARNING
Basic safety precautions must be observed when using electrical products to reduce the following risks:
Burn, electric shock, fire, personal injury, excessive microwave radiation: