In zeroing operation,weight>2%FS
4 Basic functions
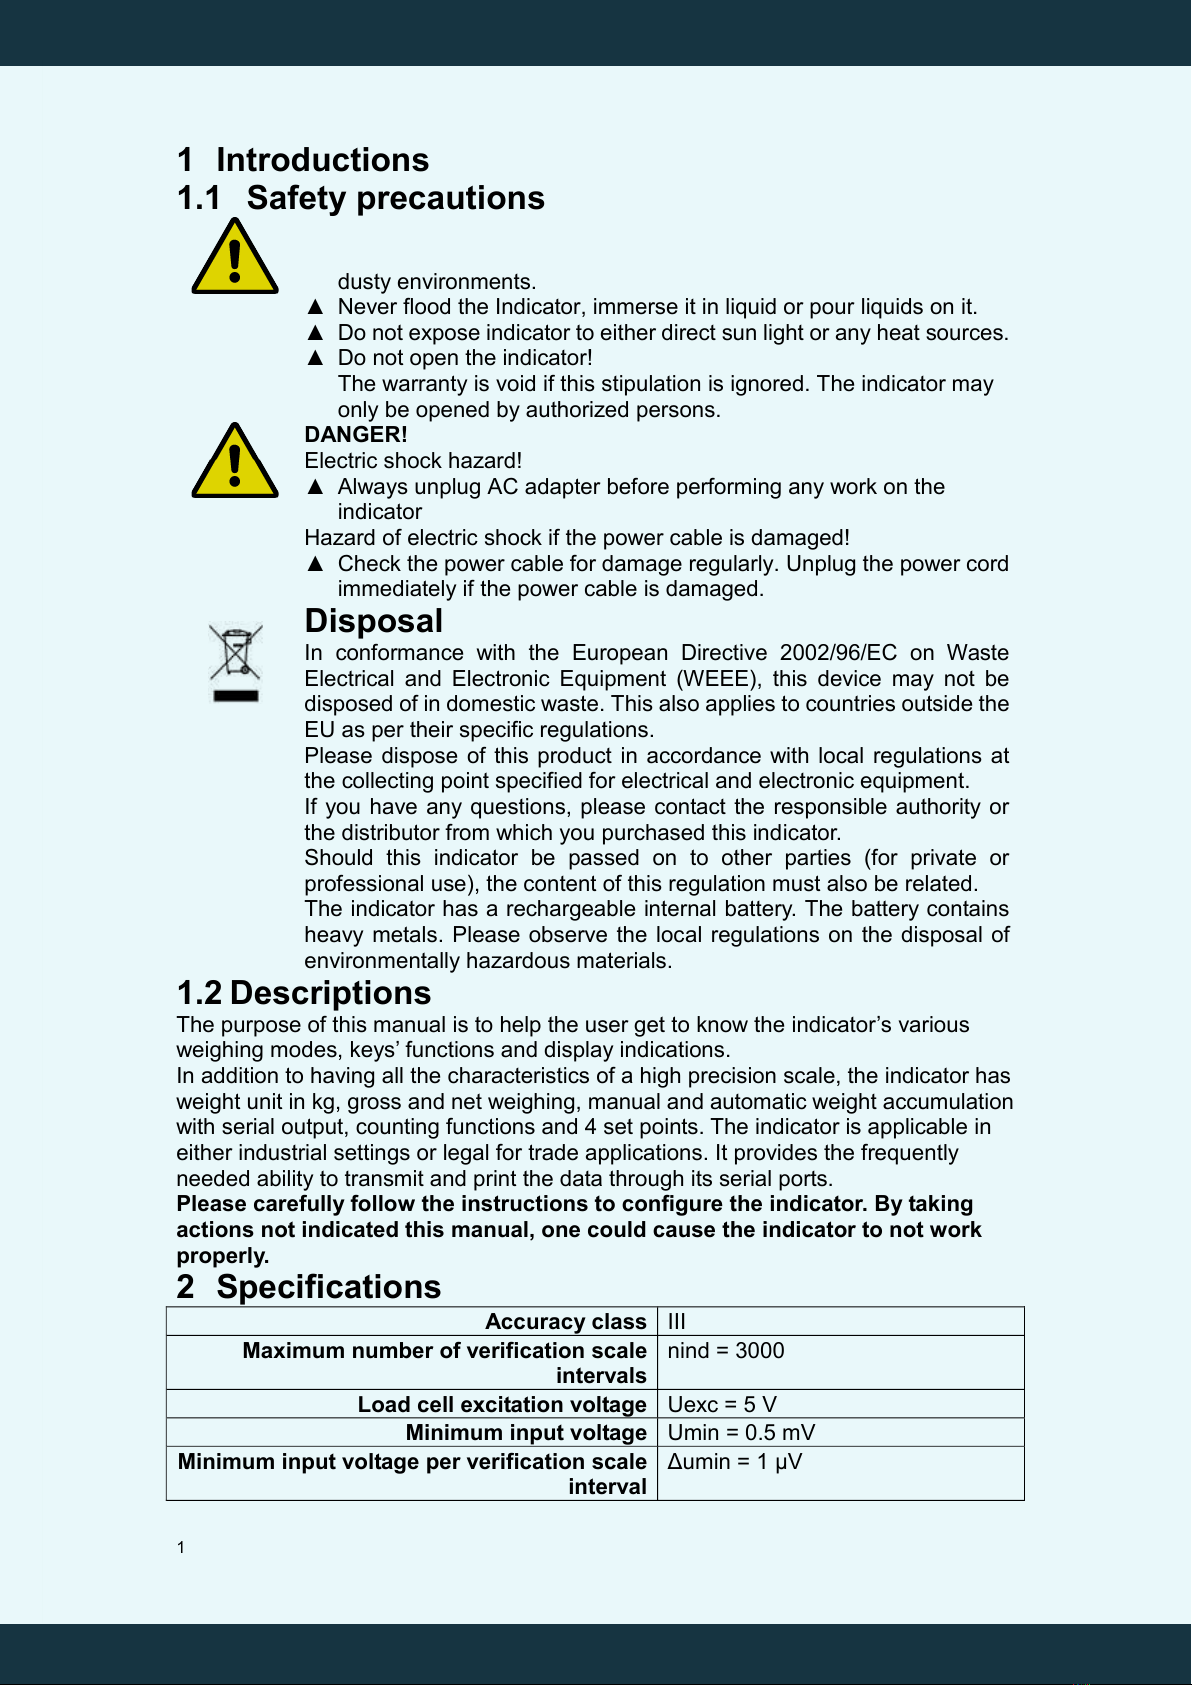
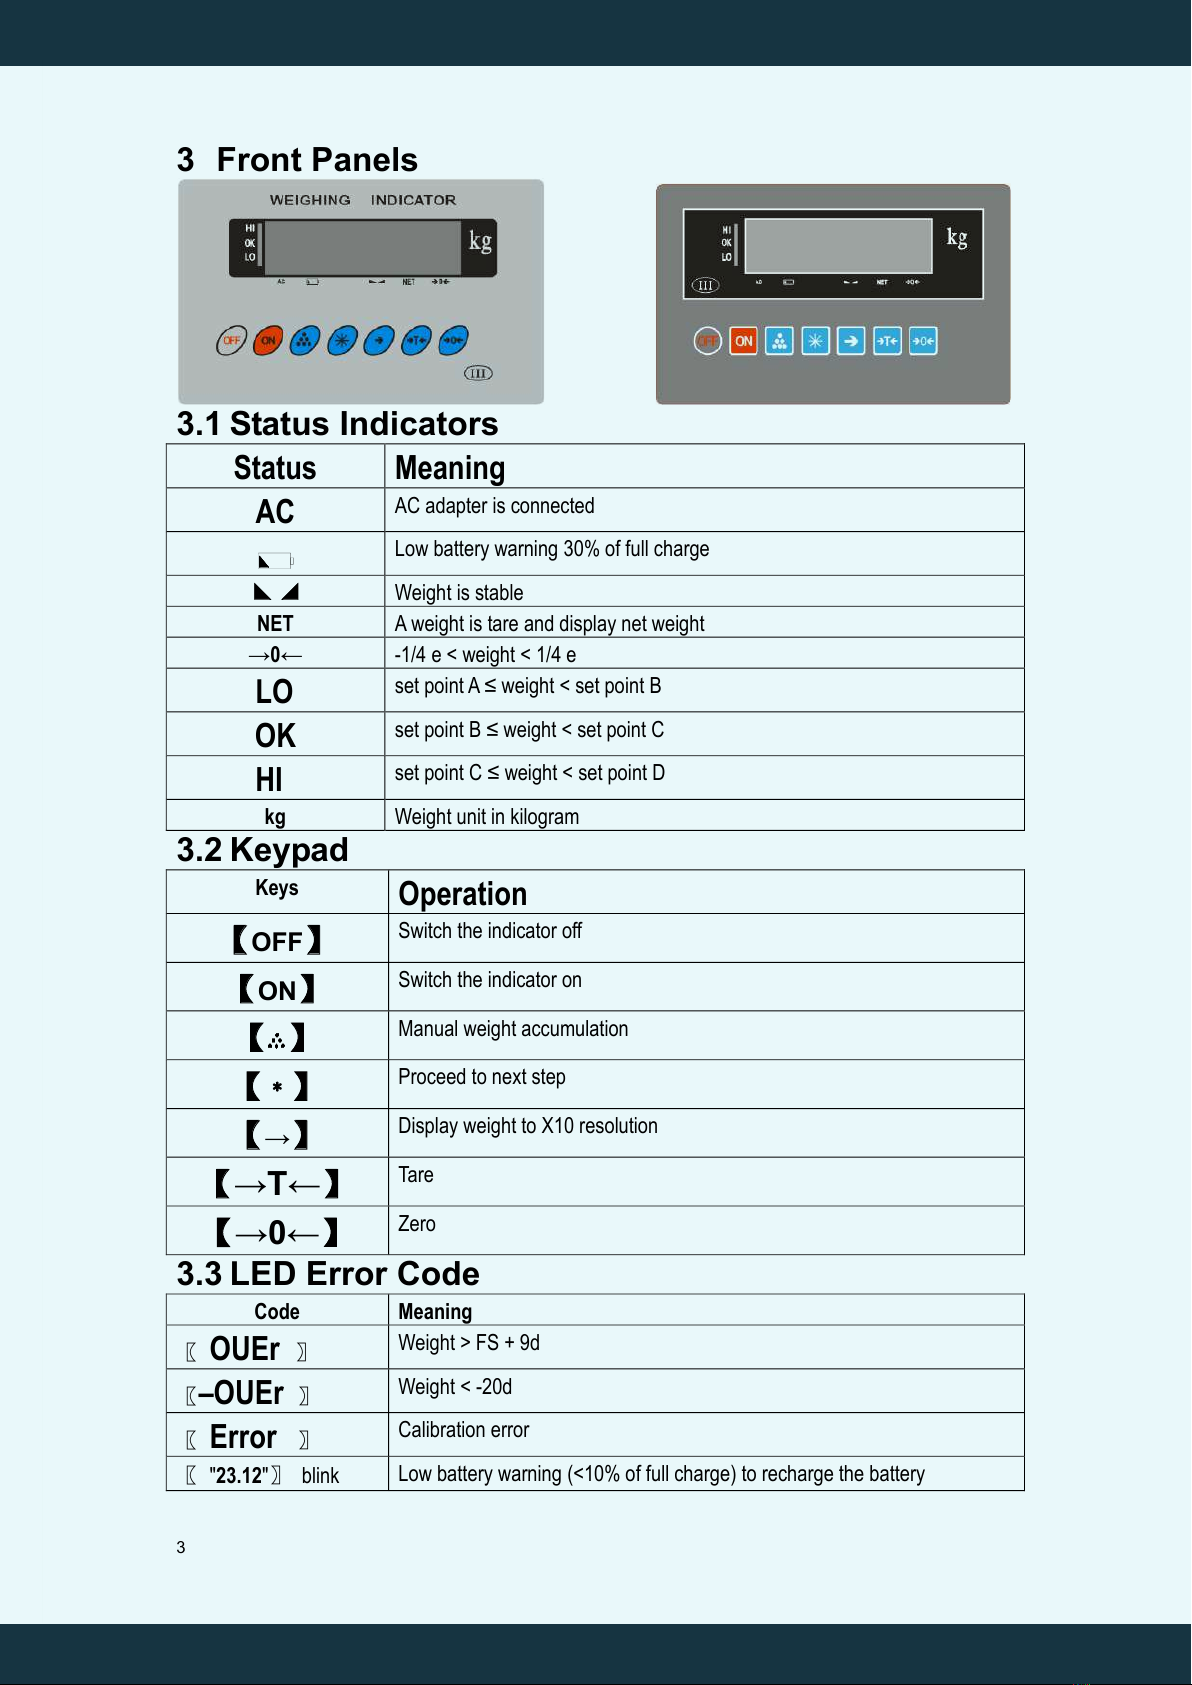
4.1 Switching on
Press 【ON】to switch on the indicator. The indicator displays the software version
and performs self-tests while displaying self-test patterns.
4.2 Switching off
Press 【OFF】to switch off the indicator.
4.3 Weight unit
The weight unit is kg.
4.4 Zero
1. The display can be zeroed only when the weight is less than 2% of FS.
2. Unload the platform.
3. Press 【→0←】 to set the zero point and zero the display.
4. The zero status →0←is turned on.
4.5 Tare
4.5.1 Acquire tare
1. Tare can be set only after the display has been zeroed. Check to make sure
zero status →0←is turned on.
2. Place the empty container on the platform.
3. Wait until the weight is stable when the stable status ◣◢ is displayed.
4. Press 【→T←】 to set tare and zero the display.
5. The tare status NET is turned on.
6. The indicator switches to in net weight mode.
4.5.2 Remove tare
1. Check that the tare status NET is displayed.
2. Press【→T←】to remove tare and switch to gross weight mode.
4.6 Simple weighing
1. Place sample on the platform.
2. Wait until the weight is stable when the stable status ◣◢ is displayed.
3. Read the weight of the sample
4.7 Low battery warning
When the battery capacity is less than 30% of full charge, the low battery warning
indicator is displayed. When the battery capacity is less than 10% of full
charge,The indictor display will blink.After another 1 hours of operation, the indictor
will power down. Connect the AC adapter to recharge the battery immediately.
5 Applications
5.1 Manual Accumulation
1. Place sample on the platform.
2. Wait until the weight is stable when the stable status ◣◢ is displayed.
3. Press 【 】 to manually accumulate the weight and transmitted to RS232 port.
4. The number of accumulation〖n XXXX〗is displayed.
5. Unload the sample so that the next sample can be accumulated.