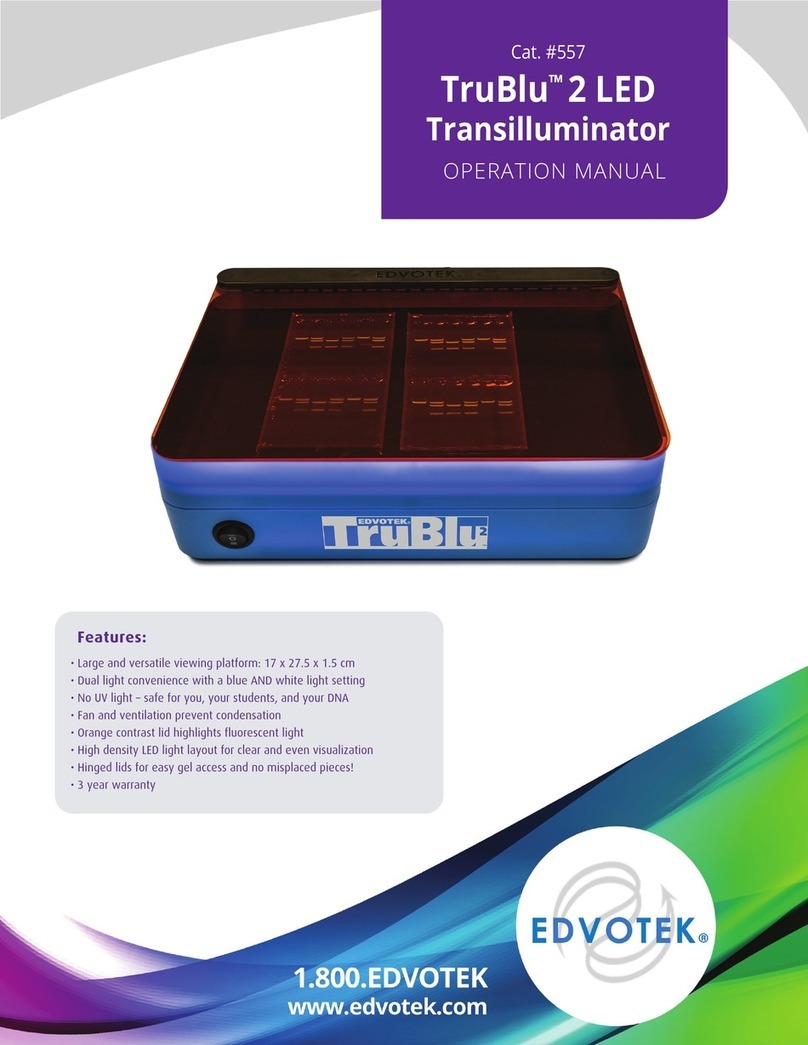
Edvotek EDGE User manual

Features:
• Integrated power supply: 100V or 150V selectable output
for results in as little as 10 min.
• Safe, high-intensity blue LED illumination: 470 nm wave-
length is optimized for SYBR® Safe and compatible with
other popular nucleic acid stains.
• Convenient 10 x 7 cm gel tray with two dual-sided
combs for up to 16 samples per gel
• Flexible gel volumes: 30-50 mL
• Built-in timer: 1-99 minutes
• Fan and ventilation system minimizes condensation
during experiments
• Convenient hinged lid contains dual automatic power
cutoswitchesforsafety
• Stainless steel and platinum electrodes are compatible
withallstandardelectrophoresisbuers
• 17 x 17 x 15 cm
Voltage
Selector Timer
Screen Increase/
Decrease
Timer
Start/Stop
Button

Visit our website at www.edvotek.com
OPERATION MANUAL EDGE™Integrated Electrophoresis System
2
Introduction:
The Edvotek® EDGE™ Integrated Electrophoresis System combines an electrophoresis apparatus, power
supply, and blue light transilluminator into a single, user-friendly unit.
Warnings:
• Useonlyappropriateelectrophoresisbuersin
thechamber.Improperbuerscanleadtodam-
age to the power supply and electrodes and can
risk electric shock to the user.
• DO NOT open the outer housing of the EDGE,
modify, or circumvent the safety features of the
unit. This product should only be disassembled or
serviced by properly trained professionals.
• While the light wavelengths emitted by this prod-
uct do not require specialized eyewear, the blue
light is high intensity. DO NOT stare at the blue
lights for a long period without the orange lid in
place.
• DO NOT submerge the outer housing of the
EDGE™ or pour liquids onto the unit.
• Wear gloves and follow all manufacturer recom-
mendations when working with DNA stains
• At all times, USE COMMON SENSE.
Each EDGE™ Includes:
(1) EDGE™ base unit with integrated 100V and 150V power
supply, hinged lid, and blue light transilluminator.
(2) EDGE™ buer tank with stainless steel and platinum
electrodes.
(3) EDGE™ accessories: 10 x 7 cm gel tray, two dual-sided
combs (6- and 8-well) and two casting endcaps.
The EDGE™ has been designed for safety and convenience. A
hingedlidanddualsafetycutoswitcheshelptopreventim-
proper use and minimize the risk of electric shock. The blue
light transilluminator allows users to monitor DNA migration
throughout the experiment using SYBR® Safe or similar
stains, without the hazards associated with UV light.
(1)
(2)
(3)
A built-in power supply allows users to select between 100V and 150V, producing results in as little as 10 minutes.
Theintegratedtimercanbesetbetween1and99minutestoautomaticallyturnothepower.Gelscanbecast
with one or two combs, providing up to 16 wells in a single run.
User Maintenance:
Before cleaning your unit, ALWAYS disconnect the
cord to prevent electric shock. The EDGE™ base can
be cleaned by wiping with a lightly damp, soapy cloth.
Care should be exercised to prevent water from
running inside the unit. Do not use abrasive cleaners
orstrongsolvents.Thebuerchamber,tray,combs,
and endcaps can be fully submerged to clean with mild
detergent if necessary. Avoid direct contact with the
positive and negative electrodes. Dry everything fully
before storage.
In the unlikely event that you experience any problems
with your unit that cannot easily be remedied, please
contact EDVOTEK® to explain the problem and obtain a
Return Goods Authorization #. After obtaining the RGA
#, return the unit if necessary and include any details of
the fault observed. Remember to return the unit in its
original packing. EDVOTEK® accepts no responsibility
for damage to units that are not properly packed for
shipping.

OPERATION MANUAL EDGE™Integrated Electrophoresis System
3
Instructions:
CASTING AN AGAROSE GEL
Note: Always follow the instructions for your experiment to determine the concentration of agarose required for your
specic samples.
1. PREPAREtheagarosegelsolutionbycombiningagarosepowderandelectrophoresisbueraccordingtothe
recipe in your protocol and microwaving until fully dissolved. The EDGE™ is optimized for 30-50 mL gels.
2. COOL the agarose solution to 60 °C with careful swirling to promote even dissipation of heat.
3. While the agarose is cooling, SEAL the ends of the gel-casting tray with the rubber end caps. PLACE the com-
b(s) into the appropriate notch.
4. Follow the instructions provided with your experiment to ADD SYBR® Safe stain to the cooled agarose solu-
tion. Note: For general experiments we recommend a 1:10,000 to 1:20,000 dilution of SYBR® Safe.
5. POURtheagarosesolutionintothegel-castingtrayandwaituntilthegelhassolidied.Mostgelswillbe
ready to use within 15 minutes.
6. REMOVE the end caps and comb from the tray. Take care when removing the comb to prevent damage to the
wells. The gel is now ready to use.
RUNNING AN AGAROSE GEL IN THE EDGE™
1. PLACEthegel(onthetray)intotheelectrophoresischamberandensurethechamberisplacedrmlyintothe
EDGE™base.Thechambershouldsitrmlyontothebasewithbothelectrodestouchingthemetalcontacts
onthebase.TheelectrophoresischambershouldsitushagainstthebottomoftheEDGE™baseunit.
2. COVERthegelwith1xelectrophoresisbuer,beingcarefultonotoverllthechamber.Forbestresultsthe
buershouldbeapproximately0.5cmabovethesurfaceofthegel.Ensurethatthegeltrayisalignedinthe
center of the chamber.
3. LOAD the DNA samples into the wells according to the experiment protocol.
4. LOWER the orange safety lid and check that is it tightly closed.
5. Using the arrow buttons, ADJUST the timer to reach the desired value. For most experiments we recommend
not exceeding 30 minutes before checking on the progress of your samples.
6. SELECT the desired voltage, 100V or 150V using the voltage selector buttons. An orange LED will indicate
which voltage has been selected.
7. PRESS the START/STOP button to begin the run. Bubbles will form near the electrodes. The power will not
turn on if:
• The cover is not correctly placed on the base
• The electrodes in the chamber are not making contact with the EDGE™ base
• Thebuerinthechamberisincorrectorthebuervolumeistoolow.
8. At any time during the experiment, PRESS the ON/OFF paddle at the base of the EDGE™ to illuminate the gel
using the blue LEDS.
9. After electrophoresis is complete, PRESS the START/STOP button to stop the current, document the results of
theexperiment,andthenopenthelidtodisposeofthegelandelectrophoresisbuer.
DOCUMENTING YOUR RESULTS
At any point during or after the experiment has completed, the results can be documented by using a camera
or smartphone to take an image through the orange safety lid. Dimming the lights in the room can increase the
visibility of DNA if needed.

Visit our website at www.edvotek.com
OPERATION MANUAL EDGE™Integrated Electrophoresis System
4
Specifications:
• LED Wavelength: 470 nm +/- 10 nM
• LED Life: 50,000 hours
• Input voltage: 100-240V AC, 50/60 hz
• Output voltage: Selectable at 100V or 150V DC
• Dimensions: 17 cm (w) x 17 cm (l) x 15 cm (h)
• Operating conditions: 4 °C to 37 °C,
75% maximum humidity
Guarantee:
The unit is guaranteed against any defect in material or
workmanship for three years. The warranty period is from
the date of receipt, and within this period all defective
parts will be replaced free of charge provided that the
defect is not the result of misuse, accident or negligence.
Servicing under this guarantee should be obtained from
EDVOTEK®.
Notwithstanding,thedescriptionandspecication(s)ofthe
units contained in the User’s Manual, EDVOTEK® hereby
reservestherighttomakesuchchangesasitseesttothe
units or to any component of the units. This Manual has
been prepared solely for the convenience of EDVOTEK®
customers and nothing in this Instruction Book shall be
taken as a warranty, condition or representation concern-
ingthedescription,merchantability,tnessforpurposeor
otherwise of the units or components.
Contact Information:
For technical, sales or servicing information, contact:
EDVOTEK, Inc.,
1121 5th Street NW
Washington, DC 20001
1.800.EDVOTEK (1.800.338.6835)
Fax: 202.370.1501
Troubleshooting:
The EDGE™ does not power on:
• Check that the power cord is fully plugged into the
EDGE™ base and that the cord and outlet are func-
tional.
• Conrmthatthepowerswitchontherearofthe
EDGE™ base is turned on.
• Inspect the fuse and replace if needed. The fuse is
located directly under the power plug on the rear of
the EDGE.
The START/STOP indicator LED does not stay lit and/or
the experiment does not run:
• Ensure that the lid is fully closed.
• Pressrmlyontheelectrophoresistanktoensure
thatitisrmlyseatedandthatbothelectrodesare
making contact with the base.
• Checkthatthecorrectbuerhasbeenusedandthat
thegelisfullysubmergedinbuer.
• Ensure that the timer has not reached zero. Increase
the remaining time and try running the experiment
again.
The gel tray will not t into the chamber:
• Thetrayisdesignedtotonlyoneway.Rotatethe
tray180˚andtryagain.
• TheEDGE™usescustom10x7cmtraysthatdier
from existing Edvotek electrophoresis accessories.
Please ensure that you are using the proper electro-
phoresis trays.
No DNA bands are present on the gel:
• Check that the blue light is turned on by pressing the
paddle switch
• Ensure that SYBR® Safe, or comparable blue
light-compatible, DNA stain was added to the gel.
Consider a post-electrophoresis stain like EDVOTEK®
FlashBlue™ stain.
• Verify that the gel has run properly. This can often be
conrmedbythemigrationofaloadingdyeincluded
in the experimental samples.
The gel has run crooked, or the DNA samples are at an
angle:
• Ensure that the gel tray is aligned properly in the
buerchamber.Thetrayshouldsitushagainstthe
bottom of the chamber and against one wall of the
chamber to ensure it is straight.
• Check that the electrodes are intact and that there is
no visible corrosion on either electrode.
Power Switch
Fuse
Other Edvotek Science Education Product manuals
Popular Science Education Product manuals by other brands
laerdal
laerdal Resusci Anne QCPR Important product information
SNAP CIRCUITS
SNAP CIRCUITS Green Energy Lab manual
3B SCIENTIFIC
3B SCIENTIFIC 1009934 instruction manual
Reality Works
Reality Works Sheep Model quick start guide
Reality Works
Reality Works Hearing Impairment Simulator quick start guide
Life form
Life form Venatech IV LF01162U instruction manual
