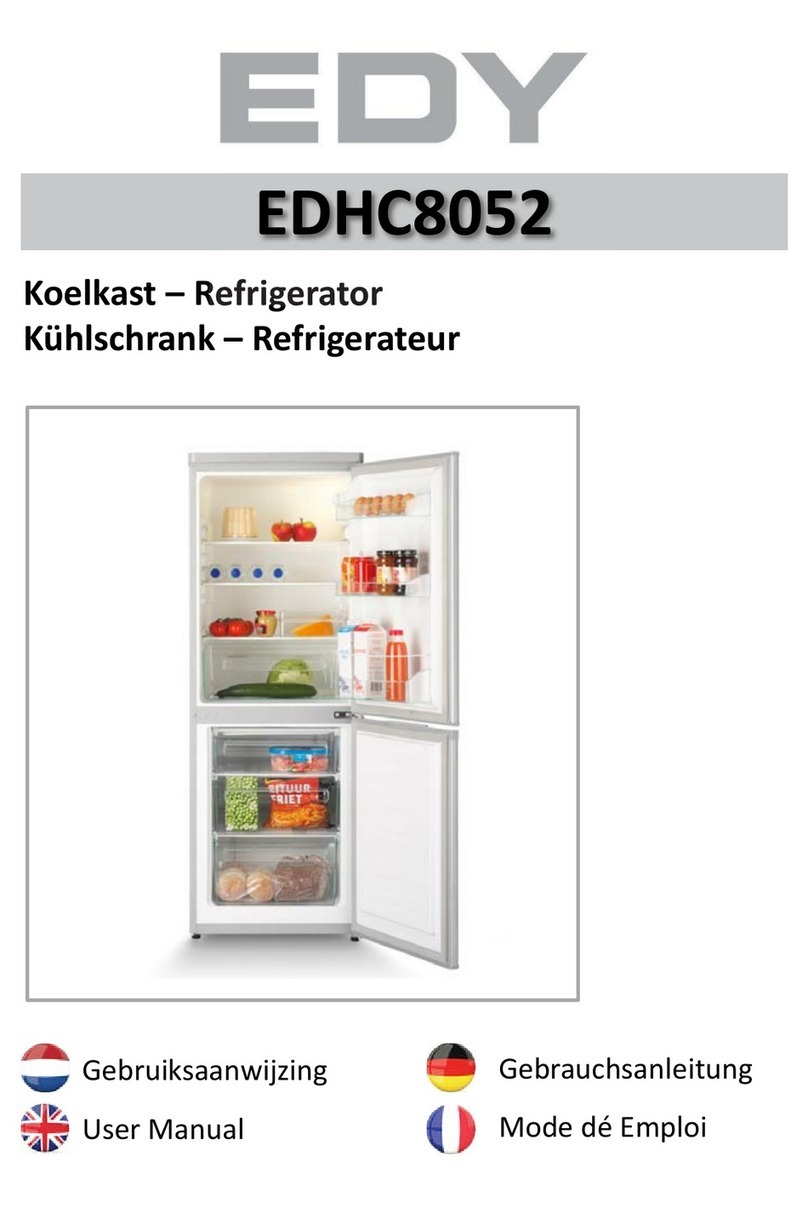
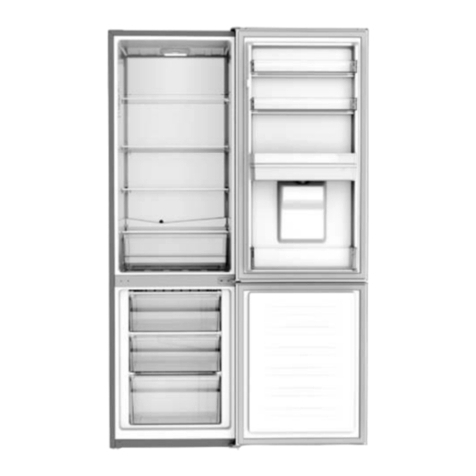
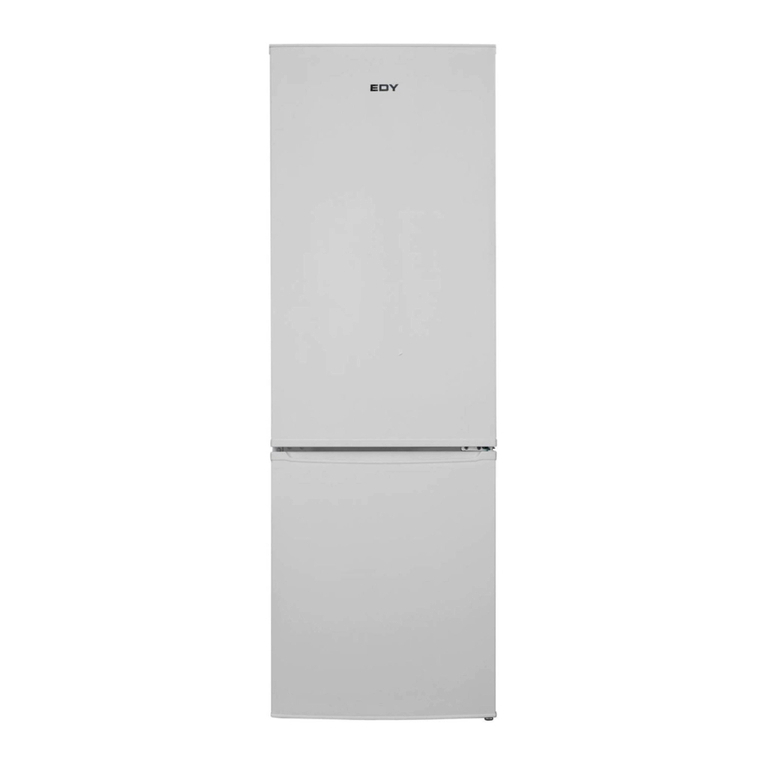
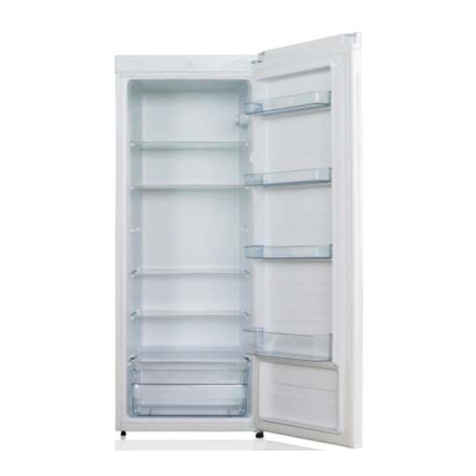
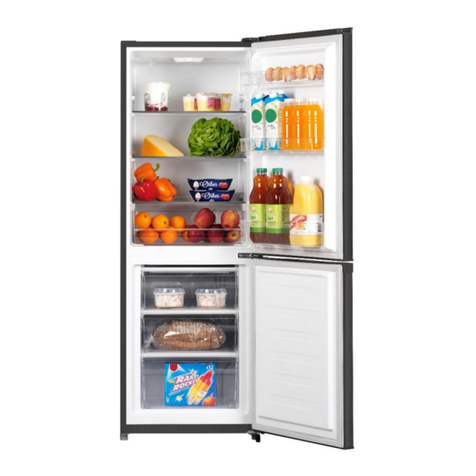
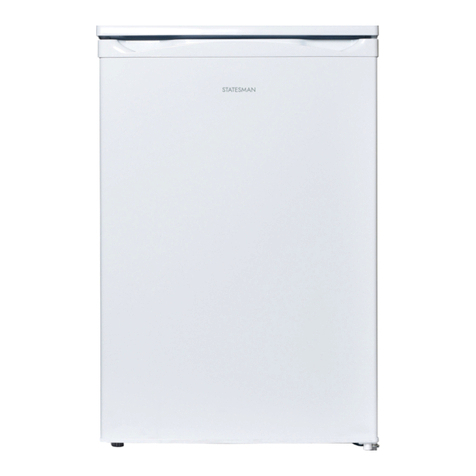
EDY EDHC8050 User manual

Koelkast –Refrigerator
Kühlschrank –Refrigerateur
Gebruiksaanwijzing
User Manual
Gebrauchsanleitung
Mode dé Emploi
EDHC8050

1
Note: Due to unceasing modification of our products your refrigerator may be slightly
different from this Instruction Manual, but its functions and using methods
remain the same.
Adjustable shelves
Crisper drawer cover part
Crisper drawer
Drawers
Adjustable legs
Bottle storage
Middle shelf for upper doors

2
REFRIGERATOR CHAMBER
Refrigerator chamber is used to store foods which needn t freezing.
According to their area, temperature are different, temperature at the upper area of crisper
drawer is the lowest . So, different area is suited for storing different foods. Reference to
illustration.
Area 1: Suitable for storing butter, cheese, egg etc.
Area 2: Suitable for storing eggs.
Area 3: Suitable for storing bottled drinks, tinned foods.
Area 4: Suitable for storing candied fruit, tin and so on.
Area 5: Suitable for storing cakes, cooked food, milk products.
Area 6: Suitable for storing meat, sausage etc.
Area 7: Suitable for storing fruits, vegetables, salad and so on.
Area 8: (belong to freezer) For freezing and storing freezed foods.
Area 9: Water draining hole: Not permitted to store article.
SHELF IN REFRIGERATOR CHAMBER
Shelf & cover of crisper drawer are transparent plastic plate.
(Including upper & lower two pieces). They can be taken out and cleaned.
,
4
5
6
7
8
3
9
1
2

3
THERMOSTAT
Lampshade
To control the temperature of freezer compartment and refrigerator compartment, is on
the top of refrigerator compartment
Temperature knob.
To adjust the temperature of refrigerator. Different figure shows different temperature. At the
same room temperature, the bigger of the figure on the knob the lower relative temperature of
the compartment, on the contrary, the smaller of the figure on the knob the higher relative
temperature it has,"0" means stop working, the user may regulate the location of the knob to
control the temperature of the fridge by need.
Note:
Temperature knob should be turned"4"~"6”in winter; temperature knob should be turned to
"1"~"2" in summer, if the refrigerator temperature still a little higher, you may turn to a larger
figure point.
Usually it can be turned to "4".
When first using this refrigerator you must pay attention to the place of the knob.
Lamp
When change bulb,
1.shut off the power
2.press the bulb in the center with finger
3.take out the lampshade with the other finger, change the bulb, and then
replace the lampshade.
Bulb (inside) Thermostat knob
Bulb parameter:220V-240V, 10W

Reversing the door
The side at which the door opens can be changed from the right side (as supplied ) to the left
side, if the installation site requires.
Before you start lay the refrigerator on it's back in order to gain access to the base, you should
rest it on soft foam packaging or similar material to avoid damaging the cooling piper at the rear
of the refrigerator.
1. Remove the top hinge cover and remove the top hinge bracket by unscrewing the three retaining
nuts. Lift the upper door and place it on a padded surface to prevent it scratched.
2. Remove the two flange screw, then remove the middle hinge that hold the lower door in place.
Lift the lower door and place it on a padded surface to prevent scratching it.
6Warnings!!!
Reversing the door
4

3. Remove the hinge hole cover from the right holes as illustrated and transfer them to the uncover
hole at the left side.
4. Remove both adjustable feet and remove the bottom hinge bracket by unscrewing the bolts.
5. Replace both adjustable feet. Transfer the lower door to the property position. Secure the door's
level, make the bottom hinge pin into the lower hole of the door, then tight the bolts.
5

6. Make the middle hinge reverse the direction 180 degree, then transfer it to the left property posit-
ion. Make the middle hinge pin in the upper hole of the lower door, then tight the bolts. Transfer the
upper door to the property position. Secure the door's level; Make the middle hinge pin into the lo-
wer hole of the upper door.
7. Transfer the top hinge to the left property position. Make the top hinge pin into the upper hole of
the upper door, then tight the bolts, tight the screws to secure the door and replace the top hinge cover.
Warning!
When changing the side at which the door opens, the appliance must not be connected to the
mains. Remove plug from the mains beforehand.
6

+ 10%
-
consumption and durability to your fridge, be sure to pay
For the purpose of safety, reliance, low power
close attention to the followings.
Well Ventilating
Power Line Cord
Power Supply
There is need of good ventilation around
the fridge for easy dissipation of heat, high
efficiency of refrigeration and low power
consumption.For this purpose,sufficient clear
space should be needed around the fridge,its
back is at least 75mm away from the wall,
its sides at least have a space of 100mm
separately and the height from over its top is
not less than 100mm. A clear space should
be left to open its doors to 160 .
The cord should be neither lengthened
nor folded into coil during operation. Moreov-
er, it is forbidden that the cord is keept close
onto the compressor at the back of the fridge,
the surface temperature of which is quite
high when operating. Touching with it may
melt the insulation and cause electrical
leakage.
The fridge is only applied with power
supply of single phase alternating current of
220 - 240V ~ . 50Hz. If fluctuation of voltage
In the district of user is so large that
the voltage exceeds the above scope, for
safety sake, be sure to apply A.C. Automatic
voltage regulator of more than 350W to the
fridge.The fridge must employ a special power
socket instead of common one with other
electric appliances.
Its plug must match the socket with
ground wire.
220V
7

Protection from Moisture
Fixing Stably
Protection from Heat
Avoiding placing the fridge in a place
where heavy moisture is present so as to
minimise possibility of rusty for its metal
parts. Still more, the fridge is forbidden to be
directly sprayed by water, otherwise,it would
cause poor insulation and current leakage
may occur.
Floor on which fridge will be placed must
be flat and solid. It should not be laid on any
soft material such as foam plastic, etc If the
fridge is not on the same level, adjust the
screws suitably. The fridge should not be
placed near anything which may echo.
The fridge should be far away from any
heat source or direct sunshine.
8

。
45
Keep Away from Danger
Moving
Beginning of Operation
It is inadvisable that the fridge is placed
near any volatilizables or combustibles such
as gas, petrol, alcohol, lacquer and banana
oil, etc. The above-mentioned objects can not
be stored in the refrigerator.
When fixed or moved, the fridge can not
be set horizontally or declined to less than
o
45 or upside-down.
After the fridge has been placed in posi-
tion, wait for 5 minutes before electricity is
supplied. Don't store anything until the
temperature inside the fridge becomes low
enough.
9

Defrost
1. The frost too thick in the freezer compartment will have an influence on the effect
of the cooling performance, so, if the frost thickness more than 5mm please defrost
timely, before defrost pull out the plug firstly, then get out all the food from the re-
frigerator, open the door till all the frost and ice melted, then wipe off the water with
smooth dry cloth.
2. The defrost in the refrigerator compartment is a automatic cycle by compressor on and
off, no need to operate by man, the defrost water flow to the compressor base to eva-
porate through the drainage pipe behind the wall of the refrigerator compartment. The
drainage pipe must be installed firmly to avoid the water drips to the compressor
electrical box and the floor.
Notice: It is prohibited to use sharp tools to scrape the frost or use hot water or hair
drier blow the cabinet wall directly to accelerate defrost, as to avoid to da-
mage the cabinet wall.
Insufficient refrigeration
There are too much foods in the refrigerator
and block the airflow.
The refrigerator doors do not close properly.
Refrigeration leakage occurs due to the door
gasket broken or bends.
Bad ventilation is around the refrigerator.
Too much hot foods are placed in refrigerator.
There are no spaces around the refrigerator.
The refrigerator is placed under the direct sunshine
or near heating source.
10

CE notice:
This product has been determined to be in compliance with the Low Voltage Directive(2006/95/EC),
the Electromagnetic Compatibility Directive(2004/108/EC) and the Eco-Design Directive(2009/125/EC)
implemented by Regulation(EC) No 643/2009 of the European Union.
Do not store explosive substances such as aerosol cans with a flammable propellant in this appliance.
This appliance is intended to be used in household and similar applications such as
-staff kitchen areas in shops, offices and other working environments;
-farm houses and by clients in hotels, motels and other residential type environments;
-bed and breakfast type environments;
Keep burning candles,lamps and other items with naked flames away from the appliance so that do
not set the appliance on fire.

WARRANTY
You have 2 years warranty on technical defects after purchase
Not included in warranty :
Other than normal domestic use (this appliance is for normal domestic use only).
Causes not being related directly to the appliance such as;
Damage occurring during transport or because of wrong usage such as dents,
scratches, broken parts.
Installation errors (such as wrong voltage).
Malfunctioning because of improper usage, dust/fluff in and on the appliance,
amongst others blocking of air circulation, as well as breaking of plastics, rubber, glass
which other than by normal use has gone defect, such to be judged by the service man
and or importer.
You have 2 year warranty on technical defects on the appliance after date of purchase,
warranty is only valid if a valid notice of purchase/invoice can be shown.
Warranty rights are not transferable.
If appliance is offered for servicing it needs to be clean, otherwise service can be refused.
Servicenumber for the Netherlands: 0900-0404040
Servicenumber for Belgium: 0032-(0)38080919


IDENTIFICATION DES PIÈCES ET LEUR FONCTIONNEMENT
Note : En raison de la modification incessante de nos produits, votre réfrigérateur
peut être légèrement différent de celui indiqué dans le Manuel d’Utilisation, mais ses
fonctions et ses méthodes d'utilisation restent les mêmes.
1

COMPARTIEMENT RÉFRIGÉRATEUR
,
Le compartiment réfrigérateur est utilisé pour stocker les aliments qui n'ont pas besoin d’être
congelés.
Selon leur espace, les températures varient, la température de l’espace supérieur d'un bac à
légumes est la plus basse. Ainsi, les différents areas sont adaptés au stockage de différents
aliments. Référence de l'illustration.
Secteur 1 : Pour le stockage du beurre, du fromage,
des œufs etc.
Secteur 2 : Adapté pour le stockage des œufs.
Secteur 3 : Adapté pour le stockage des boissons, de
nourriture en conserve.
Secteur 4 : Adapté pour le stockage de fruits confits,
boîtes etc.
Secteur 5 : Adapté pour le stockage des gâteaux, des aliments cuits, des produits laitiers.
Secteur 6 : Adapté pour le stockage de la viande, des saucisses etc.
Secteur 7 : Adapté pour le stockage des fruits, des légumes, de la salade etc.
Secteur 8 : (fait partie du congélateur) Pour la congélation et le stockage d’aliments
congelés.
Secteur 9 : Orifice d’écoulement de l'eau : Stockage d’articles interdit.
CLAYETTES DU COMPARTIMENT RÉFRIGÉRATEUR
Les clayettes et le couvercle du bac à légumes sont composés de plaques en plastique
transparent.
(Incluant deux éléments supérieur et inférieur). Ils peuvent être retirés et nettoyés.
2

3

Inversion de la porte
Inversion de la porte
Si le lieu d’installation le nécessite, le sens de l’ouverture de la porte peut être modifié du côté droit
(d’origine) au côté gauche.
Avant de commencer, couchez le réfrigérateur sur sa face arrière afin de pouvoir accéder au
soubassement, il est conseillé de le poser sur un emballage alvéolé ou un autre matériau similaire
pour éviter d’endommager les conduits de refroidissement situés à l’arrière du réfrigérateur.
1. Enlevez le couvercle supérieur de la charnière et enlevez le crochet de la charnière supérieure en
dévissant les trois écrous de retenue. Soulevez la porte du haut et placez-la sur une surface
rembourrée pour éviter les griffes.
2. Enlevez les deux vis de bride, ôtez ensuite la charnière du milieu qui maintient la porte du bas en
place. Soulevez la porte du bas et placez-la sur une surface rembourrée pour éviter les griffes.
4

3. Enlevez la coiffe des trous de la charnière de gauche comme illustré ci-dessous et déplacez-la sur
les trous du côté droit.
4. Enlevez les deux pieds réglables et ôtez le support de fixation de la charnière du fond en dévissant
les boulons.
5. Replacez les deux pieds réglables. Déplacez la porte du bas dans la position prévue. Réglez le
niveau de la porte, insérez le goujon de la charnière du fond dans le trou inférieur de la porte, serrez
ensuite les boulons.
5

6. Faites pivoter la charnière centrale de 180 degrés, déplacez-la ensuite vers la gauche dans la
position prévue. Mettez le goujon de la charnière centrale dans le trou supérieur de la porte du bas,
serrez ensuite les boulons. Déplacez la porte du haut dans la position prévue. Réglez le niveau de la
porte, insérez le goujon de la charnière centrale dans le trou inférieur de la porte du haut.
7. Transférer la charnière supérieure dans la position gauche prévue. Mettez le goujon de la charnière
supérieure dans le trou supérieur de la porte du haut, serrez ensuite les boulons et les vis pour fixer la
porte et replacez le couvercle supérieur de la charnière
Avertissement !
Lorsque vous changez le sens d’ouverture de la porte, l’appareil ne peut être branché sur
l’alimentation. Enlevez la fiche de l’alimentation au préalable.
6
Table of contents
Languages:
Other EDY Refrigerator manuals
