EG-Solar MALI - Light User manual

MALI - Light ® Instructional: Rechargeable Batteries © Solar System LED 10.2
Solar System LED 10.05.02.2013
Lifespan
The lifespan of a rechargeable battery depends on
•Charging Cycles
•Charging Current
•Charging Time
In order to save a long life of the batteries, it is necessary to
avoid too frequent charging.
Charging should take place only if the voltage of the battery
has reached its lower limit.
To achieve this, a control system is installed in the Solar
System LED 10.2, to prevent that both,
loading with too high currents occur,
Charge current is limited by the max.
output current of the solar module
(420mA) and also by a fuse which
automatically interrupts charging
with too high current. The integrated
control system avoids too frequent
charging. The lower limit voltage is
indicated by ared warning LED.
too frequent loading.
Use of the lamp after this cut off is not possible. Charge bat-
tery after cut off. The green LED indicates (only when the
switch is in position "•"), that the lamp is ready to use.
If the lamp isn´t used for some time (storage), it is possible
that the lamp cannot be turned on. This is due to a self-
discharge of the battery and in consequence automatic cut off
of the circuit. Then charge the battery as described.
Please note that the rechargeable batteries have a self-
discharge of more than 10% per month, especially in ex-
treme temperatures.
At the end of the charging by the solar panel (after about 6-7
hours - depending on the intensity of solar radiation) bring the
switch in intermediate position. Disconnect the cable of the
module from the charging socket of the lamp.
EG-Solar e.V., Neuöttinger Straße 64 c
84503 Altötting, www.eg-solar.de
eg-solar@t-online.de
Tel. +49-8671-96 99 37 Fax -96 99 38
Replacing the storage batteries
Remove the two screws on the bot-
tom of the lamp (make sure that they
are not lost) and remove the cover.
Pull out the battery tray with the help
of the string and separate the con-
nectors.
Take the three individual accus
from the battery holder and replace
them with three new ones. Battery
references at the end of this information.
Pay attention to the polarity!
Restore connections. Then switch
on the lamp (switch in position "●")
to examine the function of the
lamp. Insert the battery carrier in
the battery compartment and close
with the cover and two screws.
Recommendation storage batteries
Use only rechargeable batteries!
Use only three batteries of the same manufacturer and the
same type, the same technology and the same capacity.
Functioning time will be reduced when using smaller capacity
batteries!
Battery type:
AA - LR6 - HR6
Technology:
Nickel-Metall-Hydride
Manufacturers recommended:
•Sony NiMH C-E-Green LR6 2700mAh
•Varta Professional Accu Nr.5706 HR6 2700mAh
•GP 270 AAHC 2700mAh
•Sanyo Eneloop HR-3U25HM 2500mAh
•Energizer Advance 2700mAh
•Energizer Advance 2500mAh
•Energizer 2450mAh
Spendenkonto: Konto Nr. 49338,
Kreissparkasse Altötting, BLZ 711 510 20
IBAN: DE 55 7115 1020 0000 0493 38
BIC: BYLADEM1MD
MALI – Light
SOLAR SYSTEM LED
Operating Instructions

MALI - Light ® Handling Lamp und Module Lampensystem LED 10.2
Mohr - Germany Solar System LED 10.2 05.02.2013
Handling Lamp LED 10.2
Do not expose lamp to direct sunlight. Remove the basement
cover (magnetic attachment!) to get access to the switchboard.
LED Indicators, switch and loading connection are now acces-
sible.
With three possible positions of the switch the
lamp provides five functions:
Intermediate position of the switch:
1. Function: Checking external power supply
In this position the loading connector
has no connection to the internal battery.
Connection of an external power supply
through the loading connector will
illuminate the LED indicator bright
yellow. If the indicator is not illuminated
the external power supply is damaged.
(For example: damaged solar module,
damaged connector, broken cable.)
Switch in position „●●“:
2. Function: Charging storage batteries
Insert the plug of the module cable into
the socket of the lamp and aim the solar
cells at the sun.
You can load the internal NH-batteries
of the lamp in this position. Depending
on the loading status of the batteries a
loading current of about 420 mA will
adjust automatically.
An automatic cut off of the loading current is not part of the
design due to the low current of the solar module of 420 mA.
There is no danger of overloading the NH batteries.
Attention:
In order to maximize the durability of the
rechargeable batteries you have to
avoid frequent loading. Only charge
batteries when red LED (low battery
warning shows up.
When the red LED shows, switch off the
lamp. If the lamp is not switched off,
power will be cut automatically and the
green LED is extinguished. The lamp can be switched on
again only after the batteries have been fully loaded.
Loading time is between 6 and 7 hours, depending on the
radiation of the sun.
After charging you have to bring the switch in the interme-
diate position.
With higher charge currents (> 0.5 A), reverse polarity or a
short circuit, an internal fuse interrupts the connection to the
internal battery until the problem is fixed.
This cut off is indicated by an increase in the luminosity of the
yellow LED. After fixing the problem, the fuse goes back to
sleep mode. This is shown by reduced brightness of the yellow
LED.
3. Function: Operating external devices
Collection of energy from the internal battery (3.6 V-2, 7 Ah) is
also carried out in this switch position. External devices such as
radio and others can be connected.
(Max power consumption 0.5 A)
With an increased power consumption, as well as a short cir-
cuit, the internal fuse interrupts the circuit and the yellow LED
goes dark.
Switch in position: „●“:
4. Function: Switching on the light
To switch on the light of the lamp
choose position „●“.
In addition the little green LED is now
illuminated. The charging socket is cut
off from the inner circuit.
In this position no external use is possible! This circuit is an
overload protection for the internal battery.
With a complete charge the lamp will have light for a maxi-
mum of 12 hours. After 10 hours the brightness reduces
slowly until finally the red LED gets illuminated (low battery
warning).
After use switch off the light to avoid needless current
drain!
5. Function: Alarm: “low battery”
The lamp has an integrated alarm
system. If the battery gets low, the
red LED lights up. The lamp should now
be switched off and the storage batteries must get charged
(function 2).
Recommendation:
For a better illumination of the working area
it is recommended to put up the lamp with
the strap. Thus the light beam is directed
downward.
Solar Module Handling
Cleaning
Scratches and dirt on the surface of
the solar cells must be avoided, since
they directly affect the performance.
To clean the surface only use pure
water. Do not use cloth for drying.
The cleaning may take place only in
the cold state of the module (in the morning), otherwise there
is a danger of destruction!
Keep connectors and sockets clean!
Alignment
Position solar cells of the module at a 90° angle to the sun.
Align module about noon (12.00 h). Position can be maintained
for the whole week. Use angle on the back of the module to
bring it in the desired position.
Avoid shadow on the solar cells (e.g. by trees, houses) during
the course of the day.
Note: High surface temperatures – up to 90°C! Don´t touch!
Theft
To prevent theft it is recommended to store the module in a
safe place.
Popular Lantern manuals by other brands
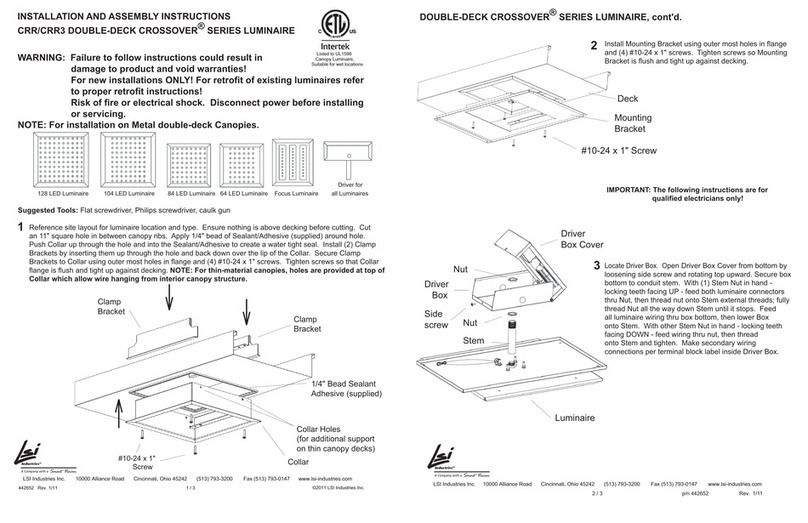
LSI
LSI DOUBLE-DECK CROSSOVER Series Installation and assembly instructions

Portfolio
Portfolio VEL-2867-MD-PIR user manual
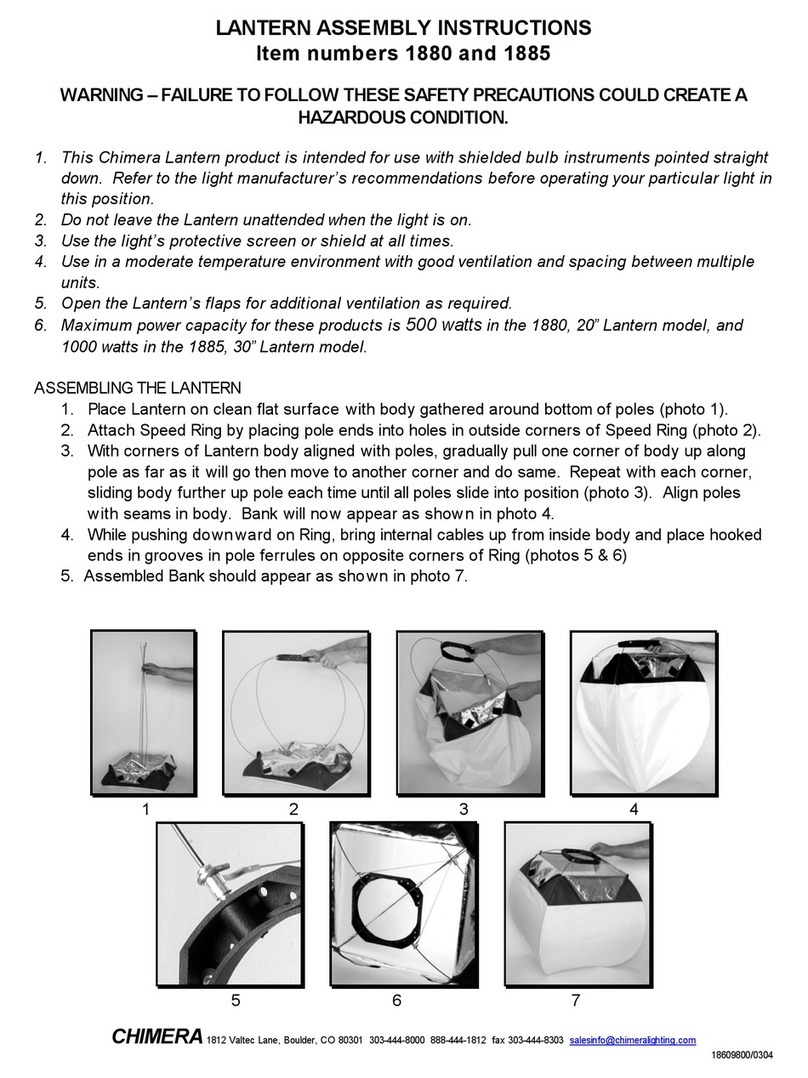
Chimera
Chimera 1880 Assembling instructions
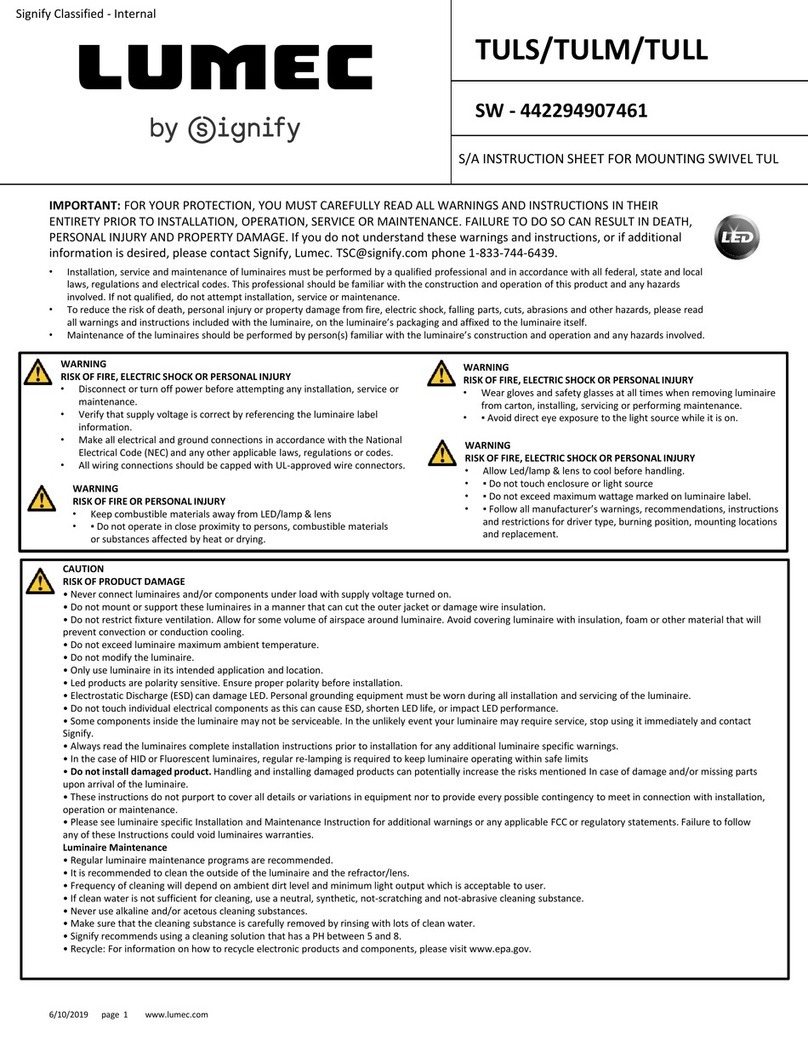
SIGNIFY
SIGNIFY LUMEC TULS instruction sheet

Visual Comfort & Co.
Visual Comfort & Co. Club Door Large Lantern Assembly instructions
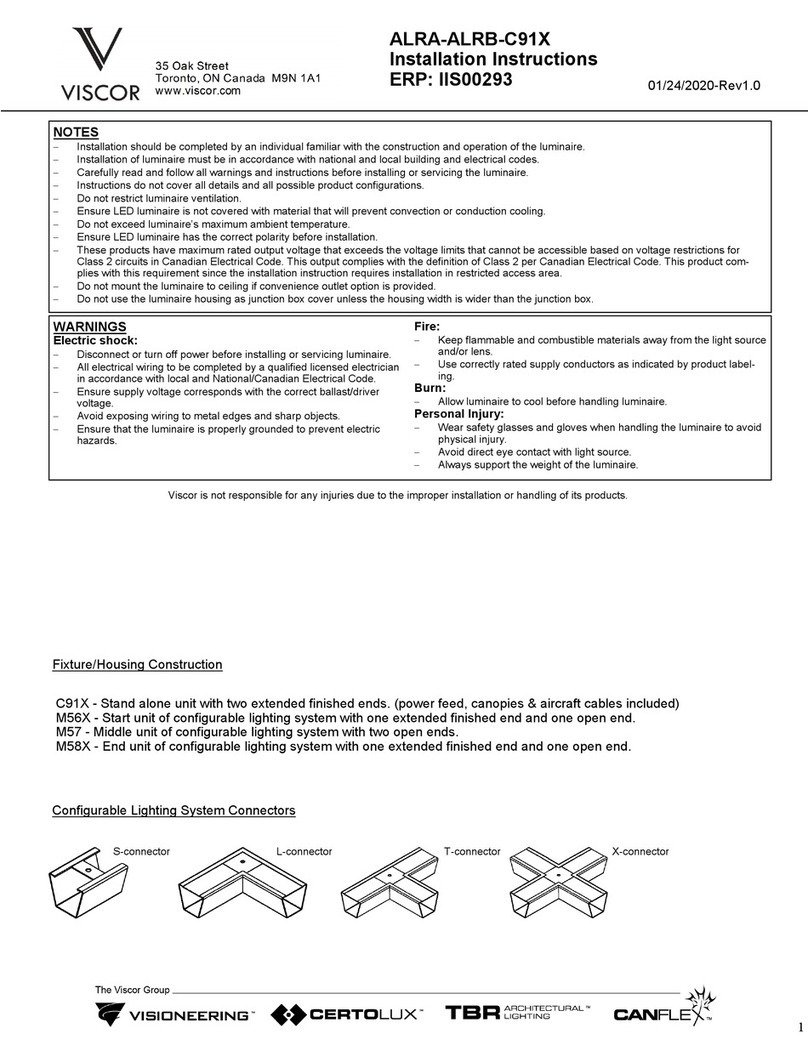
VISCOR
VISCOR ALRA-ALRB-C91X installation instructions

WF Harris Lighting
WF Harris Lighting 30 Series installation instructions
olympia electronics
olympia electronics GR-2110 quick start guide
Teknoware
Teknoware Trail TWTC151WK installation guide
Zumtobel
Zumtobel ARC3 LED 3CD Series Instructions for mounting
Acuity Brands Lighting
Acuity Brands Lighting RUBIK 9CS installation instructions

LIVARNO home
LIVARNO home 398633 2107 Instructions for use
