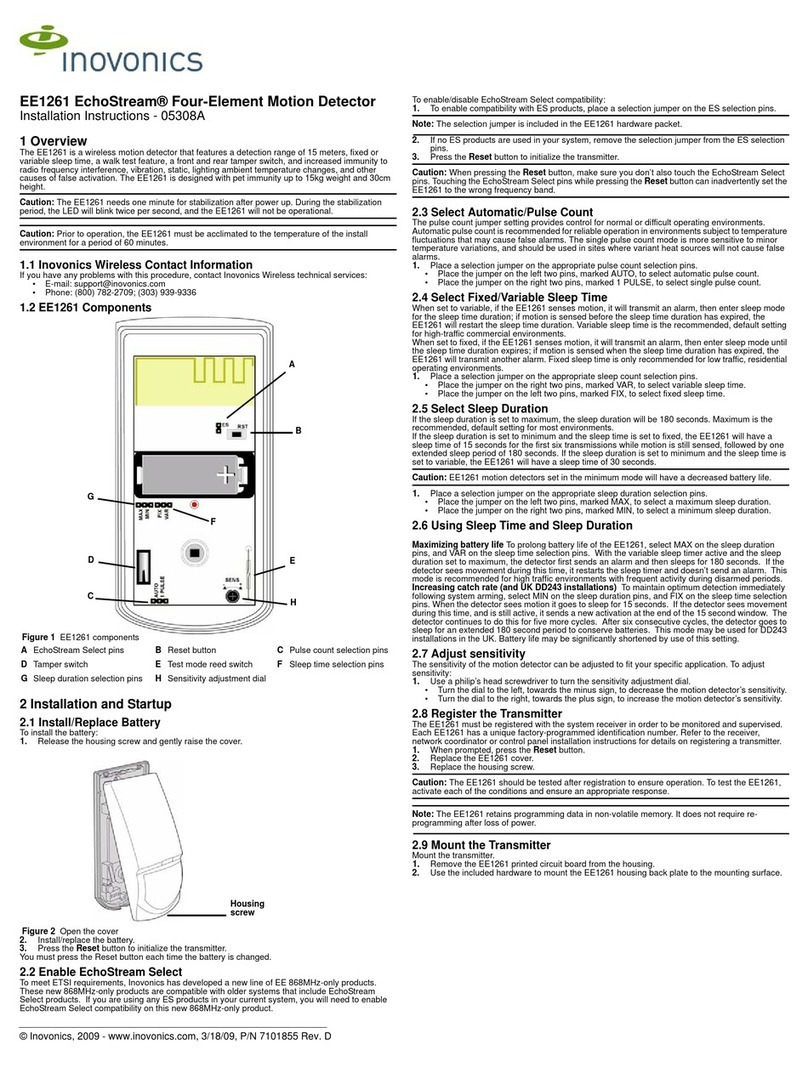
Egardia MOV-31 User manual


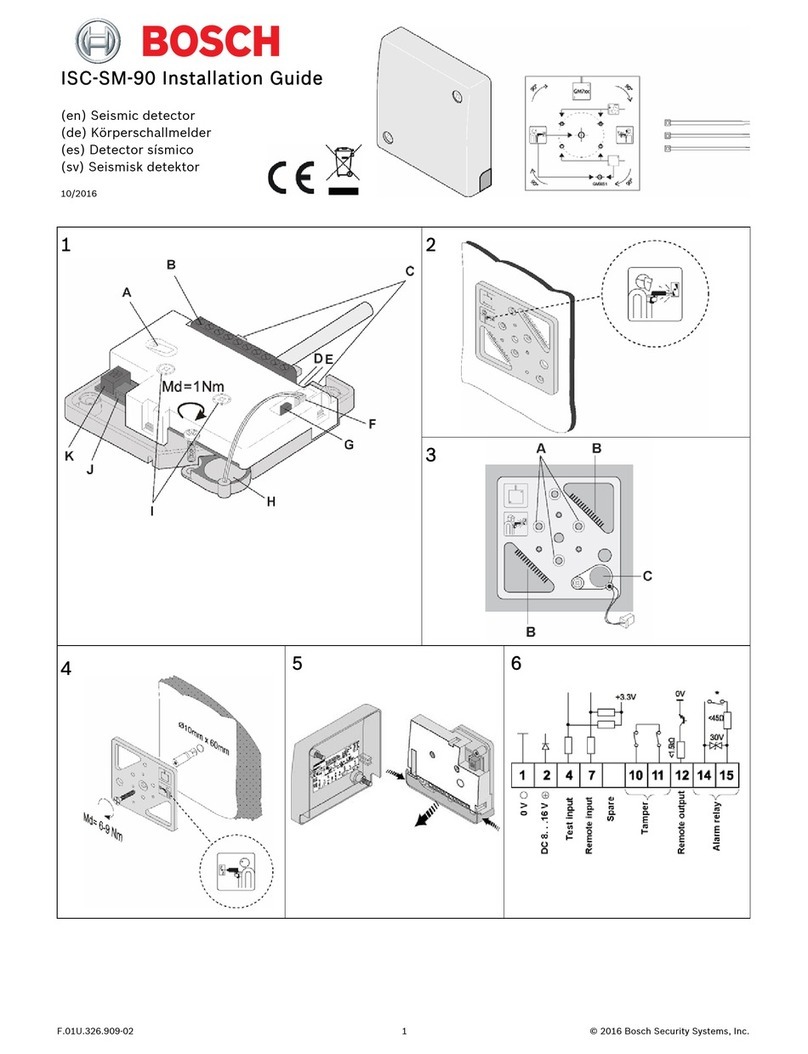
INSTALLATION GUIDE MOTION DETECTOR
Congratulations on the purchase of your Egardia motion detector.
Customer Service
Please visit www.egardia.com if you would like further information about the installation and use of
Egardia. The answers to a number of frequently asked questions can be found at
www.egardia.com/userquestions.
This package has been put together with care. Please contact our customer service if you would like
any help during installation or if something is missing from the package. Never return a package
without prior instruction from our customer service.
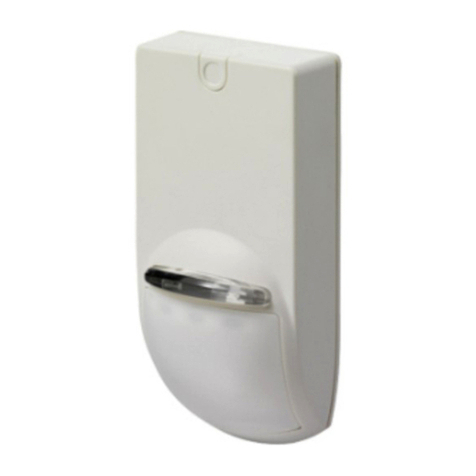
Motion detector
The motion detector triggers an alarm when it detects movement within its field of view (detection
zone). The Egardia motion detector is specially designed to ignore pets up to 38 kg, like cats and
dogs. This significantly reduces the possibility of false alarms.
After the detector has sensed a movement and reported an alarm it automatically enters standby
mode to increase battery life.
OVERVIEW MOTION DETECTOR
1. Status indicator & Register button – Shows the status of the motion detector and also acts
as a register button for the motion detector.
2. Battery tab – After removal of this tab the motion detector is activated.
3. Screw – This opens the motion detector.
INSTALLING THE MOTION DETECTOR
The installation process of the Egardia motion detector consists of four easy steps.
STEP 1.
CHECK CONTENTS
CHECK THE CONTENTS OF THE BOX
STEP 2.
ADD TO ALARM SYSTEM
REGISTER THE MOTION DETECTOR WITH YOUR EGARDIA
ALARM SYSTEM
STEP 3.
MOUNT MOTION DETECTOR
DETERMINE THE LOCATION AND MOUNT THE MOTION
DETECTOR
STEP 4.
CHECK AND TEST
CHECK AND TEST THE MOTION DETECTOR
STEP 1: CHECK CONTENTS
Check the contents of the packaging for the following parts:
1. Motion detector (battery is factory installed in the motion detector)
2. Bag containing screws and plugs
3. Double-sided tape for mounting
1

STEP 2: ADD TO ALARM SYSTEM
You are now about to register the motion detector with your Egardia alarm system.
1. Remove the plastic battery tab at the back of the motion detector to activate the battery.
Ensure the tab has been completely removed! Wait till the status indicator of the motion
detector stops flashing. This will take approximately 30 seconds.
2. Ensure at your gateway that the alarm is turned off. The top indicator light (Status) and the
bottom indicator light (Online) are lit green.
3. Press the "Reset" button at the side of the gateway for at least 7 seconds. The top indicator
light (Status) of your gateway flashes green to indicate it is searching for new accessories.
4. Press the register button of the motion detector. The gateway beeps once to indicate the
motion detector is successfully registered. The gateway beeps twice to indicate the motion
detector has already been successfully registered.
5. Press again the "Reset" button at the side of the gateway for at least 7 seconds if no more
accessories are being added. The gateway returns to normal operation.
6. Login to your Egardia account and go to the tab "Alarm system". The registered motion
detector will appear after a few minutes.
7. Rename the motion detector for easy recognition.
STEP 3: MOUNT MOTION DETECTOR
Place the motion detector in a room where the chance of burglary is high. Before mounting use the
key fob to test the desired mounting place is within range of the gateway.
Important guidelines
● The sensor functions optimally at places with a high chance of a burglar moving across its
detection zone and not directly towards it, e.g. in the corner of a room
.
● The optimal height of the motion detector is 1,90 metres.
● The optimal height of the motion detector in a narrow corridor is 1,70 metres.
● Avoid placing the motion detector in the following locations:
o Behind objects that could restrict the detection zone, e.g. furniture or curtains.
o Directed at doors that are secured by a door/window sensor.
o In direct sunlight or close to heat sources such as log-fires, boilers or steam or
above radiators.
o Behind or directed at windows or moving objects such as curtains.
Pets
The motion detectors are pet friendly. They are designed not to react to pets weighing up to 38 kg
and not taller than 1,0 m. Placing the detector at a height of 2,30 m results in a free movement zone
of approximately 7,0 m (see diagram). Placing the detector higher will increase the free movement
zone even further.
Determine the height carefully to ensure that also larger pets are not detected. Above a height of 1,0
m the motion detector will not react to a weight up to 18 kg.
2

Instructions
1. The motion detector can be mounted using the double-sided tape or by using the screws.
2. For mounting with screws:
a. Remove the screw at the bottom of the motion detector and remove the front cover.
b. Use the pre-punched holes in the motion detector as a template to mark the drill
holes on the wall.
c. Drill the holes and use the plugs for stone or plaster walls.
d. Secure the back of the motion detector to the wall using the screws.
e. Replace the front cover and secure with the screw at the bottom.
STEP 4: CHECK AND TEST
To make sure that the motion detector functions correctly it is advisable to test the motion detector.
Turn the alarm system on by using your remote control (press red button) and move into the motion
detector's field of view. If the alarm is triggered the motion detector has been installed correctly.
Please note! The motion detector incorporates a battery saving function of 1 minute. This
means that the detector will only be active after it has not detected any motion for a period of
1 minute. When testing the motion detector ensure that the room has been empty for at least
1 minute before running the test.
Congratulations! The installation is complete.
MAINTENANCE
Battery
The motion detector is powered by one 1,5V AA (LR6) Alkaline battery. Depending on use, the
average life of the battery is 3-5 years. The motion detector itself will indicate when the battery is
low. When the battery has power left for about one month you will receive the following warnings:
1. The motion detector's status indicator will start to flash.
2. In your Egardia account you will see the message "Battery low level" under the tab "Alarm
history".
3. You will receive a one-time message by telephone, SMS or email.
4. The central indicator light (Alarm) of your gateway is lit yellow. After the battery has been
replaced the gateway will return to normal status.
Replacing the battery
1. Ensure that the alarm is turned off.
2. Remove the screw at the bottom of the motion detector and remove the front cover.
3. Remove the old battery and replace by a new 1,5V AA (LR6) Alkaline battery. Ensure that the
battery polarization is correct.
4. Replace the front cover and secure with the screw at the bottom.
Testing the motion detector
Press the "Reset" button at the side of the gateway for at least 5 seconds. The top indicator light
(Status) of the gateway flashes green. The gateway is ready to test a registered motion detector.
The motion detector functions correctly when the gateway beeps twice as soon as a registered
motion detector senses a motion or after you press the register button of the motion detector.
When you are finished testing press again the "Reset" button of the gateway for at least 5
seconds. The gateway returns to normal operation.
3
Table of contents
Other Egardia Security Sensor manuals
