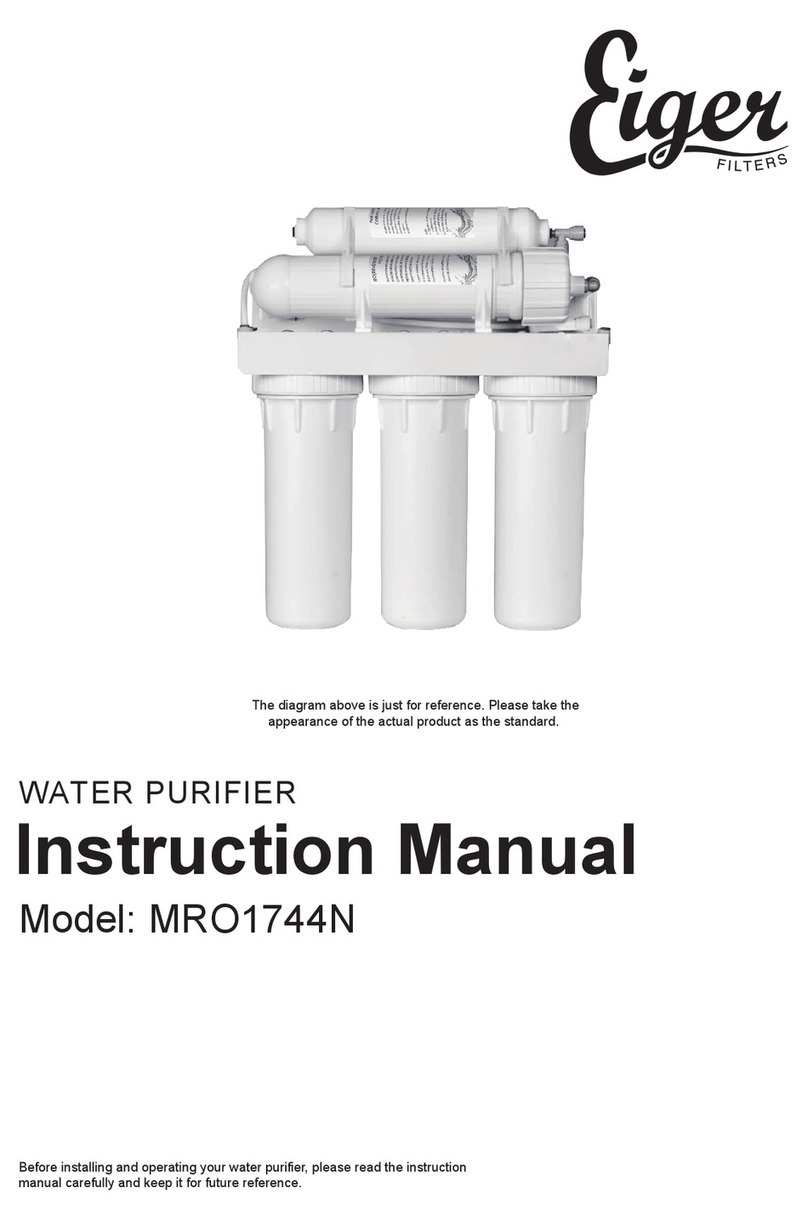
EIGER Terminal Pure Water Series User manual

Instruction Manual
Terminal Pure Water Series
Model No EG-RO-600B

TABLE OF CONTENTS
1. Precautions---------------------------------------------------------------------------------------------1
2. Function-------------------------------------------------------------------------------------------------2
3. Instructions-------------------------------------------------------------------------------------------2-4
4. Consider The Life Of The Element And the Purchase Of The Filter Element----5
5. Core Change Guide-------------------------------------------------------------------------------5-6
6. Process Flow Chart Of Water Production- --------------------------------------------------6
7. Electric Schematic Diagram--------------------------------------------------------------------- 7
8. Installation Hint-------------------------------------------------------------------------------------- 7
9. Technical Parameters------------------------------------------------------------------------------ 8
10. Matters Needing Attention-----------------------------------------------------------------------9
11. It Is Recommended To Replace The Periodic For Key Components------------ 10

1
1.PRECAUTION
1-1 Safety Issues
Please note the following brief icons and rules for safe use of this product
Troubleshooting
When the machine fails, please
disconnect the water source
immediately
Maintenance
Never remove the parts on the
machine to avoid leakage or
damage
Avoid contact with children
Never have the machine
operated by a child
Temperature
Please use the product in a dry
place with the water temperature
of 4-38°C
Anti-freeze
Never store or expose the product
duct in an environment less than 0°C
Avoid direct sunshine
Do not install the machine in a
place exposed to direct sunshine
Emergency call
For any help, please call the local sale
service center.
Accessories and filters
To maintain the normal operation of the
machine, be sure to use accessories
and filters supplied by original company

2
3. Instructions
2. Function
Select key:
In the non-flushing state, press the selection key for 3 seconds and the machine
begins to flush for 18 seconds (strong punch).
Reset key:
Press the reset button for 3 seconds to enter the filter element reset function, and
after entering the reset function, press the selection key to cycle to select the filter element.
After selection, the corresponding filter element indicator flashes, and the rest of the filter element
indicator is always on. When you need to reset the filter element, press the reset button for 3
seconds within 10 seconds, that is, reset the filter element and exit the reset function, if you do
not operate it within 10 seconds, exit the reset function.
Power key:
Touch the power key to turn on or off all the display interfaces, and the power lamp will
always be on (note: the power button is only a bright screen function). Function description:
Flushing status:
Display screen (light belt): flushing state is flashing mode. Power on and flush
automatically for 30 seconds. Press the selection key for 3 seconds and flush for 18 seconds.
Accumulative water production > 30 minutes, no flushing in the middle, then after entering the full
water standby state, automatic flushing for 18 seconds. Continuous standby time 6 hours, no
flushing in the middle, then automatic flushing for 18 seconds.
Water production status:
Display screen (lamp belt): the water-making state is in racing lantern
mode. When the hi h-voltage switch is closed it enters the water-makin state.
- This machine is only suitable for household and similar occasions, using reverse osmosis
membrane-based multi-stage filtration system, after installation, only need to turn on the
power supply, you can turn on the faucet to make water automatically and turn off the
faucet to stop water production automatically.
Select Reset Power
Purified TDS

3
Full state:
Display screen (lamp belt): the water full state is always bright mode. If the high voltage switch is
turned off, it will enter the state of full water.
Maintenance status:
If the continuous water production is not full for 60 minutes. the machine stops making water and
enters the maintenance mode. The 8-character code shows 'E1" and beeps the alarm. There are
5 alarms every half an hour. You need to turn on the power again and exit the maintenance mode.
Pure water quality:
The TDS value of pure water Is displayed in real time. It is updated every 10 seconds in the
water-making state, and the TDS value is not updated in the full water state.
Filter element life:
The filter lamp often lights when the replacement filter element is not displayed,
and the default time is the cumulative time and natural time of the pump. When the cumulative use
time of the filter element reaches the preset time of the system, the buzzer calls the alarm for 10
times, and at the same time, the word of the filter element and the outer frame of the life bar enter
the flicker mode until it is reset and returned to normal display. The filter element life indicator has
the function of power-off memory, and when it is in a flickering state it will remain in its original state
if it is powered off and then powered on.
Warm Instructions:
When the machine stops making water. The Interior of the membrane will be
emptied and thoroughly washed.. Will discharge about 380m1 of waste water.. In order to achieve
the best filter element. The use of performance, this phenomenon is a normal phenomenon.
Smart light display faucet :
The whole machine is powered on, the leading light ring flashesthree
times, and the color of the lamp ring shows blue, orange and blue. During the life cycle of the filter
element, turn on the faucet and the light ring of the faucet is always bright blue. When the filter
element is used, there is only a total amount of time left. Life 10%. turn on the faucet, the faucet
lamp ring flashes blue; when the filter element life reaches the set value, turn on the faucet, faucet
lamp ring. The red color Is always bright. (the light ring often goes out when the faucet is not in use)
Lighting position of lamp ring

4
Front View Back View Side View
drain port inlet port
15 Pipe interface area
1. Side plate
2. Pump cover
3. Top cover
4. Framework
5. RO reverse osmosis membrane filter element
6. Front panel
7. Cover plate
(As shown in the diagram)
8. PCT front and reat composite filter element
9. Indicator board
10. Base
11. Booster pump
12. Flush solenoid valve
13. High voltage switch
14. inlet solenoid valve
15. Pipe interface area
purified port

5
1 filter element replacement cycle (it is recommended that the filter element replacement cycle
is as follows:)): After the filter element of the product is used for a period of time, various
impurities will be accumulated in the filter element, which will affect the effluent speed. In order
to maintain normal effluent, the filter element should be replaced regularly. If the average daily
pure water consumption of municipal tap water is 10 litres on the premise that the raw water
temperature, water pressure and water quality of municipal tap water are in accordance with
this specification, the replacement cycle of each filter element is as follows:
Note: the water quality has a great influence on the life of the filter element, and the service life of
the reverse osmosis membrane and other filter elements is affected by many factors. In the actual
use process, due to the different water quality, its life may be lower than the above data, this data
is only for reference. In general, if the following circumstances occur, you should consider replacing
the filter element: When the quality of the effluent is poor and the taste decreases, The effluent flow
is obviously reduced, check whether the filter element or membrane is blocked (it should be
determined that it is not caused by the drop in water temperature). The filter element is seriously
blocked, so that the water purifier can not make water or clean water can not flow out.
5. Core Changes Change Guide
Warm reminder: please cut off the water source and turn on the faucet to relieve pressure before
changing the filter element. The whole machine runs for 3-5 minutes, and then the power is cut off.
A small amount of residual water will flow out when the filter element is replaced. First, remove the
old filter element. The first step: cut off the water and power according to the warm reminder.
The second step: first remove the cover plate, select the filter element to be replaced and rotate
the filter element counterclockwise by hand, and remove the filter element when the filter element
is marked " " at " " (as shown in figure 1).
Step 3: remove the filter element and use a clean
towel to clean the remaining water in the frame filter cartridge.
4. Consider the life of the element and the purchase of the filter element
Filter element type
Replacement Frequency 8-12 months
PCT RO
12-24 months
Figure 1 Figure 2 Figure 3

6
6. Process Flow Chart of Water Production
Second, exchange for new filter elements.
Step 1: align the new filter element logo " " with " " and rotate the filter element clockwise when
the filter element logo " " is aligned with " " Indicates that it is installed (as shown in figure 2).
Step 2: finally cover the cover plate (as shown in figure 3).
Step 3: reconnect the power supply
and water source, press the reset button for 3 seconds to enter the filter reset program, and then
tap the selection key to select the desired man. For the replacement of the filter element, press
the reset button for 3 seconds after selecting the filter element to complete the reset of the filter
element (accompanied by a drop).
Step 4: press the "Select" button for 3 seconds, flush the
machine, turn on the gooseneck faucet, rinse for 5-10 minutes, and turn off the faucet. At the
same time, check the whole machine for leakage.
Intake three-way ball valve
Tap water pipe
Faucet
Intake solenoid
valve
Polypropylene PP
cotton +
Activated carbon rod
filter element.
Activated carbon
rod filter element
Pure water
TDS probe
High voltage
switch (with
check valve)
PCT Ro
antipermeable
membrane
Waste water
solenoid valve
Pure water
Waste water
Electronic faucet

7
7. Electric Schematic Diagram
intake solenoid valve
Display screen Touch button
Temperature
Compensation
Pure Water
TDS probe
High Voltage
Switch
Purified port
Intake three-way ball valve
Drain port
Inlet
port Purified
port
Drain
port
Intelligent Controller
The power Adapter
Flushing solenoid valve Water pump
( This picture is for reference only, please refer to the kind of product )
( This picture is for reference only, please refer to the kind of product )
8. Installation Hint

Debugging method.
1. After the installation of the whole machine is completed, open the three-way ball
valve, check that there is no water leakage between the whole machine and other
joints, and turn on the power supply.
2. Turn on the faucet and wash the reverse osmosis membrane filter element; in
order to make the reverse osmosis membrane filter element have the best purification
effect, please.
Consumers follow these steps:
1) turn on the pure water faucet and
make water normally for 1 hour;
2) turn off the tap and let the whole machine sit for 24 hours.
3) turn on the pure water faucet, and after 1 hour of normal water production, the
produced water can be drunk directly.
9. TECHNICAL PARAMETERS
Product Name Reverse Osmosis Water Purifier
A8
220V / 50Hz
95W
0.1MPa-0.4MPa
95L/H
4000L
Class II
Ambient temperature 5 °C-45 °C,
relative humidity <=90%(indoor)
5 °C-38 °C
Municipal Tap water
Product Model
Voltage/Frequency
Rated Power
Clean water flow
Applicable water temperature
Applicable water quality
Product Size
Rated Total Net Water
Anti- electric Shock Type
Applicable environment
Applicable Water Pressure
433 137 405mm
8
All the parameters related to the performance of this product are the best results
under the standard test conditions, and will change with the different use conditions
in the actual use process.

This product must use the new hose assembly that comes with it, and the old hose assembly
cannot be reused. In view of the particularity of clean aquatic products, all the components that
make up this product have a certain service life, in which the recommendations of key components
are described in detail in this manual, "key components suggest replacement of periodic table".
Please carry out replacement, daily inspection and maintenance in strict accordance with the
requirements of this manual.
1. When the product breaks down, please cut off the water and power
quickly, and call our national service hotline in time to get in touch with the official after-sales.
The applicable voltage of the power adapter equipped with this product is 100V, 240V, 50x60Hz.
In order to ensure the safety of the product, be sure to use the special power adapter of our
company. If the power assembly is damaged, in order to avoid danger, the entire component must
be replaced by professionals from the company's maintenance department or similar department.
2. The water source of this product is municipal white water, the range of water pressure is 0.1
MPA, the water temperature is 5 °C-38 °C, and the global temperature is 5 °C-45 °C. It is strictly
forbidden to use beyond the range.
3. This product is only suitable for indoor installation, and there should be reliable ground gushing
within 1.5 meters around the installation, so as to avoid the loss caused by water leakage caused
by poor batch water.
4. When the product is not used or left unattended for more than 3 days, please cut off the power
and water source to prevent the "water hammer" impact caused by unstable water pressure,
causing damage or gushing of the product, and when you use it again, it is recommended that the
direct drinking water produced in the first few minutes should be discharged, otherwise it will
affect the taste.
5. Avoid installation in direct sunlight and outdoor places, sunlight exposure will accelerate the
aging of the machine shell and affect the safety performance of the machine.
6. Do not install or expose the product to the environment below 0 °C. so as to avoid the rupture
of the internal pipeline due to the expansion of water ice.
7. Paint should not store flammable, explosive or heat-prone articles near the machine to avoid
danger. Please use the authentic filter elements and accessories provided by our company to
ensure the normal use of the products, otherwise the company will not be responsible for the
warranty. The company will not bear any responsibility for the consequences caused by failure to
comply with the above precautions.
10. Matters Needing Attention
9

11. It Is Recommended To Replace The Periodic Table For Key Components
10
Serial Number Component Category
Pressure Container Filter Element Filter Shell
The Power Adapter
Intake Solenoid Valve
Flushing Solenoid Valve
High Voltage Switch
Booster Pump
Indicator Board
PE Tube
Joint
Sealing Ring
Faucet
Electronic Control Class
Other Accessories
Component Name Recommended Replacement
Cycle (month)

Thanks for purchasing from us.
EIGER FILTER LLC, 8 THE GREEN, SUITE A DOVER, 19901
www.eigerfilter.com
This manual suits for next models
1
Table of contents
Other EIGER Water Filtration System manuals
Popular Water Filtration System manuals by other brands

Plasma Made
Plasma Made GUC 1214 Installation and user manual
Ecoflo
Ecoflo CLIVUS MULTRUM LOW PROFILE Installation & operation manual
Pureit
Pureit ULTIMA RO+UV OXYTUBE instruction manual
Bio-Tek
Bio-Tek BioSure Professional EOS7177-PQ Installation & operation manual
globalwater
globalwater Water Box Operation manual
Pro-tec
Pro-tec PRO-8-1000-MSP operating manual
