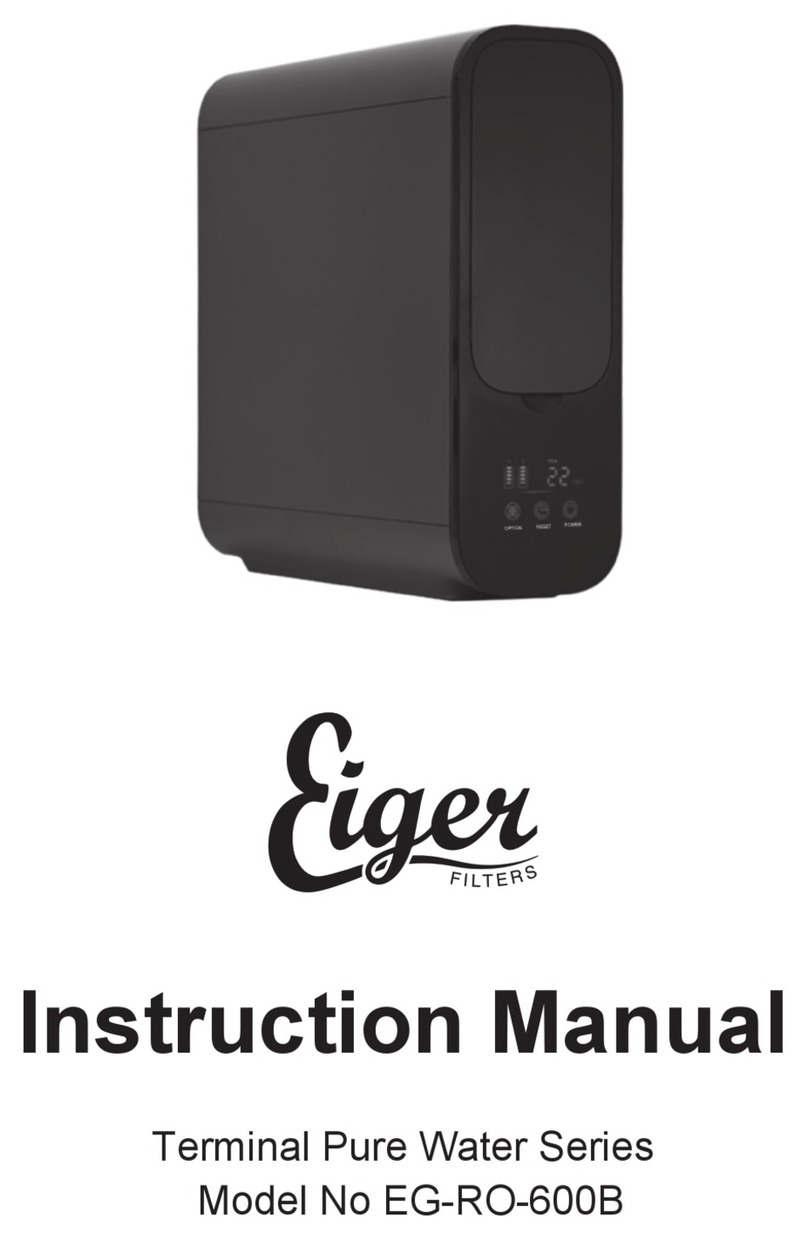
EIGER MRO1744N User manual

WATER PURIFIER
Instruction Manual
Model: MRO1744N
The diagram above is just for reference. Please take the
appearance of the actual product as the standard.
Before installing and operating your water purifier, please read the instruction
manual carefully and keep it for future reference.

TABLE OF CONTENTS
Product Overview -------------------------------------------------------------------------
Use it for the First Time ------------------------------------------------------------------
Usage Cautions ----------------------------------------------------------------------------
Filter Configuration ------------------------------------------------------------------------
Basic Parameters --------------------------------------------------------------------------
Daily Maintenance -------------------------------------------------------------------------
Water treatment process drawing -----------------------------------------------------
Check the Abnormal Phenomenon by Yourself ------------------------------------
Installation and Maintenance -----------------------------------------------------------
1
2
3
5
5
6
6
7
8

1
PRODUCT OVERVIEW
The product is applicable to filter and purify the tap water, the quality of RO output water meets
the “Sanitary Standard for Hygienic Safety and Function Evaluation on Treatment Devices of
Drinking Water --- RO Device” . It is suggested to use the purified water produced by this
device for drinking (braising soup, cooking rice, making tea); the concentrated water can be
recycled for household water (washing clothing and cleaning floor).
Postpositional active carbon filter
RO filter
Support frame
PP cotton filter
PP cotton filter
Prepositional active carbon filter
Instructions Quick coupling 1/4’’ PE pipe Ball valve of water
storage tank
Faucet support
frame
Water storage
tank
Spanner Water faucet
accessories box
Bolt accessories
bag
Remarks:
The water faucet accessories box is composed of: 1 set of water faucet, one water inlet ball valve,
2’’ connector clamps: 8 pcs.

2
USE IT FOR THE FIRST TIME
The water purifying device should be installed by the professional technicians of local
service office.
1. The installation technician shall install, flush
and test the device according to the steps
listed in the Installation and Maintenance Manual.
2. Users may normally use the water purifier
Install
Flush
Test
Taking water
1.When using for the first
time or after replacing the
postpositional active carbon
filter, please turn off the
ball valve of the water tank.
2. Turn on the water faucet,
it is normal that the product
output a small amount of
black water.
3. Keep the product producing
water for 5-10min till the output
water is clear without bad odor,
then open the ball valve of the
water tank for normal water
production.
In order to ensure safe use and prevent physical injury and property loss for you and others,
please obey the following cautions, otherwise, it may possibly cause accident
The best working pressure of this device
ranges 0.25-0.6MPa, please install
corresponding pressure increasing or
decreasing device if the water pressure
is higher or lower than this level.
Avoid storing it in the place with
intensive sunlight, otherwise, it may
cause components ageing; avoid
storing or exposing the device in the
environment lower than 0°C.
USAGE CAUTIONS

3
The device must be installed or relocated by
professional technician, it will easily damage
the product or cause the danger of electric
shock if the components of the device are
dismantled by yourself, it will easily cause
improper operation if the device is moved or
conveyed by yourself, which may result in
device damages.
When the inlet water doesn’t meet the
municipal tap water standard (includes
high content of sand and mud in water,
residue chlorine exceeds the standard),
please install pretreatment device in
front of this product.
When the device if faulty, please quickly cut
off water supply, and contact the local service
office or national wide service hotline.
When the environment temperature is
low, the flow rate will drop, which is the
natural property of the RO film.
Please do not put heavy object on the device. Children is not allowed to operate,
contact, approach or climb on the
product, children and intellectual
disabilities should use the product
with the support of guardian.
Please o not approach combustible and
volatile substance to this device.
Gasoline
When there isn’t water supply or the pipe is
under repair, please turn off the three-way
ball valve. After recovering power supply,
please turn on other faucets to drain out sand
and mud before turning on the three-way ball
valve, otherwise, the filter may be possibly
jammed by sand.

4
Please do not contact or approach the
product to heat source and open fire.
Periodically clean and replace the filter.
Only the components provided by our
company should be adopted.
It is normal that the product will vibrate
and make noise lightly when it is producing
water.
Please install the device near the floor drain. If the product won’t be used for a long
period, please turn off the three-way ball
valve. When using it again, please drain
out water for 3-5min before normal use.
Mean the [prohibited] contents Mean the [compulsory] contents [Note] The items
which may possibly cause light injury or property loss
accessories

5
REPLACE THE FILTER
The filter shall only be replaced by the work staff designated by our company.
Guidance for Replacing the Filter
1. The filter shall be timely replaced after it has
expired; first turn off the water inlet ball valve
and the ball valve of the water storage tank.
2. Replace corresponding filter
Turn off the water
inlet ball valve
Turn off the ball valve
of the water storage tank
BASIC PARAMETERS
For the technical improvement of the product, the following parameters are subject to change
without prior notice, please refer to the nameplate of the product.
The purified water flow rate is tested when the environment temperature 25±2°C, water temperature
25± 1°C and water inlet pressure 0.24±0.02MPa.
Model MRO1744N
Purified water flow rate
Applicable water quality
Water inlet pressure
Appearance difference
0.1L/min
Municipal tap water
0.25-0.6MPa
White

6
DAILY MAINTENANCE
Maintenance is necessary for the daily use of purified water, in order to avoid fault and hurting the
drinking water safety caused by incorrect maintenance, and ensure the normal work of the product.
1. This product is periodically maintained by the professional technicians of our company, and the
filters are replaced by our technicians for ensuring the quality of output water.
2. When cleaning the product, please do not use soap, detergent and strong volatile solvent such
as thinner, gasoline and alcohol, otherwise, it may possibly cause crack, scratch and color
changing.
3. Please do not directly spray water to clean the device.
4. Check if there’s water surrounding the product, and identify if there’s water leakage.
5. Check if the water outlet faucet has leakage.
6. Check if the concentrated water pipe is fixed tightly.
7. Before going out for a long period, check if the power is cut off and the inlet switch (three-way
ball valve) is turned off.
8. Do not put the product declining, horizontal or upturned.
9. Do not refit the joint and pipe of the device by yourself.
10. Do not keep the product working in the environment lower than 0°C.
11. Do not disassemble and replace the filter by yourself.
12. Do not expose the product and pipeline in direct sunlight.
WATER TREATMENT PROCESS DRAWING
Postpositional active
carbon filter Purified water outlet
RO film filter
One-way valve
Concentrated water outlet
Waste water valve
PP cotton filter
Prepositional
active carbon filter
Carbon rod filter
Raw water inlet
valve
All contents listed in this manual have been carefully checked, if there’s any printing
mistake or misunderstanding on contents, please consult our company.
Note: Technical data is subject to update in new edition without prior notice; please
refer to the real object for the appearance and color of the product.

7
CHECK THE ABNORMAL PHENOMENON BY YOURSELF
The followings are the identification and check of common abnormalities, if it can’t be removed
through simple treatment, please send it to the repair office or consult our customer service hotline.
Do not dismantle and repair it by yourself for avoiding danger or water purifier damage
If there’s any problem, please solve according to the following methods, if the fault can’t be solved,
please send the water purifier to local service office.
Phenomenon Possible Reasons Solutions
The water output volume of the
cleansing water drops abnormally
The output water quality is low
Water leakage
Filter is jammed
Filter is not timely replaced and exceeds
the service life
The ball valve or faucet is not completely
turned on
Purified water in the water storage tank is
used up
Filter is fault
The device is not used for a long period
(over 3 days)
Quality of source water is low
Component is damaged
Flush or replace the filter.
Replace the filter.
Check water inlet ball valve, or if the
faucet is completed turned on.
Wait for the device to produce water,
use it about half an hour later
Please contact local service office, and
replace it timely.
Turn on the purified water faucet, flush
it for 3-5min.
Confirm that water source is municipal
tap water.
Please cut off water supply, and contact
our national wide service hotline ?

8
Installation and Maintenance
(There’s difference between some diagrams and pictures listed in the Manual and
the real product, please refer to the real product)

9
Water pipe installation diagram
1. Main unit
2. Faucet
3. Water inlet ball valve
4. Drainpipe
5. Water storage tank (available for some models)
Water source
Tap water
Purified water
Concentrated water
Articles Necessary for Installation
PE pipe Spanner Towel Tissue Cup
Pipe cutter Price list TDS pen Electric drill Screwdriver Flexible spanner

10
Articles Necessary for Installation
The device should be installed by professional technicians of local distribution and service office.
1.Take out the device from the package,
put it at the down position.
2.Take out the three-way combined ball
valve, install it in the tap water pipe.
3.Connect the pipes and faucets according
to the water pipe installation diagram.
Note: the automatic suction model shall be installed
in the place higher than the water tank
4.Concentrated water can be directly
drained into the drainpipe or reclaimed.
Concentrated
water
Drainpipe
Flushing
Before using the new prepositional and postpositional active carbon filter, please flush it for 15min.
Active carbon filter
Flushing 15min

Whole Device Debugging
When using the whole unit for the first time, the product is stopping working after producing full
water, the first 3 tanks of water shall be discharged, after producing the 4th tank of water, turn off
the water faucet, keep it still for 2 hour, and then drain out the water, after producing the 5th tank
of water, directly drain out the water to ensure hygienic and safe water output from the product.
1.After install the three-way
ball valve, and turn on the
three-way ball valve first.
2.Close the faucet, wait for 60s,
and check if the concentrated
water of the device is stopped.
Concentrated
water
60 seconds
3. After confirming, the
device can be used
safely.
Installation Cautions
The water purifying device should be installed by the professional technicians of local service
office, otherwise, it may possibly cause water leakage, electricity leakage and combustion, which is
dangerous for your property safety, in order to ensure the normal working of the device, please ask
the professional technician of local service office to install the device, the installation technician
should do well in “Ten Cautions and Ten Do Nots” during installation:
1. Confirm the water source, the working
range of the device is: municipal tap
water.
2. Confirm the water pressure of inlet,
the water pressure range is 0.25-0.6MPa,
relief valve must be installed if the water
pressure is higher (except the automatic
suction model).
3. Confirm the temperature of the installation
environment, the working temperature
range of the device is 4-38℃.
4. Pay attention to the place of installing the
device, install it at the water inlet of
kitchen cabinet and balcony, it is not
allowed to install it at the place with direct
sunlight or rain.
municipal tap water
11

5. Check if the pipe which is connected with
the water purifier is reasonable and aged.
6. Confirm that the faucet accessory bag
is under good condition, do not install if
there isn’t complete accessories.
7. Ensure that the PE pipe is inserted into it for
15-17mm, before installing, measure the PE
pipe, and mark the PE pipe before inserting
into the device till reaching the black dot.
8. After installing, check the sealing
performance and function of the whole
device, ensure that the filtering bottle
is in place.
9. Test the TDS value of output water. 10. Notify the user about the daily use and
maintenance cautions.
accessories box
12

Installation Cautions
1. Do not components which
are not provided by Midea.
2. Do not miss the sealing
performance of three-way
ball valve, ensure it doesn’t
leak.
3. Do not put the device
(include pressure tank)
declining, horizontal or
upturned.
4. Do not use the filter before
flushing it with water (flushing
it for 10-20min).
5. Do not cut the PE pipe with
non-pipe cutter or other tools.
6. Do not only replace the
joint clamp when the joint
is leaking, the whole joint
must be replaced
7. Do not miss any
joint clamp.
8. Do not install the
filtering bottle with
free hand.
9. Do not keep the pipeline
at folding state.
10. Do not insert the
waste water pipe
in the drainpipe of
the user, fix the
water drain pipe
with strap.
13

Maintenance Steps
In order to keep your water purifying device at best working state and ensure the drink water safety,
our after sale service offices will periodically remind you (or you may contact the local service office)
to maintain the device and replace the filter. In order to ensure the service quality, please supervise
our service and maintenance. (“Maintenance” means: checking, maintaining, cleaning and replacing):
1. Check if all functions of the
device are under normal
state, cut off water source
of the device.
2. Check if the whole device is
distorted, check if the board
and bolts are loose for the
wall-mounted device.
3. Check connection of
key components, push
the PE pipe at the joints
one by one and ensure
the PE pipe is in place.
4. Clean the inside components
and housing with clean fabric,
ensure there isn’t dust and
foreign object inside.
5. Replace the filter, identify if
the filter should be replaced
according to the working time
and service life of the filter (the
product function), if the filter
should be replaced, get
approval from the user.
6. Supply water, keep the
device outputting water
normally, check if there’s
leakage at the joints with
dry tissue.
7. Check water quality or taste:
A. Replace the RO film: perform TDS test for
water quality.
B. Replace other filter: drink a cup of water with
own cup, confirm that the output water doesn’t
have any problem.
8. Clean the site after working, and
keep the site clean for the user.
14

Maintenance Cautions
1. Check if varied functions of
the product are under normal
state.
2. Check if the pipe of product
is leaking (inlet Tee, external
PE pipe, internal joint and so
on).
3. Check if the key components
have reached the maintenance
cycle, timely maintain and
replace the key components,
check if the joint and PE pipe
which have kept working for
about 2 years are distorted
and ageing, so as to confirm
if they should be replaced.
4. Drain out water for 10-20min
after replacing with a new
filter till black doesn’t appear
at the outlet end.
5. Check if the PE pipe which is
connected with the quick coupling is
cut (cut it off for 20cm) and then install
it again. Ensure that the PE pipe is
inserted into it for 15-17mm, before
installing, measure the PE pipe, and
mark the PE pipe before inserting into
the device till reaching the black dot.
6. Use special pipe
cutter to cut the PE
pipe, bevel and burr
are not allowed for
the PE pipe.
7. Check if the filtering bottle is turned in place
(the mark should be accordant).
8. When maintaining, the special filtering
bottle spanner should be adopted, do
not install it with free hand.
15

Maintenance Cautions
In order to keep this device under good working state, the table below lists out the list of key
components, these components may gradually loss the original effect or property as a result of
jamming, saturation and ageing, which may result hidden safety troubles, please timely maintain
and replace the key components.
S/N 1 2 3 4
Variety Consumables Electric control Electric control Electric control
Name Filter Electric control
panel
Water pump High pressure
switch
Picture
Reason of
Failure
Jamming,
saturated Fatigue, ageing Fatigue, ageing Fatigue, ageing
Maintenance
Cycle
Periodically
maintain and
replace the filter
according to local
water quality
36 months 36 months 30 months
S/N 5 6 7 8
Variety
Name
Picture
Reason of
Failure
Maintenance
Cycle
Electric control Electric control Electric control Water storage
equipment
Waste water
solenoid valve
Water inlet
solenoid valve Switch power Pressure tank
Fatigue, ageing Fatigue, ageing Fatigue, ageing Fatigue, ageing
30 months 30 months 30 months 36 months
16

Water storage
equipment
Water storage
bag
Jamming,
saturated
24-36 months
Fatigue, ageing
36 months
S/N
Variety
Name
Picture
Reason of
Failure
Maintenance
Cycle
S/N
Variety
Name
Picture
Reason of
Failure
Maintenance
Cycle
9 10 11 12
Pipe Pipe Pipe
Check valve Pressure tank
ball valve
Three-way
ball valve
Fatigue, ageing Fatigue,
ageing
36 months 36 months
13 14 15 16
Quick coupling PE pipe Stainless steel
faucet Filtering bottle
Pipe Pipe Pipe Pipe
Fatigue, ageing Ageing Fatigue, ageing Fatigue,
ageing
36 months 36 months 36 months 36 months
17

The product is subject to change without notice.
Please keep this manual properly.
No.68 GuangLe Road, BEIJIAO, SHUNDE, FOSHAN,
GUANGDONG, R.P.CHINA
Foshan Midea Chungho Water purification
Equipment Co., Ltd
Table of contents
Other EIGER Water Filtration System manuals
Popular Water Filtration System manuals by other brands
Oase
Oase BioTec ScreenMatic2 operating instructions

SMC Networks
SMC Networks AMK20 Series Operation manual

Hozelock Cyprio
Hozelock Cyprio 1383 manual

Philips
Philips AC4144 Specifications

BWT
BWT Bewades 70W70/08 HI Installation and operating manual

puroflux
puroflux PF-40 Series Operation and maintenance manual