manuals.online logo
Brands
  1. Home
  2. •
  3. Brands
  4. •
  5. Electro-Harmonix
  6. •
  7. Music Pedal
  8. •
  9. Electro-Harmonix KEY9 User manual

Electro-Harmonix KEY9 User manual

- WARRANTY INFORMATION -
Please register online at http://www.ehx.com/product-registration or complete and return the enclosed
warranty card within 10 days of purchase. Electro-Harmonix will repair or replace, at its discretion, a product
that fails to operate due to defects in materials or workmanship for a period of one year from date of
purchase. This applies only to original purchasers who have bought their product from an authorized Electro-
Harmonix retailer. Repaired or replaced units will then be warranted for the unexpired portion of the original
warranty term.
If you should need to return your unit for service within the warranty period, please contact the appropriate
office listed below. Customers outside the regions listed below, please contact EHX Customer Service for
information on warranty repairs at i[email protected] or +1-718-937-8300. USA and Canadian customers: please
obtain a Return Authorization Number (RA#) from EHX Customer Service before returning your product.
Include with your returned unit: a written description of the problem as well as your name, address,
telephone number, e-mail address, and RA#; and a copy of your receipt clearly showing the purchase date.
United States & Canada
EHX CUSTOMER SERVICE
ELECTRO-HARMONIX
c/o NEW SENSOR CORP.
55-01 2ND STREET
LONG ISLAND CITY, NY 11101
Tel: 718-937-8300
Email: [email protected]
Europe
JOHN WILLIAMS
ELECTRO-HARMONIX UK
13 CWMDONKIN TERRACE
SWANSEA SA2 0RQ
UNITED KINGDOM
Tel: +44 179 247 3258
Email: electroharmonixuk@virginmedia.com
This warranty gives a purchaser specific legal rights. A purchaser may have even greater rights depending
upon the laws of the jurisdiction within which the product was purchased.
To hear demos on all EHX pedals visit us on the web at www.ehx.com
Email us at info@ehx.com
FCC COMPLIANCE
Note:
This equipment has been tested and found to comply with the limits for a Class B digital device, pursuant
to part 15 of the FCC Rules. These limits are designed to provide reasonable protection against harmful
interference in a residential installation. This equipment generates, uses and can radiate radio frequency energy
and, if not installed and used in accordance with the instructions, may cause harmful interference to radio
communications. However, there is no guarantee that interference will not occur in a particular installation. If
this equipment does cause harmful interference to radio or television reception, which can be determined by
turning the equipment off and on, the user is encouraged to try to correct the interference by one
or more of the following measures:

Reorient or relocate the receiving antenna.

Increase the separation between the equipment and receiver.

Connect the equipment into an outlet on a circuit different from that to which the
receiver is connected.

Consult the dealer or an experienced radio/TV technician for help.
Modifications not expressly approved by the manufacturer could void the user's authority to operate the
equipment under FCC rules.
KEY9
Electric Piano Machine
Congratulations on purchasing the Electro-Harmonix KEY9 Electric Piano Machine. The
KEY9 transforms the tone of a guitar and/or keyboard into a convincing electric piano
emulation, including several variations of the classic Rhodes®and Wurlitzer®sounds.
The KEY9 also features lively recreations of vibes, mallets, an organ, and even steel
drums! Based on the popular EHX B9 and C9 pedals, the KEY9 swerves into electro-
acoustic territory via knobs that control DRY and KEY volume, as well as preset-specific
features that are adjusted with the CTRL 1 and CTRL 2 knobs.
WARNING: Your KEY9 comes equipped with an Electro-Harmonix 9.6DC-200BI power supply
(same as used by Boss®& Ibanez®: 9.6 Volts DC 200mA). The KEY9 requires 100mA at 9VDC
with a center negative plug. Using the wrong adapter or a plug with the wrong polarity may
damage your KEY9 and void the warranty.
GETTING STARTED
Connect the supplied power adapter to the 9V power jack. Plug your instrument into
the INPUT jack; connect your amp to the KEYS OUTPUT jack. Set the DRY knob to
minimum and all the other top row knobs to about mid position. Select the preset
named DYNAMO and step on the footswitch to turn on the LED. Play your instrument
and adjust controls to your liking.
DRY VOLUME KNOB
Sets the output volume of the untreated instrument signal at the KEYS OUTPUT jack.
KEYS VOLUME KNOB
Controls the overall volume of the selected KEYS preset.
CTRL 1 & CTRL 2 KNOBS
See the preset descriptions on the next page for details.
DRY OUTPUT JACK
The DRY OUTPUT jack outputs the signal present at the INPUT jack through a buffer
circuit. The dry signal is outputted regardless if the KEY9 is in Effect or Bypass mode.
KEYS OUTPUT JACK
The KEYS OUTPUT jack sends the mix set by the DRY and KEYS VOLUME controls.
BYPASS FOOTSWITCH
Press the BYPASS footswitch to toggle the KEYS OUTPUT jack between buffered Bypass
and Effect mode. The status LED lights when in Effect mode.
PRESET DESCRIPTIONS
1. DYNAMO –An evocation of the “Dyno My”modified Fender Rhodes®electric
pianos of the 1970s and 1980s. CTRL 1 adds bass to the lower strings of your
guitar. CTRL 2 adjusts the "tine" or high-end overtones.
2. WURLI –Electro-Harmonix pays homage to the classic sound of the Wurlitzer®
electric piano. CTRL 1 adjusts tremolo depth. CTRL 2 sets tremolo speed.
3. SUITCASE –This preset pays tribute to the sound of a Fender Rhodes®electric
piano routed through a phase shifter. CTRL 1 adds a bass octave and adjusts the
“tine” or high-end overtones. CTRL 2 sets the phase shifter speed.
4. MALLETS –Here we have the sound of a wood marimba. CTRL 1 adjusts the
volume of the sub-octave voice on bass strings. CTRL 2 sets chorus depth.
5. EIGHTY EIGHT –This preset emulates a Fender Rhodes®88 electric piano with
built-in tremolo. CTRL 1 simultaneously controls the volume of the sub-octave
voice on bass strings and the volume of the hammer strike on the tines. CTRL 2
sets tremolo speed with full counter-clockwise disabling the tremolo effect.
6. TRI-GLORIOUS –EHX’s take on the lush sound of a Dytronics/Dyno My CS-5 Tri
Stereo Chorus. CTRL 1 adjusts chorus depth. CTRL 2 sets chorus speed.
7. VIBES –Here we capture the sound of a metal vibraphone with motorized
tremolo. CTRL 1 adjusts the high pitch attack. CTRL 2 sets tremolo speed.
8. ORGAN –This preset offers a highly touch-responsive percussive organ. CTRL 1
adjusts the sound of the organ, making the sound brighter and fuller as the knob
is turned clockwise. CTRL 2 sets the rotating speaker speed.
9. STEEL DRUMS –A “bang on” recreation of the distinctive metallic sound of a
steel drum. CTRL 1 adjusts chorus depth. CTRL 2 sets chorus speed.
PRESET TEMPLATES
Please see the enclosed setting sheet for suggestions on how to set the knobs for each
preset. A blank user settings page is also included. Photocopy the blank user setting
page to keep a record of your preferred sounds. Or, download a PDF of blank settings
at http://www.ehx.com/assets/instructions/key9-presets-outlines.pdf.
NOTES AND SPECIFICATIONS
Buffered bypass
Input impedance: 1M
Output impedance (for both output jacks): 500
Current draw: 100mA
Rhodes is a registered trademark of Joseph Brandstetter.
Wurlitzer is a registered trademark of Gibson/Baldwin.
TIPS ON GETTING OPTIMUM PERFORMANCE FROM THE KEY9
1. The KEY9 is generally best used as the first pedal in an effects chain. Place
modulation, delay, and reverb effects after the KEY9. The unit will not perform
well if placed in the effects loop of a guitar amp.
2. The KEY9 typically works best using the bridge pickup of a guitar, although some
presets do sound good on the neck pickup. If a guitar’s pickup has a weak
output, performance can be improved by putting a clean boost or a compressor
in front of the KEY9. Avoid placing a distortion or overdrive in front of the KEY9.
Placing distortion or overdrive in front of the KEY9 will muddy up the input signal
and cause the tracking to be unstable. If overdrive or distortion is desired it’s
best to place it after the KEY9.
3. Some guitar amplifiers have an uneven, peaky frequency response that may
cause some sounds to be over accentuated. Use a compressor in front of or after
the KEY9 to help smooth out this “peakiness.”
4. The KEY9 upper frequency range is limited for sounds such as Vibes or Mallets.
This limitation is due to nature of the actual sounds of these percussive-oriented
instruments, where harmonics decrease as the note is played increasingly higher.
On guitar, the usable range for these sounds goes up to the 15th fret of the
high-E string. The harmonics of the attacks are just too high above that and all
that is left is the sound’s attack. As a point of reference, think about the top
notes on a piano, where just about all you can hear is the attack in the form of
hammer noise.
5. The KEY9 typically tracks great and will follow whatever you play, but sloppy
guitar playing will sound like a sloppy electric piano player. The KEY9 will bend
notes as you bend them on the guitar. However, electric pianos do not bend, so
for a more authentic sound avoid or limit bending.
Other Electro-Harmonix Music Pedal manuals

Electro-Harmonix XO The Worm User manual

Electro-Harmonix

Electro-Harmonix XO The Worm User manual

Electro-Harmonix BASS CLONE User manual

Electro-Harmonix

Electro-Harmonix BASS CLONE User manual

Electro-Harmonix Blurst User manual

Electro-Harmonix

Electro-Harmonix Blurst User manual

Electro-Harmonix nano STEEL LEATHER User manual

Electro-Harmonix

Electro-Harmonix nano STEEL LEATHER User manual

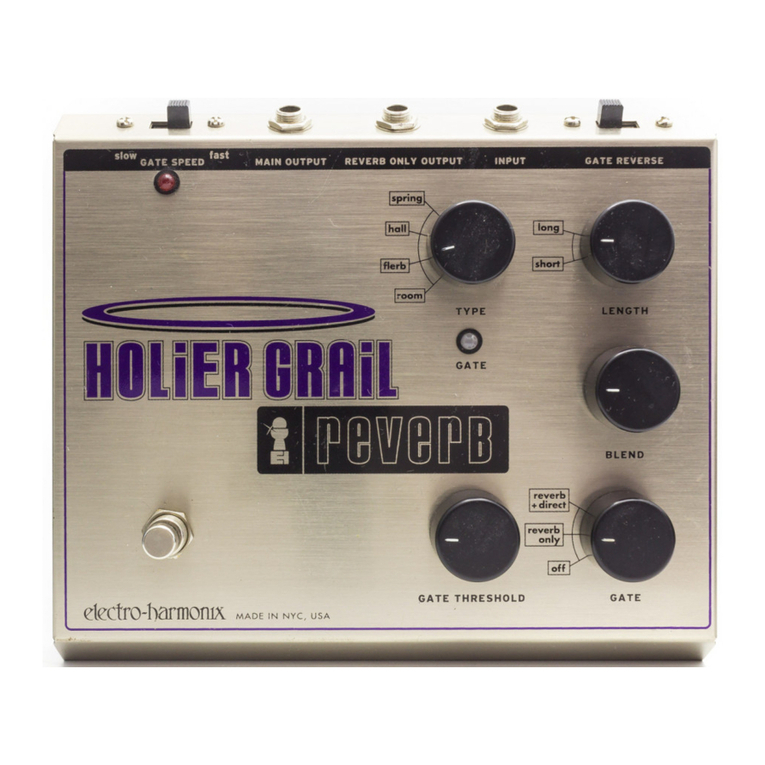
Electro-Harmonix Holier Grail User manual

Electro-Harmonix

Electro-Harmonix Holier Grail User manual

Electro-Harmonix DELUXE MEMORY MAN User manual

Electro-Harmonix

Electro-Harmonix DELUXE MEMORY MAN User manual

Electro-Harmonix MEL9 User manual

Electro-Harmonix

Electro-Harmonix MEL9 User manual

Electro-Harmonix Dual Expression User manual

Electro-Harmonix

Electro-Harmonix Dual Expression User manual

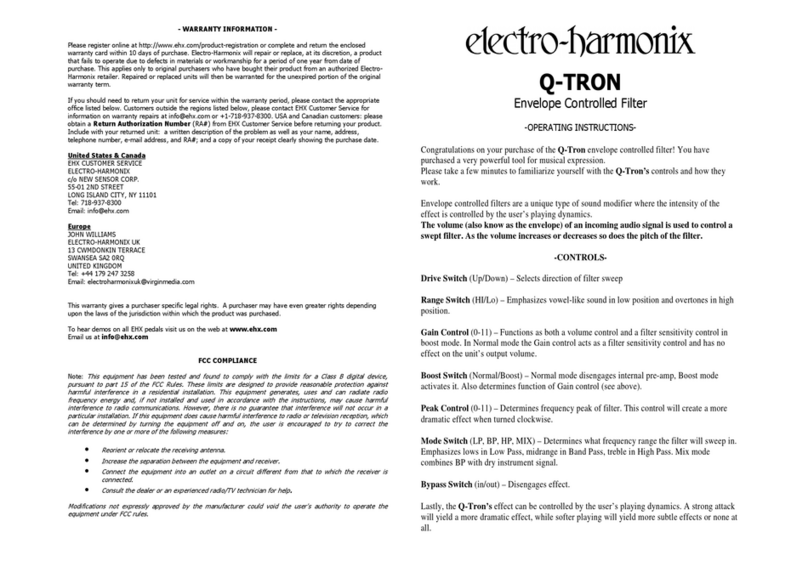
Electro-Harmonix Nano Q-Tron User manual

Electro-Harmonix

Electro-Harmonix Nano Q-Tron User manual

Electro-Harmonix XO ENIGMA: Q BALLS User manual

Electro-Harmonix

Electro-Harmonix XO ENIGMA: Q BALLS User manual

Electro-Harmonix SPRUCE GOOSE OVERDRIVE User manual

Electro-Harmonix

Electro-Harmonix SPRUCE GOOSE OVERDRIVE User manual

Electro-Harmonix XO STEREO ELECTRIC MISTRESS User manual

Electro-Harmonix

Electro-Harmonix XO STEREO ELECTRIC MISTRESS User manual

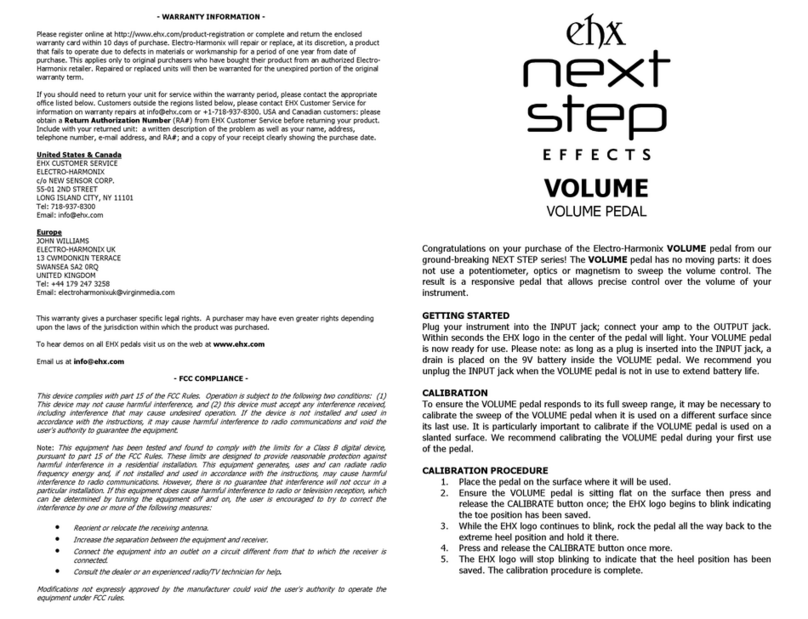
Electro-Harmonix NEXT STEP Series User manual

Electro-Harmonix

Electro-Harmonix NEXT STEP Series User manual

Electro-Harmonix Grand Canyon User manual

Electro-Harmonix

Electro-Harmonix Grand Canyon User manual

Electro-Harmonix NANO OPERATION OVERLORD User manual

Electro-Harmonix

Electro-Harmonix NANO OPERATION OVERLORD User manual

Electro-Harmonix NEXT STEP SERIES User manual

Electro-Harmonix

Electro-Harmonix NEXT STEP SERIES User manual

Electro-Harmonix TUBE EQ User manual

Electro-Harmonix

Electro-Harmonix TUBE EQ User manual

Electro-Harmonix Stereo Polychorus XO User manual

Electro-Harmonix

Electro-Harmonix Stereo Polychorus XO User manual

Electro-Harmonix XO OCTAVE MULTIPLEXER User manual

Electro-Harmonix

Electro-Harmonix XO OCTAVE MULTIPLEXER User manual

Electro-Harmonix NANO POG User manual

Electro-Harmonix

Electro-Harmonix NANO POG User manual

Electro-Harmonix XO Bass Metaphors User manual

Electro-Harmonix

Electro-Harmonix XO Bass Metaphors User manual

Electro-Harmonix Lizard Queen User manual

Electro-Harmonix

Electro-Harmonix Lizard Queen User manual

Electro-Harmonix Pitch Fork User manual

Electro-Harmonix

Electro-Harmonix Pitch Fork User manual

Electro-Harmonix HOLY GRAIL MAX User manual

Electro-Harmonix

Electro-Harmonix HOLY GRAIL MAX User manual

Popular Music Pedal manuals by other brands

digi-tech Bass Whammy quick start guide

digi-tech

digi-tech Bass Whammy quick start guide

BOSSCO PH-2 Super Phaser instructions

BOSSCO

BOSSCO PH-2 Super Phaser instructions

Glab True Bypass Wah-Pad user manual

Glab

Glab True Bypass Wah-Pad user manual

BOSSCO Boss DD-3A Service notes

BOSSCO

BOSSCO Boss DD-3A Service notes

BOSSCO CEB-3 Bass Chorus owner's manual

BOSSCO

BOSSCO CEB-3 Bass Chorus owner's manual

TREX ToneBug user manual

TREX

TREX ToneBug user manual

BOSSCO NS-2 Noise Suppressor instructions

BOSSCO

BOSSCO NS-2 Noise Suppressor instructions

tech21 REDRIPPER owner's manual

tech21

tech21 REDRIPPER owner's manual

BOSSCO BD-2 Blues Driver owner's manual

BOSSCO

BOSSCO BD-2 Blues Driver owner's manual

BOSSCO AW-3 Dynamic Wah owner's manual

BOSSCO

BOSSCO AW-3 Dynamic Wah owner's manual

tech21 SansAmp Para Driver DI v2 owner's manual

tech21

tech21 SansAmp Para Driver DI v2 owner's manual

BOSSCO BE-5B owner's manual

BOSSCO

BOSSCO BE-5B owner's manual

tubesteader Lightkeeper quick start guide

tubesteader

tubesteader Lightkeeper quick start guide

nux MG-100 owner's manual

nux

nux MG-100 owner's manual

SYNQ AUDIO RESEARCH DFX 48 Operation manual

SYNQ AUDIO RESEARCH

SYNQ AUDIO RESEARCH DFX 48 Operation manual

Fatar Studiologic FP/50 user guide

Fatar

Fatar Studiologic FP/50 user guide

Dr Scientist DUSK manual

Dr Scientist

Dr Scientist DUSK manual

Source Audio EQ2 Programmable EQ user guide

Source Audio

Source Audio EQ2 Programmable EQ user guide

manuals.online logo
manuals.online logoBrands
  • About & Mission
  • Contact us
  • Privacy Policy
  • Terms and Conditions

Copyright 2025 Manuals.Online. All Rights Reserved.