1
www.emsdiasum.com
P.O. Box 550 s1560 Industry Road s Hateld PA 19440
Toll Free: 1-800-523-5874Electron Microscopy Sciences
Tel: 215-412-8400 sFax: 215-412-8450
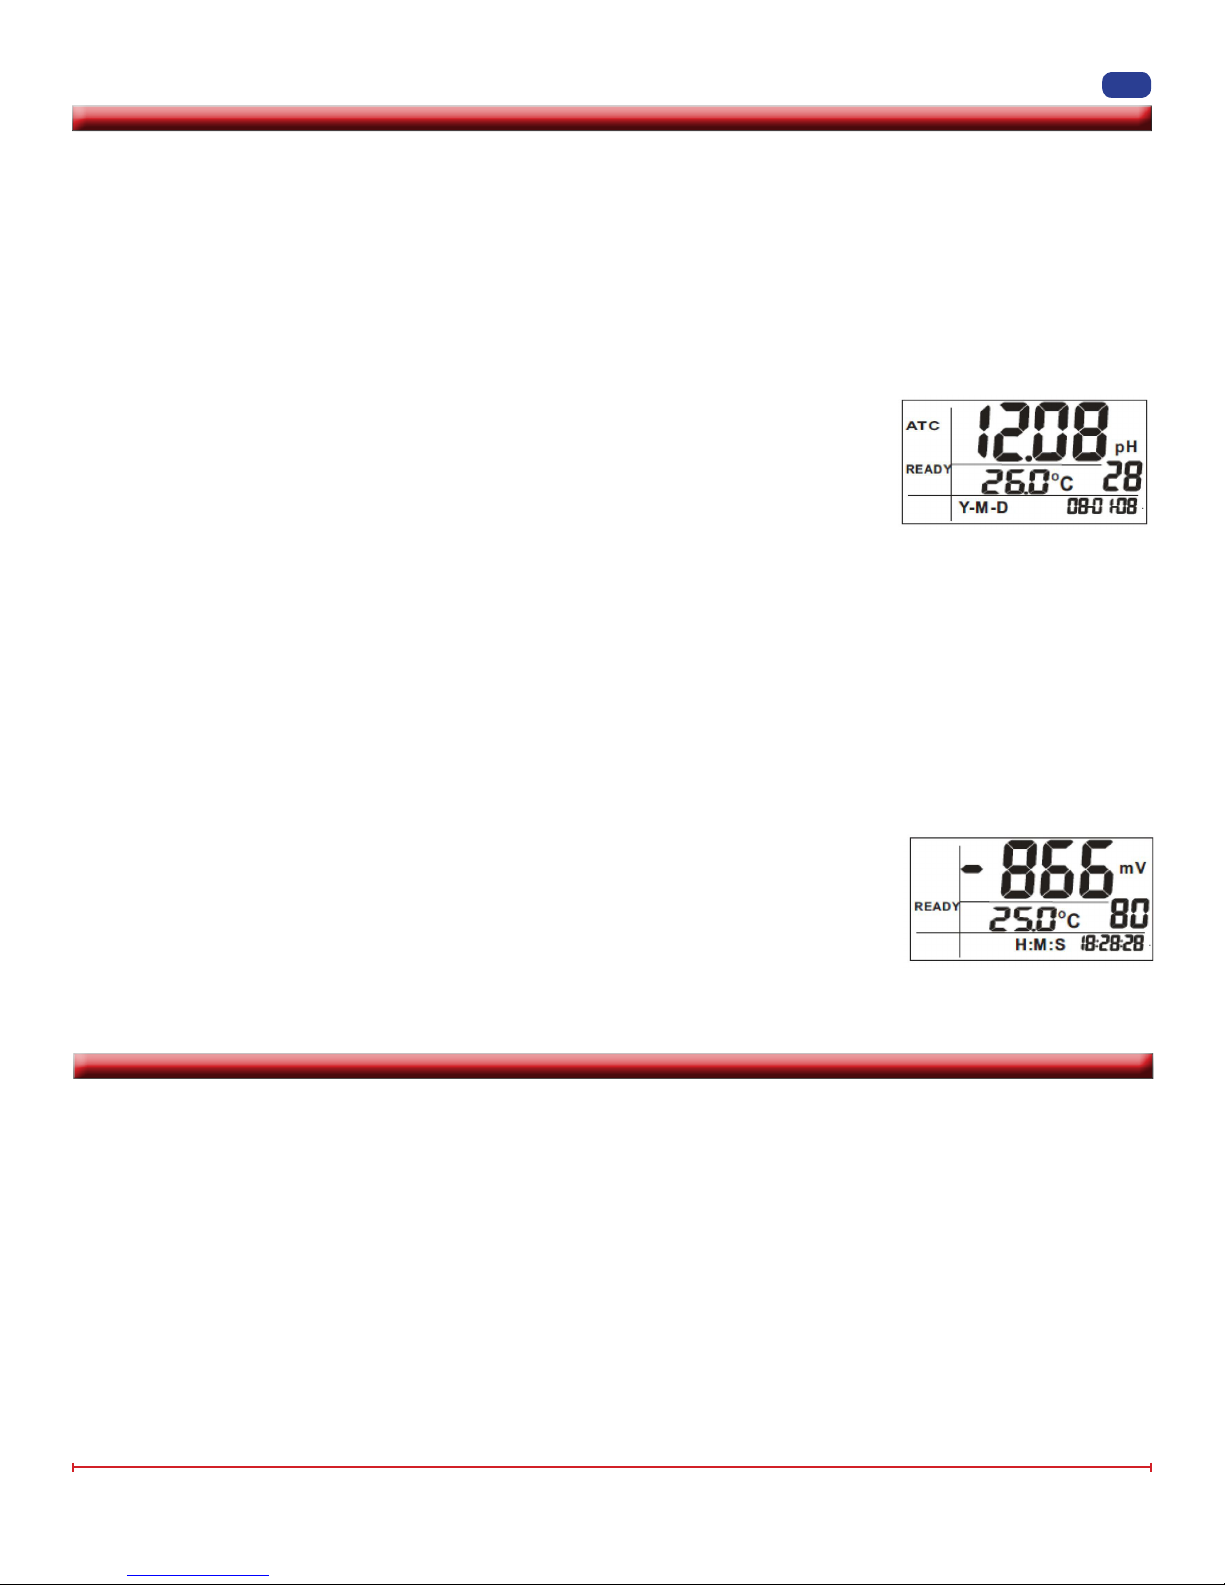
LCD Display
• LCD display indicates pH, mV, ORP
(mV).
• pH, mV indicates the unit of measure
displayed.
• The two digits to the right of °C °F on
the display indicate the total number
of records that contain stored data.
• Real time 88:88:88 is real-time Y-M-D
or H:M:S.
• °C/°F are temperature units of measure.
HLD
ATC
MAX
MIN
READY
CAL
%
mV
pH
Press to switch mode.
Press to increase setting value.
REC
Press to turn meter on/off. Press and hold
for more than 1 second to enter SET mode.
Press to freeze reading. Press again to re-
lease. Press for more than 1 second to switch
between NORMAL and RECALL mode.
Switch between NORMAL and CALIBRA-
TION mode Press to enter manual tem-
perature setting. In calibration, setting or
recall mode, press to return to normal.
Press to conrm calibration/parameter
setting. Press to view the min/max of the
memory in recall mode.
Press to save current reading.
Press to decrease the setting value.
• HLD Holds the current reading on the dis-
play.
• ATC means the meter is in automatic tem-
perature compensation mode.
• MAX, MIN indicate maximum or minimum
memory value.
• READY indicates the reading is stable.
• CAL indicates the meter is in calibration
mode.
• REC indicates the meter is in recall mode.
{
{
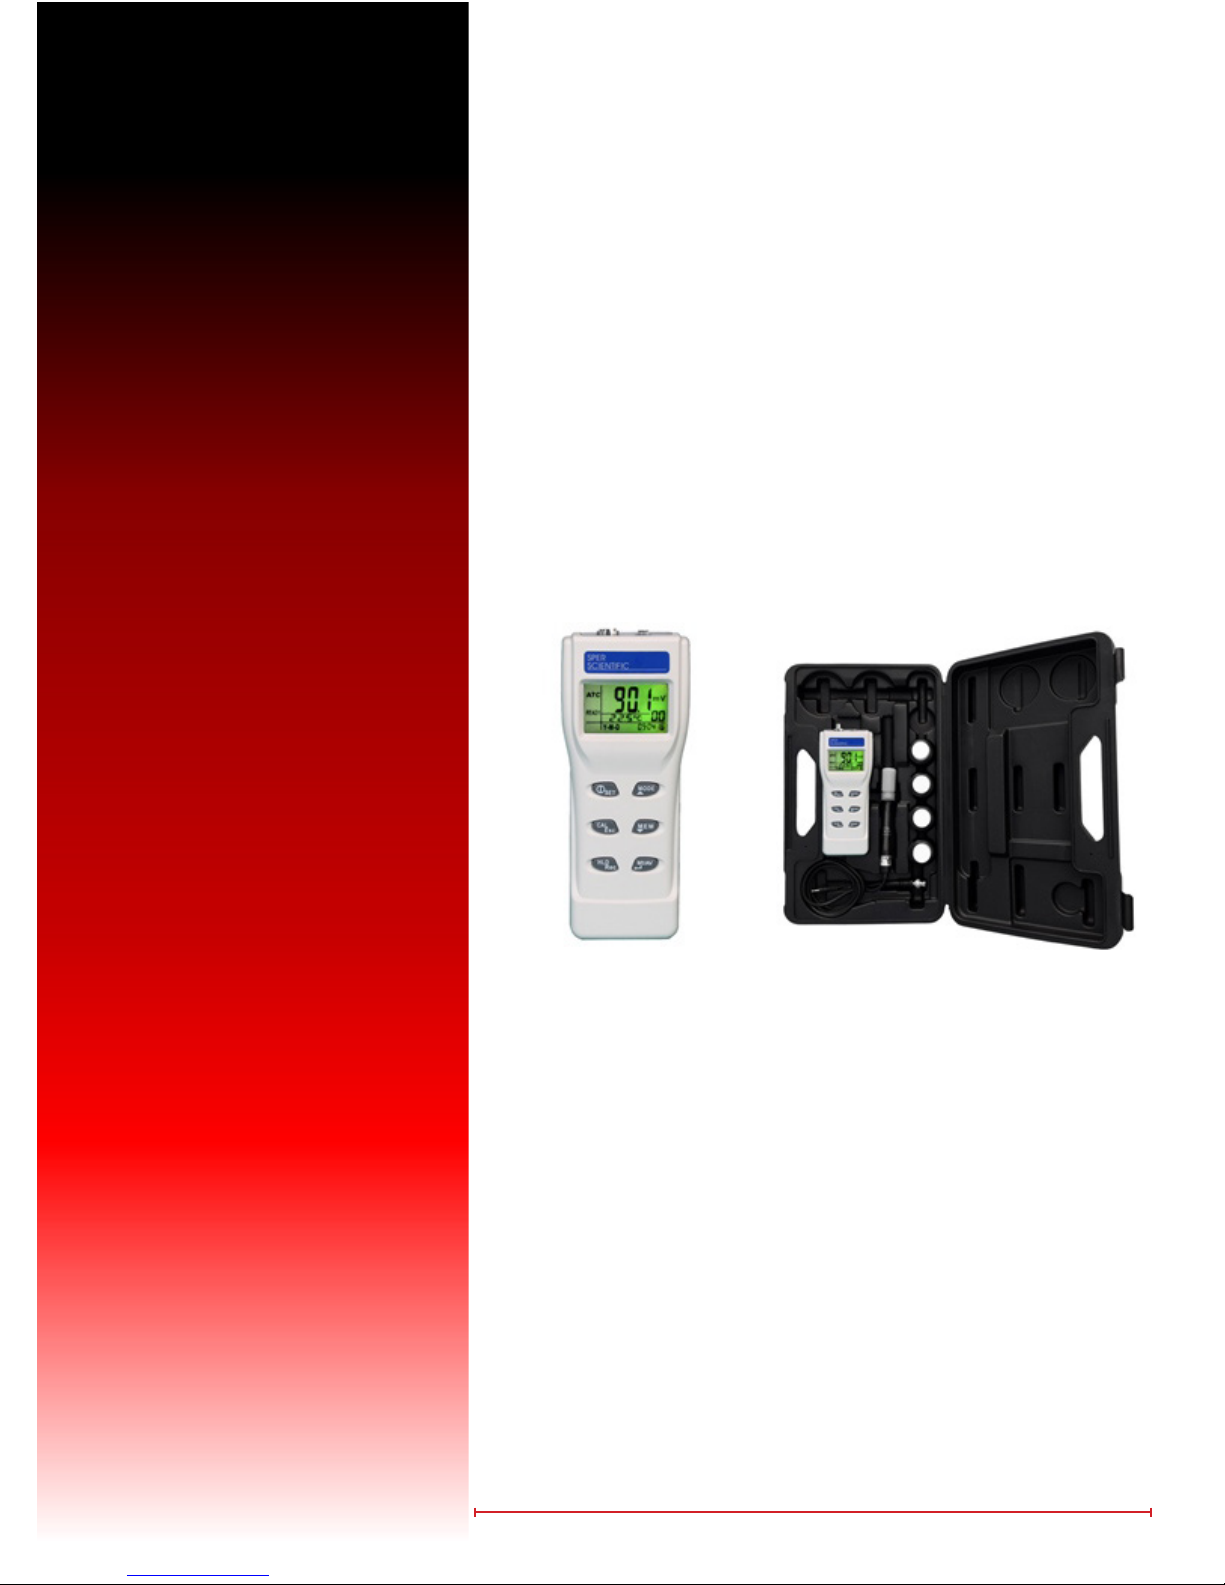
Introduction
Benchtop level analysis in the eld! Reads either pH (in 0.01 resolution) or mV in large digits, with time, date, and tem-
perature (in °C or °F) shown simultaneously on the lower display. Also indicates stable reading, low battery and displays
calibration data. Scroll 99 data points with time stamps and min/max readings directly on the backlit LCD.
Features:
• Multi-display LCD screen
• 5 points pH calibration
• N.I.S.T. buffer recognition
• Maximum and minimum
• Hold function
• Backlight for dark environment operation
• Easy to view probe calibration data
• “Ready” icon on LCD display indicates stability for reading
• USB connection for online logging and uploading 99 mem-
ories to PC for analysis
• Automatic or manual temperature compensation
• External power adapter (optional) for long use testing
• Auto power off to save battery