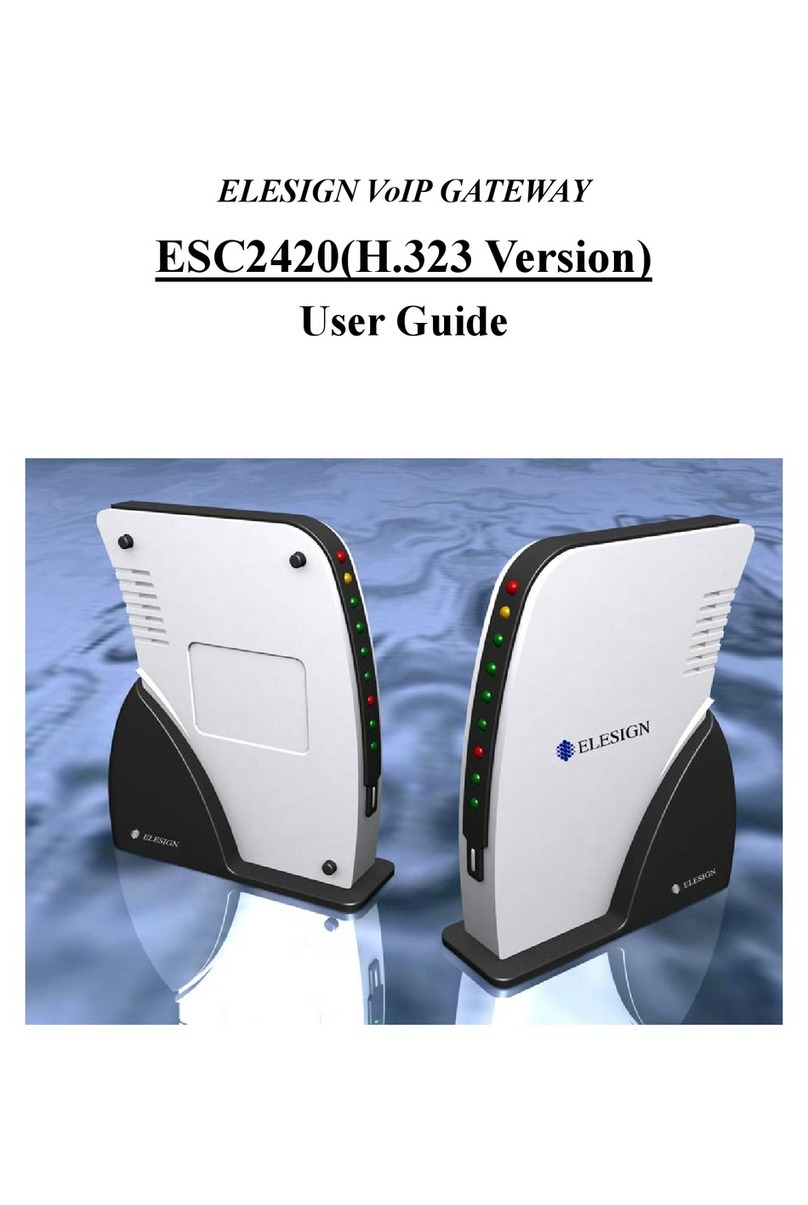
Elesign ESC1700 User manual

ESC1700 Manual v.3 ∆ο Νοτ ∆υπλιχατε Ελεσιγν ινχ. προπριεταρψ
- 1 -
ESC1700 Manual v.3
- Contents -
1. Installation of ESC1700
2. PC set up
3. Network Set up
4. H.323 Set up
5. Make a call
Appendix
This manual is to configure and evaluate ESC1700.
For any inquiries, please contact Elesign inc. at
Address: #404 KOLON techno valley 60-4 Kasan-dong,
Keumjung-gu, Seoul, Korea
Tel: 82-2-866-6190
Fax: 82-2-6332-6013
E-mail: Techsupport@elesign.com
ESC1700
ESC1700 is a 1-port gateway, which enables Internet phone call thru
existing conventional phone. It’s a stand-alone device, which means no
PC connection is necessary to use ESC1700 except for the initial
configuration thru built-in web-server.
This manual is to be used for
!The evaluation of standard features in various VoIP network
system for those who want to employ H.323 based solution
!The interoperability with various VoIP gatekeeper and VoIP
gateways to produce the optimized product
!The marketing tools, especially to present to the overseas
customers who need to test ESC1700 without any representative
from Elesign.
This manual and web-based configuration is for the experts or the
engineers who are familiar with the system.
Components check list
!1 ESC1700
!1 RJ-45 Cable
!1 RJ-11 Telephone line

ESC1700 Manual v.3 ∆ο Νοτ ∆υπλιχατε Ελεσιγν ινχ. προπριεταρψ
- 2 -
!1 ESC1700 manual
!1 Adaptor
Procedure:
Installation of ESC1700 "
""
"PC Set up "
""
"Network Set up "
""
"
H.323 Set up
1. Installation of ESC1700
Internet
PSTN
Analogue Phone
IP Sharing
PC
Cable M odem
ADSL M odem
LAN Router
Internet
PSTN
Analogue Phone
IP Sharing
PC
Cable M odem
ADSL M odem
LAN Router
#Remove the phone line, which is connected from the wall jack to
your existing analogue phone, and connect it to ‘PSTN’ port.
#Find a phone line in the box and connect between ‘PHONE’ port
and your existing analogue phone.
#Remove from your PC the LAN cable for Internet connection and
connect it to ‘UP’ port.
#Find a LAN cable in the box and connect between ‘PC’ port and
your PC.
#Connect an adapter in the box to ‘POWER’.

ESC1700 Manual v.3 ∆ο Νοτ ∆υπλιχατε Ελεσιγν ινχ. προπριεταρψ
- 3 -
; Ηοω το χηεχκ τηε ινσταλλατιον βψ τηε χολορ οφ ΛΕ∆.
#Ωηεν αδαπτερ ισ χοννεχτεδ το ΕΣΧ 700, ινιτιαλ ΛΕ∆ χολορ οφ ‘Πηονε’ ισ ορανγε
ανδ τυρνσ το γρεεν ωιτη ‘χλιχκ’ σουνδ.
[Πλεασε µακε συρε ψου ηεαρ τηε ‘χλιχκ’ σουνδ βεφορε γοινγ το νεξτ στεπ.]
#Ωηεν Ιντερνετ λινε (ΛΑΝ χαβλε) ισ χοννεχτεδ το ΕΣΧ 700, τηε χολορ οφ ‘Λινκ’ ισ
‘Γρεεν’. Ανδ ωηεν Χοµπυτερ ισ χοννεχτεδ ανδ ποωερ οφ ΠΧ ισ τυρνεδ ον, τηε
χολορ χηανγεδ το ‘Ορανγε’. Ιφ ονλψ ΠΧ ισ χοννεχτεδ, χολορ οφ ‘Λινκ’ ισ ‘ΡΕ∆’.
#Ωηεν ψου πιχκ υπ τηε ηανδσετ οφ τηε τελεπηονε, τηε χολορ οφ ‘Ηοοκ’ ισ ‘Ρεδ’.
2. PC Setup
#For Leased-Dynamic IP, Cable Modem, and ADSL modem Users
After the installation, please restart the computer.
If computer is turned off, simply turn on the computer after the
installation.
#For Leased-Static IP Users
1For WIN98/ Window Me users
-Select ‘Control Panel’ from ‘setting’ of start menu
-Select ‘Network’
-Select TCP/IP and click on ‘Property’ button
-Select ‘Obtain an IP address automatically’ and click on
‘OK’ button
-Popup window will appear to restart the computer, then
restart the computer right away by clicking on ‘OK’ button
2For Win2000 users
-Select ‘Control Panel’ from ‘Setting’ of start menu
-Select ‘Network’
-Select ‘Local Connection’
-Click on ‘Properties’ button
-Select ‘TCP/IP’ and click on ‘Property’ button
-Select ‘Obtain an IP address automatically’ and click on
‘OK’ button
3. Network Setup

ESC1700 Manual v.3 ∆ο Νοτ ∆υπλιχατε Ελεσιγν ινχ. προπριεταρψ
- 4 -
1Run Internet Browser (i.e. Explorer)
2Input ‘http://10.0.0.1’ in the address box and hit enter.
[This may take a moment until main screen appears.]
3Select ‘Network Setup’

ESC1700 Manual v.3 ∆ο Νοτ ∆υπλιχατε Ελεσιγν ινχ. προπριεταρψ
- 5 -
4Select an environment that is appropriate to your Internet
connection
5Input necessary information if needed, and click on ‘OK’
button
6Please confirm the information appears, and hit ‘F5’ key.
7Until you see a message ‘Setup complete’ for ‘Network
Status’, hit ‘F5’ key
8When you see a message ‘Setup complete’, then network setup
is successfully done.
4. H.323 Setup
$Set Up for call using IP address (No need to register a
gatekeeper)
1Select ‘H.323 Setup’ from the main screen
2Make sure Gatekeeper is checked for ‘OFF’
3Make sure not to input Gateway address

ESC1700 Manual v.3 ∆ο Νοτ ∆υπλιχατε Ελεσιγν ινχ. προπριεταρψ
- 6 -
4Click on ‘OK’ button
5When ‘H323 Setting Result’ screen appears, hit ‘F5’ key
6To make a call with IP address:
Pick up a handset of the phone and dial as following:
If IP address is 123.123.123.123
"Press ‘123’, ‘#’, ’123’, ‘#’, ‘123’, ‘#’, ‘123’, ‘*’ in
order
• ‘#’ for ‘.’ (Period), ‘*’ as ‘Send’
$Set Up for call thru Gatekeeper
1Select ‘H.323 Setup’ from the main screen.
2Input necessary information to register
• Be sure to fill in every box, except gateway address, with
some number.
Even though some of the information is not necessary for
authentication, fill in with some arbitrary number.
3Check for the Gatekeeper usage

ESC1700 Manual v.3 ∆ο Νοτ ∆υπλιχατε Ελεσιγν ινχ. προπριεταρψ
- 7 -
4Click on ‘OK’ button
5When you see a message ‘Now Registering’ for ‘H323 Setting
Result’, hit ‘F5’ key
[Registering may take a moment.]
6When you see a message ‘Successfully Registered’ for ‘H.323
Status’, then H.323 set up is successfully done
$Set Up for call thru Gateway
1Select ‘H.323 Setup’ from main screen
2Input Gateway address
3Make sure Gatekeeper is checked for ‘OFF’

ESC1700 Manual v.3 ∆ο Νοτ ∆υπλιχατε Ελεσιγν ινχ. προπριεταρψ
- 8 -
4Click on ‘OK’ button
5When you see a message ‘Now Registering’ for ‘H323 Setting
Result’, hit ‘F5’ key
[Registering may take a moment.]
5. Make a call
#VoIP Call (Default)
Dial number "press ‘*’(‘send’ function) button at the end
#PSTN call
-Use ‘Flash’ button to switch to PSTN line
-No ‘Flash’ button, then click on hook for a second.
-When power is out, it automatically switches to PSTN line.
-When UP link is removed from the UP port of ESC1700, it
automatically switches to PSTN line.

ESC1700 Manual v.3 ∆ο Νοτ ∆υπλιχατε Ελεσιγν ινχ. προπριεταρψ
- 9 -
Appendix: Features
Features listed below for management and users are optional. The
features can be selected as customer’s preference.
For management:
1. Capability of switching to preferred Codec
ESC1700 supports various codec such as G.711, G.723.1, and
G.729. The codec can be switched to meet customer’s demand.
2. Remote Update
It supports TFTP for quick and easy upgrade.
3. Remote Management
It supports SNMP for easy management of ESC1700 from the
central system.
For Users:
1. Call Logs (10 incoming/ 10 Outgoing)
Call logs can be check on built-in web server.
2. Dialing IP address
Call to web phone (soft-phone) is possible by dialing IP
address of destination.
(ex: Dialing 211.211.211.233
‘*’ "‘211’ "‘#’ "‘211’ "‘#’ "‘211’ "‘#’ "233
"‘*’)
!First ‘*’ is to distinguish IP address from the regular
phone number.
!‘#’ is for the ‘.’ (Period)
!Second ‘*’ is used as ‘Send’ functioned key.
3. PSTN back up call
When the electricity goes out, it automatically switches to
PSTN.
4. IP sharing
It’s dual MAC system for NAT function. Use ESC1700 & PC
(Internet) at the same time.
5. Call waiting
When you are on the VoIP call, and there is a phone call
thru PSTN, there would a short beep to let you know.
(When you hear a beep, press ‘flash’ button or the hook for

ESC1700 Manual v.3 ∆ο Νοτ ∆υπλιχατε Ελεσιγν ινχ. προπριεταρψ
- 10 -
a second to answer.)
Other Elesign Gateway manuals
