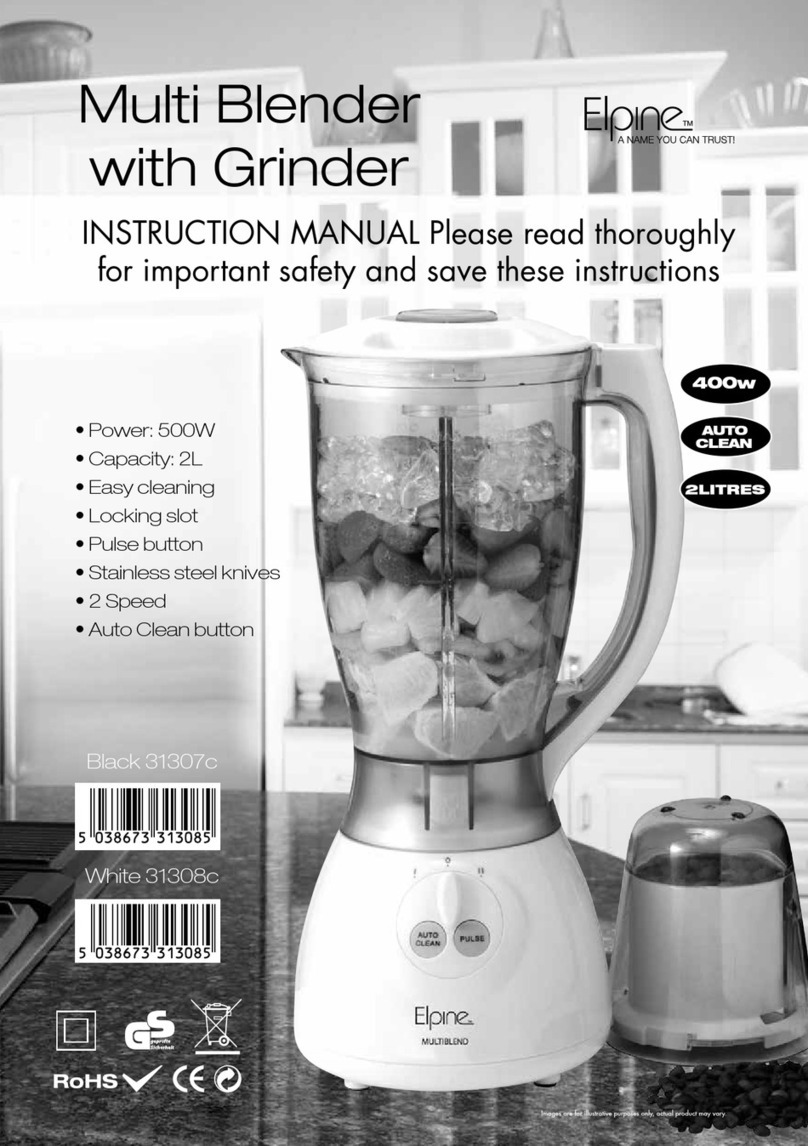
Elpine 31344c User manual

INSTRUCTION
MANUAL
BLeNdeRwIThGRINdeR
31344c
• Power: 500w • 2 Speed
• Capacity: 1.5ltr
• Easy cleaning
• Locking slot
• Auto Clean button
• Pulse button
• Stainless steel blades
Auto
CleAn 1.5ltR
500
WAtts

TECHNICAL INFORMATION
Voltage/frequency: 230V 50Hz(500W)
Glass jar capacity: 1.5L
IMPORTANT SAFEGUARDS
When using electrical appliance, basic safety precaution should always
be followed including the following:
1. Read all instructions before using.
2. To protect against risk of electrical shock do not put the unit in water or other liquid.
3. Close supervision is necessary when any appliance is used near children.
4. Unplug from electrical socket when not in use, and before any removal of parts, and before
cleaning.
5. Avoid contact with any moving parts.
6. This appliance has a polarized plug. To reduce the risk of electric shock, this plug will be fit in a
polarized outlet only one way. If the plug does not fit fully in the outlet, reverse the plug. If it still
does not fit, contact a qualified electrician. Do not modify the plug in any way.
7. Do not operate any appliance with a damaged cord or plug, or after if the appliance Malfunctions.
BefoRe opeRAting this unit, pleAse ReAd these
instRuCtions Completely
feAtuRes
01). Inner cover
02). Lid
03). Glass jar
04). Sealing ring
05). Cutting blade
06). Cup base
07). Motor block
08). Rotary switch
09). Jug
10). Ring

All repairs must be carried out by an Electrically Qualified Person.
8. Only use attachments that are supplied with this appliance.
9. Do not use outdoors.
10. Do not let cord hang over edge of a table or counter.
11. Keep hands and utensils out of container while blending. The scraper may be used but only
when the blender is not running.
12. Blades are sharp. handle with care.
13. To reduce the risk of injury, never place cutter-assembly blades on base without jar properly
attached.
14. Always make sure the cover is securely locked in place before operating appliance.
15. Always operate blender with cover in place.
16. When blending hot liquids, remove center piece of two-piece cover.
17. Don’t switch on the appliance without any food or water.
18. Only use appliance for its intended use.
sAVe these instRuCtions
BEFORE FIRST USE
• All parts of the blender are to be thoroughly cleaned before being used for the rst time.(see
Section: Cleaning).
• Take out the required length of cable from the cable tidy on the base of the blender and connect
the device to the mains supply.
ASSEMBLY OF THE GLASS JAR
1. PUT THE RUBBER SEALING (4) ON THE INNER EDGE OF THE BLADE UNIT (5).
2. PUT THE BLADE UNIT WITH SEALING RING AND RING (10) INTO THE CUP BASE (6).
3. MOUNT THE GLASS JAR (3) ONTO THE CUP BASE AND SECURE IN PLACE BY TURNING IN A
CLOCKWISE DIRECTION UNIT IT IS FIXED TOGETHER.
4. MOUNT THE CUP WITH CUP UNIT ONTO THE BASE UNIT.
5. AFTER PUTTING THE INGREDIENTS IN THE CUP FIT THE LID (2) ONTO THE CUP BY
PRESSING DOWN.
6. INSERT THE INNER COVER (1) INTO THE OPENING OF THE LID, AND TURN IT IN
ANTICLOCKWISE DIRECTION UNIT IT IS LOCKED IN PLACE..
7. PUT THE BLADE UNIT WITH SEALING RING INTO THE CUP BASE (6).
8. MOUNT THE GLASS JAR (3) ONTO THE CUP BASE UNIT AND TUNE THE CUP BASE UNIT, AND
TUNE THE CUP BASE UNIT IN CLOCKWISE DIRECTION UNIT IT IS FIXED.
9. MOUNT THE CUP WITH CUP UNIT ONTO THE BASE UNIT.
10. AFTER PUTTING THE INGREDIENTS IN THE CUP, FIX THE LID (2) ONTO THE CUP BY
PRESSING DOWN.
11. INSERT THE INNER COVER (1) INTO THE OPENING OF THE LID, AND TURN IT IN
ANTICLOCKWISE DIRECTION UNTIL IT IS LOCKED.

INSERTING THE GLASS JAR
1. Make sure that the blender is switched off (Switch in the ‘0’ setting).
2. Place the jug (9) on to the motor block (7) and press down until securely engaged.
USE
1. Place the foodstuff you wish to process into the glass jar.
2. Put the lid on the glass jar and close securely. Place the measuring cap into the hole in the lid and
turn clockwise to lock.
3. Switch on the motor block:
Speed setting 1 : Use for light usage with liquids
Speed setting 2 : Use for more solid consistency - for mixing liquids and solid foodstuffs
M setting : for ice crushing & shor,powerful impulse movements(The switch does not permanently
engage in the ‘M’ setting.You have to hold the switch in the ‘M’ setting or turn it repeatedly into
the ‘M’ setting)
After using the blender,always move the switch into the ‘0’ setting and pull out the mains plug.
To remove the glass jar just lift it up. You do not have to rotate the glass jar to remove it.
USEFUL TIPS
• To achieve the best results when pureeing solid ingredients, place small portions into the glass jar
one by one instead of placing a large quantity all at once.
• If you are processing solid ingredients cut them into small pieces (2-3cm) rst.
• When mixing solid ingredients start off rst with a small amount of liquid, then gradually add more
and more liquid through the opening in the lid.
• Always place your hand on top of the blender when you are operation the device.
• Be careful when processing hot liquids.
• For stirring solid or very thick liquid ingredients we recommend that you use the blender in impulse
mode to prevent the blades from becoming stuck.
MOTOR BLOCK
Never immerse the motor block in water. Wipe with a moist cloth only.
SIMPLE CLEANING/ RINSING OUT THE ASSEMBLED GLASS JAR
Empty the glass jar and fill it with water. Place on the motor block and turn the switch several times
into the ‘M’ setting. Empty the glass jar and rinse until clean.
Thorough cleaning of the dismantled glass jar
Ensure that the glass jar is completely empty before you unscrew the retaining ring.
Be careful when handling the cutting blade. All removable parts are suitable for
the dishwasher. We reserve the right to make amendments.

WARnings:
1. This appliance is not intended for prolonged operation.
2. This appliance must not operate when there’s nothing in the jar.
3. Do not touch the blade when appliance in service.
4. This appliance is not intended for use by persons(including children) with reduced physical,
sensory or mental capabilities, or lack of experience and knowledge, unless they have been given
supervision or instruction concerning use of the appliance by a person responsible for their safety.
Children should be supervised to ensure that they do not play with the appliance.
5. The appliance should be repaired by electrically qualified professionals.
6. Switch off the appliance and disconnect from supply before changing accessories or approaching
parts that move in use.
BLeNdeRwIThGRINdeR
31344c
CORRECT DISPOSAL OF THIS PRODUCT
This marking indicates that this product should not be disposed with other household
wastes throughout the EU. To prevent possible harm to the environment or human
health from uncontrolled waste disposal, recycle it responsibly to promote the
sustainable reuse of material resources. To return your used device, please use the
return and collection systems or contact the retailer where the product was purchased.
They can take this product for environmental safe recycling.

uK plug ReWiRing
Your appliance operates on 220-240V-SOHz AC Mains and comes fitted with a 3-pin
BSI Approved plug, so that it is ready for use by simply plugging into AC Mains.
Should you need to change or refit a plug, proceed as follows:
IMPORTANT:
The wires in the mains lead are coloured in
accordance with the following code:
BLUE : NEUTRAL (N)
BROWN : LIVE (L)
GREEN &YELLOW : EARTH (E)
As the colours of the wires in the mains lead
of this appliance may not correspond with the
coloured markings identifying the terminals in
you plug, proceed as follows:
The wire which is coloured BLUE must be
connected to the terminal which is marked with the letter “N” or coloured BLACK.
The wire which is coloured BROWN must be connected to the terminal which is
marked with the letter “L or coloured RED.
The wire which is coloured GREEN & YELLOW must be connected to the terminal
which is marked with the letter “E” or or coloured GREEN.
Always ensure that the Mains Cord is located into the Plug through the Cord Guard
or Cable Clamp, and that the Cord Guard screws are lightened to clamp the Cord
(outer sheath and inner coloured wires) in position in the Plug. Make sure the Plug
top is also fitted securely.
This appliance must be protected by a 13-amp fuse in a 13-amp type (BS1363) plug.
Should you need to replace lhe fuse, use only an ASTA approved BS 1362 fuse.
Table of contents
Other Elpine Blender manuals
