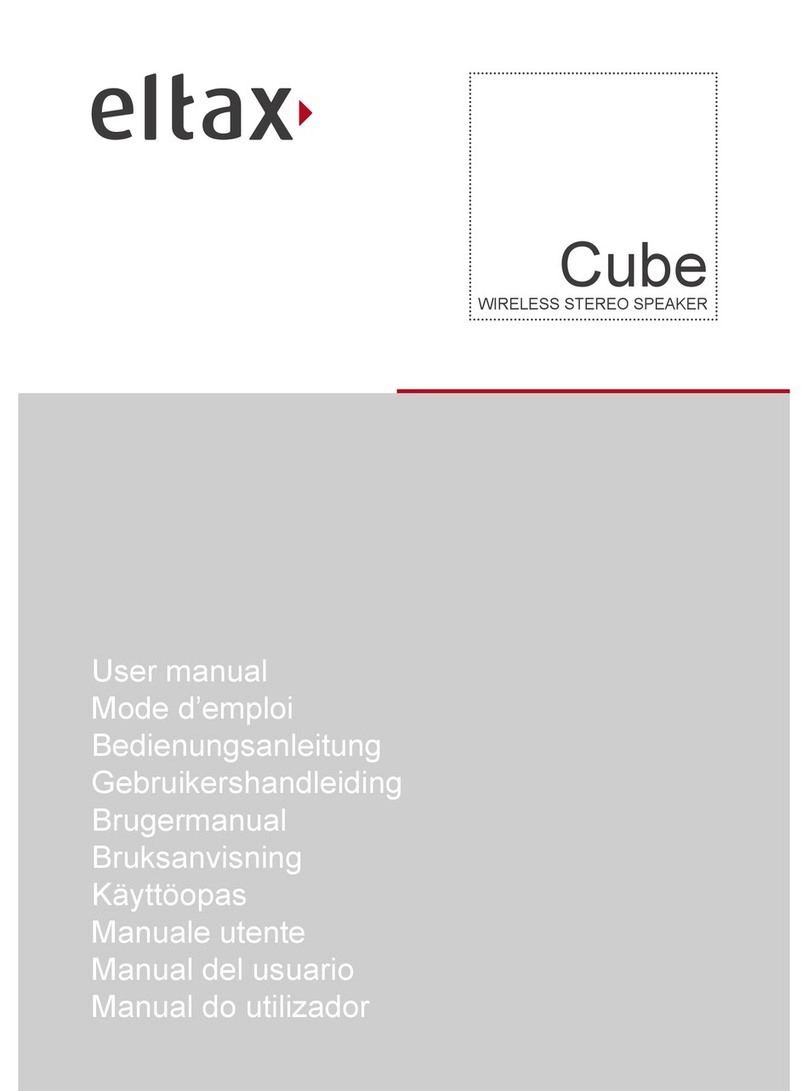
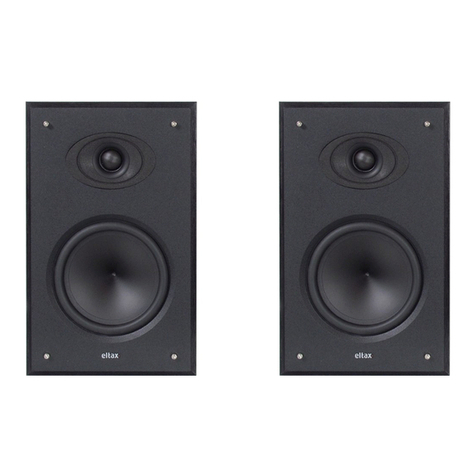
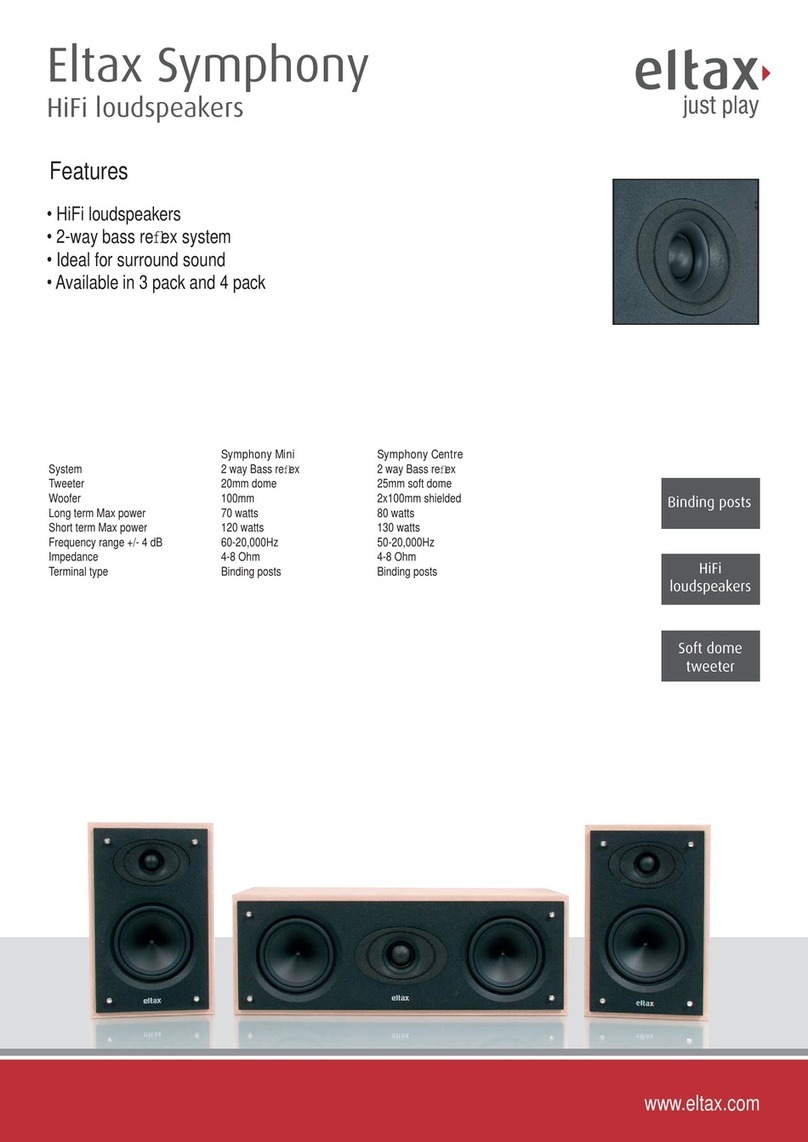
Eltax Monitor Series User manual

Monitor III BT
Powered Bluetooth speaker
User’s manual
Mode d’emploi
Bedienungsanleitung
Gebruikershandleiding
Brugermanual
Bruksanvisning
Käyttöopas
Manuale utente
Manual del usuario
Manual do utilizador

SAFETY PRECAUTIONS
INFORMATION
FRONT-AND REAR PANEL
REMOTE CONTROL
CONNECTING YOUR SPEAKERS
BLUETOOTH Monitor III BT Powered
USE WITH AUX input / USB charge
USE WITH OPTICAL DEVICES
LIMITED WARRANTY
SPECIFICATIONS

MONITOR III BT
User’s manual
SAFETY PRECAUTIONS
INFORMATION
FRONT-AND REAR PANEL
REMOTE CONTROL
CONNECTING YOUR SPEAKERS
BLUETOOTH Monitor III BT Powered
USE WITH AUX input / USB charge
USE WITH OPTICAL DEVICES
LIMITED WARRANTY
SPECIFICATIONS
UK

CONGRATULATIONS ON YOUR NEW MONITOR III BT POWERED SPEAKERS.
PLEASE TAKE A MOMENT TO READ THIS MANUAL. AND ENJOY
SAFETY
Safety Instructions
1) Read these instructions.
2) Keep these instructions.
3) Pay attention to all warnings.
4) Follow the instructions.
5) Do not use this apparatus near water.
6) Clean only with dry cloth.
7) Do not block any ventilation openings. Install in
accordance with the manufacturer’s instructions.
8) Do not install near any sources such as
radiators, heat registers, stoves, or other
apparatus (including amplifiers) that produce
heat.
9) Do not defeat the safety purpose of the
polarized or grounding-type plug, a polarized plug
has two blades with one wider than the other, a
grounding type plug has two blades and a third
grounding prong. The wide blade or the third
prong are provide for your safety. If the provided
plug does not fit into your outlet, consult an
electrician for replacement of the obsolete outlet.
10) Protect the power cord from being walked
on or pinched particularly at plugs, convenience
receptacles, and the point where they exit from
the apparatus.
11) Only use attachments/accessories specified
by the manufacturer.
12) Unplug this apparatus during lightning’
storms or when unused for long periods of time.
13) Refer all servicing to qualified service
personnel, Servicing is required when the
apparatus has been damaged in any way, such
as power-supply cord or plug is damaged, liquid
has been spilled or objects have fallen into the
apparatus, the apparatus has been exposed to
rain or moisture, does not operate normally, or
has been dropped.
14) Apparatus shall be connected to a proper
mains socket outlet.
INFORMATION
Unpacking
These speakers were carefully tested and
inspected during production, before packaging
and shipping. After unpacking please check for
any damage. It is rare that a unit is damaged
during shipping. But if this does happen, contact
your retailer immediately.
We recommend that you keep the original carton
and packing material for future shipping.
Recommended Speaker Setup
Correct speaker placement has a huge impact on
sound quality. There are many different theories,
but all rooms and tastes are different so it’s
impossible to specify a correct placement. We
do suggest you experiment with a few different
locations to see what is best for you.
For the best bass response, we recommend
that you keep a minimum distance of 20-25 cm
between the speakers and the rear wall. For
height, position the speakers with the tweeters at
eye level of your most common listening position.
Speaker Conditioning and Break-in
Although a break-in period is not required, we
recommend that you play between 24 to 48 hours
of music through the speakers before doing any
critical listening or speaker placement.
Speaker Cleaning
We don’t recommend using any solvents or
cleaners on cabinets or speaker driver units. Just
wipe down with a soft, dry cloth.
UK

FRONT AND REAR PANEL
1. Remote receive window
•Red:standbyorAuto-Standby
( after 60 minutes without playing )
•Green:ON
•White:Bluetoothsourceisconnected
•Blinkingwhite:Duringpairingwithyour
Bluetooth source
2. Aux 1 ( Input for right/left RCA stereo plugs
from CD/DVD, TV & Turntable.)
3. Aux 2 ( Input for 3.5mm mini-jack plug, from
iPod, PC, phone etc.)
4. SUB OUT ( For connecting an external active
subwoofer)
5. Optical audio in ( For connecting CD/DVD, TV
etc.)
6. Coaxial audio in ( For connecting CD/DVD, TV etc.)
7. Right speaker output Signal output, for connecting
the right passive Monitor III BT speaker.
8. USB charge socket (5V DC charge for iPod etc.)
9. Power supply input
10. Fuse holder, if fuse needs to be replaced only
use same type and value.
IMPORTANT; remember to unplug the power
cable from mains socket before opening the
fuse holder.
11. Switch for input voltage
12. Power ON/OFF
13. Phono/Line Switch
14. Ground screw Terminal
Powe re d blue tooth s pea k er
GND
AUX1 LEVEL
PHONO LINE
13 14
UK

REMOTE CONTROL
1. Mute
2. Reset Bass and Treble EQ setting
3. ON / Standby
4. Previous Track ( for Bluetooth input )
5. Play / Pause ( for Bluetooth input )
6. Next Track ( for Bluetooth input )
7. Bluetooth Input
8. AUX1 (RCA Input )
9. AUX2 (3.5 mm Stereo Mini-Jack Input )
10. Bluetooth pairing button
11. Optical Input
12. Coaxial Input
13. Volume
14. Treble EQ
15. Bass EQ
UKUK

CONNECTING YOUR SPEAKERS
STEP 1
Connect the RED (+) and BLACK (-) terminals from the left speaker to the corresponding terminals on
the right speaker using the included speaker cable.
Note:Becausethissystemisself-powered,donotconnectthespeakerterminalstothespeaker
outputs of a stereo receiver.
STEP 2
Connect the power cord into the left speaker and the other end into the wall outlet.
BLUETOOTH FUNCTION
If you have a Bluetooth audio device, such as smartphone, music player, computer and wants to
connectitwithMonitorIIIBTPoweredspeakers,youshouldpairthemasbelow:
1. PowerON:
• MonitorIIIBTPoweredspeakers
• BluetoothfunctiononyourBluetoothaudiodevice.
2. SelectBluetoothinputwiththeremotecontrol,thewhiteLEDwillbeflashingslowly:
• ifnot,anotherBluetoothaudiodeviceisalreadyconnected.
Please disconnect it by shutting down its Bluetooth function
• Nowpressthe““button,theBluetoothgoesintopairingstate,thatmeansnow
the Monitor III BT goes into detectable state, the white LED will flash quickly,
this state will last for 2min.
3. PleaseuseyourBluetoothdevice,searchnewBluetoothdevices,find“MonitorIIIBT”,
andconnectwithit.Ifpairingcodeisneededuse“1234”or“0000”.
4. If pairing successfully, white LED will stay solid.
5. If using a previously paired Bluetooth audio device, there is no need to do pairing again.
Power ed bluetoot h speak er
GND
AUX1 LEVEL
PHONO LINE
UK

USB CHARGE
The back panel USB plug is made to charge your
electronic device ( smartphone, MP3 player ).
Note:nosoundwillbesenttothespeakertroughtthis
USB plug.
Powered bluetooth speak er
GND
AUX1 LEVEL
PHONO LINE
AUDIO
R
L
PHONO
GND
PHONO
(Forusewithaturntablewithoutbuilt-inphonopre-amp):
Slide the Phono / Line switch to phono position.
Connect the RCA L/R from your turntable to the RCA L/R
inputs on the rear panel of the Eltax Monitor III BT.
Connect the ground wire from the turntable to the GND on
the rear panel of the Eltax Monitor III BT.
Press RCA on the Eltax Monitor III BT remote.
UK

LIMITED WARRANTY
Dear Customer,
This product has been designed and manufactured to the highest quality standards, however if
something goes wrong with this product, and the country distributor warrants free replacement
parts or repair by the official distributor.
This limited warranty is valid for the original owner for a period of two years from the date of
purchase, it is not transferable.
•Whatiscoveredbythelimitedwarranty:
The limited warranty covers all production and material defects of the product, except for the
damages stated below.
•Whatisnotcoveredbythelimitedwarranty:
Damages caused by packing and transport.
Defects caused by accidents, misuse, normal wear and tear, is-maintenance, voltage variation and
overloading.
Damages caused by incorrect installation or operation Damages caused by modification or repair
by a non-authorised service centre and use of non-original spare parts.
Other damages due to conditions beyond the supplier’s control such as fire, rain, strode of
lightning, war and other force majeure events
•Howtoclaimpartsorrepairunderwarranty:
To have your product serviced under warranty, you must contact the dealer from where you
bought then product.
You will need the original sales invoice or other proof of ownership and date of purchase.
The supplier is liable only to repair or replace defective parts of products and the supplier is not
responsible for indirect losses or damages arising from the use of the product.
Transportation costs for servicing are not covered by the warranty.
A service repair or replacement cannot exceed the value of the product under warranty, in no
event shall the supplier be responsible or liable for special, incidental, consequential or indirect
damages.
MODEL Monitor III BT
Speaker Type/Crossover 2.0 Powered speaker / 2-Way
Tweeter/Midrange/Woofer 2x1" / 2x5"
Nominal Imp / Sensitivity 4ohm / 87±2dB
Nominal /Max Power 2x30W / 2x 50W
Frequency Resp. 60-20KHz
Amplifier Type /AC Power Class-AB/AC110-120V/60Hz or AC220-230V/50Hz
Input Connection Bluetooth 4.0 aptX / JACK 3.5 / Line RCA / Optical / Coaxial
Cabinet / Surface Disposal MDF / Black/White PVC Finish
Cabinet(WxDxH)mm 475x295x420
Gross Weight(KG) 14.5 KG
SPECIFICATIONS
The Bluetooth word mark and logos are owned by the Bluetooth SIG, Inc.
and any use of such marks by Eltax is under license. Other trademarks and trade
names are those of their respective owners.
UK

MONITOR III BT
Mode d’emploi
SOMMAIRE
PRÉCAUTIONS À PRENDRE
INFORMATIONS
PANNEAU AVANT ET ARRIÈRE
TÉLÉCOMMANDE
BRANCHEMENTS DES HAUT-PARLEURS
BLUETOOTH Monitor III BT
Charge par USB
GARANTIE LIMITÉE
CARACTÉRISTIQUES
F

FÉLICITATIONS D’AVOIR ACHETÉ CES HAUT-PARLEURS MONITOR III BT.
PRENEZ LE TEMPS DE LIRE CE MODE D’EMPLOI.
Consignes de sécurité
1 Lisez ces instructions.
2 Conservez ces instructions.
3 Faites attention à toutes les mises en garde.
4 Suivez les instructions.
5 N’utilisez pas cet appareil à proximité de l’eau.
6 Nettoyez-le uniquement avec un chiffon sec.
7 Ne bloquez pas les ouvertures de ventilation.
Installez l’appareil selon les instructions du
fabriquant.
8 N’installez pas l’appareil à proximité d’une
source de chaleur telle qu’un radiateur, une
bouche de chaleur, une cuisinière ou autre
appareil (y compris amplificateur) qui émet de la
chaleur.
9 N’endommagez pas le dispositif de sécurité de
la fiche polarisée ou de la fiche de mise à la terre.
Une fiche polarisée a deux broches, l’une étant
plus large que l’autre. La branche large ou la
troisième branche sont des systèmes de sécurité.
Si la broche fournie ne rentre pas dans la prise,
faites appel à un électricien pour remplacer la
prise obsolète.
10 Protégez le cordon d’alimentation (personne
ne doit marcher dessus et il ne doit pas être pincé
en particulier au niveau des prises), les prises
de courant et le point où les prises sortent de
l’appareil.
11 Utilisez uniquement les accessoires
recommandés par le fabricant.
12 Débranchez cet appareil pendant les orages
ou si vous ne l’utilisez pas pendant une longue
période.
13 Confiez l’entretien et les réparations à
un personnel qualifié. L’appareil doit être
réparé quand il a été endommagé, notamment
si le cordon d’alimentation ou la prise sont
endommagés, si un liquide a été renversé ou si
des objets sont tombés sur l’appareil, si l’appareil
a été exposé à la pluie ou l’humidité, s’il ne
fonctionne pas correctement, ou s’il est tombé.
14 L’appareil doit être branché à une prise
électrique aux normes.
INFORMATIONS
Déballage
Ces haut-parleurs ont été testés et inspectés
soigneusement pendant la production, avant
l’emballage et le transport. Après avoir déballé le
produit, vérifiez s’il ne comporte aucun dégât. Il
arrive rarement qu’un appareil soit endommagé
lors du transport. Mais si tel est le cas, contactez
immédiatement votre détaillant.
Nous vous recommandons de conserver le carton
d’origine et les emballages pour un transport
futur.
Installation recommandée pour les haut-parleurs
Un bon placement des haut-parleurs a un impact
considérable sur la qualité du son. Il existe de
nombreuses théories différentes, de plus toutes
les pièces et préférences diffèrent, il est donc
impossible de spécifier un placement correct.
Nous vous suggérons d’essayer différents
emplacements pour déterminer lequel vous
préférez.
Pour optimiser la réponse des basses, nous vous
recommandons de garder une distance minimale
de 20 à 25 cm entre les haut-parleurs et le mur
arrière. Pour la hauteur, placez les enceintes
avec les haut-parleurs d’aigus au niveau des yeux
de là où vous écoutez habituellement la musique.
Conditionnement et rodage des haut-parleurs
Un rodage n’est pas nécessaire, mais nous vous
recommandons de lire de la musique 24 à 48
heures sur les haut-parleurs avant de faire une
écoute critique ou de placer les haut-parleurs.
Nettoyage des haut-parleurs
Nous déconseillons l’utilisation de solvant ou
de nettoyants sur les enceintes ou les enceintes
acoustiques. Essuyez-les simplement avec un
chiffon sec.
F

PANNEAU AVANT ET ARRIÈRE
1. Récepteur de la télécommande
• Rouge:veilleouveilleautomatique
(au bout de 60 minutes sans lecture)
• Vert:soustension
• Blanc:lasourceBluetoothestconnectée.
• Blancclignotant:lorsdel’appairageavec
votre source Bluetooth.
2. Aux 1
(entrée pour connecteurs stéréo RCA droite/
gauche provenant d’un lecteur CD/DVD,
d’une TV, etc.)
3. Aux 2
(entrée pour connecteur mini-jack de 3,5 mm
provenant d’un iPod, PC, téléphone, etc.)
4. SUB OUT
(pour brancher un caisson de basses actif externe)
5. Entrée audio optique
(pour brancher un lecteur CD/DVD, une TV, etc.)
6. Entrée audio coaxiale
(pour brancher un lecteur CD/DVD, une TV, etc.)
7. Sortie de signal de sortie du haut-parleur droit,
pour brancher le haut parleur passif droit Monitor
III BT.
8. Prise de charge USB
(charge de 5 Vcc pour iPod, etc.)
9. Entrée d’alimentation électrique
10. Porte-fusible, si le fusible doit être remplacé,
utiliser uniquement un fusible de type et de valeur
identiques.
IMPORTANT:pensezàdébrancherlecâble
d’alimentation de la prise secteur avant d’ouvrir le
porte-fusible.
11. Interrupteur pour la tension d’entrée
12. Alimentation Marche/Arrêt (On/Off)
13. Commutateur Phono / Line
14. Terminal à vis de masse
Powe re d blue tooth s pea k er
GND
AUX1 LEVEL
PHONO LINE
13 14
F

TÉLÉCOMMANDE
1. Sourdine
2. Pour réinitialiser le réglage de l’égaliseur de
graves et d’aigus
3. Sous tension/mode veille
4. Piste précédente (pour l’entrée Bluetooth)
5. Lecture/pause (pour l’entrée Bluetooth)
6. Piste suivante (pour l’entrée Bluetooth)
7. Entrée Bluetooth
8. AUX1 (entrée RCA - PHONO/LINE)
9. AUX2 (entrée mini-jack stéréo de 3,5 mm)
10. Bouton d’appairage Bluetooth
11. Entrée optique
12. Entrée coaxiale
13. Volume
14. Égaliseur d’aigus
15. Égaliseur de graves
F

BRANCHEMENT DES HAUT-PARLEURS
ÉTAPE 1
Connectez les bornes de couleur ROUGE (+) et NOIRE (-) du haut-parleur gauche sur les bornes
correspondantes sur le haut-parleur droit grâce au câble fourni avec les haut-parleurs.
Remarque:Étantdonnéquecetappareilestauto-alimenté,neconnectezpaslesbornesdeshaut-
parleurs sur les sorties de haut-parleur d’un récepteur stéréo.
ÉTAPE 2
Connectez le cordon d’alimentation sur le haut-parleur gauche et l’autre extrémité sur une prise
électrique.
FONCTION BLUETOOTH
Si vous avez un lecteur audio Bluetooth tel qu’un smartphone, un lecteur de musique, une tablette et
souhaitez le connecter aux haut-parleurs Monitor III BT, vous devez les appairer comme indiqué ci-
dessous:
1.Miseenmarche:
• Haut-parleursMonitorIIIBT
• FonctionBluetoothsurvotrelecteuraudioBluetooth.
2.Sélectionnezl’entréeBluetoothaveclatélécommande,laLEDblancheclignotelentement:
• Sicen’estpaslecas,unautrelecteuraudioBluetoothestdéjàconnecté.Déconnectez-leen
désactivant sa fonction Bluetooth.
• Appuyezensuitesurlebouton«»,leBluetoothsemetenétatd’appairage,celasignifiequele
Monitor III BT devient détectable, la LED blanche clignote rapidement, cet état dure 2 minutes.
3.UtilisezvotreappareilBluetooth,recherchezlesnouveauxappareilsBluetooth,sélectionnez«Monitor
IIIBT»etconnectez-leavec.Siuncoded’appairageestdemandé,saisissez«1234»ou«0000».
4. Si l’appairage réussit, la LED blanche reste allumée.
5. Si le lecteur audio Bluetooth que vous utilisez a déjà été appairé, il est inutile de le réappairer.
Power ed bluetoot h speak er
GND
AUX1 LEVEL
PHONO LINE
F

CHARGE PAR USB
Le port USB sur le panneau arrière sert à charger vos
appareils électroniques (smartphone, lecteur MP3, etc.).
Remarque:aucunsonneseraenvoyéauhaut-parleur
par ce port USB.
Powered bluetooth speak er
GND
AUX1 LEVEL
PHONO LINE
AUDIO
R
L
PHONO
GND
PHONO
(À utiliser avec un plateau tournant sans préampli phono
intégré):
Faites glisser le commutateur Phono / Line sur la position
phono.
Branchez le RCA L / R de votre tourne-disque aux entrées
RCA L / R sur le panneau arrière du Eltax Monitor III BT.
Branchez le fil de mise à la terre du plateau tournant au
GND sur le panneau arrière du Eltax Monitor III BT.
Appuyez sur RCA sur la télécommande Eltax Monitor III
BT.
F

GARANTIE LIMITÉE
Cher client,
Ce produit a été conçu et fabriqué selon les normes de qualité les plus exigeantes, mais si ce
produit avait un problème le distributeur local garantit gratuitement des pièces de rechange ou
des réparations par le distributeur officiel.
Cette garantie limitée est valable pour le propriétaire initial pendant une période de deux ans à
compter de la date d’achat, et elle n’est pas transférable.
Cequiestcouvertparlagarantielimitée:
La garantie limitée couvre tous les défauts de production et les défauts matériels du produit, à
l’exclusion des dommages mentionnés ci-dessous.
Cequin’estpascouvertparlagarantielimitée:
Dommages causés par l’emballage et le transport.
Défauts causés par des accidents, une mauvaise utilisation, l’usure normale, une mauvaise
maintenance, une variation de tension et une surcharge.
Dommages causés par une installation ou une utilisation incorrects. Dommages causés par une
modification ou une réparation par un réparateur non agréé et l’utilisation de pièces de rechange
non authentiques.
Autres dommages dus à des conditions échappant du contrôle du fournisseur telles qu’un
incendie, la pluie, la foudre, la guerre et d’autres événements de force majeure.
Commentréclamerdespiècesouuneréparationsousgarantie:
Pour faire entretenir votre produit sous garantie, vous devez contacter le revendeur auprès
duquel vous avez acheté le produit.
Il vous faudra la facture originale ou une autre preuve d’achat ainsi que la date d’achat.
Le fournisseur n’est responsable que de réparer ou de remplacer les pièces défectueuses des
produits et il n’est pas responsable de pertes ou de dommages indirects résultant de l’utilisation
du produit.
Les frais de transport ou d’entretien ne sont pas couverts par la garantie.
Une réparation ou un remplacement ne dépasse pas la valeur du produit sous garantie, en aucun
cas le fournisseur ne pourra être tenu pour responsable de dommages spéciaux, accessoires ou
indirects.
MODÈLE Monitor III BT
Type de haut-parleur/répartiteur Haut-parleur 2.0/2 voies
Haut-parleurs d'aigus/de médians/de basses 2x25mm / 2x130mm
Imp. nominale/sensibilité 4 ohm / 87 ± 2 dB
Puissance nominale/max. 2x30W/2x 50W
Réponse en fréquence 60 à 20 kHz
Type d'amplificateur/alimentation CA Classe AB/110-120Vca/60Hz ou 220-230Vca/50Hz
Connexions d’entrée Bluetooth 4.0 aptX / jack 3,5 / ligne RCA / optique / coaxial
Enceinte/surface MDF de teinte noire ou blanche
Enceinte (LxPxH) mm 475x295x420
Poids brut (kg) 14,5 kg
CARACTÉRISTIQUES
The Bluetooth word mark and logos are owned by the Bluetooth SIG, Inc.
and any use of such marks by Eltax is under license. Other trademarks and trade
names are those of their respective owners.
SICHERHEITSHINWEISE
INFORMATIONEN
VORDER- UND RÜCKSEITE
FERNBEDIENUNG
ANSCHLUSS IHRER LAUTSPRECHER
BLUETOOTH-Monitor III BT
Laden mit USB
BESCHRÄNKTE GARANTIE
TECHNISCHE DATEN
F

MONITOR III BT
Bedienungsanleitung
SICHERHEITSHINWEISE
INFORMATIONEN
VORDER- UND RÜCKSEITE
FERNBEDIENUNG
ANSCHLUSS IHRER LAUTSPRECHER
BLUETOOTH-Monitor III BT
Laden mit USB
BESCHRÄNKTE GARANTIE
TECHNISCHE DATEN
D

HERZLICHEN GLÜCKWUNSCH ZU IHREN NEUEN MONITOR III BT- LAUTSPRE-
CHERN.
BITTE NEHMEN SIE SICH EINEN MOMENT ZEIT, DIESE BEDIENUNGSANLEI-
TUNG ZU LESEN.
SICHERHEITSHINWEISE
1 Lesen Sie diese Anweisungen.
2 Bewahren Sie diese Anweisungen auf.
3 Beachten Sie alle Warnhinweise.
4 Befolgen Sie die Anweisungen.
5 Verwenden Sie dieses Gerät nicht in der Nähe
von Wasser.
6 Nur mit trockenem Tuch reinigen.
7 Blockieren Sie nicht die Lüftungsöffnungen.
Installieren Sie es gemäß den
Herstelleranweisungen.
8 Nicht in der Nähe von Quellen wie Heizkörpern,
Wärmespeichern, Öfen oder anderen Geräten
(einschließlich Verstärkern) installieren, die
Wärme produzieren.
9 Ignorieren Sie nicht die Sicherheitsfunktion des
gepolten oder geerdeten Steckers. Ein gepolter
Stecker hat zwei Stifte, wobei einer breiter als
der andere ist, ein geerdeter Stecker hat zwei
Stifte und einen Erdungsstift. Der breite Stift
bzw. der dritte Stift dienen Ihrer Sicherheit.
Wenn der Stecker nicht in Ihre Steckdose
passt, konsultieren Sie einen Elektriker, der die
Steckdose ersetzt.
10 Schützen Sie das Netzkabel so, dass nicht
darauf getreten wird oder besonders nicht
an Steckdosen, Mehrfachsteckdosen und am
Ausgangspunkt des Gerätes geknickt wird.
11 Verwenden Sie nur vom Hersteller
angegebene Zusatzgeräte / Zubehör.
12 Trennen Sie das Gerät bei Stürmen mit Blitz
oder wenn für einen längeren Zeitraum nicht
benutzt.
13 Lassen Sie alle Wartungsarbeiten von
qualifiziertem Fachpersonal durchführen.
Eine Wartung ist erforderlich, wenn das Gerät
in irgendeiner Weise beschädigt wurde, wie
Stromkabel, oder wenn der Stecker beschädigt
ist, Flüssigkeit verschüttet wurde oder
Gegenstände in das Gerät gefallen sind, das
Gerät Regen oder Feuchtigkeit ausgesetztwurde,
das Gerät nicht normal funktioniert oder fallen
gelassen wurde.
14 Das Gerät muss an eine richtige
Netzsteckdose angeschlossen werden.
INFORMATIONEN
Auspacken
Diese Lautsprecher wurden während der
Produktion sorgfältig geprüft und kontrolliert,
bevor sie verpackt und verschifft wurden. Bitte
prüfen Sie das Gerät nach dem Auspacken auf
Beschädigungen. Es kommt selten vor, dass ein
Gerät während des Transports beschädigt wird.
Sollte dies dennoch passieren, kontaktieren Sie
bitte sofort Ihren Händler.
Wir empfehlen Ihnen, den Originalkarton und die
Verpackungsmaterialien für zukünftigen Versand
aufzubewahren.
Empfohlene Lautsprecher-Aufstellung
Die korrekte Platzierung der Lautsprecher hat
einen großen Einfluss auf die Klangqualität.
Es gibt viele verschiedene Theorien, aber alle
Zimmer haben unterschiedliche Gegebenheiten
und alle Geschmäcker sind verschieden. Aus
diesem Grunde ist es unmöglich, eine korrekte
Platzierung zu empfehlen. Wir empfehlen Ihnen,
verschiedene Standorte zu prüfen, um zusehen,
was am Besten für Sie passt.
Für die beste Basswiedergabe empfehlen wir
Ihnen, einen Mindestabstand von 20-25 cm
zwischen den Lautsprechern und der hinteren
Wand einzuhalten. Was die Höhe angeht,
positionieren Sie die Lautsprecher mit den
Hochtonlautsprechern auf Augenhöhe Ihrer
gängigsten Hörposition.
Lautsprecherbedingungen und Break-in
Obwohl ein Break-in nicht erforderlich ist,
empfehlen wir Ihnen, zwischen 24 bis 48 Stunden
Musik aus den Lautsprechern zu spielen, bevor
Sie die Lautsprecher platzieren.
Reinigung der Lautsprecher
Verwenden Sie zum Reinigen von Schränken
oder Lautsprechern keine Reinigungs- oder
Lösungsmittel. Wischen Sie nur mit einem
weichen, trockenen Tuch ab.
D

VORDER- UND RÜCKSEITE
1. Remote-Empfangsfenster
• Rot:StandbyoderAuto-Standby
(nach 60 Minuten ohne Wiedergabe)
• Grün:AN
• Weiß:Bluetooth-Quelleistverbunden
• Weißblinkend:WährenddesKoppelnsmit
Ihrer Bluetooth-Quelle
2. Aux 1
(Input für rechts/links RCA-Stereostecker von CD/
DVD, TV, Turntable etc.)
3.Aux 2 (Input für 3,5 mm Mini-Buchse, von iPod,
PC, Telefon etc.)
4. SUB OUT (Zum Anschluss eines externen, aktiven
Subwoofer)
5. Optisches Audio-In (Zum Anschluss von CD/DVD,
TV etc.)
6. Koaxiales Audio-In (Zum Anschluss von CD/DVD,
TV etc.)
7. Output-Signal des rechten Lautsprechers zum
Anschluss des rechten passiven Monitor III BT-
Lautsprechers.
8. USB-Ladebuchse (5V DC Laden für iPod etc.)
9. Netzstrom
10. Sicherungshalter. Wenn Sicherung ersetzt
werden muss, nur denselben Typ und Wert
verwenden.
WICHTIG:DenkenSiedaran,dasNetzkabel
aus der Steckdose zu ziehen, bevor Sie den
Sicherungshalter öffnen.
11. Schalter für Eingangsspannung
12. Ein- / Ausschalten
13. Phono / Netzschalter
14. Erdungsklemme
Powe re d blue tooth s pea k er
GND
AUX1 LEVEL
PHONO LINE
13 14
D

FERNBEDIENUNG
1. Stummschalten
2. Bass- und Höhen EQ-Einstellung zurücksetzen
3. AN / Standby
4. Vorheriges Lied (für Bluetooth-Input)
5. Wiedergabe / Pause (für Bluetooth-
Input)
6. Nächstes Lied (für Bluetooth-Input)
7. Bluetooth-Input
8. AUX1 (RCA-Input)
9. AUX2 (3,5 mm Stereo Mini-Jack Input)
10. Bluetooth-Pairing-Taste
11. Optisches Input
12. Koaxiales Input
13. Lautstärke
14. Höhen EQ
15. Bass EQ
D

Other manuals for Monitor Series
1
This manual suits for next models
2
Table of contents
Languages:
Other Eltax Speakers manuals

Eltax
Eltax Monitor V User manual

Eltax
Eltax Cube User manual

Eltax
Eltax HiFi loudspeakers Symphony User manual

Eltax
Eltax Voyager BT12 User manual

Eltax
Eltax Voyager BT12 User manual

Eltax
Eltax Concept 180 User manual

Eltax
Eltax CONCEPT 400 User manual

Eltax
Eltax HiFi loudspeakers Symphony 4.4 User manual

Eltax
Eltax Monitor ATM User manual

Eltax
Eltax Concept 600 User manual