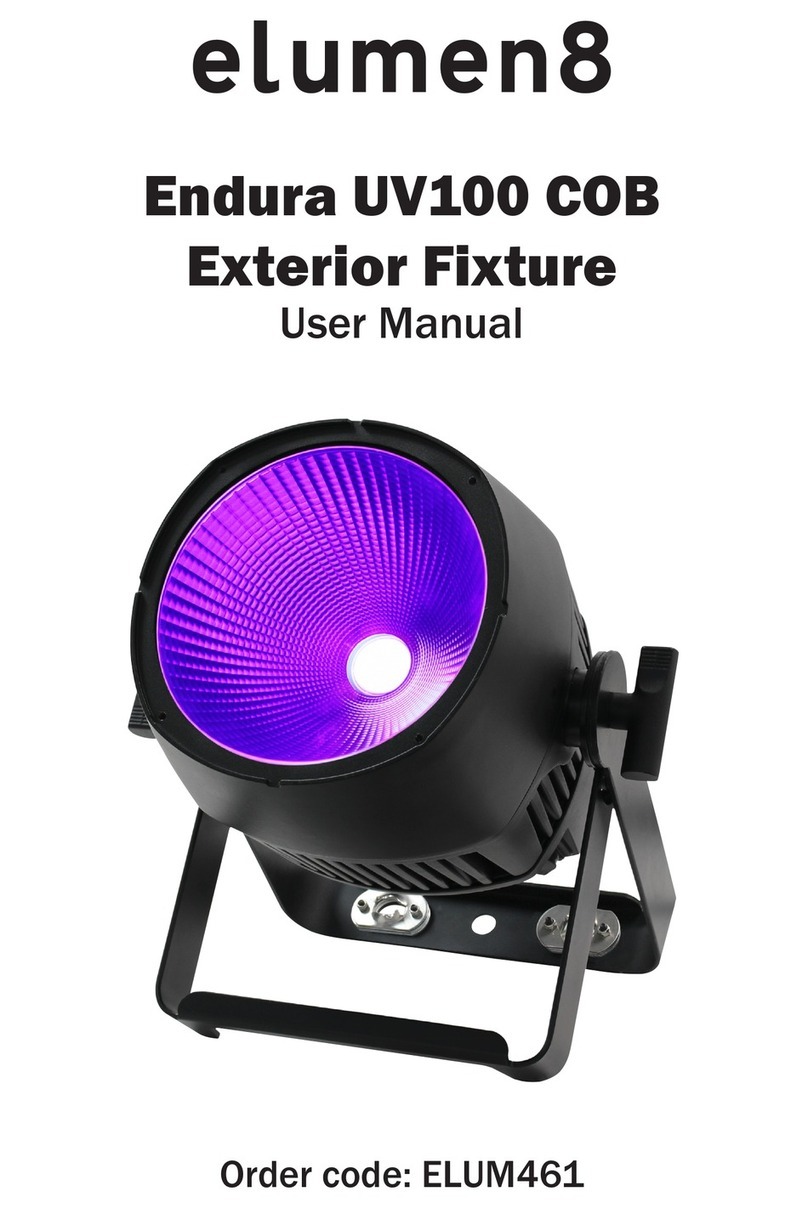
Elumen8 Endura CW100 COB User manual

Order code: ELUM459
Endura CW100 COB
Exterior Fixture
User Manual

www.prolight.co.uk Endura CW100 COB User Manual 2
Safety advice
WARNING
FOR YOUR OWN SAFETY, PLEASE READ THIS USER MANUAL
CAREFULLY BEFORE YOUR INITIAL START-UP!
• Beforeyourinitialstart-up,pleasemakesurethatthereisnodamagecausedduringtransportation.
• Shouldtherebeanydamage,consultyourdealeranddonotusetheequipment.
• Tomaintaintheequipmentingoodworkingconditionandtoensuresafeoperation,itisnecessary
fortheusertofollowthesafetyinstructionsandwarningnoteswritteninthismanual.
• Pleasenotethatdamagescausedbyusermodicationstothisequipmentarenotsubjecttowarranty.
IMPORTANT:
The manufacturer will not accept liability for any resulting damages caused by the non-observance
of this manual or any unauthorised modication to the equipment.
OPERATING DETERMINATIONS
Ifthisequipmentisoperatedinanyotherway,thanthosedescribedinthismanual,theproductmaysufferdamageand
thewarrantybecomesvoid.Incorrectoperationmayleadtodangere.g:short-circuit,burnsandelectricshocksetc.
Donotendangeryourownsafetyandthesafetyofothers!
Incorrectinstallationorusecancauseseriousdamagetopeopleand/orproperty.
CAUTION!
TAKE CARE USING
THIS EQUIPMENT!
HIGH VOLTAGE-RISK
OF ELECTRIC SHOCK!!
• Neverletthepowercablecomeintocontactwithother
cables.Handlethepowercableandallmainsvoltage
connectionswithparticularcaution!
• Neverremovewarningorinformativelabelsfromtheunit.
• Donotopentheequipmentanddonotmodifytheunit.
• Donotconnectthisequipmenttoadimmerpack.
• Donotswitchtheequipmentonandoffinshortintervals,
asthiswillreducethesystem’slife.
• Donotexposetoammablesources,liquidsorgases.
• Alwaysdisconnectthepowerfromthemainswhen
equipmentisnotinuseorbeforecleaning!Onlyhandle
thepower-cablebytheplug.Neverpullouttheplugby
pullingthepower-cable.
• Makesurethattheavailablemainssupplyvoltageis
between100~240VAC,50/60Hz.
• Makesurethatthepowercableisnevercrimpedor
damaged.Checktheequipmentandthepowercable
periodically.
• Iftheequipmentisdroppedordamaged,disconnectthe
mainspowersupplyimmediatelyandhaveaqualied
engineerinspecttheequipmentbeforeoperatingagain.
• Ifyourproductfailstofunctioncorrectly,stopuse
immediately.Packtheunitsecurely(preferablyinthe
originalpackingmaterial),andreturnittoyourProLight
dealerforservice.
• Onlyusefusesofsametypeandrating.
• Repairs,servicingandpowerconnectionmustonlybe
carriedoutbyaqualiedtechnician.THISUNITCONTAINS
NOUSERSERVICEABLEPARTS.
• Thislightingxtureisforprofessionaluseonly-itis
notdesignedfororsuitableforhouseholduse.The
productmustbeinstalledbyaqualiedtechnicianin
accordancewithlocalterritoryregulations.Thesafetyof
theinstallationistheresponsibilityoftheinstaller.The
xturepresentsrisksofsevereinjuryordeathduetore
hazards,electricshockandfalls.
• Warning!RiskGroup2LEDproductaccordingto
EN62471.Donotviewthelightoutputwithoptical
instrumentsoranydevicethatmayconcentratethebeam.
• WARRANTY:Twoyearsfromdateofpurchase.

www.prolight.co.uk Endura CW100 COB User Manual 3
Product overview & technical specications
•1x100Wcool-whiteCOBLED
•Beamangle:16°
•9,852Lux@2m(fullon)
•3.6kHzrefreshrate
•DMXchannels:1or3selectable
•Manualandmaster/slavemodes
•0-100%8or16bitdimming
andvariablestrobe
•Bracketallowsformultipleriggingor
oorstandingapplications
•4buttonbacklitmenuwithLCDdisplay
•PowerCONTRUE1input/output
•IPrated5-PinXLRinput/output
•Temperaturecontrolledfancooled
forwhisperquietoperation
•30mmsnootincluded
Endura CW100 COB Exterior Fixture
Specications Endura CW100 COB
Powerconsumption 105W
Powersupply 100~240V,50/60Hz
Fuse T2A250V
IPrating IP65
Dimensions 310x280x245mm
Weight 5kg
Ordercodes ELUM459
280mm
310mm
275mm
245mm
0m 1m 2m 3m 4m 5m
16° - Lux 39400 9852 4380
16°
2460 1580
TheEnduraseriesareheavy-duty,rentalreadyIPratedparsmadeforthemostdemandingofapplications.
Withicker-freeoperation,thankstoa3,600Hzrefreshrate,andamultitudeofcolourandoutputoptionsthe
seriesisperfectlysuitedforuseinconcert,TVandoutdoorapplications.ThexturecanbecontrolledviaDMXand
providesavarietyofcolourmacro,change,fadeandstrobefunctionswith4selectabledimmercurves.Thexture
itisalsocapableofmaster/slaveoperationandisaccessibleviaa4buttonbacklitdisplaywithmenulockto
preventunauthorisedsettingchanges.TherobustIP65ratedhousingfeaturesTRUE1and5-pinDMXinputsand
outputstofacilitateaproblem-freeconnection.
IP65

www.prolight.co.uk Endura CW100 COB User Manual 4
MODE ENTER
05 06 0403
08
02
07
08
01
Technical specications
01-LCDdisplay
02-Functionbuttons
03-PowerCONTRUE1input
04-PowerCONTRUE1output
05-IPrated5-PinDMXinput
06-IPrated5-PinDMXoutput
07-Hangingbracket
08-Hangingbracketadjustableknob
Inthebox:1 x xture
1 x PowerCON TRUE1 cable
& 1 x user manual
Fuse:TheEnduraCW100isttedwithaninternalmains(line)fuse.Thefusemustonlybe
changedbyqualiedpersonnel.Beforeopeningthextureshousingorchangingthefuse,
thexturemustbedisconnectedandisolatedfromthemainssupply.Replacementcartridge
fusesmustbeofthesametypeandrating(20mmGlassT2A250V).Whenclosingthexture
pleaseensurethesealiscorrectlypositionedandfreefromdamagetoensurethextureis
watertightandtopreventwateringress.

www.prolight.co.uk Endura CW100 COB User Manual 5
Operating instructions
Main Menu Sub Menu Options/Values (Default Settings in BOLD) Description
DMXAddr 001-512 DMXAddressSetting
DMXMode 01CH(01channelmode)
03CH(03channelmode) DMXChannelSetting
SlaveMode SlaveMode
DimMode LED
HALOGEN DimmingCurvesModeSetting
DimCurve
Linear
Square
I-Square
S-Curve
DimmingCurvesSetting
Manual CW:
STR: 000-255 ManualDimmingMode
NODMX Hold
Blackout DMXFailSetting
Temp. –––°C
–––°F FixtureTemperature
AutoLock OFF
ON AutoLockMenuSetting
Op.Time ––– FixtureRunTime
DFSE OFF
ON DefaultFactorySettings
Channel Value Function
1 000-255 Masterdimmer(0-100%)
1 channel mode (8 bit):
Channel Value Function
1 000-255 Masterdimmer(0-100%)
2000-255 Dimmerne
3000-255 Strobe(slow-fast)
3 channel mode (16 bit):
IMPORTANT! PLEASE NOTE:TheLCDdisplayforthisxturehasalockingfunctionwhichcanbe
enabledviathemenuwhereafter20secondsofinactivityitwilllock.Tounlockthemenupressthe
buttonsinthefollowingsequence“UP”,“DOWN”,“UP”,“DOWN”,“ENTER”.

www.prolight.co.uk Endura CW100 COB User Manual 6
Setting the DMX address:
TheDMXmodeenablestheuseofauniversalDMXcontroller.Eachxturerequiresa“startaddress”
from1-511.Axturerequiringoneormorechannelsforcontrolbeginstoreadthedataonthechannel
indicatedbythestartaddress.Forexample,axturethatoccupiesoruses7channelsofDMXandwas
addressedtostartonDMXchannel100,wouldreaddatafromchannels:100,101,102,103,104,105
and106.Chooseastartaddresssothatthechannelsuseddonotoverlap.E.g.thenextunitinthe
chainstartsat107.
DMX 512:
DMX(DigitalMultiplex)isauniversalprotocolusedasaformofcommunicationbetweenintelligent
xturesandcontrollers.ADMXcontrollersendsDMXdatainstructionsformthecontrollertothexture.
DMXdataissentasserialdatathattravelsfromxturetoxtureviatheDATA“IN”andDATA“OUT”
XLRterminalslocatedonallDMXxtures(mostcontrollersonlyhaveadata“out”terminal).
DMX linking:
DMXisalanguageallowingallmakesandmodelsofdifferentmanufacturestobelinkedtogether
andoperatefromasinglecontroller,aslongasallxturesandthecontrollerareDMXcompliant.
ToensureproperDMXdatatransmission,whenusingseveralDMXxturestrytousetheshortest
cablepathpossible.TheorderinwhichxturesareconnectedinaDMXlinedoesnotinuencethe
DMXaddressing.Forexample;axtureassignedtoaDMXaddressof1maybeplacedanywherein
aDMXline,atthebeginning,attheend,oranywhereinthemiddle.Whenaxtureisassigneda
DMXaddressof1,theDMXcontrollerknowstosendDATAassignedtoaddress1tothatunit,
nomatterwhereitislocatedintheDMXchain.
DATA cable (DMX cable) requirements (for DMX operation):
ThisxturecanbecontrolledviaDMX-512protocol.TheDMXaddressissetonthebackoftheunit.
YourunitandyourDMXcontrollerrequireastandard3-pinXLRconnectorfordatainput/output,
seeimagebelow.
Note: DMX cable must be daisy chained and cannot be split.
DMX setup
FurtherDMXcablescanbe
purchasedfromallgoodsound
andlightingsuppliersor
ProLightConceptsdealers.
Pleasequote:
CABL10 – 2m
CABL11 – 5m
CABL12 – 10m

www.prolight.co.uk Endura CW100 COB User Manual 7
Notice:
Besuretofollowthediagramsbelowwhenmakingyourowncables.Donotconnectthecables
shieldconductortothegroundlugorallowtheshieldconductortocomeincontactwiththeXLRs
outercasing.Groundingtheshieldcouldcauseashortcircuitanderraticbehaviour.
Special note:
Line termination:
Whenlongerrunsofcableareused,
youmayneedtouseaterminatoron
thelastunittoavoiderraticbehaviour.
Using a cable terminator will decrease
the possibilities of erratic behaviour.
(3-pin - Order ref: CABL90, 5-pin - Order ref: CABL89)
5-pin XLR DMX connectors:
Somemanufacturesuse5-pinXLRconnectorsfordatatransmissioninplaceof3-pin.5-pinXLRxtures
maybeimplementedina3-pinXLRDMXline.Wheninsertingstandard5-pinXLRconnectorsintoa
3-pinlineacableadaptormustbeused.Thediagrambelowdetailsthecorrectcableconversion.
Terminationreducessignaltransmission
problemsandinterference.Itisalways
advisabletoconnectaDMXterminal,
(resistance120Ohm1/4W)betweenpin2
(DMX-)andpin3(DMX+)ofthelastxture.
5-pin XLR (female)
Pin 1: GND (screen)
Pin 2: Signal (-)
Pin 3: Signal (+)
Pin 4: N/C
Pin 5: N/C
3-pin XLR (female)
Pin 1: GND (screen)
Pin 2: Signal (-)
Pin 3: Signal (+)
3-pin XLR (male)
Pin 1: GND (screen)
Pin 2: Signal (-)
Pin 3: Signal (+)
5-pin XLR (male)
Pin 1: GND (screen)
Pin 2: Signal (-)
Pin 3: Signal (+)
Pin 4: N/C
Pin 5: N/C
DMX setup

www.prolight.co.uk Endura CW100 COB User Manual 8
WEEE notice
Correct Disposal of this Product
(Waste Electrical & Electronic Equipment)
(Applicable in the European Union and other European countries
with separate collection systems)
Thismarkingshownontheproductoritsliterature,indicatesthatitshouldnotbedisposed
withotherhouseholdwastesattheendofitsworkinglife.Topreventpossibleharmtothe
environmentorhumanhealthfromuncontrolledwastedisposal,pleaseseparatethisfromother
typesofwastesandrecycleitresponsiblytopromotethesustainablereuseofmaterialresources.
Householdusersshouldcontacteithertheretailerwheretheypurchasedthisproduct,ortheir
localgovernmentofce,fordetailsofwhereandhowtheycantakethisitemforenvironmentally
saferecycling.
Businessusersshouldcontacttheirsupplierandcheckthetermsandconditionsofthe
purchasecontract.Thisproductshouldnotbemixedwithothercommercialwastesfordisposal.
This manual suits for next models
1
Table of contents
Other Elumen8 Outdoor Light manuals