manuals.online logo
Brands
  1. Home
  2. •
  3. Brands
  4. •
  5. EMP-Centauri
  6. •
  7. Switch
  8. •
  9. EMP-Centauri S2/1PCN-W1 User manual

EMP-Centauri S2/1PCN-W1 User manual

Instruction Manual 1/003565 A
S2/1PCN-W1
Dear Customer, congratulations on the purchase of the EMP-Centauri
pro uct. Before its installation an putting into operation, rea carefully the
entire operation manual. Keep the purchase an rework (if any) recor s for
future nee .
1) Field of Application, Warranty
The pro uct is esigne for the istribution of satellite TV an ra io signals.
We recommen the evice to be installe by the qualifie technician.
EMP-Centauri’s
PROFI CLASS pro ucts are covere un er 6 (six) years
warranty from the ate of purchase. The warranty shall not apply to the
pro uct use for other than the specifie purpose. The user will be
responsible for injury or material amage which may arise in consequence of
any pro uct use in contra iction with the manual. Repairs or any interventions
in the pro uct may be performe only by EMP-Centauri company, or other
companies authorize by EMP-Centauri.
2) Technical Specifications
The pro uct is a universal LNB switch suitable for out oor use. It switches
signals from 2 LNBs, allows to a next LNB to existing Monoblock LNB or to
switch between two DiSEqC 1.0 switches. The pro uct is controlle from
satellite receiver using comman s DiSEqC 1.0, 1.1 or 1.2, the choice of
comman epen s on manner of usage. The switch passes through DC
voltage, 22 kHz an DiSEqC comman s, its inputs are short-circuit protecte .
Number of inputs / Outputs 2/1
Frequency Range SAT 950–2300 MHz
Insertion Loss (avg) SAT 5 B
Isolation (min) SAT 25 B (between inputs)
Control DiSEqC 1.0, 1.1 a 1.2
Current Consumption 30 mA (18 V DC) from satellite receiver
LNB Current (max) 400 mA (18 V DC)
Dimensions (w, ,h) 8.2 x 7.7 x 2.3 cm
Temperature Range −30°C – +70°C
9) Symbols xplanation
certificate of conformity
international stan ar for igital satellite equipment control, number
(1.0, 1.1, 1.2 or 2.0) etermines DiSEqC version
Accor ing to EU irective, electric an electronic evices which are
i entifie by one of the following symbols must not be ispose of
together with municipal waste. When isposing of the ol evice, use
local waste collection an separation systems.
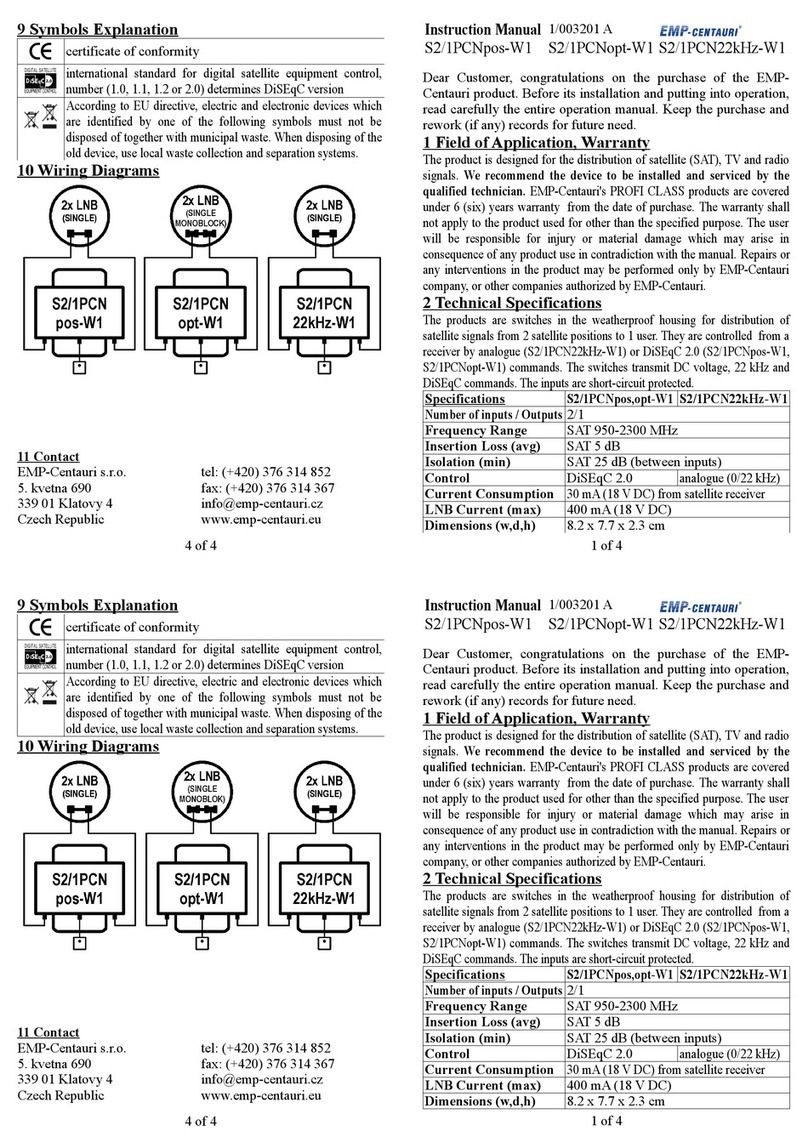
10) Wiring Diagrams
switching between
single LNB monoblock LNB DiSEqC 1.0 switches
11) Contact
EMP-Centauri s.r.o.
5. kvetna 690
339 01 Klatovy
Czech Republic
tel: (+420) 376 314 852
fax: (+420) 376 314 367
[email protected]
www.emp-centauri.eu
1 of 4
Instruction Manual 1/003565 A
S2/1PCN-W1
Dear Customer, congratulations on the purchase of the EMP-Centauri
pro uct. Before its installation an putting into operation, rea carefully the
entire operation manual. Keep the purchase an rework (if any) recor s for
future nee .
1) Field of Application, Warranty
The pro uct is esigne for the istribution of satellite TV an ra io signals.
We recommen the evice to be installe by the qualifie technician.
EMP-Centauri’s
PROFI CLASS pro ucts are covere un er 6 (six) years
warranty from the ate of purchase. The warranty shall not apply to the
pro uct use for other than the specifie purpose. The user will be
responsible for injury or material amage which may arise in consequence of
any pro uct use in contra iction with the manual. Repairs or any interventions
in the pro uct may be performe only by EMP-Centauri company, or other
companies authorize by EMP-Centauri.
2) Technical Specifications
The pro uct is a universal LNB switch suitable for out oor use. It switches
signals from 2 LNBs, allows to a next LNB to existing Monoblock LNB or to
switch between two DiSEqC 1.0 switches. The pro uct is controlle from
satellite receiver using comman s DiSEqC 1.0, 1.1 or 1.2, the choice of
comman epen s on manner of usage. The switch passes through DC
voltage, 22 kHz an DiSEqC comman s, its inputs are short-circuit protecte .
antenna may cause angerous overvoltage in the pro uct metallic parts.
8) Product Maintenance
Always isconnect the pro uct from the wiring before performing any
maintenance of the pro uct. If you have to enter places with a risk of fall, pay
attention to your safety. Use only ry cloth to clean the pro uct an o not use
any liqui agents. Coaxial cables installe out oors shoul be replace once
in a few years. Unscrew all F connectors an clean connector contacts, resp.
shorten the coaxial cable by approx. 2 cm, every 2 years.
9) Symbols xplanation
certificate of conformity
international stan ar for igital satellite equipment control, number
(1.0, 1.1, 1.2 or 2.0) etermines DiSEqC version
Accor ing to EU irective, electric an electronic evices which are
i entifie by one of the following symbols must not be ispose of
together with municipal waste. When isposing of the ol evice, use
local waste collection an separation systems.
10) Wiring Diagrams
switching between
single LNB monoblock LNB DiSEqC 1.0 switches
11) Contact
EMP-Centauri s.r.o.
5. kvetna 690
339 01 Klatovy
Czech Republic
tel: (+420) 376 314 852
fax: (+420) 376 314 367
[email protected]
www.emp-centauri.eu
1 of 4
4 of 4
4 of 4
S2/1PCN-W1
2x LNB
(SINGL )
S2/1PCN-W1
LNB
MONOBLOK
LNB
(SINGL )
S4/1PCN-W1
4x LNB
(SINGL )
S4/1PCN-W1
4x LNB
(SINGL )
S2/1PCN-W1
S2/1PCN-W1
2x LNB
(SINGL )
S2/1PCN-W1
LNB
MONOBLOK
LNB
(SINGL )
S4/1PCN-W1
4x LNB
(SINGL )
S4/1PCN-W1
4x LNB
(SINGL )
S2/1PCN-W1
3) Product Takeover
Make sure that the pro uct is not amage . Please contact your ealer in the
case of amage.
4) Product Storing and Installation
The pro uct must not be store an installe , in the place with excessive ust
pollution, mechanical vibrations or impacts, in the place out of temperature
limits specifie in the section 2) Technical Specifications, close to heat
sources (ra iators or air ventilators, etc.) an in the reach of chil ren. Fix the
pro uct firmly on a wall or another har an inflammable surface with screws
an owels or fix it to the antenna mast with fol ing strip, the irection of F
sockets is always ownwar . The pro uct shall be in no case hel only by the
connecte cables. Do not place any containers with liqui s (vases, glasses
etc.) or nake flame sources (lighte can le etc.) on the pro uct or near the
pro uct.
5) Product Connection
Connect the pro uct in accor ance with this manual an vali regulation. Use
high-quality 75 Ω coaxial cable esigne for satellite reception. The coaxial
cables shall not be broken, the minimum ben ing ra ius shoul be 5 cm.
Mount the F connectors (screw, crimp or compress type) on the en s of
coaxial cables. Connect the F connectors into the F sockets of pro uct an
fasten them with an appropriate force.
Connect input F sockets marke SAT 1–2 IN with the outputs of single LNB,
Monoblok LNB or with outputs of DiSEqC 1.0 switches. Connect output F
socket marke SAT OUT with other components in istribution system
(satellite receiver, wall socket etc.). The wiring examples are shown in the
section 10) Wiring Diagrams or at www.emp-centauri.eu.
6) Product Settings
Satellite receiver is necessary to set accor ing to following tables.
Two single, twin or qua LNBs switching application:
LNB connecte to
input
DiSEqC comman for switching
into given LNB
satellite receiver settings
SAT 1 IN DiSEqC 1.0 Position 0 DiSEqC 1 (A)
SAT 2 IN DiSEqC 1.0 Position 1 DiSEqC 2 (B)
Two monoblocks or two “position” DiSEqC 1.0 switches:
LNB connecte to
input
DiSEqC comman for switching
into given LNB
satellite receiver settings
SAT 1 IN DiSEqC 1.1 Uncommitte 1 DiSEqC Uncom. 1
DiSEqC Goto nn rotate until signal is
foun , then save position
SAT 2 IN DiSEqC 1.1 Uncommitte 2 DiSEqC Uncom. 2
DiSEqC Goto nn rotate until signal is
foun , then save position
It is recommen e to reboot the satellite receiver before entering channel
search.
7) Safety
Due to security reasons the pro uct an wiring in which the pro uct is
connecte , must be groun e properly. Make sure the antennas are
groun e properly. Connect all evices to power gri only after all
connections are finishe an checke . Never work on the wiring (inclu ing
satellite receivers, TVs) uring or before a storm. A lightning stroke into the
antenna may cause angerous overvoltage in the pro uct metallic parts.
8) Product Maintenance
Always isconnect the pro uct from the wiring before performing any
maintenance of the pro uct. If you have to enter places with a risk of fall, pay
attention to your safety. Use only ry cloth to clean the pro uct an o not use
any liqui agents. Coaxial cables installe out oors shoul be replace once
in a few years. Unscrew all F connectors an clean connector contacts, resp.
shorten the coaxial cable by approx. 2 cm, every 2 years.
2 of 4
3 of 4
Number of inputs / Outputs 2/1
Frequency Range SAT 950–2300 MHz
Insertion Loss (avg) SAT 5 B
Isolation (min) SAT 25 B (between inputs)
Control DiSEqC 1.0, 1.1 a 1.2
Current Consumption 30 mA (18 V DC) from satellite receiver
LNB Current (max) 400 mA (18 V DC)
Dimensions (w, ,h) 8.2 x 7.7 x 2.3 cm
Temperature Range −30°C – +70°C
3) Product Takeover
Make sure that the pro uct is not amage . Please contact your ealer in the
case of amage.
4) Product Storing and Installation
The pro uct must not be store an installe , in the place with excessive ust
pollution, mechanical vibrations or impacts, in the place out of temperature
limits specifie in the section 2) Technical Specifications, close to heat
sources (ra iators or air ventilators, etc.) an in the reach of chil ren. Fix the
pro uct firmly on a wall or another har an inflammable surface with screws
an owels or fix it to the antenna mast with fol ing strip, the irection of F
sockets is always ownwar . The pro uct shall be in no case hel only by the
connecte cables. Do not place any containers with liqui s (vases, glasses
etc.) or nake flame sources (lighte can le etc.) on the pro uct or near the
pro uct.
5) Product Connection
Connect the pro uct in accor ance with this manual an vali regulation. Use
high-quality 75 Ω coaxial cable esigne for satellite reception. The coaxial
cables shall not be broken, the minimum ben ing ra ius shoul be 5 cm.
Mount the F connectors (screw, crimp or compress type) on the en s of
coaxial cables. Connect the F connectors into the F sockets of pro uct an
fasten them with an appropriate force.
Connect input F sockets marke SAT 1–2 IN with the outputs of single LNB,
Monoblok LNB or with outputs of DiSEqC 1.0 switches. Connect output F
socket marke SAT OUT with other components in istribution system
(satellite receiver, wall socket etc.). The wiring examples are shown in the
section 10) Wiring Diagrams or at www.emp-centauri.eu.
6) Product Settings
Satellite receiver is necessary to set accor ing to following tables.
Two single, twin or qua LNBs switching application:
LNB connecte to
input
DiSEqC comman for switching
into given LNB
satellite receiver settings
SAT 1 IN DiSEqC 1.0 Position 0 DiSEqC 1 (A)
SAT 2 IN DiSEqC 1.0 Position 1 DiSEqC 2 (B)
Two monoblocks or two “position” DiSEqC 1.0 switches:
LNB connecte to
input
DiSEqC comman for switching
into given LNB
satellite receiver settings
SAT 1 IN DiSEqC 1.1 Uncommitte 1 DiSEqC Uncom. 1
DiSEqC Goto nn rotate until signal is
foun , then save position
SAT 2 IN DiSEqC 1.1 Uncommitte 2 DiSEqC Uncom. 2
DiSEqC Goto nn rotate until signal is
foun , then save position
It is recommen e to reboot the satellite receiver before entering channel
search.
7) Safety
Due to security reasons the pro uct an wiring in which the pro uct is
connecte , must be groun e properly. Make sure the antennas are
groun e properly. Connect all evices to power gri only after all
connections are finishe an checke . Never work on the wiring (inclu ing
satellite receivers, TVs) uring or before a storm. A lightning stroke into the
2 of 4
3 of 4

Other EMP-Centauri Switch manuals

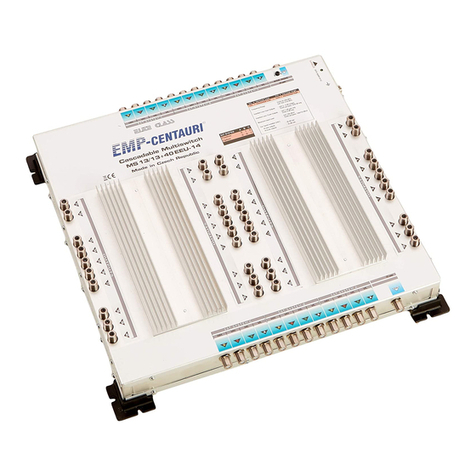
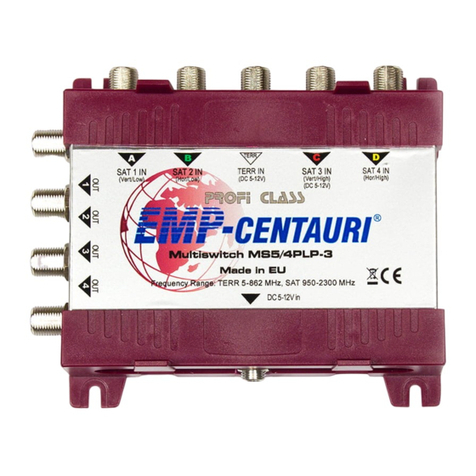
EMP-Centauri MS5/4PLP-3 User manual

EMP-Centauri

EMP-Centauri MS5/4PLP-3 User manual

EMP-Centauri P.169-TW User manual

EMP-Centauri

EMP-Centauri P.169-TW User manual

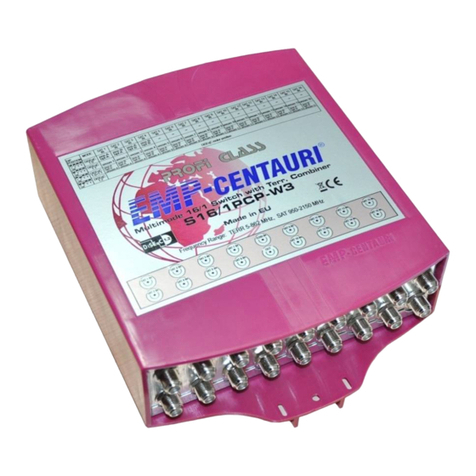
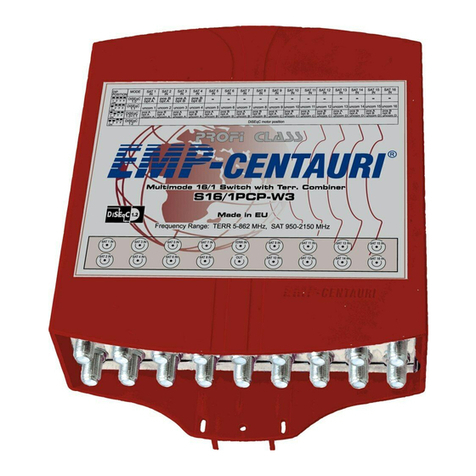
EMP-Centauri S?16/1?PCP-W3 User manual

EMP-Centauri

EMP-Centauri S?16/1?PCP-W3 User manual

EMP-Centauri P.162-IW User manual

EMP-Centauri

EMP-Centauri P.162-IW User manual

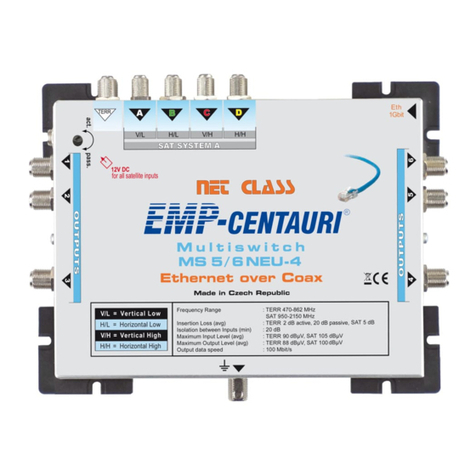
EMP-Centauri MS5/6NEU-4 User manual

EMP-Centauri

EMP-Centauri MS5/6NEU-4 User manual

EMP-Centauri MS9/6ECP-4 User manual

EMP-Centauri

EMP-Centauri MS9/6ECP-4 User manual

EMP-Centauri OMS5/10 User manual

EMP-Centauri

EMP-Centauri OMS5/10 User manual

EMP-Centauri MS13/13+6ECP-4 User manual

EMP-Centauri

EMP-Centauri MS13/13+6ECP-4 User manual

EMP-Centauri MS5/5+12ECP5dB-4 User manual

EMP-Centauri

EMP-Centauri MS5/5+12ECP5dB-4 User manual

EMP-Centauri OMS5/4 User manual

EMP-Centauri

EMP-Centauri OMS5/4 User manual

EMP-Centauri MS5/12ELP-4 User manual

EMP-Centauri

EMP-Centauri MS5/12ELP-4 User manual

EMP-Centauri S2/1PCNpos-W1 User manual

EMP-Centauri

EMP-Centauri S2/1PCNpos-W1 User manual

EMP-Centauri MS17/17+6ECU-4 User manual

EMP-Centauri

EMP-Centauri MS17/17+6ECU-4 User manual

EMP-Centauri T1/1+1ENP8dB-1 User manual

EMP-Centauri

EMP-Centauri T1/1+1ENP8dB-1 User manual

EMP-Centauri MS5/32EEU-14 User manual

EMP-Centauri

EMP-Centauri MS5/32EEU-14 User manual

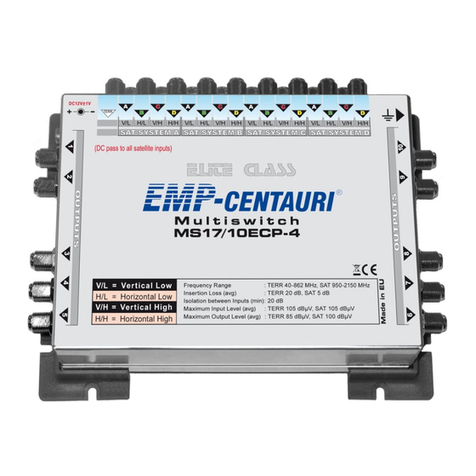
EMP-Centauri MS17/17+6ECP-4 User manual

EMP-Centauri

EMP-Centauri MS17/17+6ECP-4 User manual

EMP-Centauri MS5/5+2PIP-4 User manual

EMP-Centauri

EMP-Centauri MS5/5+2PIP-4 User manual

EMP-Centauri P.144-A-5 User manual

EMP-Centauri

EMP-Centauri P.144-A-5 User manual

EMP-Centauri MS9/4PIU-5 User manual

EMP-Centauri

EMP-Centauri MS9/4PIU-5 User manual

EMP-Centauri P.162-IW User manual

EMP-Centauri

EMP-Centauri P.162-IW User manual

EMP-Centauri S4/1PCT-W2 User manual

EMP-Centauri

EMP-Centauri S4/1PCT-W2 User manual

EMP-Centauri MS9/9+6ECU-4 User manual

EMP-Centauri

EMP-Centauri MS9/9+6ECU-4 User manual

EMP-Centauri MS13/13+32EEU-14 User manual

EMP-Centauri

EMP-Centauri MS13/13+32EEU-14 User manual

EMP-Centauri S16/1PCP-W3 User manual

EMP-Centauri

EMP-Centauri S16/1PCP-W3 User manual

Popular Switch manuals by other brands

Goobay 58490 manual

Goobay

Goobay 58490 manual

Monacor HIFI SPS-80S operating instructions

Monacor

Monacor HIFI SPS-80S operating instructions

HPE 1410-16G Quick setup guide
HPE

HPE 1410-16G Quick setup guide

Equip Desktop KVM Switch manual

Equip

Equip Desktop KVM Switch manual

Renesas RZ/N1D Series quick start guide

Renesas

Renesas RZ/N1D Series quick start guide

TP-Link JetStream TL-SL5428E Quick installation guide

TP-Link

TP-Link JetStream TL-SL5428E Quick installation guide

Allied Telesis AT-GS950 datasheet

Allied Telesis

Allied Telesis AT-GS950 datasheet

HR SW-HDMI-4 user manual

HR

HR SW-HDMI-4 user manual

Renkforce 1697433 operating instructions

Renkforce

Renkforce 1697433 operating instructions

Transition Networks LAN MASTER 33022.B user manual

Transition Networks

Transition Networks LAN MASTER 33022.B user manual

Generac Power Systems RTS Technical manual

Generac Power Systems

Generac Power Systems RTS Technical manual

Detex MS-2049S installation instructions

Detex

Detex MS-2049S installation instructions

Giacomini K500 quick start guide

Giacomini

Giacomini K500 quick start guide

Gefen ex-tend-it 4x4 DVI Matrix user manual

Gefen

Gefen ex-tend-it 4x4 DVI Matrix user manual

Intellinet 524513 install guide

Intellinet

Intellinet 524513 install guide

Cisco 6500 - Catalyst Series 10 Gigabit EN Interface Module... Installation note

Cisco

Cisco 6500 - Catalyst Series 10 Gigabit EN Interface Module... Installation note

Key Digital KD-X200ProK operating instructions

Key Digital

Key Digital KD-X200ProK operating instructions

MuxLab 500441 installation guide

MuxLab

MuxLab 500441 installation guide

manuals.online logo
manuals.online logoBrands
  • About & Mission
  • Contact us
  • Privacy Policy
  • Terms and Conditions

Copyright 2025 Manuals.Online. All Rights Reserved.