manuals.online logo
Brands
  1. Home
  2. •
  3. Brands
  4. •
  5. EMP-Centauri
  6. •
  7. Switch
  8. •
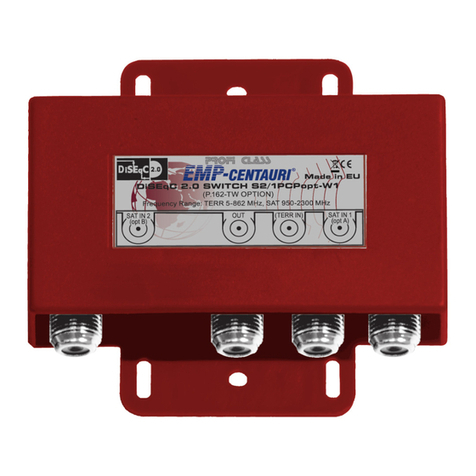
  9. EMP-Centauri S2/1PCNpos-W1 User manual

EMP-Centauri S2/1PCNpos-W1 User manual

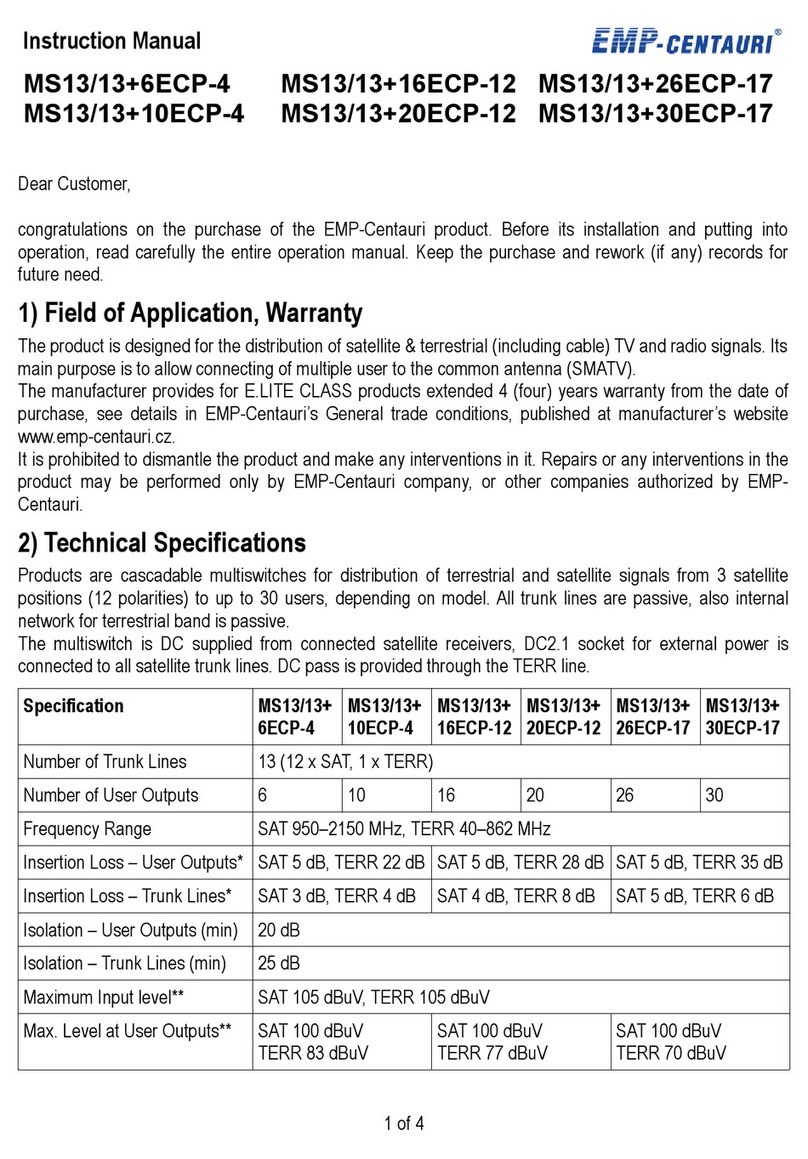
Instruction Manual
1/003201 A
S2/1PCNpos-W1 S2/1PCNopt-W1 S2/1PCN22kHz-W1
Dear Customer, congratulat ons on the purchase of the EMP-
Centaur product. Before ts nstallat on and putt ng nto operat on,
read carefully the ent re operat on manual. Keep the purchase and
rework ( f any) records for future need.
1 Field of Application, Warranty
The product s des gned for the d str but on of satell te (SAT), TV and rad o
s gnals.
We recommend the device to be installed and serviced by the
qualified technician.
EMP-Centaur 's PROFI CLASS products are covered
under 6 (s x) years warranty from the date of purchase. The warranty shall
not apply to the product used for other than the spec f ed purpose. The user
w ll be respons ble for njury or mater al damage wh ch may ar se n
consequence of any product use n contrad ct on w th the manual. Repa rs or
any ntervent ons n the product may be performed only by EMP-Centaur
company, or other compan es author zed by EMP-Centaur .
2 Technical pecifications
The products are sw tches n the weatherproof hous ng for d str but on of
satell te s gnals from 2 satell te pos t ons to 1 user. They are controlled from a
rece ver by analogue (S2/1PCN22kHz-W1) or D SEqC 2.0 (S2/1PCNpos-W1,
S2/1PCNopt-W1) commands. The sw tches transm t DC voltage, 22 kHz and
D SEqC commands. The nputs are short-c rcu t protected.
pecifications
2/1PCNpos,opt-W1
2/1PCN22kHz-W1
Number of inputs / Outputs
2/1
Frequency Range SAT 950-2300 MHz
Insertion Loss (avg) SAT 5 dB
Isolation (min) SAT 25 dB (between nputs)
Control D SEqC 2.0
analogue (0/22 kHz)
Current Consumption
30 mA (18 V DC) from satell te rece ver
LNB Current (max) 400 mA (18 V DC)
Dimensions (w,d,h) 8.2 x 7.7 x 2.3 cm
9 ymbols Explanation
cert f cate of conform ty
nternat onal standard for d g tal satell te equ pment control,
number (1.0, 1.1, 1.2 or 2.0) determ nes D SEqC vers on
Accord ng to EU d rect ve, electr c and electron c dev ces wh ch
are dent f ed by one of the follow ng symbols must not be
d sposed of together w th mun c pal waste. When d spos ng of the
old dev ce, use local waste collect on and separat on systems.
10 Wiring Diagrams
11 Contact
EMP-Centaur s.r.o.
5. kvetna 690
339 01 Klatovy 4
Czech Republ c
tel: (+420) 376 314 852
fax: (+420) 376 314 367
nfo@emp-centaur .cz
www.emp-centaur .eu
1 of 4
4 of 4
Temperature Range -30°C - +70°C
avg - average value, there s ±3 dB tolerance n spec f ed range
m n - m n mum value, max - max mum value
3 Product Takeover
Make sure that the product s not damaged. Please contact your
dealer n the case of damage.
4 Product toring and Installation
The product must not be stored and nstalled, n the place w th excess ve
dust pollut on, mechan cal v brat ons or mpacts, n the place out of
temperature l m ts spec f ed n the sect on 2 Techn cal Spec f cat ons,
close to heat sources (rad ators or a r vent lators, etc.) and n the reach of
ch ldren. F x the product f rmly on a wall or another hard and nflammable
surface w th screws and dowels or f x t to the antenna mast w th fold ng
str p, the d rect on of F sockets s always downward. The product shall be
n no case held only by the connected cables. Do not place any conta ners
w th l qu ds (vases, glasses etc.) or naked flame sources (l ghted candle
etc.) on the product or near the product.
5 Product Connection
Connect the product n accordance w th th s manual and val d regulat on.
Use h gh-qual ty 75 Ω coax al cable des gned for satell te recept on. Mount
the F connectors (screw, cr mp or compress type) on the ends of coax al
cables. Connect the F connectors nto the F sockets of product and fasten
them w th an appropr ate force. The coax al cables shall not be broken, the
m n mum bend ng rad us should be 5 cm. Connect nput F sockets marked
SAT 1-2 IN w th s ngle convertors (LNBs) outputs. For S2/1PCNopt-W1,
monoblock s ngle LNBs can be used. Connect output F socket marked SAT
OUT w th other components n d str but on system (satell te rece ver, wall
socket etc.). The w r ng examples are shown n the sect on 10 W r ng
D agrams or at www.emp-centaur .eu.
6 Product ettings
Satell te rece ver must be set accord ng to follow ng table:
2/1PCNpos-W1
LNB connected to
input
Di EqC command for
switching into given LNB
satellite receiver
settings
SAT 1 IN Pos t on 0 D SEqC 1 (A)
SAT 2 IN Pos t on 1 D SEqC 2 (B)
2/1PCNopt-W1
LNB connected to
input
Di EqC command for
switching into given LNB
satellite receiver
settings
SAT 1 IN Opt on 0 D SEqC 1 (A)
SAT 2 IN Opt on 1 D SEqC 3 (C)
2/1PCN22kHz-W1
LNB connected to
input
command for switching
into given LNB
satellite receiver
settings
SAT 1 IN 0 kHz 0 kHz
SAT 2 IN 22 kHz 22 kHz
7
afety
Due to security reasons the product and wiring in which the
product is connected, must be grounded properly. Make sure the
antennas are grounded properly. Connect all devices to power grid
only after all connections are finished and checked. Never work on
the wiring (including satellite receivers, TVs) during or before a
storm. A lightning stroke into the antenna may cause dangerous
overvoltage in the product metallic parts.
8 Product Maintenance
Always disconnect the product from the wiring before performing
any maintenance of the product. If you have to enter places with a
risk of fall, pay attention to your safety.
Use only dry cloth to clean
the product and do not use any l qu d agents. Coax al cables nstalled
outdoors should be replaced once n a few years. Unscrew all F
connectors and clean connector contacts, resp. shorten the coax al
cable by approx. 2 cm, every 2 years.
2 of 4
3 of 4
Temperature Range -30°C - +70°C
avg - average value, there s ±3 dB tolerance n spec f ed range
m n - m n mum value, max - max mum value
3 Product Takeover
Make sure that the product s not damaged. Please contact your
dealer n the case of damage.
4 Product toring and Installation
The product must not be stored and nstalled, n the place w th excess ve
dust pollut on, mechan cal v brat ons or mpacts, n the place out of
temperature l m ts spec f ed n the sect on 2 Techn cal Spec f cat ons,
close to heat sources (rad ators or a r vent lators, etc.) and n the reach of
ch ldren. F x the product f rmly on a wall or another hard and nflammable
surface w th screws and dowels or f x t to the antenna mast w th fold ng
str p, the d rect on of F sockets s always downward. The product shall be
n no case held only by the connected cables. Do not place any conta ners
w th l qu ds (vases, glasses etc.) or naked flame sources (l ghted candle
etc.) on the product or near the product.
5 Product Connection
Connect the product n accordance w th th s manual and val d regulat on.
Use h gh-qual ty 75 Ω coax al cable des gned for satell te recept on. Mount
the F connectors (screw, cr mp or compress type) on the ends of coax al
cables. Connect the F connectors nto the F sockets of product and fasten
them w th an appropr ate force. The coax al cables shall not be broken, the
m n mum bend ng rad us should be 5 cm. Connect nput F sockets marked
SAT 1-2 IN w th s ngle convertors (LNBs) outputs. For S2/1PCNopt-W1,
monoblock s ngle LNBs can be used. Connect output F socket marked SAT
OUT w th other components n d str but on system (satell te rece ver, wall
socket etc.). The w r ng examples are shown n the sect on 10 W r ng
D agrams or at www.emp-centaur .eu.
6 Product ettings
Satell te rece ver must be set up accord ng to follow ng table:
2/1PCNpos-W1
LNB connected to
input
Di EqC command for
switching into given LNB
satellite receiver
settings
SAT 1 IN Pos t on 0 D SEqC 1 (A)
SAT 2 IN Pos t on 1 D SEqC 2 (B)
2/1PCNopt-W1
LNB connected to
input
Di EqC command for
switching into given LNB
satellite receiver
settings
SAT 1 IN Opt on 0 D SEqC 1 (A)
SAT 2 IN Opt on 1 D SEqC 3 (C)
2/1PCN22kHz-W1
LNB connected to
input
command for switching
into given LNB
satellite receiver
settings
SAT 1 IN 0 kHz 0 kHz
SAT 2 IN 22 kHz 22 kHz
7
afety
Due to security reasons the product and wiring in which the
product is connected, must be grounded properly. Make sure the
antennas are grounded properly. Connect all devices to power grid
only after all connections are finished and checked. Never work on
the wiring (including satellite receivers, TVs) during or before a
storm. A lightning stroke into the antenna may cause dangerous
overvoltage in the product metallic parts.
8 Product Maintenance
Always disconnect the product from the wiring before performing
any maintenance of the product. If you have to enter places with a
risk of fall, pay attention to your safety.
Use only dry cloth to clean
the product and do not use any l qu d agents. Coax al cables nstalled
outdoors should be replaced once n a few years. Unscrew all F
connectors and clean connector contacts, resp. shorten the coax al
cable by approx. 2 cm, every 2 years.
2 of 4
3 of 4

This manual suits for next models

2

Other EMP-Centauri Switch manuals

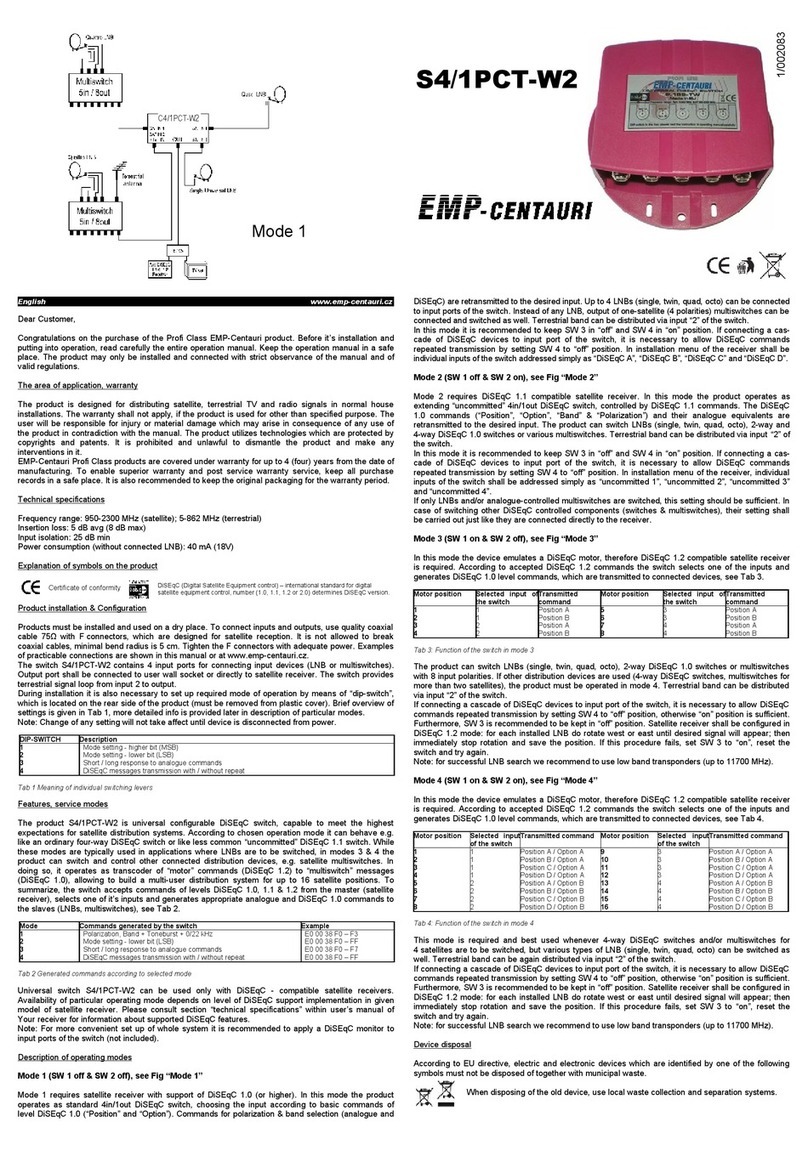
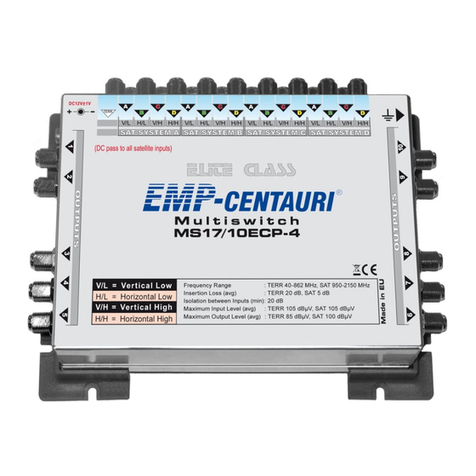
EMP-Centauri MS5/6NEU-4 User manual

EMP-Centauri

EMP-Centauri MS5/6NEU-4 User manual

EMP-Centauri MS17/17+6ECP-4 User manual

EMP-Centauri

EMP-Centauri MS17/17+6ECP-4 User manual

EMP-Centauri MS13/13+6ECP-4 User manual

EMP-Centauri

EMP-Centauri MS13/13+6ECP-4 User manual

EMP-Centauri P.162-IW User manual

EMP-Centauri

EMP-Centauri P.162-IW User manual

EMP-Centauri P.144-A-5 User manual

EMP-Centauri

EMP-Centauri P.144-A-5 User manual

EMP-Centauri S2/1PCN-W1 User manual

EMP-Centauri

EMP-Centauri S2/1PCN-W1 User manual

EMP-Centauri T1/1+1ENP8dB-1 User manual

EMP-Centauri

EMP-Centauri T1/1+1ENP8dB-1 User manual

EMP-Centauri MS5/5+2PIP-4 User manual

EMP-Centauri

EMP-Centauri MS5/5+2PIP-4 User manual

EMP-Centauri MS9/9+6ECU-4 User manual

EMP-Centauri

EMP-Centauri MS9/9+6ECU-4 User manual

EMP-Centauri MS13/13+32EEU-14 User manual

EMP-Centauri

EMP-Centauri MS13/13+32EEU-14 User manual

EMP-Centauri MS9/4EIP-8 User manual

EMP-Centauri

EMP-Centauri MS9/4EIP-8 User manual

EMP-Centauri S4/1PCT-W2 User manual

EMP-Centauri

EMP-Centauri S4/1PCT-W2 User manual

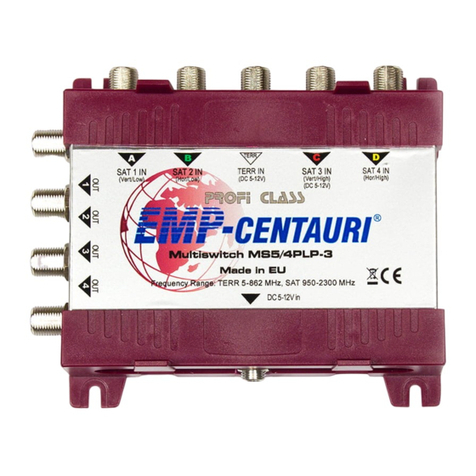
EMP-Centauri MS5/4PLP-3 User manual

EMP-Centauri

EMP-Centauri MS5/4PLP-3 User manual

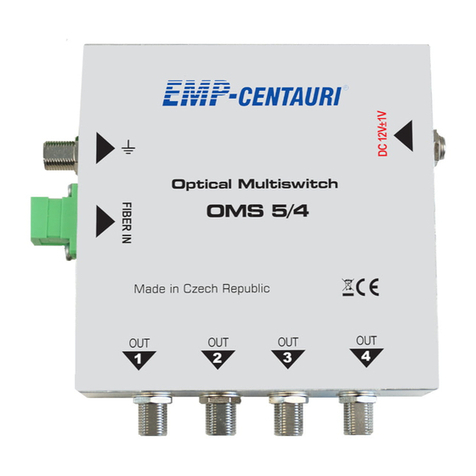
EMP-Centauri OMS5/4 User manual

EMP-Centauri

EMP-Centauri OMS5/4 User manual

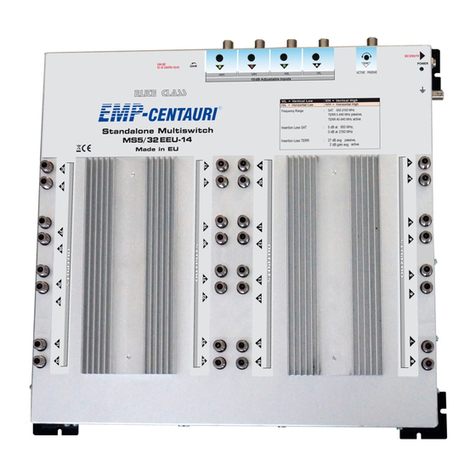
EMP-Centauri MS5/32EEU-14 User manual

EMP-Centauri

EMP-Centauri MS5/32EEU-14 User manual

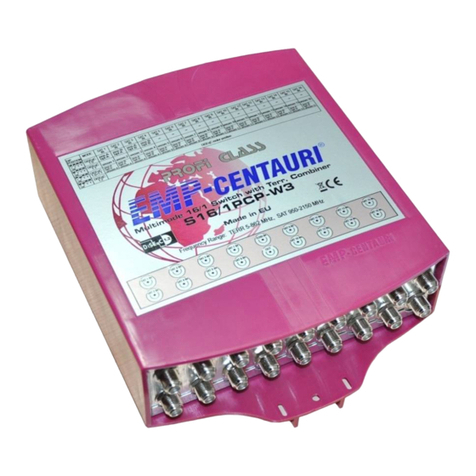
EMP-Centauri S16/1PCP-W3 User manual

EMP-Centauri

EMP-Centauri S16/1PCP-W3 User manual

EMP-Centauri MS5/5+12ECP5dB-4 User manual

EMP-Centauri

EMP-Centauri MS5/5+12ECP5dB-4 User manual

EMP-Centauri MS17/17+6ECU-4 User manual

EMP-Centauri

EMP-Centauri MS17/17+6ECU-4 User manual

EMP-Centauri MS9/4PIU-5 User manual

EMP-Centauri

EMP-Centauri MS9/4PIU-5 User manual

EMP-Centauri MS9/6ECP-4 User manual

EMP-Centauri

EMP-Centauri MS9/6ECP-4 User manual

EMP-Centauri S?16/1?PCP-W3 User manual

EMP-Centauri

EMP-Centauri S?16/1?PCP-W3 User manual

EMP-Centauri P.169-TW User manual

EMP-Centauri

EMP-Centauri P.169-TW User manual

EMP-Centauri OMS5/10 User manual

EMP-Centauri

EMP-Centauri OMS5/10 User manual

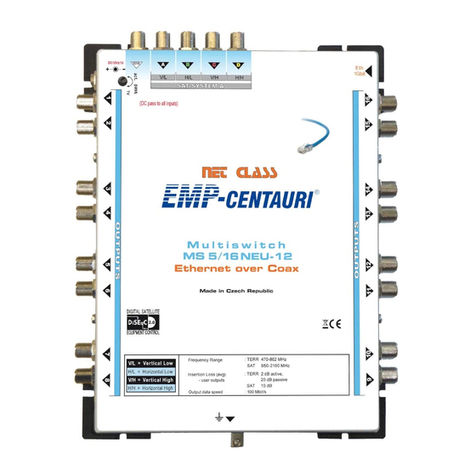
EMP-Centauri MS5/16NEU-12 User manual

EMP-Centauri

EMP-Centauri MS5/16NEU-12 User manual

Popular Switch manuals by other brands

socomec SIRCO MOT PV UL instruction manual

socomec

socomec SIRCO MOT PV UL instruction manual

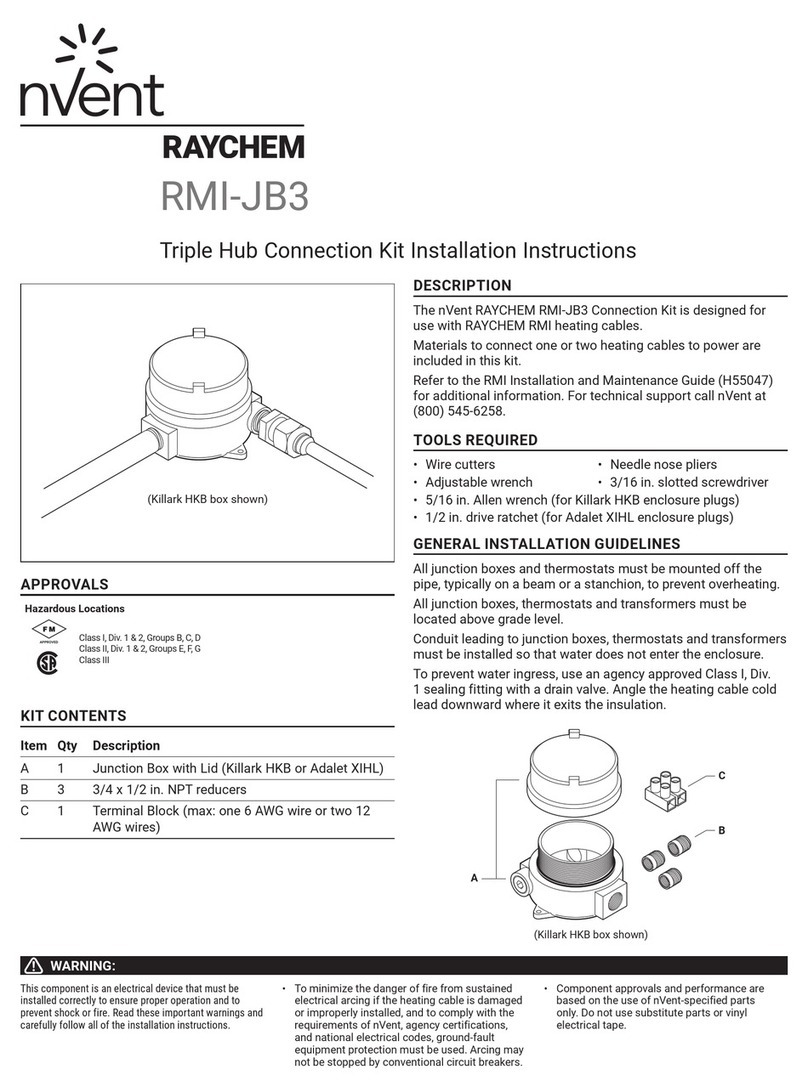
nvent Raychem RMI-JB3 installation instructions

nvent

nvent Raychem RMI-JB3 installation instructions

Eaton TriSync COOPER POWER MN230011EN Installation and operation instruction

Eaton

Eaton TriSync COOPER POWER MN230011EN Installation and operation instruction

UTStarcom iSpirit 3026 manual

UTStarcom

UTStarcom iSpirit 3026 manual

LEGRAND AM5659 quick start guide

LEGRAND

LEGRAND AM5659 quick start guide

Belden HIRSCHMANN MACH 100 Series user manual

Belden

Belden HIRSCHMANN MACH 100 Series user manual

schmersal BN 85 operating instructions

schmersal

schmersal BN 85 operating instructions

SimworX Pro Series ARB Lever and Brake Bias Set Setup manual

SimworX

SimworX Pro Series ARB Lever and Brake Bias Set Setup manual

Cisco C9200CX-8P-2X2G-A Hardware installation guide

Cisco

Cisco C9200CX-8P-2X2G-A Hardware installation guide

Endress+Hauser Soliphant T FTM260 technical information

Endress+Hauser

Endress+Hauser Soliphant T FTM260 technical information

B&B Electronics ETHUB16 datasheet

B&B Electronics

B&B Electronics ETHUB16 datasheet

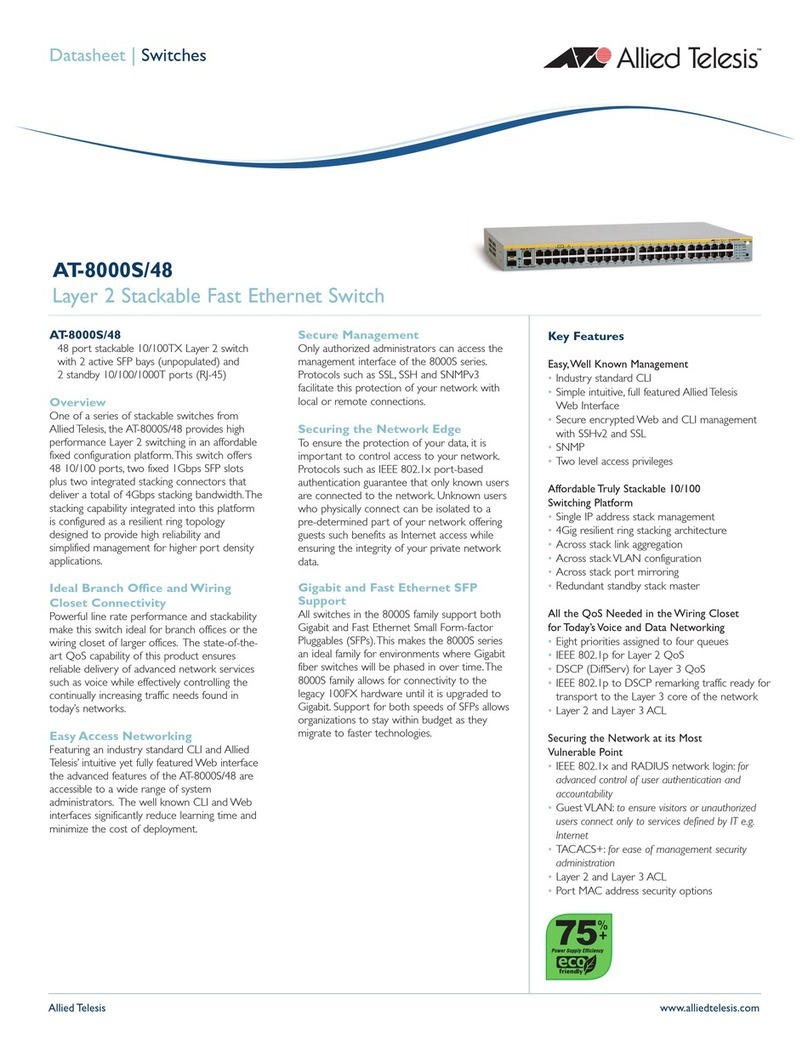
Allied Telesis AT-8000S/48 datasheet

Allied Telesis

Allied Telesis AT-8000S/48 datasheet

HYDACELECTRONIC EDS 3000 operating instructions

HYDACELECTRONIC

HYDACELECTRONIC EDS 3000 operating instructions

Intellinet 561365 instructions

Intellinet

Intellinet 561365 instructions

Abseco AFI-2M2S00 manual

Abseco

Abseco AFI-2M2S00 manual

Crestron DM-MD8X1-4K-C Do guide

Crestron

Crestron DM-MD8X1-4K-C Do guide

Hubbel Chance BP3 Installation, operation and maintenance manual

Hubbel

Hubbel Chance BP3 Installation, operation and maintenance manual

Altronix HubWay8CD installation guide

Altronix

Altronix HubWay8CD installation guide

manuals.online logo
manuals.online logoBrands
  • About & Mission
  • Contact us
  • Privacy Policy
  • Terms and Conditions

Copyright 2025 Manuals.Online. All Rights Reserved.