EMX Industries, Inc. Tech support: 216-518-9889 2/2
Getting the WEL-200 RX & TX Ready for Pairing (Factory Reset)
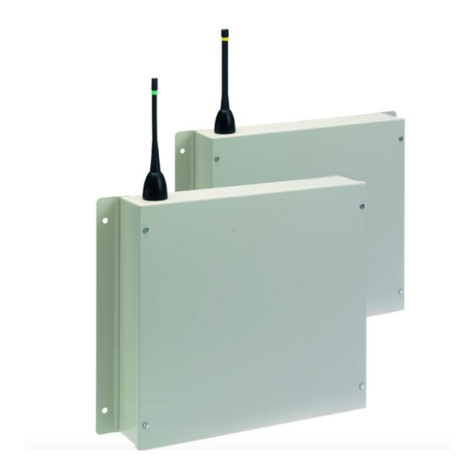
1. Insert two AA lithium batteries into the TX devices that will be paired. Apply power to the RX board.
AA Ultimate Lithium batteries must be used to obtain 2-years of battery life
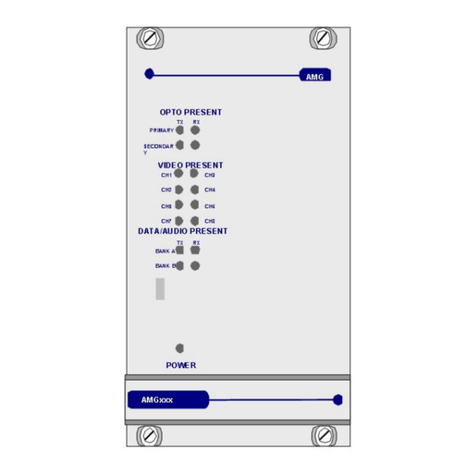
2. After ~15 seconds of power being applied, the RX board should have its SYSTEM STATUS LED (below
DIP switch) and the four CHANNEL LEDs (near push-buttons) blinking at the exact same rate, these are
the five green LEDs on the board.
If any of the CHANNEL LEDs have a different blink-rate, press and hold both CH1 and CH4 push-
buttons simultaneously until the STATUS LED starts blinking at a quicker rate.
This performs a factory reset and clears all previous connections. Give ~15 seconds for the device to
return to a normal operating state. (Five green LEDs flashing in sync)
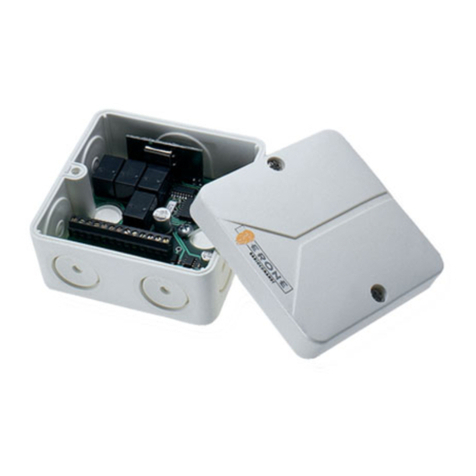
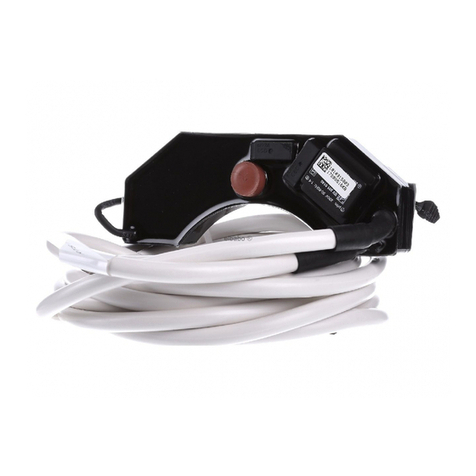
3. After inserting the batteries into the TX, observe the blink pattern on the TX Status LED (located near
push-button and edge terminal). The LED should be blinking twice quickly every four seconds.
If you see any other blink pattern, press and hold the TX Button until the blink pattern described above
is displaying. This removes any previous connection that may have been programmed to this transmitter.
1. On the RX board, press and hold CH1 Button until you see the SYSTEM STATUS LED blink at a faster
rate. This puts the RX into PAIR MODE for CH1. You will have two minutes to complete the pair on the
TX before the pairing session times out.
2. On the TX that is to be paired, press and hold its push-button. The TX LED will begin blinking rapidly
while the TX is trying to pair. Hold down the push-button until the TX’s LED flashes once every four
seconds, indicating a successful pair.
If the pair is failing, the TX LED will continue to blink fast while the TX Button is being held.
3. Observe the CH1 LED on the RX board to see the connected TX’s status.
One of the three states below should be seen.
•If an edge sensor is wired to the paired TX and is not shorted, then the RX CH1 LED should be OFF.
•If an edge sensor is not wired, the RX CH1 LED will flash twice quickly every second.
•If an edge sensor is wired but it is shorted (compressed), then the RX CH1 LED will be ON until the short
is removed.
4. Start an open cycle and ensure shorting (compressing) the edge sensor stops the gate/door.
5. Repeat steps 1 through 4 using CH2, CH3, or CH4 for additional transmitters.
